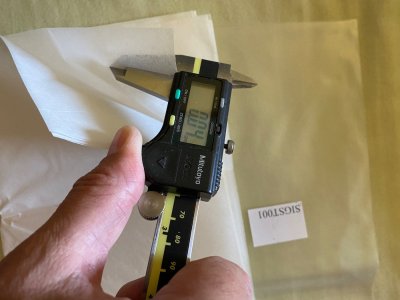
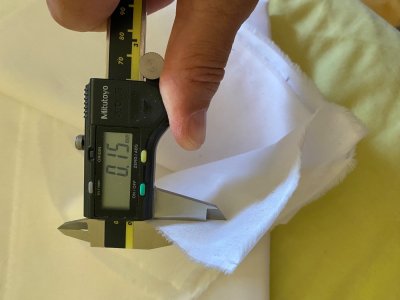
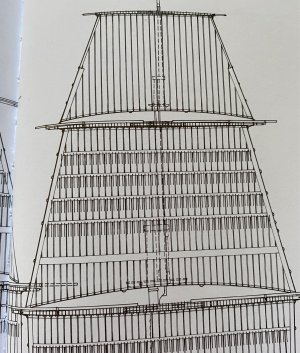
Hi, I am looking for a sewing machine brand and model for making sails in 1:96 scale. It should be not expensive but high quality sewing machine. It should be able to handle very light weight cotton fabric (batiste), have adjustable stitch length up to zero. No need for any but straight type of stitch.
-

Win a Free Custom Engraved Brass Coin!!!
As a way to introduce our brass coins to the community, we will raffle off a free coin during the month of August. Follow link ABOVE for instructions for entering.
You are using an out of date browser. It may not display this or other websites correctly.
You should upgrade or use an alternative browser.
You should upgrade or use an alternative browser.
Looking for sewing machine brand and model for making sails
Any used vintage machines could do?
Good luck with that! If you do the math, I think you will find that scale thread will be somewhere around the thickness of a spider web, and a small spider, at that. Beyond that, simply get a machine (and needles) that will handle the thinnest thread you can find, which will, I believe, still be way out of scale. Some people don't mind that, and it's pretty much essential for sailing models, but that's the best you can do. In my early days, I did this and it looks bad by today's standards. I've gotten away with very fine stitching working on small craft in 3/4" to the foot and larger, but that's pushing it.
You'd probably be best off going with the silkspan and acrylic paint technique.
You'd probably be best off going with the silkspan and acrylic paint technique.
I want fully open sales. Silk span is a paper. It will not look like any close to real sail unfurled. I will use batiste. Looks good enough to me.
Stitching thread I use will be Gutterman Scala 360. I can try to unwind it in separate strands. It is like a spider web.
So no sewing machine recommendations from anyone?
Stitching thread I use will be Gutterman Scala 360. I can try to unwind it in separate strands. It is like a spider web.
So no sewing machine recommendations from anyone?
Last edited:
There are interesting sales making videos today on YouTube. Here is an example. This is a larger scale to mine but gives good impression.
- Joined
- Aug 8, 2019
- Messages
- 5,332
- Points
- 738

I don't agree with you.I want fully open sales. Silk span is a paper. It will not look like any close to real sail unfurled. I will use batiste. Looks good enough to me.
Look here
Post in thread 'VOC ship The Prins Willem (scale 1:75) Year 1651' https://shipsofscale.com/sosforums/...-willem-scale-1-75-year-1651.6761/post-435159
I tested the method Bob showed. And it is perfect for scale 1/50 or smaller, furled or not. It looks better to me then cloth with sewing stitches way out of scale.
Any home sewing machine will do just fine if that's what you are looking for, but, honestly, many of us, me included, have plowed the same ground and not found success. Even if you unravel thread, you will probably find that the strands will jam going through the eye of the needle and break repeatedly. Moreover, if it's a 1:96 scale representation you're after, I expect you will be sorely disappointed.So no sewing machine recommendations from anyone?
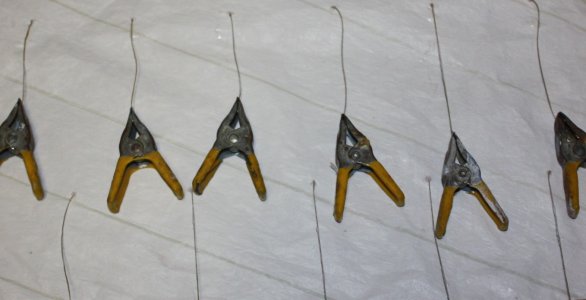
Below is a sail sewn with the finest thread and stitch obtainable on a standard sewing machine. The scale is 3/4" equals one foot. You are working at a scale of 1/8" to the foot or six times smaller. Perhaps this will give you some idea of the difficulty you will encounter. There is a reason nobody recommends attempting what you are contemplating.
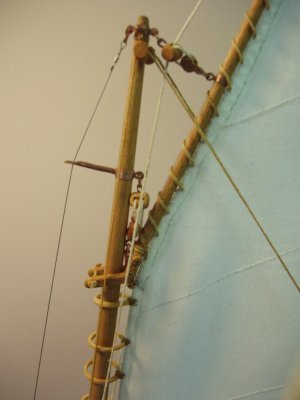
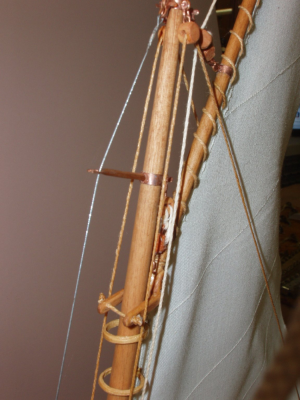
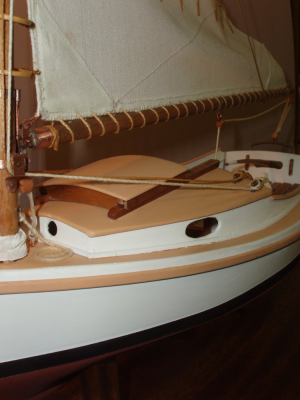
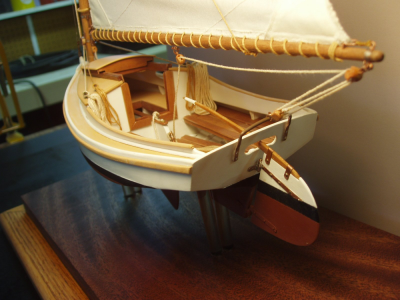
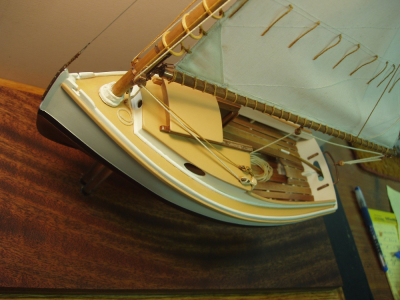
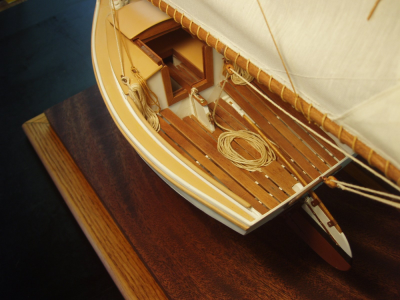
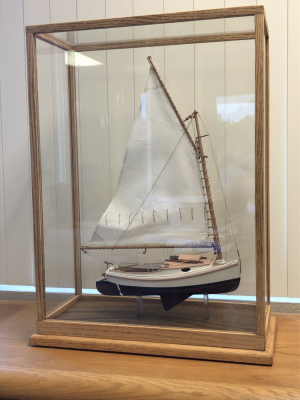
On the other hand, using silkspan strengthened with acrylic paint will provide a very realistic effect, whether furled or set, if the instructions are followed. For a more detailed description of the technique, you can purchase the sail making supplement to David Antscherl's The Fully Framed Model - The Swan Class Sloops for five bucks from Seawatch Books: https://seawatchbooks.com/products/...vised-and-expanded-edition-by-david-antscherl I recommend it highly.
Last edited:
Ohla's sailmaking skills are most impressive and her accuracy is commendable, but she is apparently working in a very large scale and I expect that it will still appear out of scale when bent to the model. Even assuming one could find scale thread, fly tying material, perhaps, such handwork at 1:96 would be madness.There are interesting sales making videos today on YouTube. Here is an example. This is a larger scale to mine but gives good impression.
Hi Bob. I had seen description of some technique where part of fabric is being painted dark and threads being pulled out over unpainted part leaving a thin painted line instead of real stitch. I couldn’t fully understand how this works and what it looks like when completed. Any idea where I can get some better information on this?
I don't agree with you.
Look here
Post in thread 'VOC ship The Prins Willem (scale 1:75) Year 1651' https://shipsofscale.com/sosforums/...-willem-scale-1-75-year-1651.6761/post-435159
I tested the method Bob showed. And it is perfect for scale 1/50 or smaller, furled or not. It looks better to me then cloth with sewing stitches way out of scale.
Great sail making and rigging tutorial link! Your real strops are incredibly impressive!
I've no idea. I'm familiar with teasing out a warp thread when doing certain types of canvas work at full-size, but not in modeling. It would seem near impossible at any scale size. The standard, and I think best, way to represent stitching in scale sizes is as Steef illustrated in his sail making link above, using a hard and sharp lead pencil to make a subtle light double parallel lines representing an authentic double-stitched lapped seam at the panel edges.Hi Bob. I had seen description of some technique where part of fabric is being painted dark and threads being pulled out over unpainted part leaving a thin painted line instead of real stitch. I couldn’t fully understand how this works and what it looks like when completed. Any idea where I can get some better information on this?
- Joined
- Aug 8, 2019
- Messages
- 5,332
- Points
- 738

Thanks. Just patience and you can achieve almost everything.Great sail making and rigging tutorial link! Your real strops are incredibly impressive!
About the sails, I tried a lot of methods, even a darker thread with a needle weaving in the cloth threads. (Hope I say it right, just look in the clipper link under my name.) But the silkspan, or Japanese paper way is the best I tried. So easy.
- Joined
- Aug 8, 2019
- Messages
- 5,332
- Points
- 738

Post in thread 'Clipper Newport Mamoli 1:57' https://shipsofscale.com/sosforums/threads/clipper-newport-mamoli-1-57.10054/post-360233
Post in thread 'VOC ship The Prins Willem (scale 1:75) Year 1651' https://shipsofscale.com/sosforums/...-willem-scale-1-75-year-1651.6761/post-435082
Post in thread 'VOC ship The Prins Willem (scale 1:75) Year 1651' https://shipsofscale.com/sosforums/...-willem-scale-1-75-year-1651.6761/post-435082
Good information. Thanks.
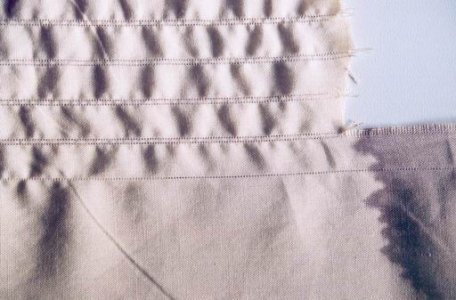
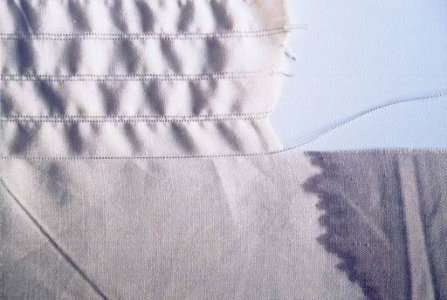
As to thread pulling technique here it is:
www.arsenal-modelist.com
It is an older web site so I will just copy what the guy wrote:
Olivier Bello
Arsenal Modelist
Sail panels that are not represented with parallel seams detract from the esthetic look of a model. This is unfortunately seen too frequently, while the use of the drawn-thread technique solves this problem completely.
After one half of a surface that is twice the size of the sail has been died a dark shade, a thread is started to be pulled to mark its location.
Little by little, the threads of the dark part that are not needed are removed and the one that will be drawn is separated. The strength required of the thread is thus reduced by half. The thread is drawn by progressively crinkling the fabric.
Once a first thread has been pulled, a number of threads corresponding to the width of the panel being simulated is separated from the dark section and cut off. The next thread is then separated and drawn just like the first.
If the work has been successfully performed, the panel seams show up exactly even and parallel to each other. Needless to say, the break of a single thread means that the whole thing has to be done over.
The boltrope is then sewn in after the sail has been hemmed all around. The sheet and brail cringles should not be forgotten. The reef bands are then put in as well as the rope-bands.
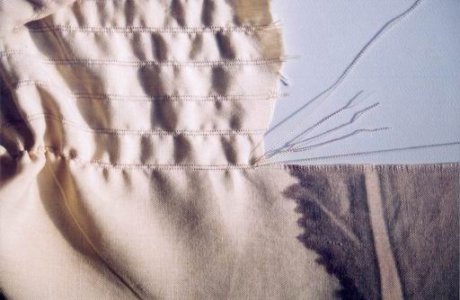
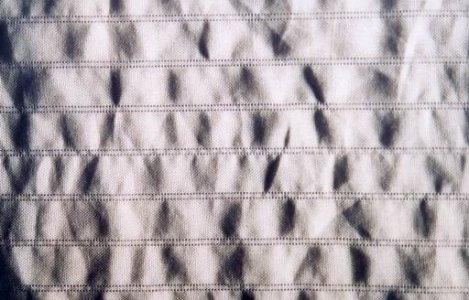
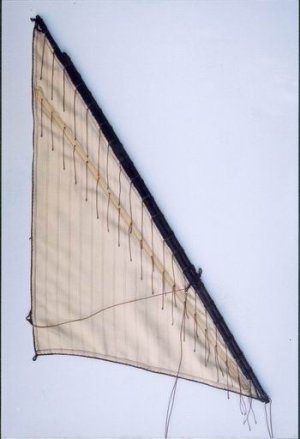
As to thread pulling technique here it is:
Olivier Bello : Arsenal Modelism
This sitewww.arsenal-modelist.com
It is an older web site so I will just copy what the guy wrote:
Olivier Bello
Arsenal Modelist
Sail panels that are not represented with parallel seams detract from the esthetic look of a model. This is unfortunately seen too frequently, while the use of the drawn-thread technique solves this problem completely.
After one half of a surface that is twice the size of the sail has been died a dark shade, a thread is started to be pulled to mark its location.
Little by little, the threads of the dark part that are not needed are removed and the one that will be drawn is separated. The strength required of the thread is thus reduced by half. The thread is drawn by progressively crinkling the fabric.
Once a first thread has been pulled, a number of threads corresponding to the width of the panel being simulated is separated from the dark section and cut off. The next thread is then separated and drawn just like the first.
If the work has been successfully performed, the panel seams show up exactly even and parallel to each other. Needless to say, the break of a single thread means that the whole thing has to be done over.
The boltrope is then sewn in after the sail has been hemmed all around. The sheet and brail cringles should not be forgotten. The reef bands are then put in as well as the rope-bands.


- Joined
- Jun 29, 2024
- Messages
- 1,147
- Points
- 393

After building several models of warships’ boats at a scale of 1:32, I switched to 1:96 scale for my present project. I am now building the various metal fittings (soldered brass). While 1:96 scale is 1/3 that of 1:32, these fittings being three dimensional objects are 1/27th the size of those for a similar 1:32 scale model.
Likewise your sails, furled or set are also three dimensional. At 1:96 scale virtually any material that you use will be noticeably over scale. For example, let’s say that you can find material that is .005in thick. At 1:96 scale that’s approximately 5/8in. Way over scale! I have some real #10 duck canvas that I measured several years ago. I don’t have the numbers in front of me at the moment but 1’ll check later today.
At 1:96 slightly under scale is better than over scale.
Roger
Bello's method looks like it is worth a try and I hope that if you do it you can share your experience. You mention scale so if you want to be to scale,, as others are writing above, machine sewing will not work. At a scale of 1:96 the problem is that there is no cloth in existence that is to scale. Batiste goes as high as 350 TC from what I could find which means a TC of about 3.5 at your scale, or in other words threads that are nearly 0,3" in diameter at scale. Some high priced bedding with a TC nearing 1000 can be found and is a pretty good match for number 8 canvas at scale, With such a tight weave the pulling method that Mr. Bello gives, might be a bit more difficult.I am looking for a sewing machine brand and model for making sails in 1:96 scale.
Whatever you choose, I hope it works as it would be great to find another choice when it comes to making sails. Thanks for getting this "thread" going!
Allan
In short, it is only a matter of cutting small pieces and attaching them with matte medium while the main piece is still on the frame. I have no idea the cost in Canada, but the booklet by David Antscherl on making sails is well worth having. It is listed for $5 on the Seawatch website. It is actually a supplement to volume IV of the TFFM book series. For the panel seams I found color markers work really well. I trim the tip to 2" wide (at scale) and "paint" on the seams. There is more to this, but none of it is difficult. https://seawatchbooks.com/products/...vised-and-expanded-edition-by-david-antscherl
The Lauria video given above is worth watching as well. I have found a combination of the methods on the Laruia video and in the booklet work best for me so maybe look at both and customize to what you like best.
Allan
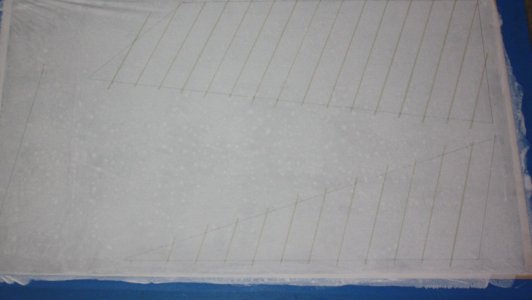
Panel seams marked with marker pen They can be made more subtle using different color markers so they are not as obtrusive as we often see on sewn sail panel lines.


