-

Win a Free Custom Engraved Brass Coin!!!
As a way to introduce our brass coins to the community, we will raffle off a free coin during the month of August. Follow link ABOVE for instructions for entering.
-

PRE-ORDER SHIPS IN SCALE TODAY!
The beloved Ships in Scale Magazine is back and charting a new course for 2026!
Discover new skills, new techniques, and new inspirations in every issue.
NOTE THAT OUR FIRST ISSUE WILL BE JAN/FEB 2026
- Home
- Forums
- Ships of Scale Build Logs
- Super Detailing Static Models / Other Genres
- Historical Trailways, Guns, Aircraft, and Cars
You are using an out of date browser. It may not display this or other websites correctly.
You should upgrade or use an alternative browser.
You should upgrade or use an alternative browser.
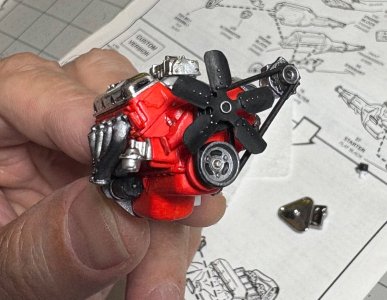
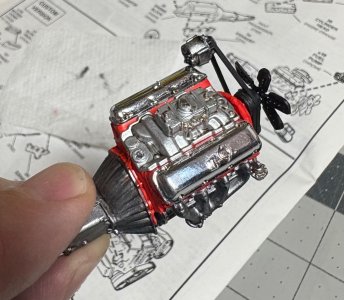
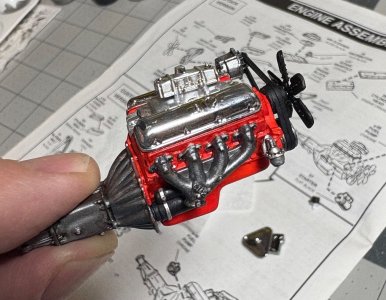
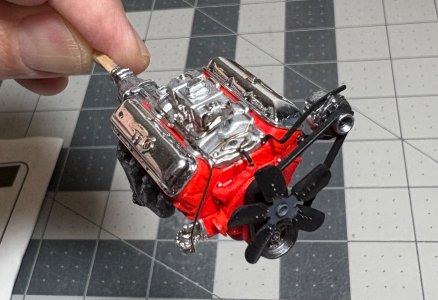
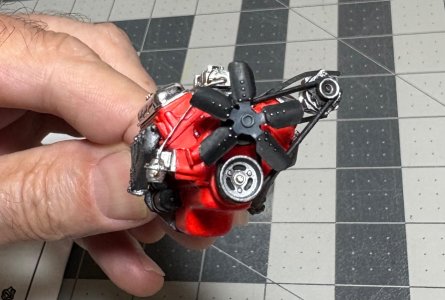
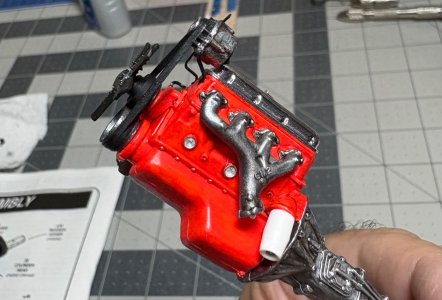
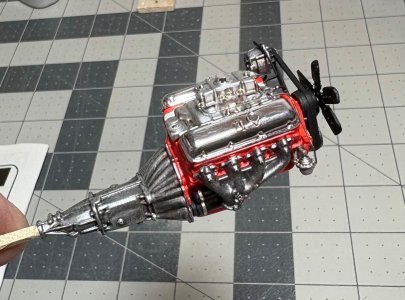
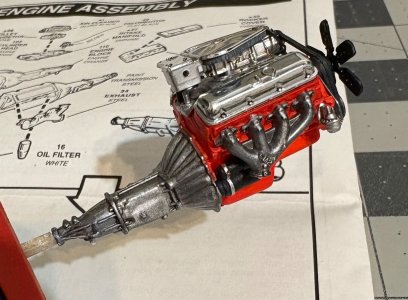
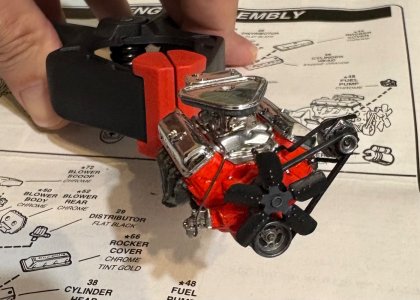
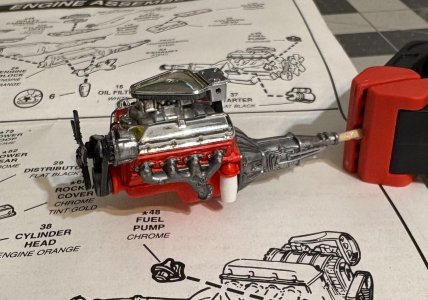
I started the engine assembly…
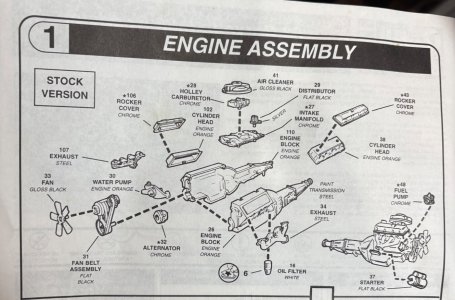
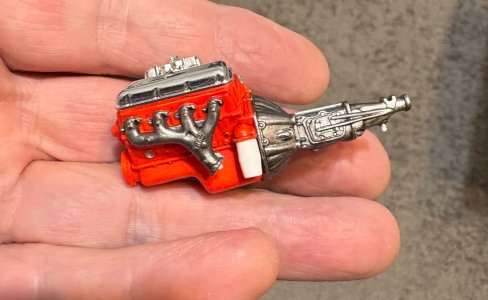
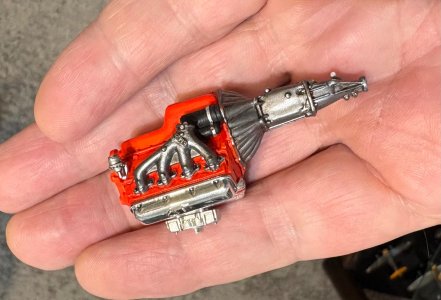
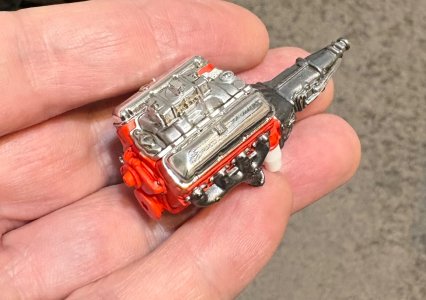
I still have the belts and fan assembly with the alternator to add. I may add the alternator bracket, fuel lines from carb to pump and the spark plug wires. Might as well add more detail. I already added some bolt heads on the motor and carb.
The body looks promising…
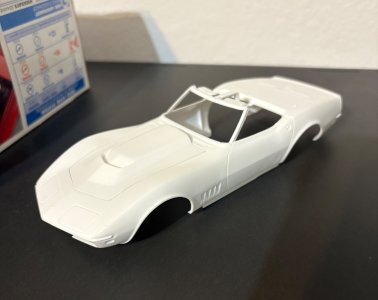
See ya next time…


I still have the belts and fan assembly with the alternator to add. I may add the alternator bracket, fuel lines from carb to pump and the spark plug wires. Might as well add more detail. I already added some bolt heads on the motor and carb.
The body looks promising…

See ya next time…
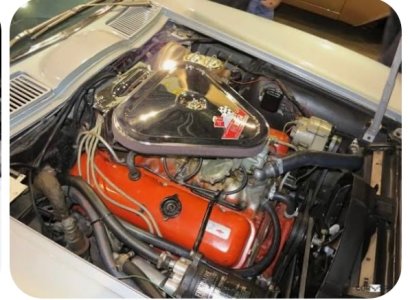
After looking at a few reference pics…
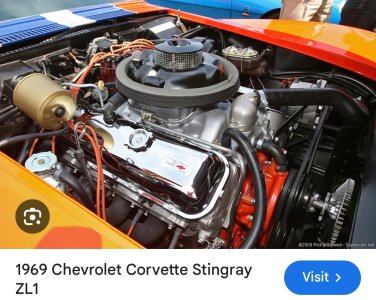
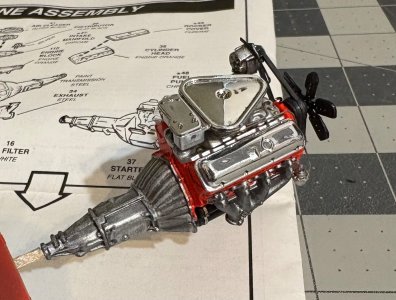
I decided to add the small black hose on top of the water pump to the intake (using copper wire), and add the fuel lines from the carburetor to the fuel pump (using silver wire).
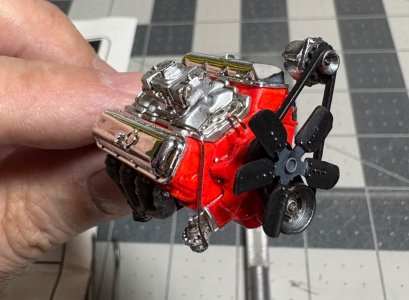
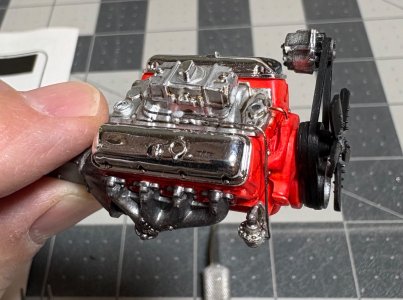
Those will be painted soon.
Then I added the bracket for the alternator belt adjustment. First I made one from copper plate (lower right in pic below)…
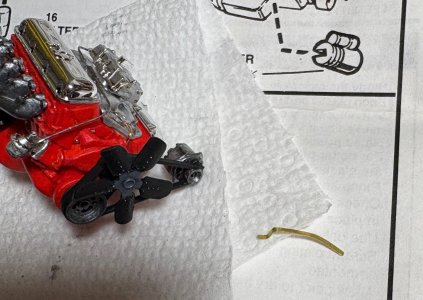
Then I glued that on…
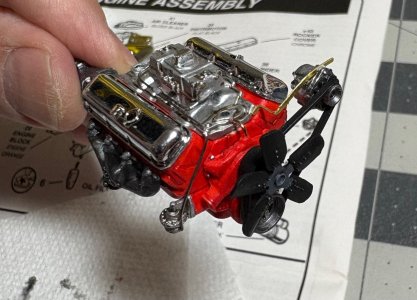
I thought it looked wrong if the alternator was just hanging off the belt…lol.
Next I will paint all of these added components. Then it’s time for the distributor and air cleaner box that mates to the scoop on the hood.
See ya next time…

I decided to add the small black hose on top of the water pump to the intake (using copper wire), and add the fuel lines from the carburetor to the fuel pump (using silver wire).


Those will be painted soon.
Then I added the bracket for the alternator belt adjustment. First I made one from copper plate (lower right in pic below)…

Then I glued that on…

I thought it looked wrong if the alternator was just hanging off the belt…lol.
Next I will paint all of these added components. Then it’s time for the distributor and air cleaner box that mates to the scoop on the hood.
See ya next time…
Always nice to see extra added detail on a engine, Dean. It’s looking great.After looking at a few reference pics…
View attachment 545385
I decided to add the small black hose on top of the water pump to the intake (using copper wire), and add the fuel lines from the carburetor to the fuel pump (using silver wire).
View attachment 545386View attachment 545387
Those will be painted soon.
Then I added the bracket for the alternator belt adjustment. First I made one from copper plate (lower right in pic below)…
View attachment 545388
Then I glued that on…
View attachment 545389
I thought it looked wrong if the alternator was just hanging off the belt…lol.
Next I will paint all of these added components. Then it’s time for the distributor and air cleaner box that mates to the scoop on the hood.
See ya next time…
Regards, Peter
Thanks Peter! I guess plug wires will be the next add on!Always nice to see extra added detail on a engine, Dean. It’s looking great.
Regards, Peter
Last edited:
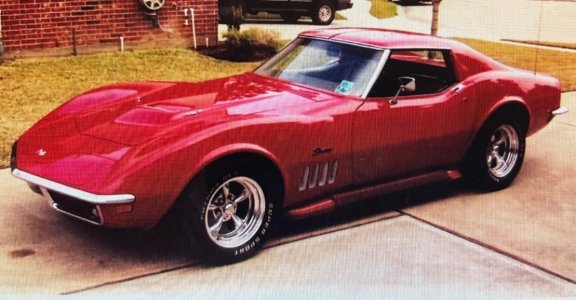
I modeled the wheel in CAD, now I can export an STL file to use in my slicer software for the resin printer. I measured the model kit outer wheel half and then used that size to create the American Racing wheels I used to have on my 69 Stingray.
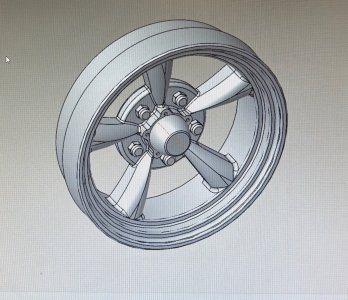
I think these will look pretty convincing on the kit. Once printed and painted, with a little wash, they should look good.

I think these will look pretty convincing on the kit. Once printed and painted, with a little wash, they should look good.
Not sure why I would build a model of your car…Ready to drive off the showroom floor! But, you shoulda built a 59, like I had…
 …but you are free to do so!
 - Joined
- Oct 12, 2019
- Messages
- 151
- Points
- 88

Cooooolllll!
A healthy diversion also!
A healthy diversion also!
Thanks! I have too many diversions these days!Cooooolllll!
A healthy diversion also!

I’m not sure what to tell you other than this section is titled Historical Trailways, Guns, Aircraft and CARS.Corvettes played a valiant part during the battle of the Atlantic by
the Canadian Navy, (HMCS) therefore I was surprised when I was
expecting to see a model of one , not an automobile.
It’s ok, simply go to the section for ship model builds.Sorry , I did not see the section title ,perhaps it is time for me to
stop using the internet as I will be ninety three in three months
time . I just thought Ships of Scale was as it says.
Not a lot to show currently, this is a side project, so I do a little here and there.
I didn’t like the fact the model left off the brakes, so I modeled some brake rotors and calipers to be printed with the wheel.
In the interim, I started looking into adding plug wires. I had to drill holes in the cylinder heads and add a piece of metal wire and super glue that into the heads. That way I can slide the rubber tubing onto the wire and glue the plug boots in place…
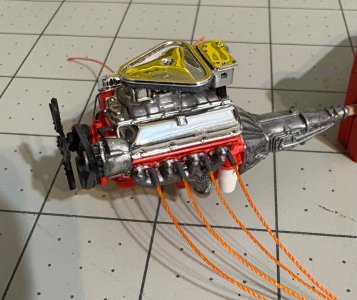
As you can see I painted the tubing grey for the plug boots, and the wire is orange thread. However the the boots look too long and the wires too big in diameter for the scale. So…looks like I will be changing this…lol. Oh well, I think I’m on the right track. I will add plug wire looms too.
I didn’t like the fact the model left off the brakes, so I modeled some brake rotors and calipers to be printed with the wheel.
In the interim, I started looking into adding plug wires. I had to drill holes in the cylinder heads and add a piece of metal wire and super glue that into the heads. That way I can slide the rubber tubing onto the wire and glue the plug boots in place…

As you can see I painted the tubing grey for the plug boots, and the wire is orange thread. However the the boots look too long and the wires too big in diameter for the scale. So…looks like I will be changing this…lol. Oh well, I think I’m on the right track. I will add plug wire looms too.
I cut off the oversized plug wires and added smaller ones. They are more to scale now, but are probably a little small. I may add a few coats of paint and increase the diameter some.
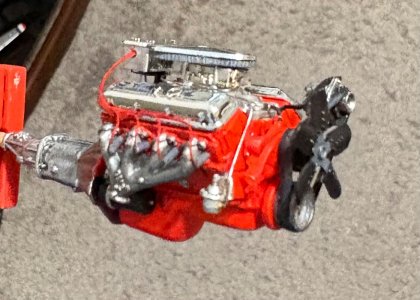
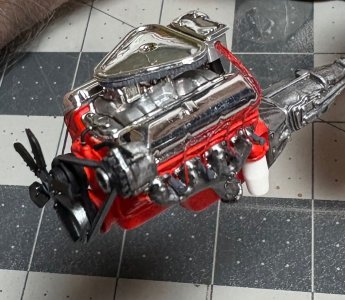
My camera has a hard time figuring out what to focus on with this tiny stuff. Anyway, I think these will pass for now and I can start on the chassis and suspension.
See ya next time…


My camera has a hard time figuring out what to focus on with this tiny stuff. Anyway, I think these will pass for now and I can start on the chassis and suspension.
See ya next time…
Due to a respiratory infection, my model building has been on hold. No glues, paints, wood dust, resin fumes, etc. I am starting to feel better, but may be another week out from getting back to work on my projects. 


