• Ships of Scale has incorportated an extra level of security when you log In. Please follow on-screen prompts to acknowledge that you are not a robot via a "Check Box" or a "Pictorial Check Box Puzzle". This is needed due to higher level of AI Activity Security.
  • SUBSCRIBE TO SHIPS IN SCALE TODAY!

    The beloved Ships in Scale Magazine is back and charting a new course for 2026!
    Discover new skills, new techniques, and new inspirations in every issue.

    NOTE THAT OUR NEXT ISSUE WILL BE July/August 2026
  • Win a Free Custom Engraved Brass Coin!!!
    As a way to introduce our brass coins to the community, we will raffle off a free coin during the month of August. Follow link ABOVE for instructions for entering.

My Cheap and Cheerful Halcon 1:100

Joined
Jun 24, 2026
Messages
30
Points
48

Hi everyone!

After enjoying and learning from the build logs and forums here for a few years, I decided to share my latest adventure: the cheap and cheerful Halcon.

A few months after completing my First build - the San Fransisco II from Artesania Latina - I felt the urge eating away at me to start my next build. I had my eye on the King of the Mississippi by AL, but my bank balance said no... :(

So here we are, with a seriously cheap kit from one of THOSE sites (the one starting with a "T").

I wasn't sure whether I would be posting a build log, so I am already pretty deep into the build, but I'll start from (almost) the start...
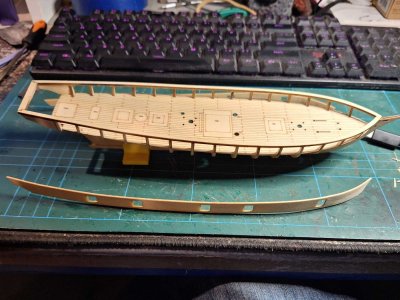
 
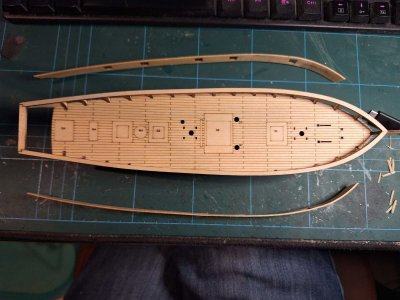
When the kit arrived, I jumped straight in, and in my excitement forgot to take any photos of the package, or the first few steps. By the time I caught myself I had already assembled the frame, and glued in the deck.

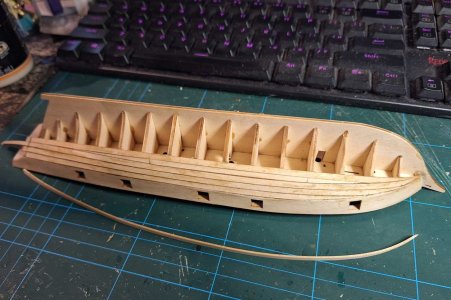
So we start off with shaping and fitting the bulwarks. (I am no expert on nautical terms, so if I name something incorrectly, please do correct me)

1.jpg2.jpg
 
Last edited:
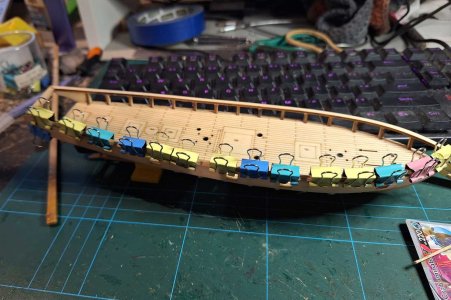
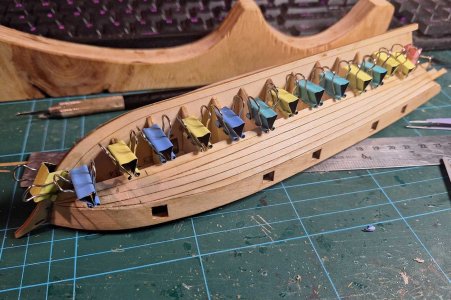
Using my trusty binder clips, these were glued into place.

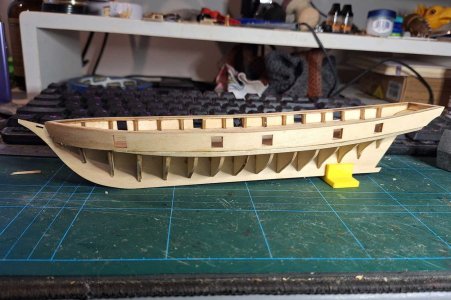
I love this part of the build. The bare bones look of something, whether it be a model, a house, or anything else, always makes me feel warm and fuzzy inside.

Quite pleased with the result. It's not the easiest working at this scale. It is tiny, and as I have found out many times during this build, can be super tricky.

3.jpg4.jpg
 
Last edited:
Next, the planking.

I decided to do a double planking for this ship, and ordered some black walnut veneer sheets from the cheap site (that starts with T).

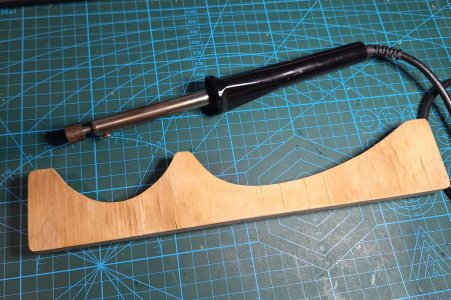
While waiting for that to arrive, I started with the first layer. I soak the wood for a few minutes then use my homemade "bending kit" to steam them into shape:

5.jpg

Above is a picture of the aforementioned bending kit. A cheap(ish) soldering iron with a custom turned tip, and a piece of wood I with some curves cut into it. Works like a charm.

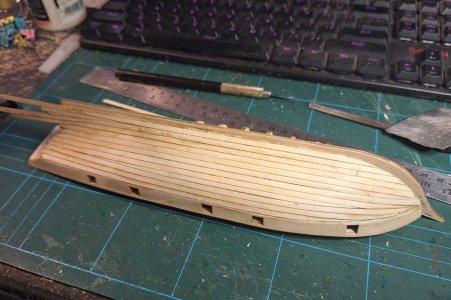
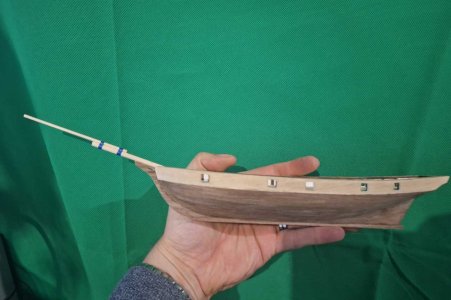
The wood supplied with the kit was better quality than I expected for such a cheap kit, and I made quick work of the first planking:

6.jpg9.jpg7.jpg8.jpg
 
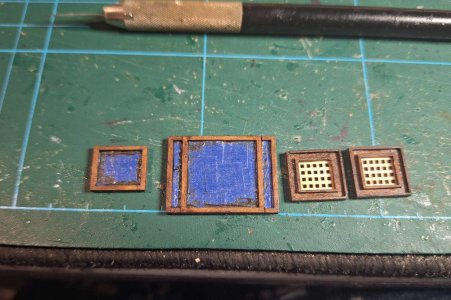
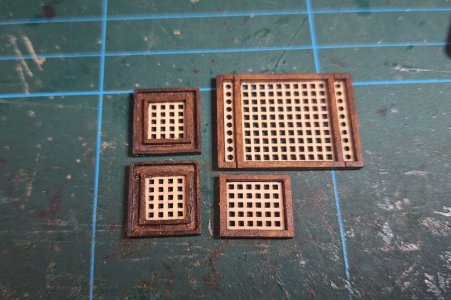
In between waiting for the glue to dry, I started work on the deck grates.

At this point I found out that I really missed some clear instruction (the kit comes with one a4 sheet of super incomplete instructions). As a result I ended up doing a lot more masking than I would have liked. I glued the grates into the frames without painting them first, but I don't know if it would have worked better to paint them first.

Either way, it ended up looking good, so I am happy.


10.jpg11.jpg

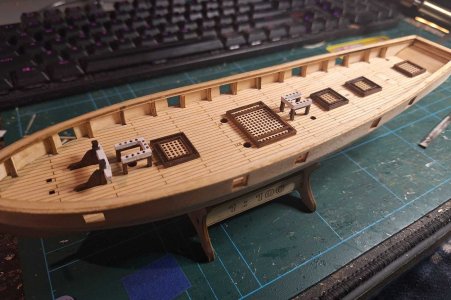
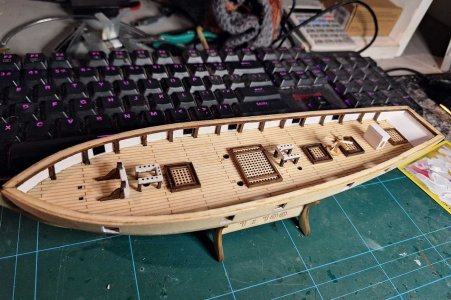
I also assembled and painted the fife rails(?), and could not resist test fitting them:

12.jpg
 
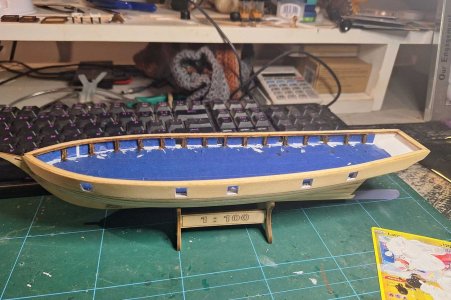
After looking at some of the other fine models of this ship on the build logs here, I decided that I wanted to paint the inside of the bulwarks and the ribs. I probably should have done this before fitting them (really missing those instructions Cautious), so it was time for some more masking.
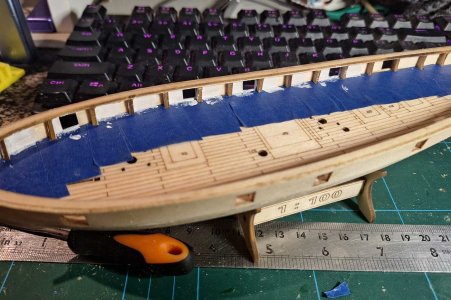
13.jpg15.jpg

After painting and removing the masking, I was super pleased with the results. Once again, I had to test fit everything, just to be sure it looked awesome.

16.jpg
 
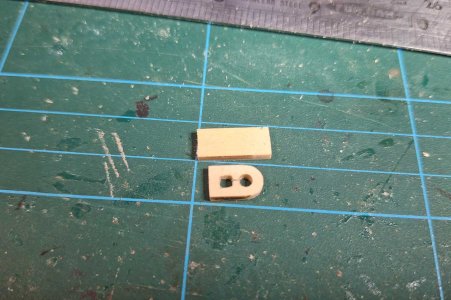
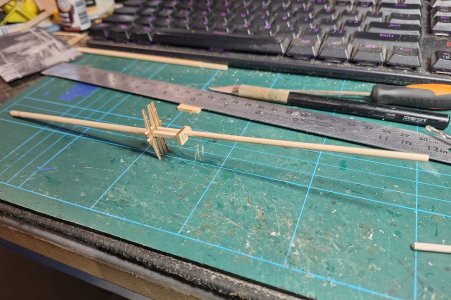
Next, I started working on the masts. The kit was missing the caps, so I had to make some from scraps.

17.jpg

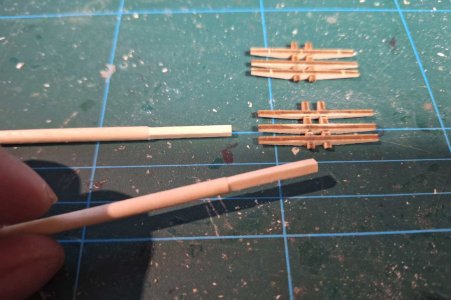
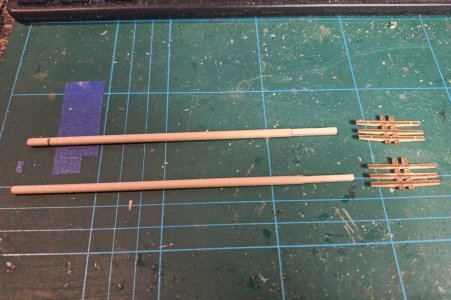
I then went about assembling the crosstrees and shaping the masts:

18.jpg19.jpg

and then assembled them to make sure it all fits together.

20.jpg
 
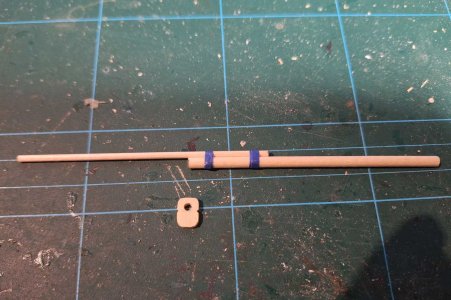
With the masts done, I started working on the bowsprit, cutting the dowels to size and securing them with some period accurate masking tape. Once again there was a piece missing so I made it from scrap.

21.jpg

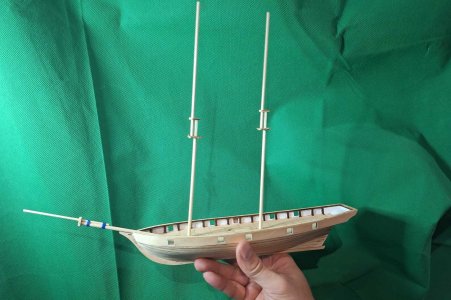
With the masts and bowsprit pieced together, it was time to test fit them on the ship.

22.jpg

Pretty spiffy...
 
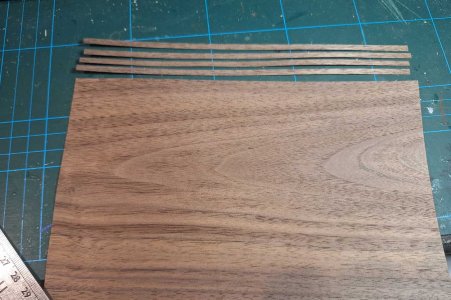
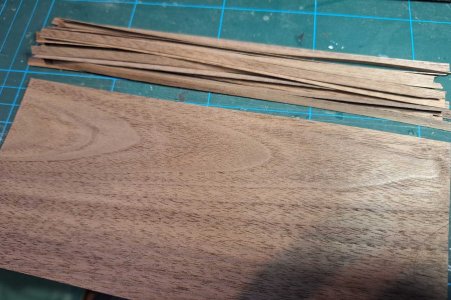
My walnut veneer had finally arrived, so I set about cutting it into strips for the second planking.

23.jpg

And then cut some more strips...

24.jpg

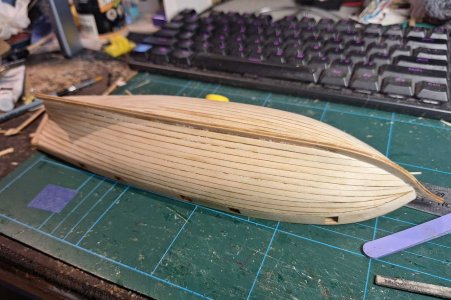
Once I was sure I had enough, I set about doing the second planking. I got caught up in the process and forgot to take any photos until it was done. :rolleyes:
 
Last edited:
DISASTER!!!

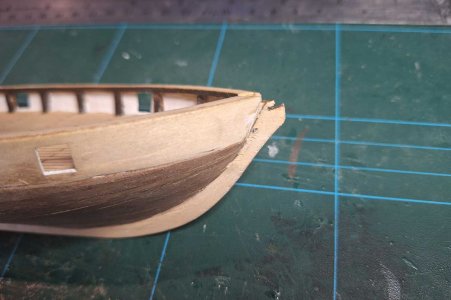
Before I could take any pictures. I dropped the hull, and broke off the tip.

25.jpg

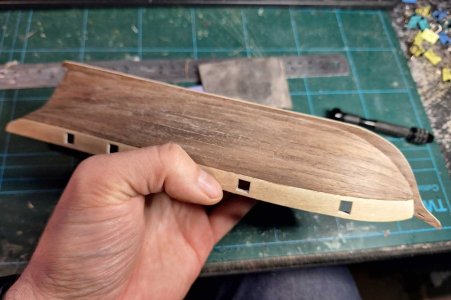
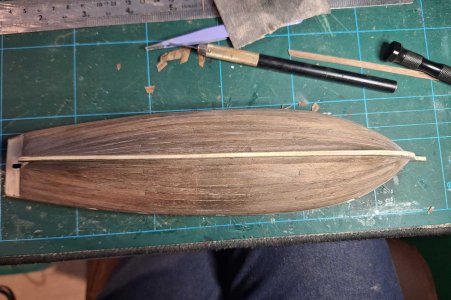
So I had to repair it using some more scraps (fortunately ship kits come with plenty of it), and finally was able to complete the second planking.

26.jpg27.jpg28.jpg
 
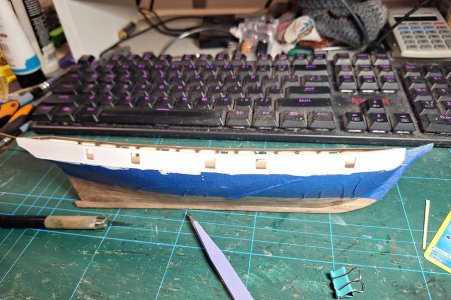
I decided I want to paint the bulwarks white, and add rubbing strakes. First, it was time for some more masking and painting.

30.jpg

And then the rubbing strakes were added.

29.jpg

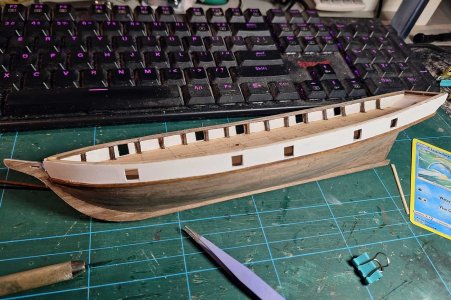
Followed by installing the gunwale. The final result is really stating to look like something special.

31.jpg
 
With the masts done, I started working on the bowsprit, cutting the dowels to size and securing them with some period accurate masking tape. Once again there was a piece missing so I made it from scrap.

View attachment 628946

With the masts and bowsprit pieced together, it was time to test fit them on the ship.

View attachment 628947

Pretty spiffy...
Spiffy indeed! I really like your work and how you made that "simple" model really shine. Well done!
 
Spiffy indeed! I really like your work and how you made that "simple" model really shine. Well done!
Thank you. It is honestly more tricky than a fancy AL kit, with a lot more custom work involved. But I am learning a ton, and having fun while doing it. :D
 
With the hull planked and painted, I will be giving it a few coats of varnish. I'm using a clear matte polyurethane varnish, which looks amazing on my San Francisco. Between coats, I decided to tackle the anchors.

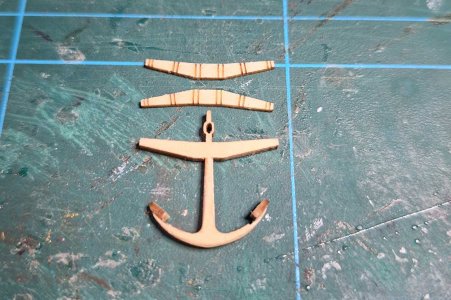
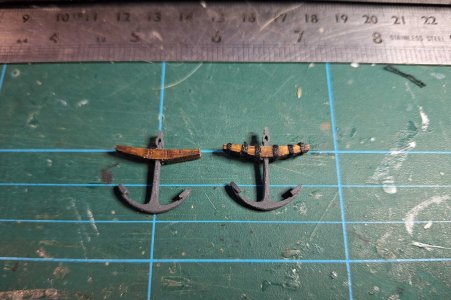
The kit doesn't come with any accessories. Everything is laser cut plywood, including the anchors. I glued on the flukes, and filed the shank and arm edges to give it a bit of shape.

32.jpg

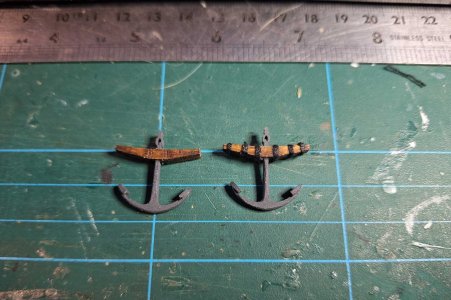
After painting glueing on the stock, and adding some bands (a bit of black thread wound around the stock), the anchors actually ended up looking surprisingly good for plywood.

33.jpg
 
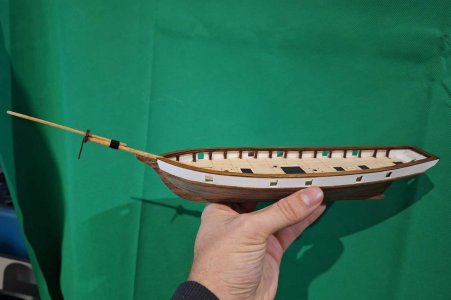
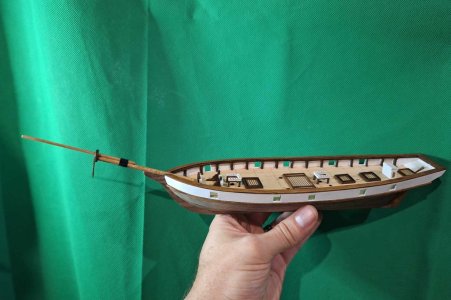
A few layers of varnish later, I fixed the bowsprit to the hull. Once again, the kit didn't include all the parts - in this case, I had to make the dolphin striker from some more of the gratuitous scrap wood. I guessed the length, simply going by what looks right to me, though I might be way off.

36.jpg

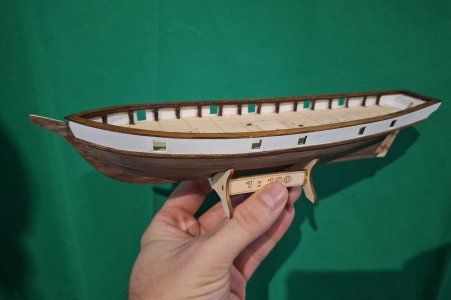
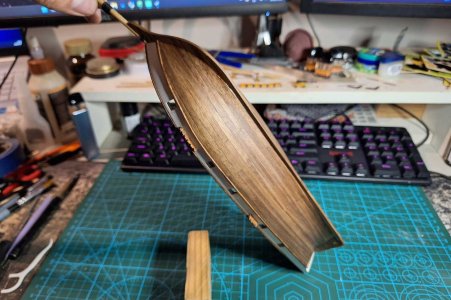
The varnish really made the walnut veneer pop, giving it a lovely deep colour.

35.jpg

And of course, I had to test the deck fittings again just to make sure it still looks awesome.

37.jpg

I'm going with "yes". :cool:
 
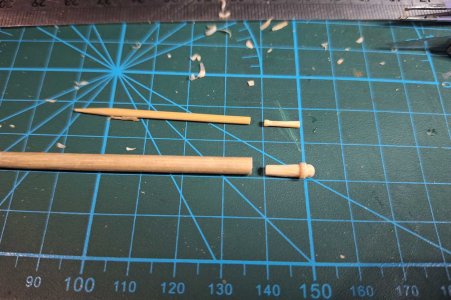
Time to give my Halcon some firepower. The "cannons" supplied with the kit are flat, cut out plywood pieces, which simply won't do. I don't have the financial resources to buy scale cannons for the kit, so I used a wooden meat skewer (unused) and a toothpick to carve some cannon parts.

38.jpg

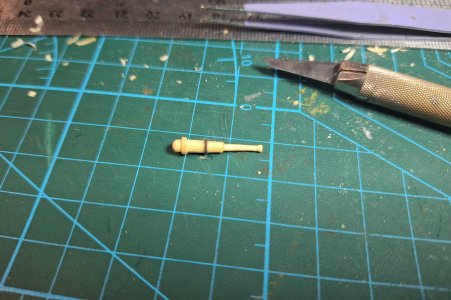
Then I glued them together, and wrapped a piece of thread around the body to simulate a reinforcement ring.

39.jpg

One down, only five more to go...

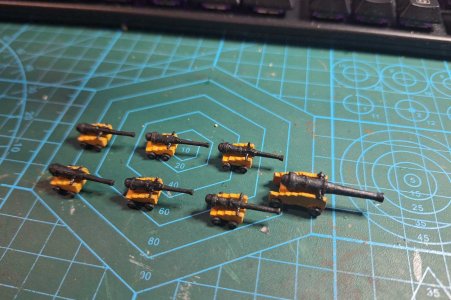
The big gun got a similar treatment. I also didn't like the carriages for the smaller cannons (they just looked off somehow), so I made new carriages some from scratch using - you guessed it - more scrap wood.

Once again, I got way too involve in the process and didn't remember to take any more photos until they were assembled and painted, but I ended up with momma cannon and her six little babies. The trunnions were made from pieces of thread dipped in CA to stiffen them.

40.jpg
 
At this point I found an amazing build log by @jackofalltrades, which provided me with some inspiration to elevate my model even further. Jack's work is simply stunning, and well worth checking out if you are building this kit (or if you are just a fan of amazing modelling). You can find his build log here.

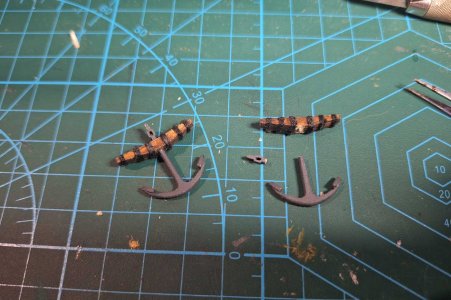
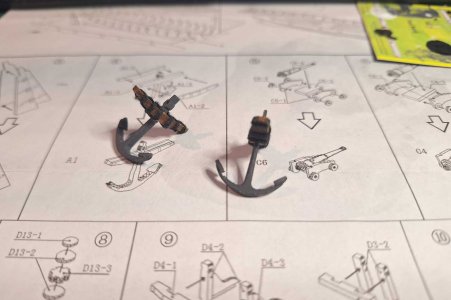
Reading Jack's build log, I noticed that the stock of my anchors were in the wrong orientation. After some though and planning, I scraped together the courage to cut apart my anchors and re-orientate the stocks. In the process I managed to slice off the tip of my finger, but the pain was worth it.

Here are the before, during, and after shots:

33.jpg41.jpg42.jpg
 
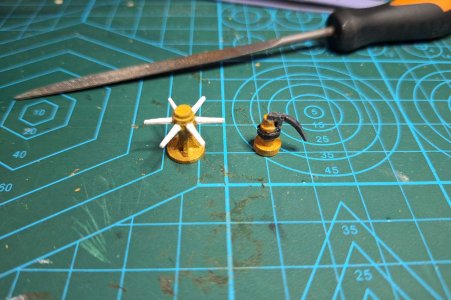
Moving on to the capstan and bilge pump. The bilge pump that came with the kit was so bad that I didn't even know what it was until I read Jack's build log. It also had the poorest instructions of the lot (which is really saying something for this kit).

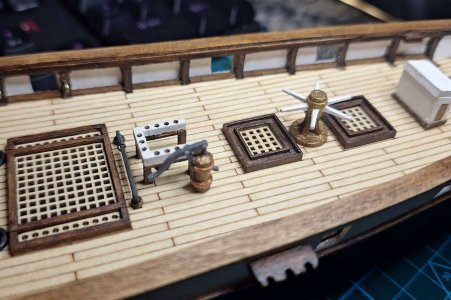
I assembled the capstan, adding the handles (which were not supplied), and giving it a coat of paint. I also attempted to upgrade the bilge pump by adding a custom made pump brake. Although the capstan and bilge pump looks yellow in the photo, it is actually a brass metallic colour (or an attempt at brass :p).

43.jpg
 
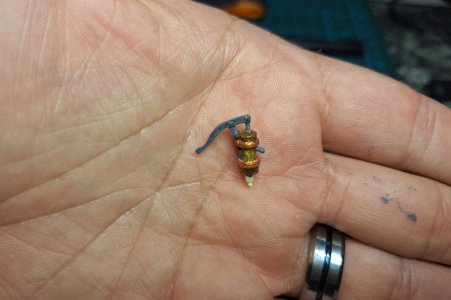
The bilge pump kept reminding me of a tear gas grenade, so I decided to scrap it completely and make one from scratch. I looked up images 19th century bilge pumps for reference, and constructed one resembling a pump which matches the reference images.

44.jpg
 
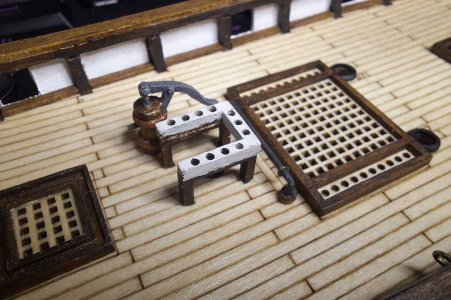
I now have a full set of upgraded deck fittings.

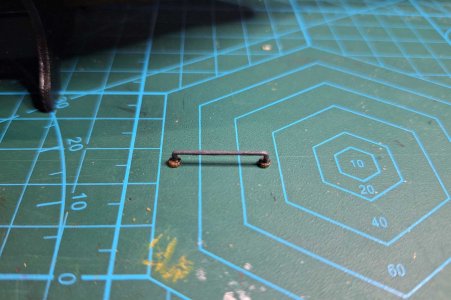
I made this floor bar (no idea what it is called. I saw someone mention it on the forums here a while ago, so I know it has a name. Let me know if you know) as well. This piece is not in the plans, and I first saw it on Jack's build log.

45.jpg

Here it is on the deck, with its ring added:

46.jpg48.jpg
 
Last edited:
Back
Top