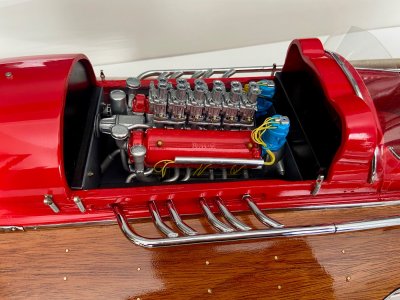
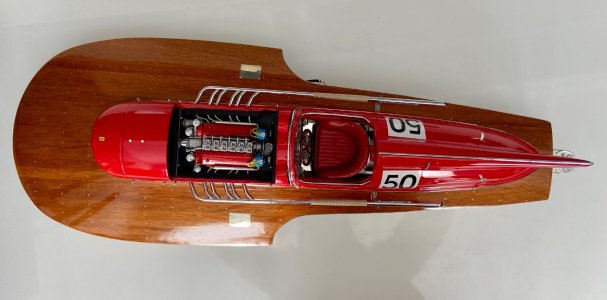
• LUCZORAMA SHIPWRECK SCAVENGER HUNT GIVEAWAY. 4 Weeks of Fun • 1 Legendary Prize ((OcCre’s Fram Ship)) • Global Crew Welcome!
    **VIEW THREAD HERE**

ARNO FERRARI TIMOSSI RACER

Joined
Aug 9, 2024
Messages
14
Points
48

OK, I finally made a start on my Arno Ferrari Hydroplane Racer.
This is a great subject matter, and in my favourite 1/8 scale, so measures out at around 79cm in length.
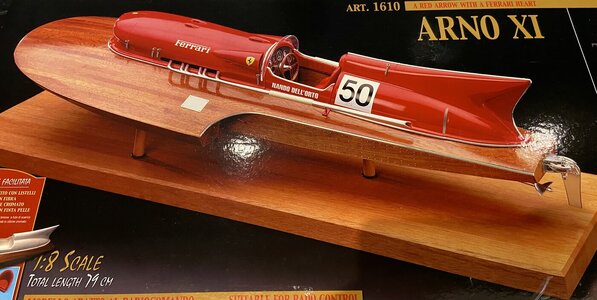

IMG_8697.jpeg

The real boat was built to set up a world speed record on water, a record it still holds at just over 151 mph. Astounding speed over water!
To get the speed required some innovative engineering, first with the boat hull itself.
And then there was the engine.
Enzo Ferrari consented to donating the legendary Lampredi engine from the Ferrari 375 F1 car.
Designed and built by Aurelio Lampredi, the V12 was and remains one of Ferrari's greatest engines, bringing much more success in races than the perhaps better known Colombo engine (which was in the epic 250 GTO).
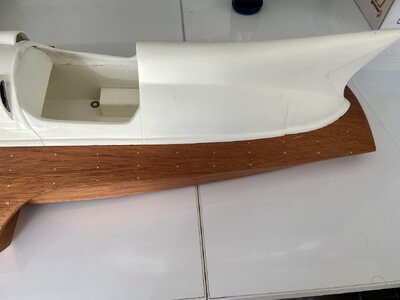
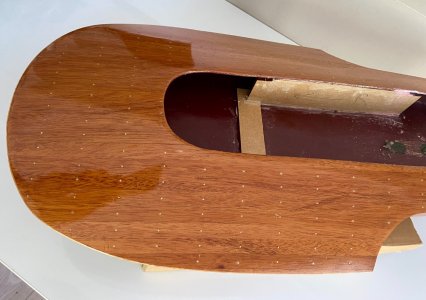
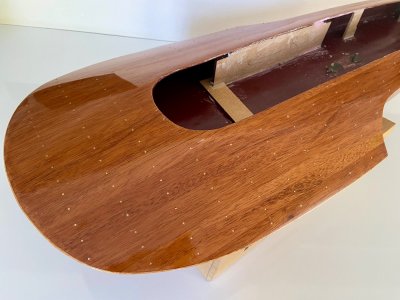
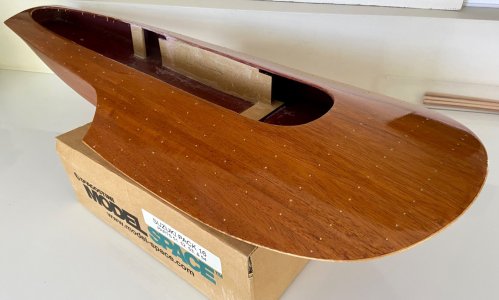
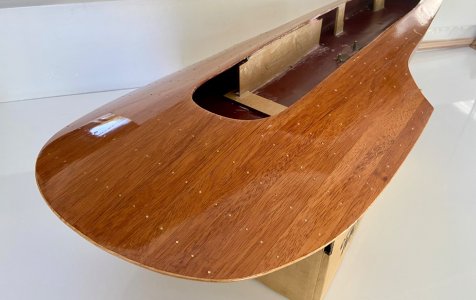
The Amati kit comes in two variants. One is the classic which requires the building of the hull using cross sections and double planking. The second versions, which I have, comes with the prebuilt hull in fibreglass already planked in mahogany.
being my first boat build I opted for the second version. Also, I wanted to spend more time on the other details.
The kit does not come with an engine, and the body shell is one fixed piece.
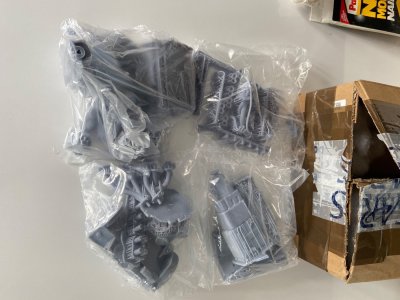
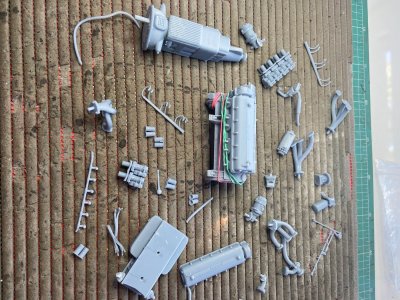
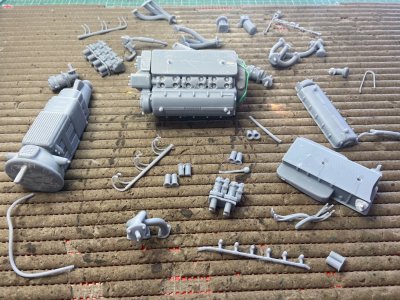
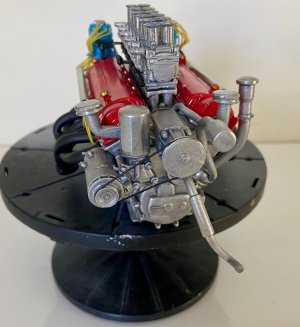
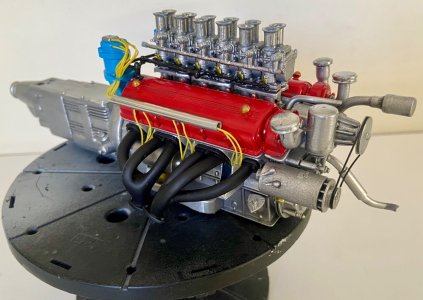
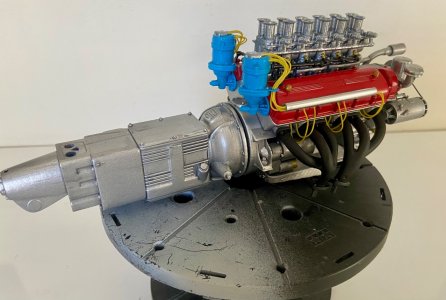
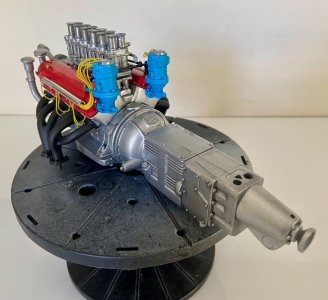
I have a 3D printed engine in 1/8 scale, so will cut open the body shell and install the built engine.
Sadly, no one makes a model of the Lampredi engine, so I am cheating a bit by installing the Colombo engine. But its a Ferrari engine, so thats all good :cool:
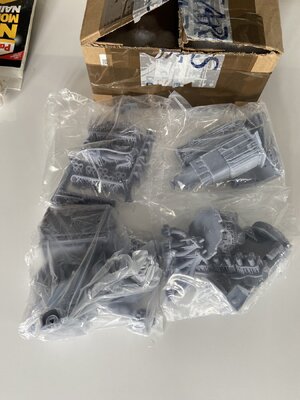
IMG_8710.jpeg
 
Last edited:
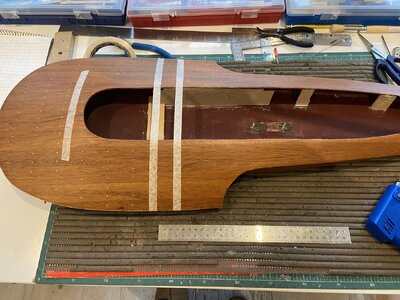
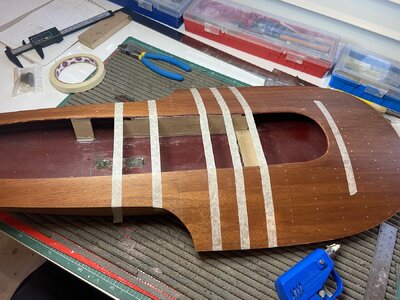
The first step in the build was to reshape the top of the hull to ensure a good fit with the body shell.IMG_8696.jpeg
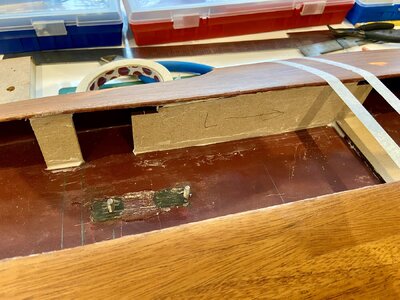
The hull as it comes prebuilt has several gaps between it and the body shell, so I buttressed the inside of the hull to raise sections of it and ensure no panel gaps when the body shell is installed. Fortunately, the edges of the hull are somewhat flexible os this was not too demanding...
 
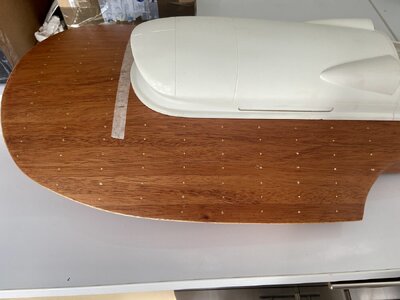
Once I was satisfied with the fit of the body shell on the hull, I got to work on installing the brass pins.
Here I discovered that having a fibreglass hull, while great for saving time and effort with building the hull from scratch, actually has one key limitation.
The brass pins are simply too soft to hammer in on their own accord, so I had to mark and drill all the holes individually.
Even then it was a challenge as the drill bits supplied with the kit and just that bit (!) too big for the brass pins, so after having drilled the holes, I had to dip each pin in Ca glue and install into the holes.
Lots of effort and fuss but the end result is great.
Still loads more holes to drill and pins to install...
IMG_8698.jpeg

IMG_8695.jpeg
IMG_8699.jpegIMG_8708.jpegIMG_8709.jpeg
 
I love this boat - great that you started a building log of this beauty
 
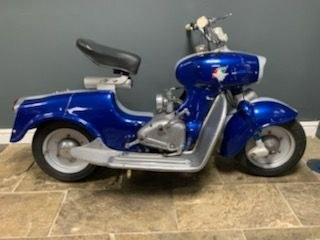
I notice the driver in the box art is named as Nando Dell'Orto - do you think he is related to Dell Orto carburettors - fitted to many italian motorcycles and Lambretta scooters then. I had a Tipo Rumi Sport scooter for a while back then - 125cc with twin Dell Orto's - a real fun machine.

1723374347833.png


.
 
If your budget would stretch to it (mine wouldn't sadly) there was a 1/8 scale Pocher Ferrari Testarossa kit with a V-12 on board. There's one going on Ebay for around $500, but others are twice as much.
 
If your budget would stretch to it (mine wouldn't sadly) there was a 1/8 scale Pocher Ferrari Testarossa kit with a V-12 on board. There's one going on Ebay for around $500, but others are twice as much.
Alan, being a mainly Pocher guy I have or have had over 50 of the kits, including several Testarossas, and the Testarossa engine only kit. But that engine is not suited sizewise for the Arno Bodyshell, hence I went for the Colombo engine instead.
 
Water speed record in what class? Miss U.S., unlimited hydroplane based in Detroit set record at 162 MPH. My understanding is it was recently broken.
The owner, George Simon, won a tax case allowing U. S. Equipment Co. to deduct racing expenses from taxes, thus opening the door to promotion/advertising we see in many sports today.
Jim R
Hi Jim,
It was the record in the 800kg class. I forgot to indicate that.
 
Last edited:
Hi everyone,
I know it appears I have abandoned my building but life stuff got in the way and created several disruptions. I have completed the model but failed to keep up the build log. So will simulate a build log in retrospect, though sadly did not document every step and so the story jumps somewhat.

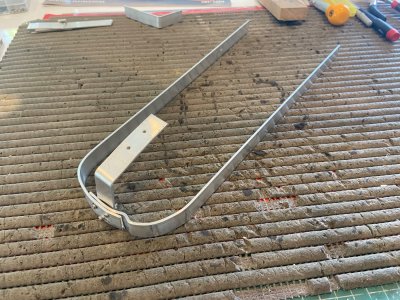
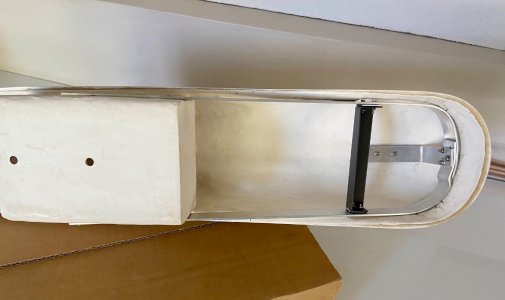
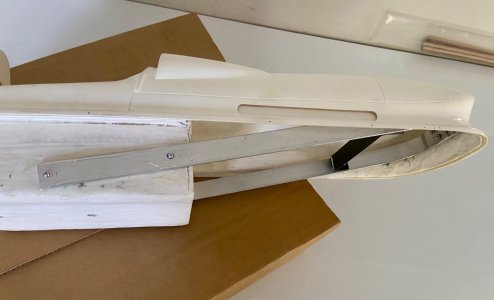
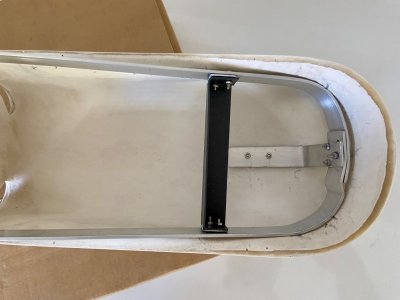
After having reinforced the resin body shell with the aluminium space frame, I cut out the bonnet (hood for those stateside) to allow me to drop in the 3d printed engine. The fix worked well enough to strengthen the body shell, especially ate the base where the exhaust headers attach to the body - here it’s a thin strip of resin which without the aluminium internal frame would not have supported the weight of the nose section. It all worked rather well, allowing enough strength and rigidity for some energetic sanding to get the requisite smooth surface for painting.

IMG_9069.jpeg

IMG_9075.jpeg

IMG_9076.jpeg

IMG_9078.jpeg
 
Last edited:
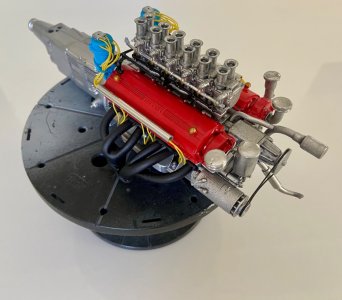
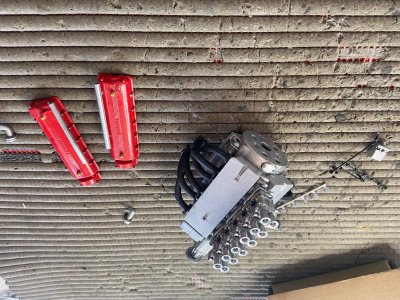
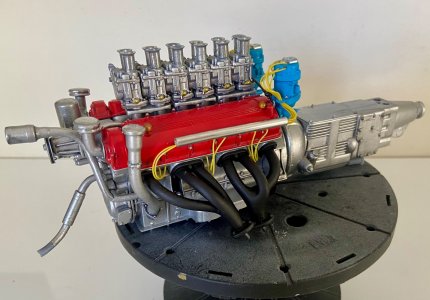
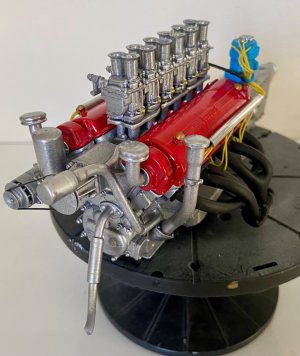
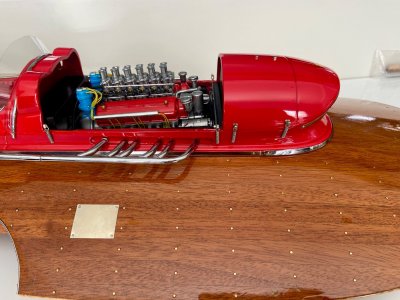
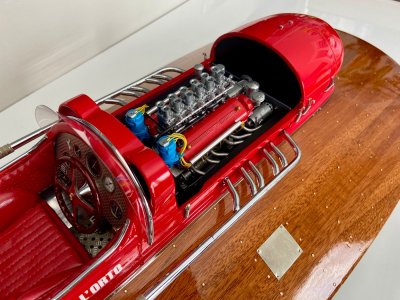
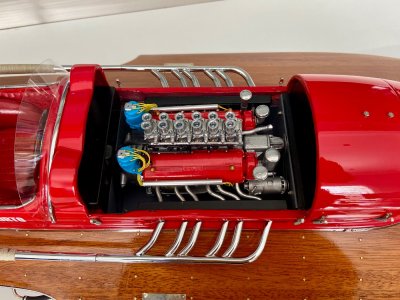
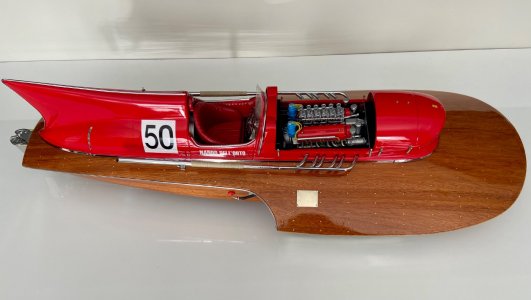
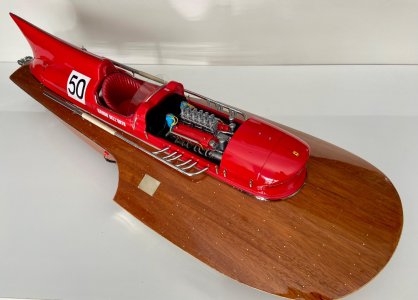
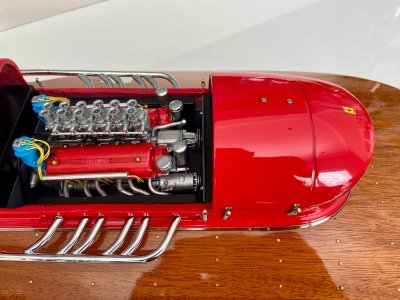
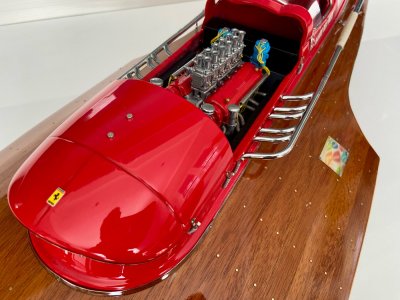
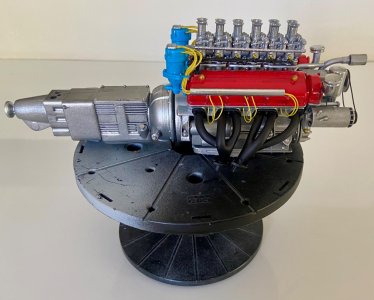
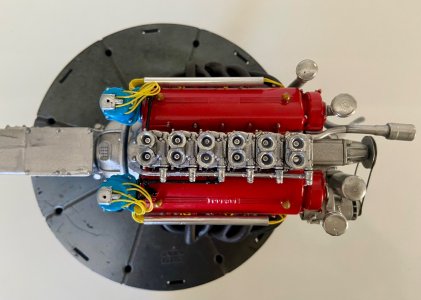
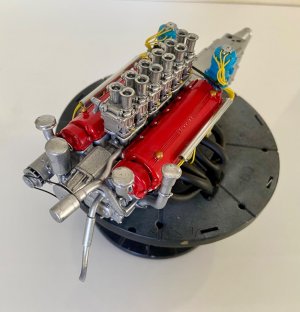
Having sorted out the main body, I began work on the engine. As I might have mentioned, the real boat has the Lampredi engine installed, but I could not find a 1/8 scale of that, so chose instead to install the Colombo engine. The Colombo is arguably the more well known of the two Ferrari engines, even though it was far less successful in competition than the Lampredi. In any event, the Colombo it was, and after a few mishaps in the printing, I finally got the parts for a full engine.

IMG_8710.jpeg

IMG_9062.jpeg

IMG_9063.jpeg

IMG_9070.jpeg
 
Last edited:
Once the engine was done I turned to the hull, applying several coats of polyurethane and sanding and polishing.

IMG_9071.jpeg

IMG_9072.jpeg

IMG_9073.jpeg

IMG_9074.jpeg
 
Last edited:
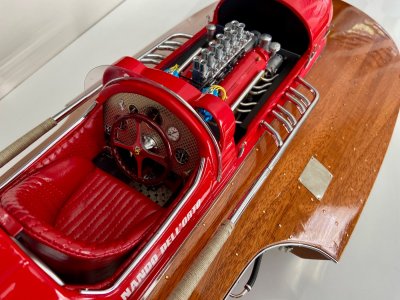
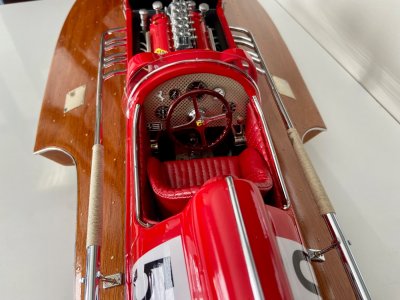
Next I focussed on the cockpit interior. The kit comes with wood veneer to line the floor and sides, but I opted for aluminium instead, using 0.2mm sheets. Sadly I forgot to take pics of those, but they can be glimpsed in the final pics to follow.
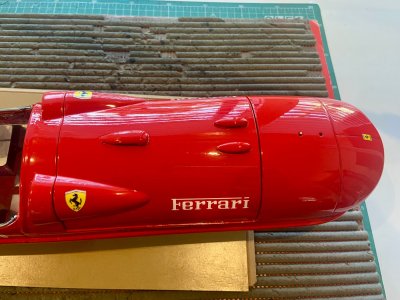
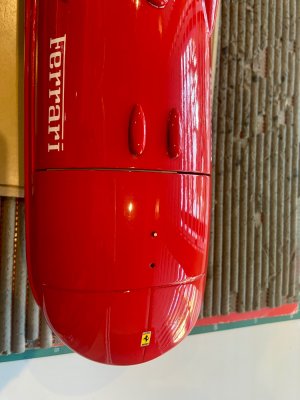
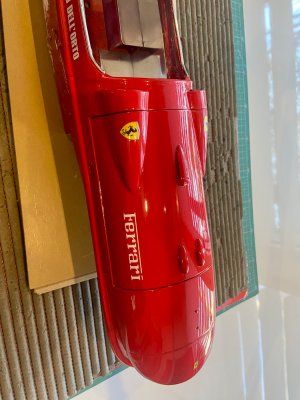
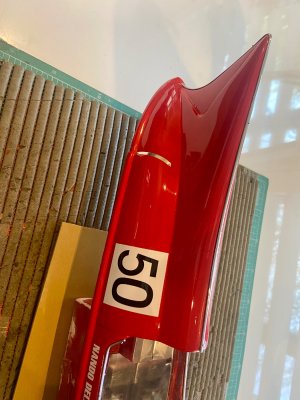
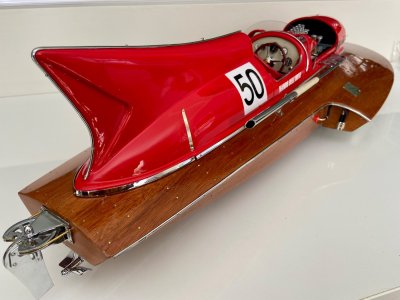
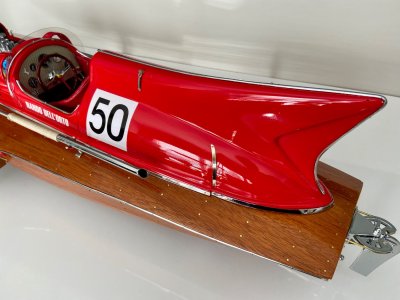
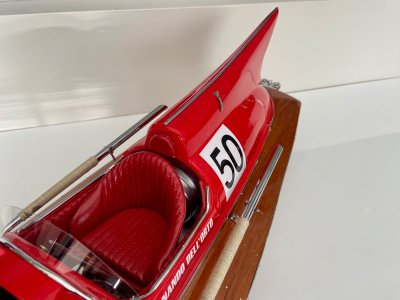
The painting proved a real challenge, mainly because I didn’t get the perfect shade of red right the first two times but did much better on the third occasion. Yes, I painted the entire thing three times, being sure to fully strip the first two attempts down to bare resin to then start back up again. My wife thought I was nuts, she simply shook her head as she walked repeatedly past me standing at the basin for long hours stripping paint. But it worked out fine in the end.
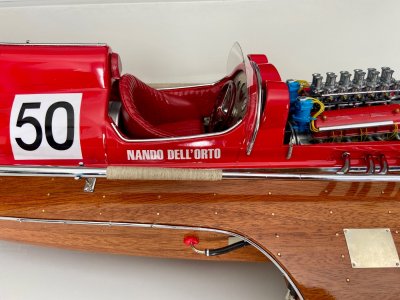
Once I was happy with the base coat, I applied the decals and then two coats of 2K clear and finally fine sanded and polished. Thereafter I added all the chrome brightwork. The kit comes with these but I discarded many of them and scratch built my own from nickel sheets. I also scratchbult the windscreen.

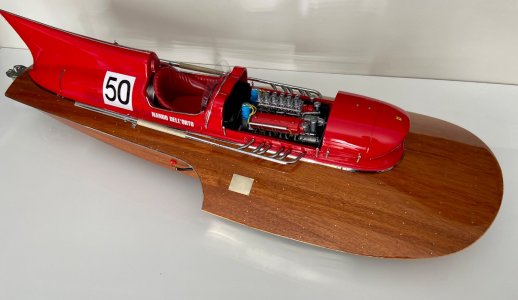
I then completed the cockpit and running gear underneath, and finally fashioned my own supports to elevate the model.

Overall, I really enjoyed this build, working with several different materials, most especially a lifelong favourite of mine being wood. I look forward to more boat builds in the future.

IMG_9292.jpeg

IMG_9291.jpeg

IMG_9290.jpeg

IMG_9289.jpeg

IMG_9327.jpeg

IMG_9328.jpeg

IMG_9329.jpeg

IMG_9330.jpeg

IMG_9331.jpeg

IMG_9332.jpeg

IMG_9333.jpeg

IMG_9334.jpeg

IMG_9339.jpeg

IMG_9335.jpeg

IMG_9336.jpeg

IMG_9337.jpeg

IMG_9338.jpeg

IMG_9340.jpeg

IMG_9341.jpeg

IMG_9342.jpeg
 
Last edited:
Next I focussed on the cockpit interior. The kit comes with wood veneer to line the floor and sides, but I opted for aluminium instead, using 0.2mm sheets. Sadly I forgot to take pics of those, but they can be glimpsed in the final pics to follow.
The painting proved a real challenge, mainly because I didn’t get the perfect shade of red right the first two times but did much better on the third occasion. Yes, I painted the entire thing three times, being sure to fully strip the first two attempts down to bare resin to then start back up again. My wife thought I was nuts, she simply shook her head as she walked repeatedly past me standing at the basin for long hours stripping paint. But it worked out fine in the end.
Once I was happy with the base coat, I applied the decals and then two coats of 2K clear and finally fine sanded and polished. Thereafter I added all the chrome brightwork. The kit comes with these but I discarded many of them and scratch built my own from nickel sheets. I also scratchbult the windscreen.

I then completed the cockpit and running gear underneath, and finally fashioned my own supports to elevate the model.

Overall, I really enjoyed this build, working with several different materials, most especially a lifelong favourite of mine being wood. I look forward to more boat builds in the future.

View attachment 534648

View attachment 534649

View attachment 534650

View attachment 534651

View attachment 534652

View attachment 534653

View attachment 534654

View attachment 534655

View attachment 534656

View attachment 534657

View attachment 534658

View attachment 534659

View attachment 534660

View attachment 534661

View attachment 534662

View attachment 534663

View attachment 534664

View attachment 534665

View attachment 534666

View attachment 534667
Nice to see your finished model, RajAG. You have done a very nice paint job. On the motor as well as on the outside. The layers of paint, coats, sanding&polishing give it a very deep red color. Chapeaux!
Regards, Peter
 
Back
Top