• Ships of Scale has incorportated an extra level of security when you log In. Please follow on-screen prompts to acknowledge that you are not a robot via a "Check Box" or a "Pictorial Check Box Puzzle". This is needed due to higher level of AI Activity Security.
  • SUBSCRIBE TO SHIPS IN SCALE TODAY!

    The beloved Ships in Scale Magazine is back and charting a new course for 2026!
    Discover new skills, new techniques, and new inspirations in every issue.

    NOTE THAT OUR NEXT ISSUE WILL BE July/August 2026
  • Win a Free Custom Engraved Brass Coin!!!
    As a way to introduce our brass coins to the community, we will raffle off a free coin during the month of August. Follow link ABOVE for instructions for entering.

Yacht Gretel Mamoli 1:54

Oh, it’s Sunday again.
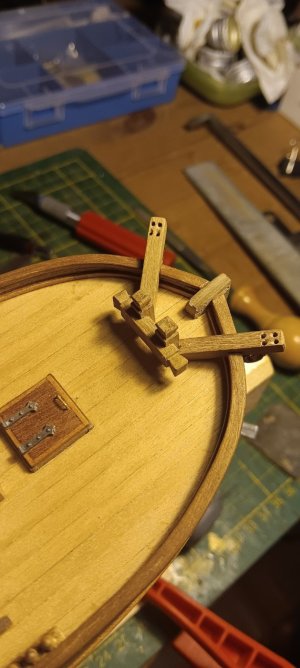
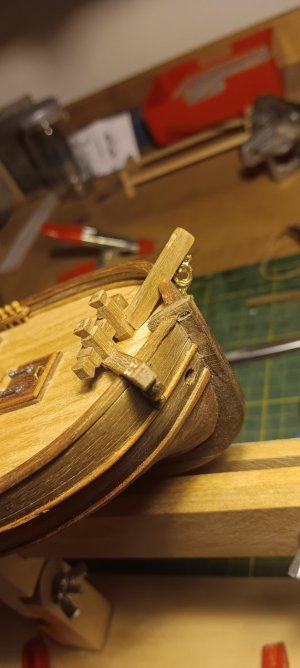
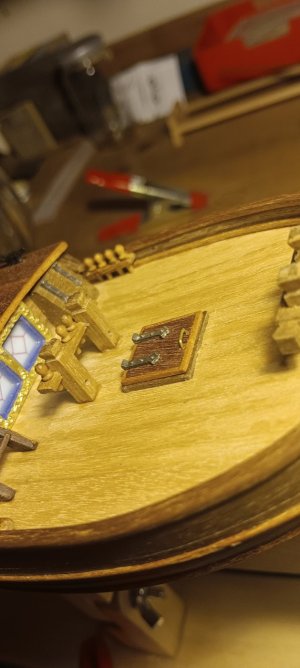
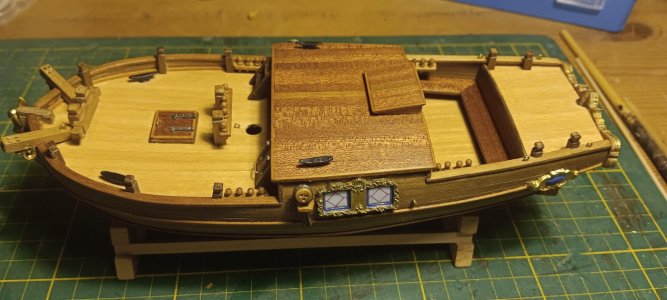
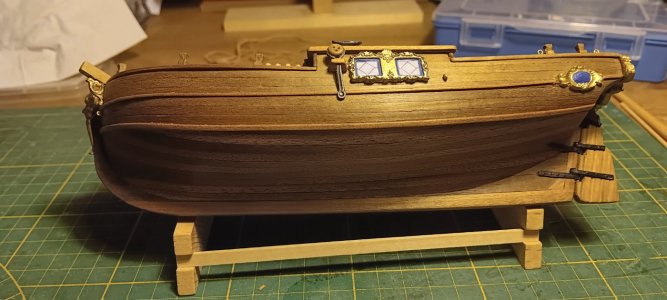
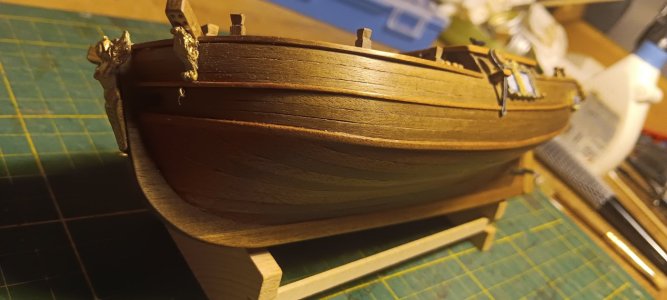
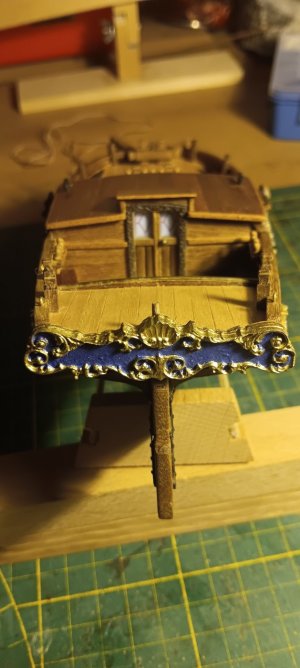
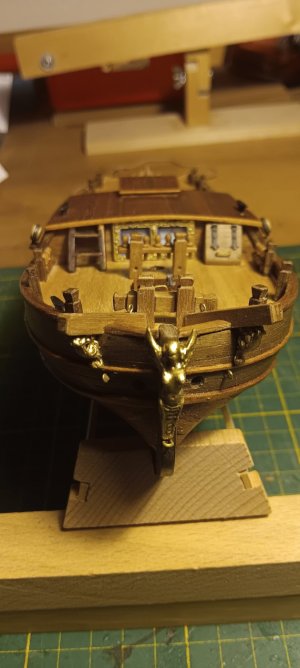
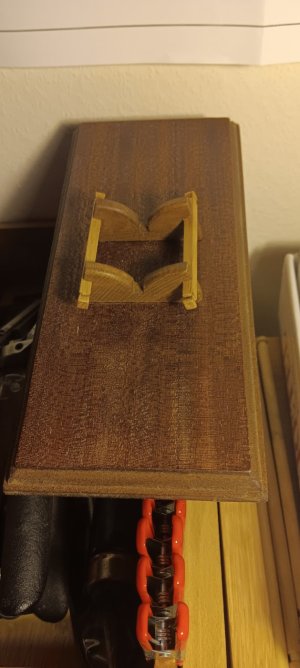
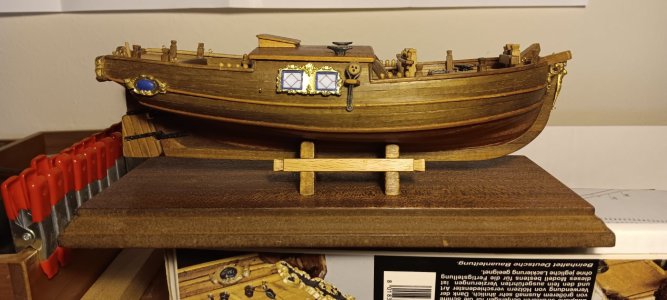
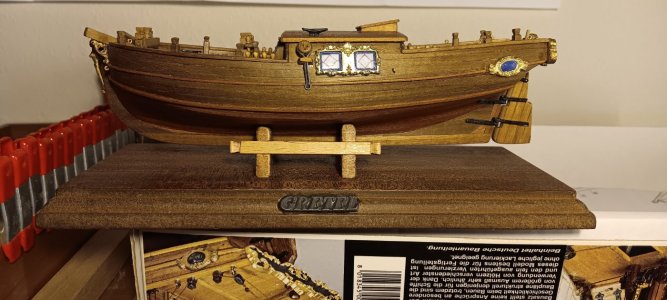
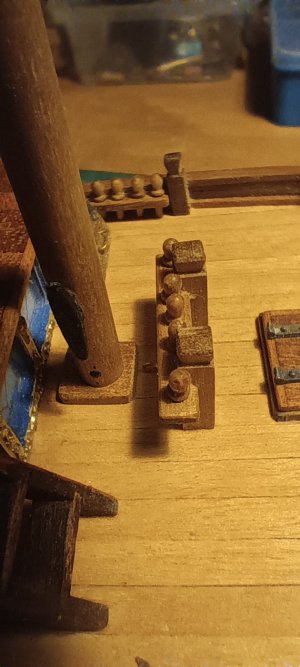
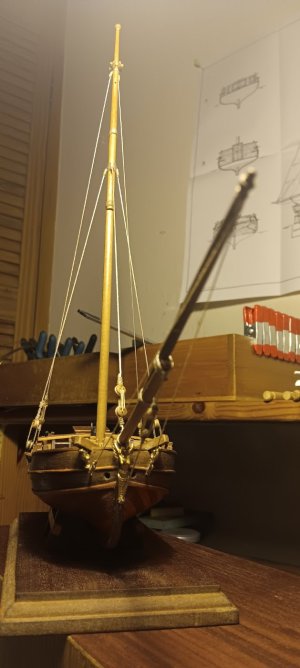
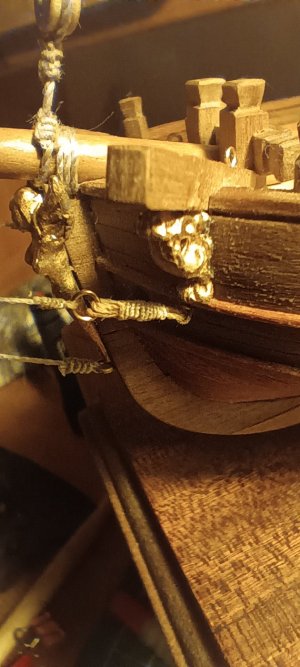
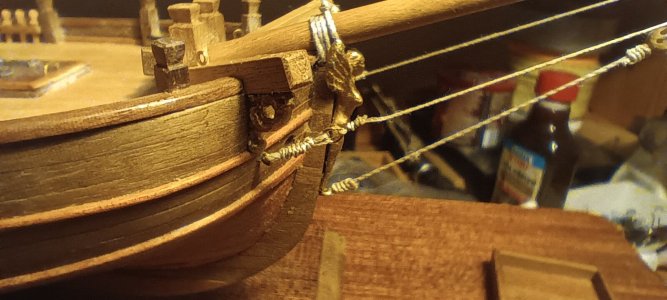
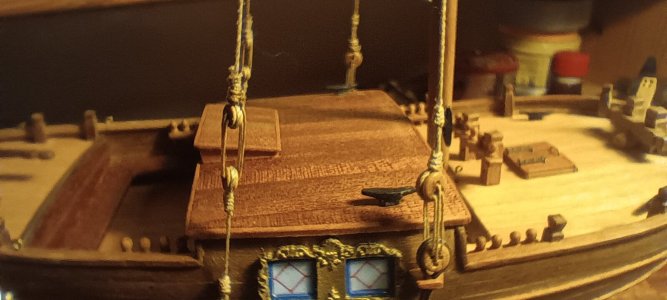
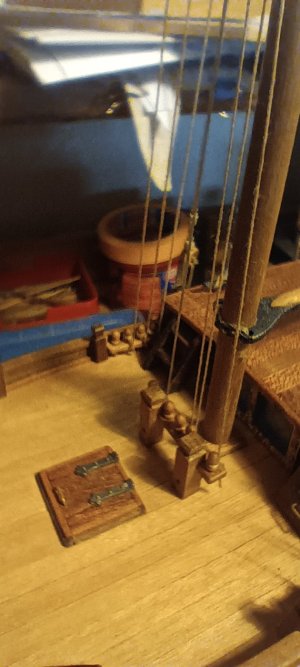
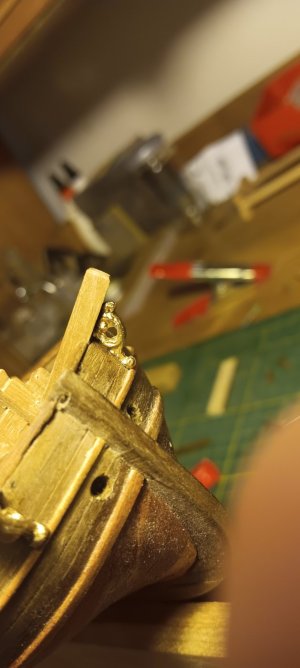
The nail bench on the deck is finished, as is the clamping bench for the bowsprit.
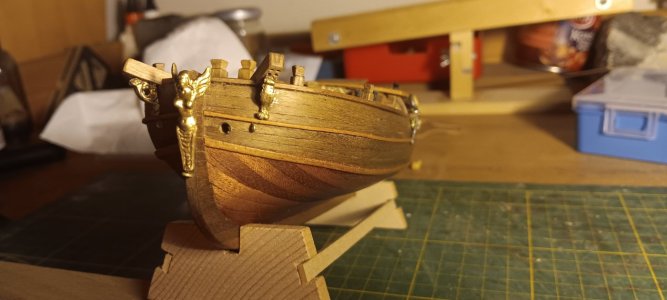
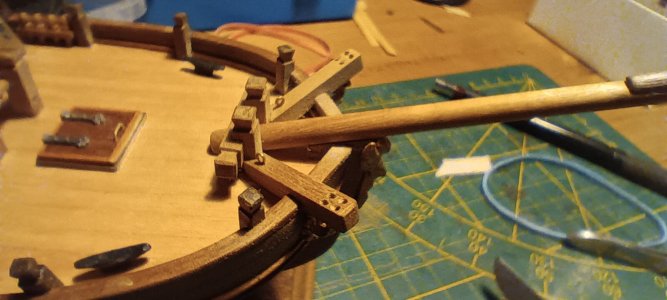
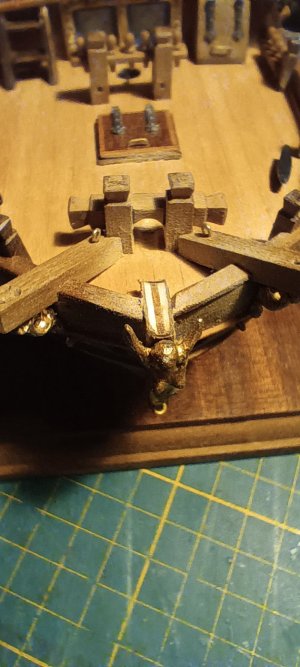
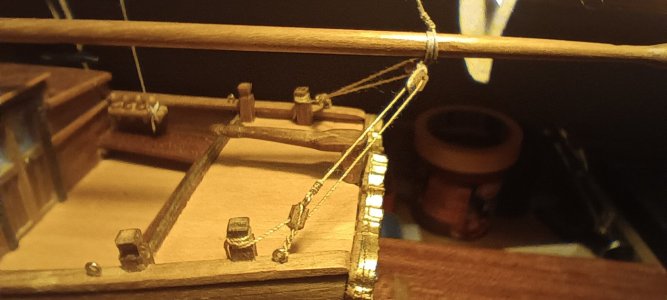
The crane beams are supported by a small amount of golden timber. The hole for the anchor rope has been drilled and stained on the inside.
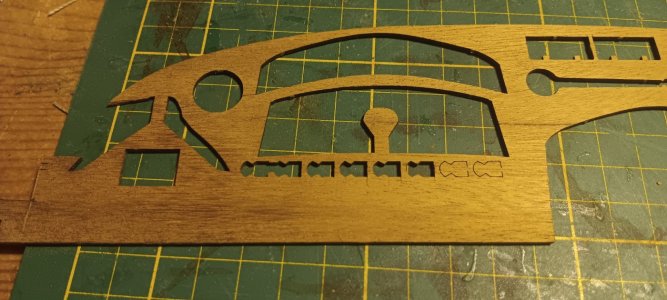
The square-edged timbers from Mamoli were also of extremely high quality here – very commendable.

Best regards
20260809_155842.jpg

20260809_155831.jpg

20260809_155820.jpg

20260809_155810.jpg
 
Right then, everyone,
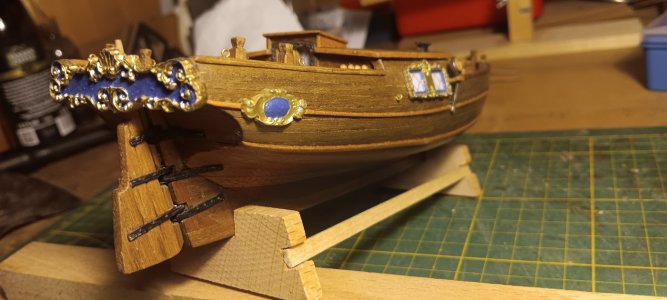
apart from the tiller and the lettering in the side window, the hull would now be finished.
I’m not really keen on the metal part from Mamoli that’s meant for the rudder. So I still need to think about how to make a replacement.
The lettering that’s supposed to go on the oval area in the little hull ornament isn’t really legible in the plans. I’ll have to give some thought to how to do that as well. Just blue looks a bit boring.
Incidentally, I had to give the figurehead a thorough reworking with a file and re-gild it before it could be fitted.
Next up is adapting it to the stone I want to use as a model stand.
I’ve got two options in mind for this, and I’d love to hear your thoughts on them.
The first idea would be to cut slots in two places in the stone to fit the standard wooden stand into them.
The second idea would be to drill two 1.5mm holes and effectively impale the little ship onto two brass rods through the keel.
With both options, the ‘Gretel’ lettering from the kit would also be carved into the stone.
I’ll sleep on it for a few nights and seek the Admiralty’s opinion. After all, it will be my first ship to find a home here.

Wishing you all a lovely, wildfire-free weekend

Translated with DeepL.com (free version)

20260815_153959.jpg

20260815_154021.jpg

20260815_154031.jpg

20260815_154156.jpg

20260815_154230.jpg

20260815_154249.jpg

20260815_154330.jpg

20260815_154403.jpg
 
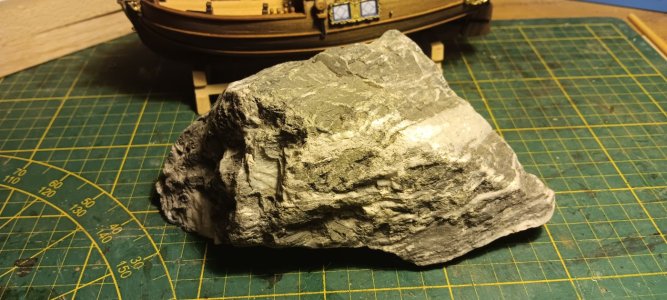
That bit with the stone didn’t work out at all. I’m not exactly sure what sort of stone it is. All I know now is that it can’t be drilled or cut with a diamond blade on an angle grinder. Both the blade and the drill bit were ruined within seconds.
So, without further ado, I built another one. The frame is from the kit; the top was just lying around here.

I’ve come up with a better idea for the stone. I’ll probably use it for my Oseberg project and build a jetty out of it. It’ll certainly fit better in terms of proportions.

Have a lovely Sunday

Translated with DeepL.com (free version)

20260816_115330.jpg

20260816_115326.jpg
 
Hello everyone,
Now that I’d finished the hull, I handed it over to an artist I know.
As she must be used to working with fine brushstrokes, I’ve asked her to work her magic on the decorative details on the rear oval ornaments.
I reckon if I were to do it myself, I’d have to apply a new base coat countless times.

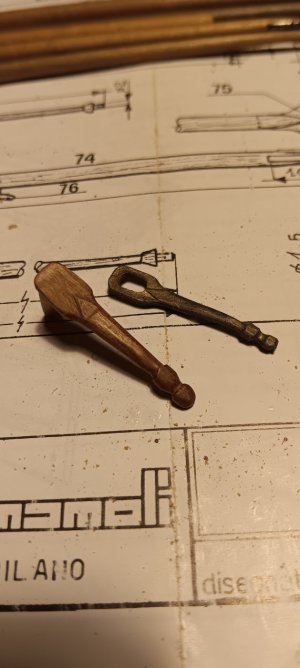
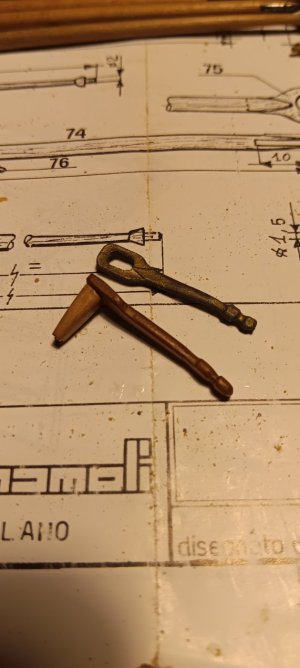
So, in the meantime, I’ve been working on the tiller. Firstly, once again, I don’t like the metal part from the kit. And secondly, it doesn’t really fit the rudder itself very well.
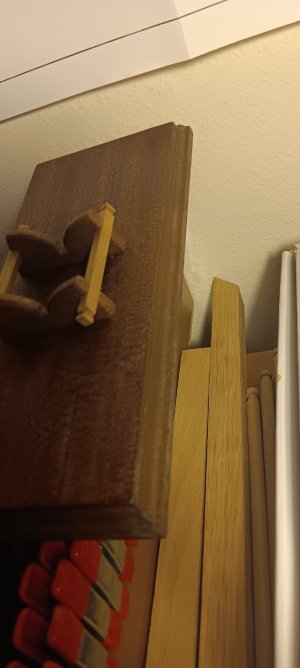
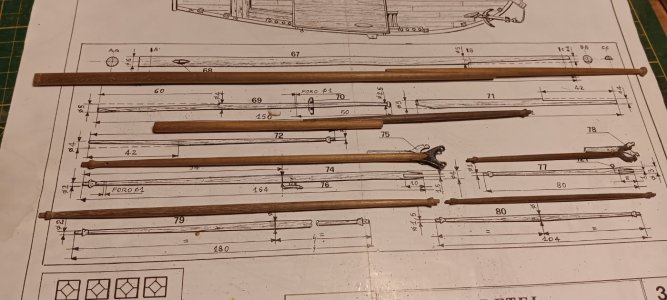
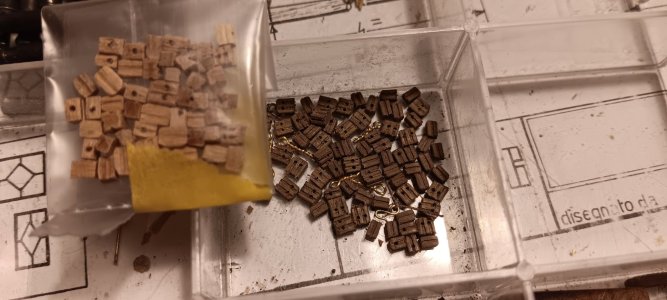
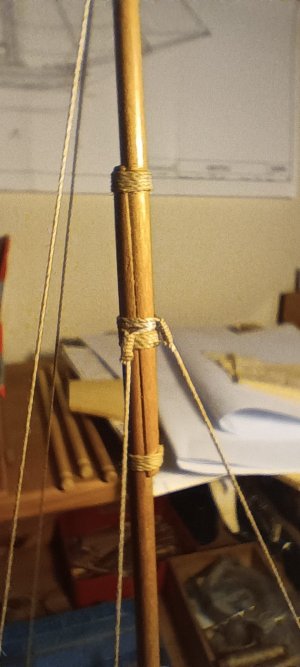
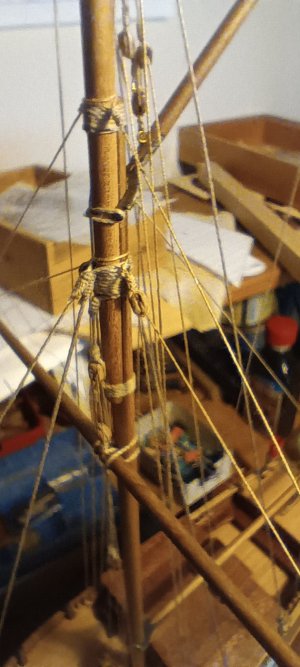
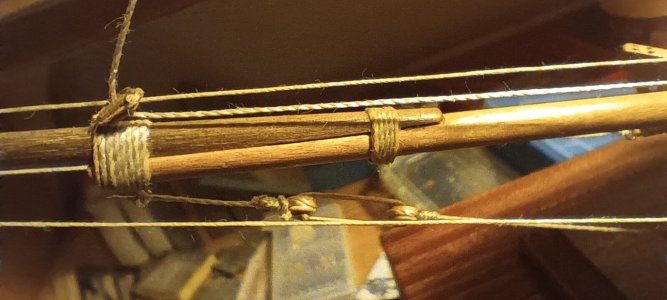
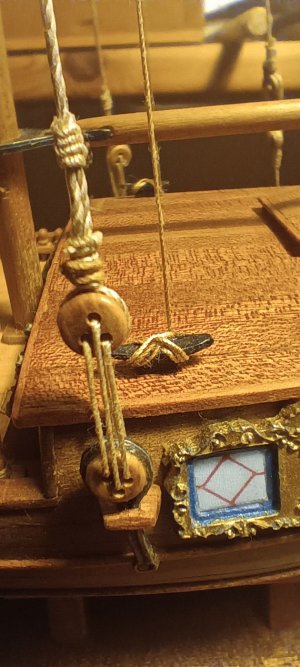
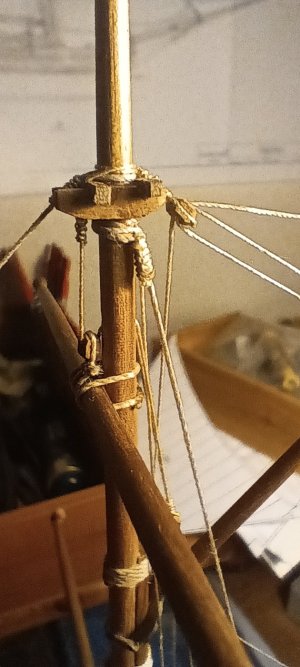
Next up was the work on the mast and the yards. Here, I’ve replaced the light-coloured lime wood with darker walnut. I wasn’t keen on the light-coloured blocks for the rigging either, so I’ve made some myself from lovely dark walnut.

Now, unfortunately, I have to wait until the hull comes back. It seems the lady of the arts hasn’t been kissed by the muse just yet.

Well, knowing myself, I’ll probably start sewing the sails then. Incidentally, this will also be the first time I’ve done this myself. With the San Martin, I’d left it to a seamstress, as they were made from silk that’s difficult to sew. Back then, I had to wait half a year for them, which is why that lady is no longer an option and I’m going to have a go myself.

Best wishes to you all, and I hope you have a lovely week

Translated with DeepL.com (free version)

20260823_053422.jpg

20260823_053728.jpg

20260823_053742.jpg

20260823_053917.jpg
 
Hello everyone,
Here I am again.
The piece is back home. Unfortunately, though, it hasn’t been altered. The talented artist I gave it to is, sadly, struggling for inspiration.
Too many personal problems have meant she didn’t feel confident enough to paint such a small inscription. At least, that’s what she said. Well, luckily, I’ve since come up with an idea of how to sort it out myself. But more on that later.
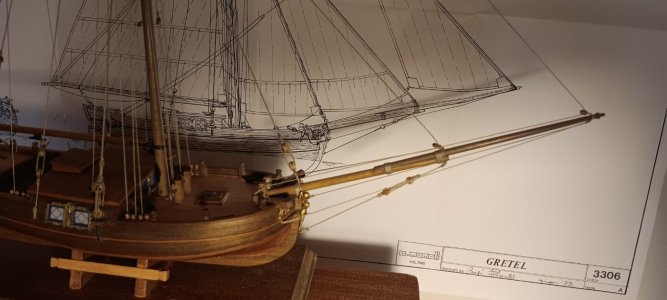
At the moment, I’ve unfortunately spotted a mistake in the construction plans – the first one so far.
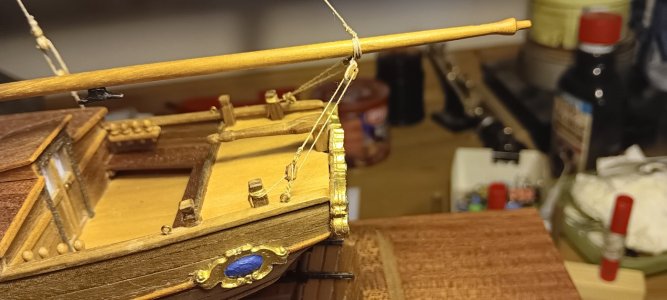
The angle specified in the plans for the bowsprit was completely wrong, which is why I had to do a lot of sanding down at the bow.
But now everything fits just as it should.
Regards
Translated with DeepL.com (free version)

20260902_184305.jpg

20260902_184243.jpg
 
There he is again, sooner than I thought.

What sort of little flag does Peter have on his account there? Where’s he up to now?

There was another little problem.

Either I didn’t fit the deck quite right, or the hole for the mast wasn’t laser-cut properly in the centre.

Anyway, because of that, I unfortunately had to make the hole bigger.

Which, of course, meant that the mast couldn’t simply be slotted in. Now it actually came in handy that I keep all my fine wood to hand. So I was able to build a mast base from a scrap of wood from the Lady Nelson.

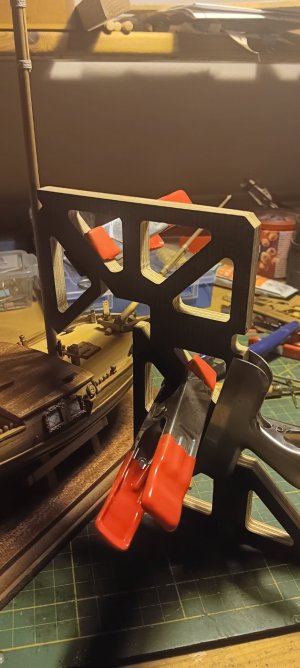
To ensure the hole was square, I quickly clamped together a jig using angle brackets.


Have a lovely weekend


Translated with DeepL.com (free version)

20260905_054301.jpg

20260905_054240.jpg

20260905_054212.jpg
 
Hello everyone,
It’s been a few days now, but we had a village festival. Every year, it’s three days of drinking and having fun.
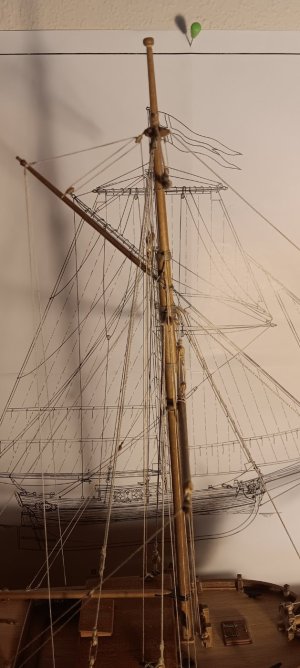
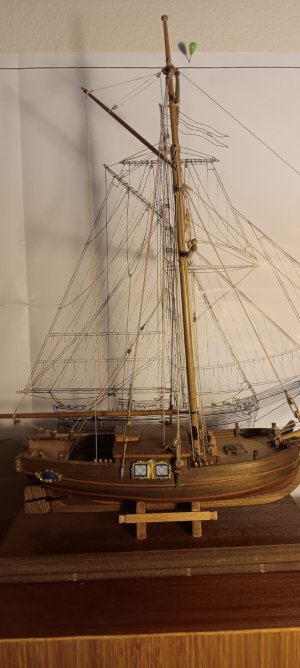
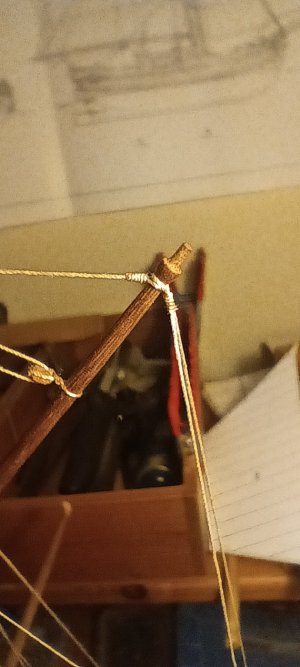
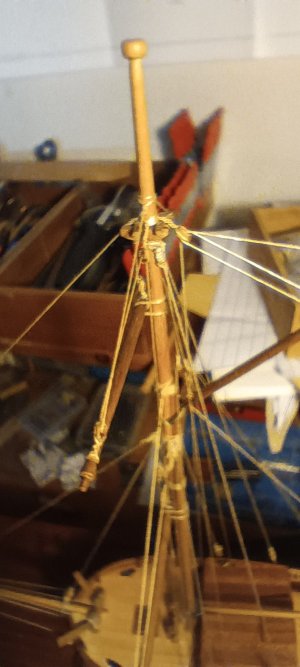
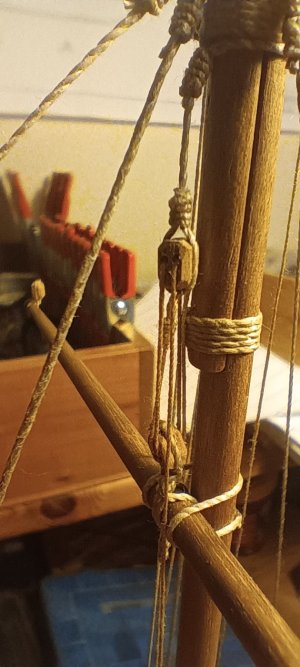
In between, I quickly sorted out the basic rigging and set the washing machine alight.
My wife said I should have a go at using it myself, and of course it went wrong straight away – the bearing overheated.

Now it’s about time to sew the sails.
I’ve decided to make them by hand using old stitching patterns.
As this will be my first time doing something like this, it’ll probably take a while.

Cheers, everyone – keep your hands off machines made for women

Translated with DeepL.com (free version)

20260930_170454.jpg

20260930_170444.jpg

20260930_170437.jpg

20260930_170149.jpg

20260930_170136.jpg

20260930_170130.jpg

20260925_200000.jpg

20260925_195927.jpg

20260925_195909.jpg

20260925_195849.jpg

20260925_195818.jpg

20260925_195707.jpg
 
Hello everyone,
About the sails.
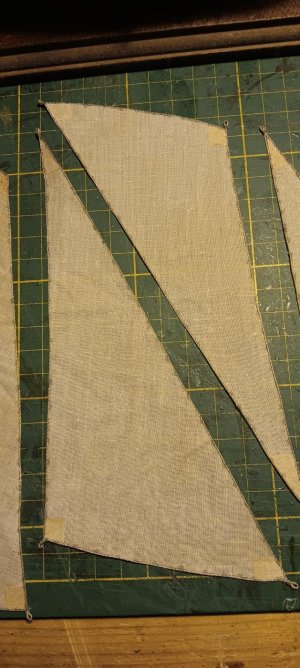
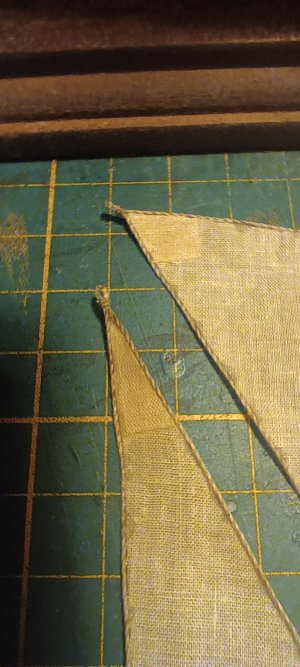
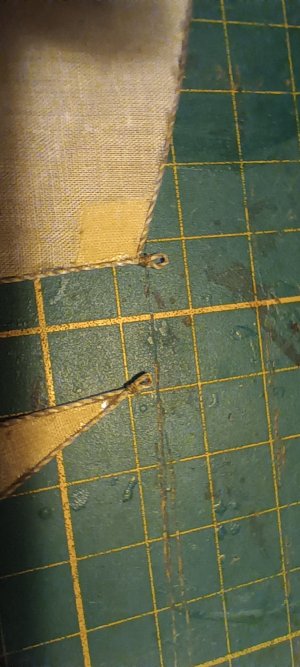
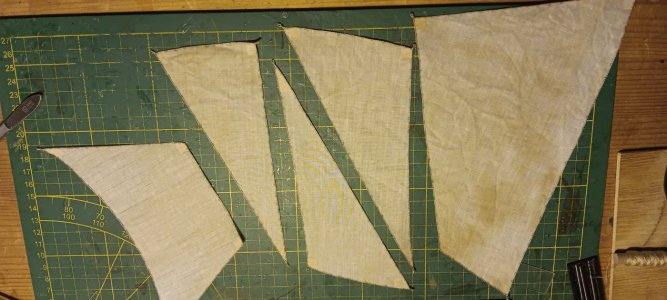
Well, I started by dyeing the fabric with coffee.
For the leech line, I used slightly thicker ropes from Corel.
I ‘tacked’ these to the edge in places using superglue, and then filled the gap between the sail and the rope with cheap strong adhesive.
This hardens to a transparent, flexible finish, so the join is sturdy and barely visible.
That’s why I decided not to sew the leech rope to the fabric at all. I also decided to leave out the vertical seams.
The fabric is too thin and the ‘Pfälzer Finger’ ropes too thick to achieve a neat result.
I only glued the reinforced corners.
Now they just need to be rigged and the Gretchen would be complete.
Oh wait, no – the anchors still need to be fitted.

Best wishes to you all

Translated with DeepL.com (free version)

20261008_191707.jpg

20261008_191634.jpg

20261008_191623.jpg

20261008_191556.jpg
 
Back
Top