Brigantine Phoenix, by Master Korabel [COMPLETED BUILD]

I like the way you demonstrate this build, very informative, the pictures explain most, thanks for showing, Knut-

No problem, thanks. Unfortunately i don't know all correct nautical terms so sometimes is kind of hard explaining without spending some hours on the internet searching for a specific term :)

Glad that at least pictures are usefully..
 
Yes, i am also watching it but unfortunately mu russian is very limited, so just pictures. Later in the serial there are some english subtitles available..
So i am using combination of that video tutorial and instructions that are with kit...
Please let me know if you need any russian translation, i will try to help! ;)
 
All ribs are installed...


Excess height was trimmed


A layer of danish oil was applied, even dough i might have wait till all internal boat structures were mounted..


IMG_2792-2.jpg.21f9302d4f64ef94a10fbade133fb5ec.jpg


One of the ribs broke during jig removal phase so i had to fix it. You will see it at the top of the picture and after some trimming this is final result. Appears to be fixed fine..


Continue with work...


The keel has to be trimmed a bit to accommodate the last piece...


Not sure how to call this middle square box, but there are two of them, both need to be trimmed under the angle. So i try one before glue it and second after it was glued.

Well no preferences, both will work just fine.


IMG_2803-2.jpg.9dfe08b18f33bbca3de9c521ae8080d0.jpg


With all these virus issues, i am working from home which brings back to me two hrs daily spent on driving... so extra hours for hobby...

Happy modeling.
 
Continue with boat building... after a layer of danish oil covering all inside areas..

IMG_2815-1.thumb.jpg.744ce926d22e7b60d3a69840b62f60a9.jpg

Using a file i sanded all edges on gunwales


IMG_2818-1.thumb.jpg.7f6b7a9228d47edfe34b90eb3433cf31.jpg

Rawlocks were removed, cleaned and glued to gunwale... during which process a gunwale snapped..

IMG_2819-1.thumb.jpg.9dadaeb20dbea79e38e971840f57504f.jpg

Work on rudder has started... by soldering pin ...

IMG_2820-1.thumb.jpg.10b5c5829976cab1f9c0626e890c174f.jpg

Soldering helping hands..

IMG_2821-1.thumb.jpg.98748b818b5cfc2dcc285e8b4ed414ee.jpg

Soldered...

IMG_2822-1.jpg.7eb42c6b6aec6f2a66546eb8209ae737.jpg


Dry testing..

1585524162105.png

Happy modeling.
 
Last edited:
Gunwales fixed, rawlocks glued and all painted in flat black, ready for assembly.


In attempt to blackening the pin and rudder gudgeon, i left them in the blackening solvent, and forgot :). Today they were all disintegrated... so new parts have to be made.
i use a piece of copper wire, flattened it down and made a new parts..

IMG_2827-9.jpg.68ac14174d012d857452dd1b927a6a9b.jpg


Fitting testing on rudder


Blackening, this time in controlled fashion 1585609024262.gif

IMG_2828-9.jpg.b82274e7552d03c5f8ed918ebfc0dcfb.jpg


Glued to the boat...


Another piece glued (sorry not sure what is the name of it)...


The gunwales are mounted...


And another view..

IMG_2832-9.thumb.jpg.680aa7cd073c088c964e7ab8c638a16d.jpg

Happy modeling..
 
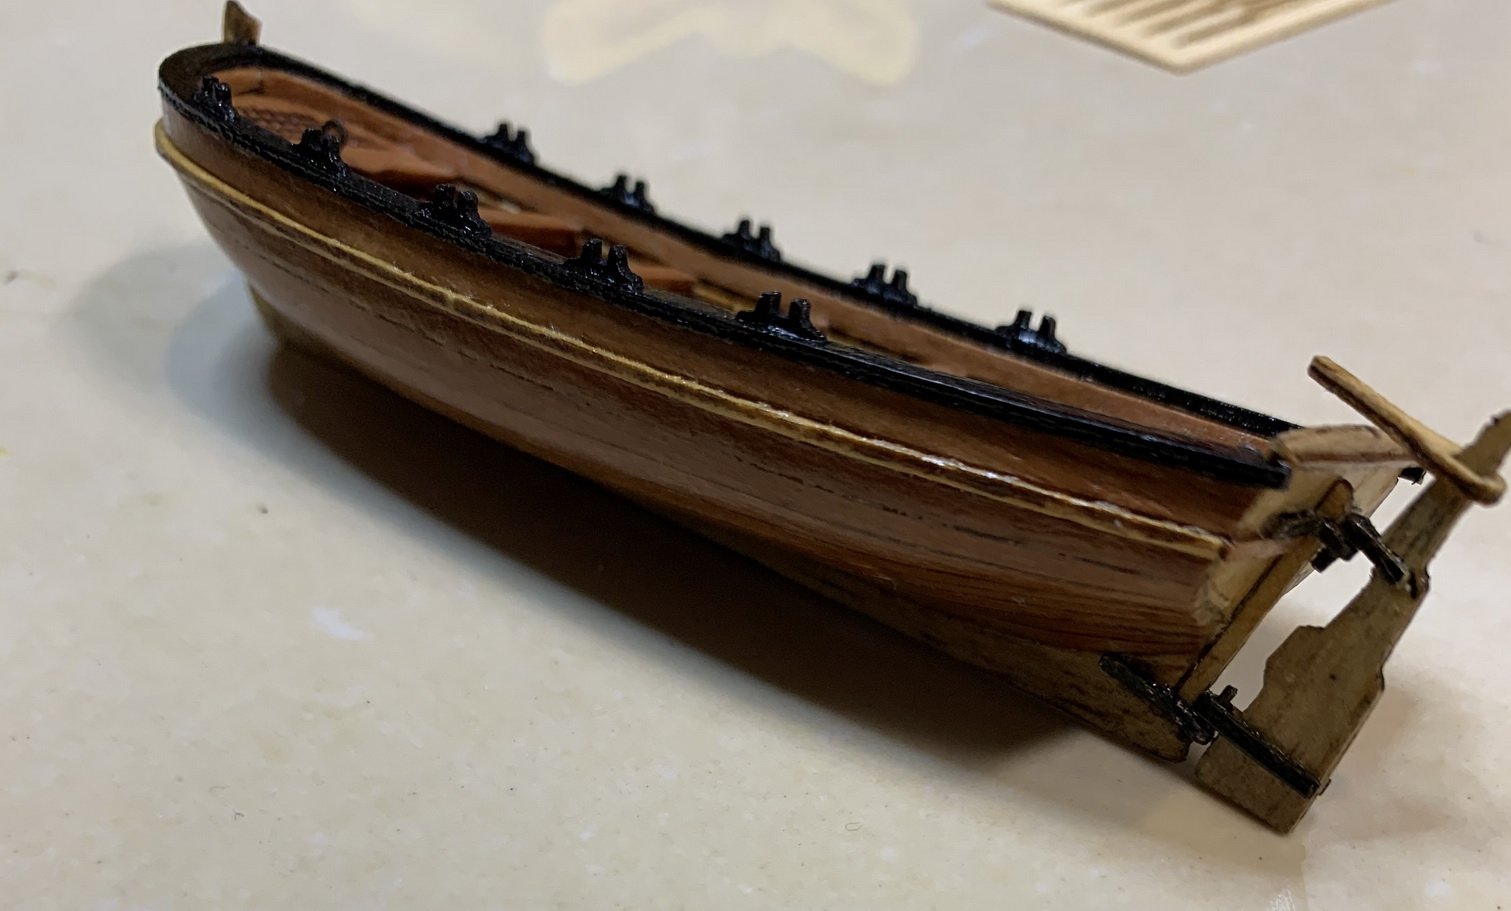
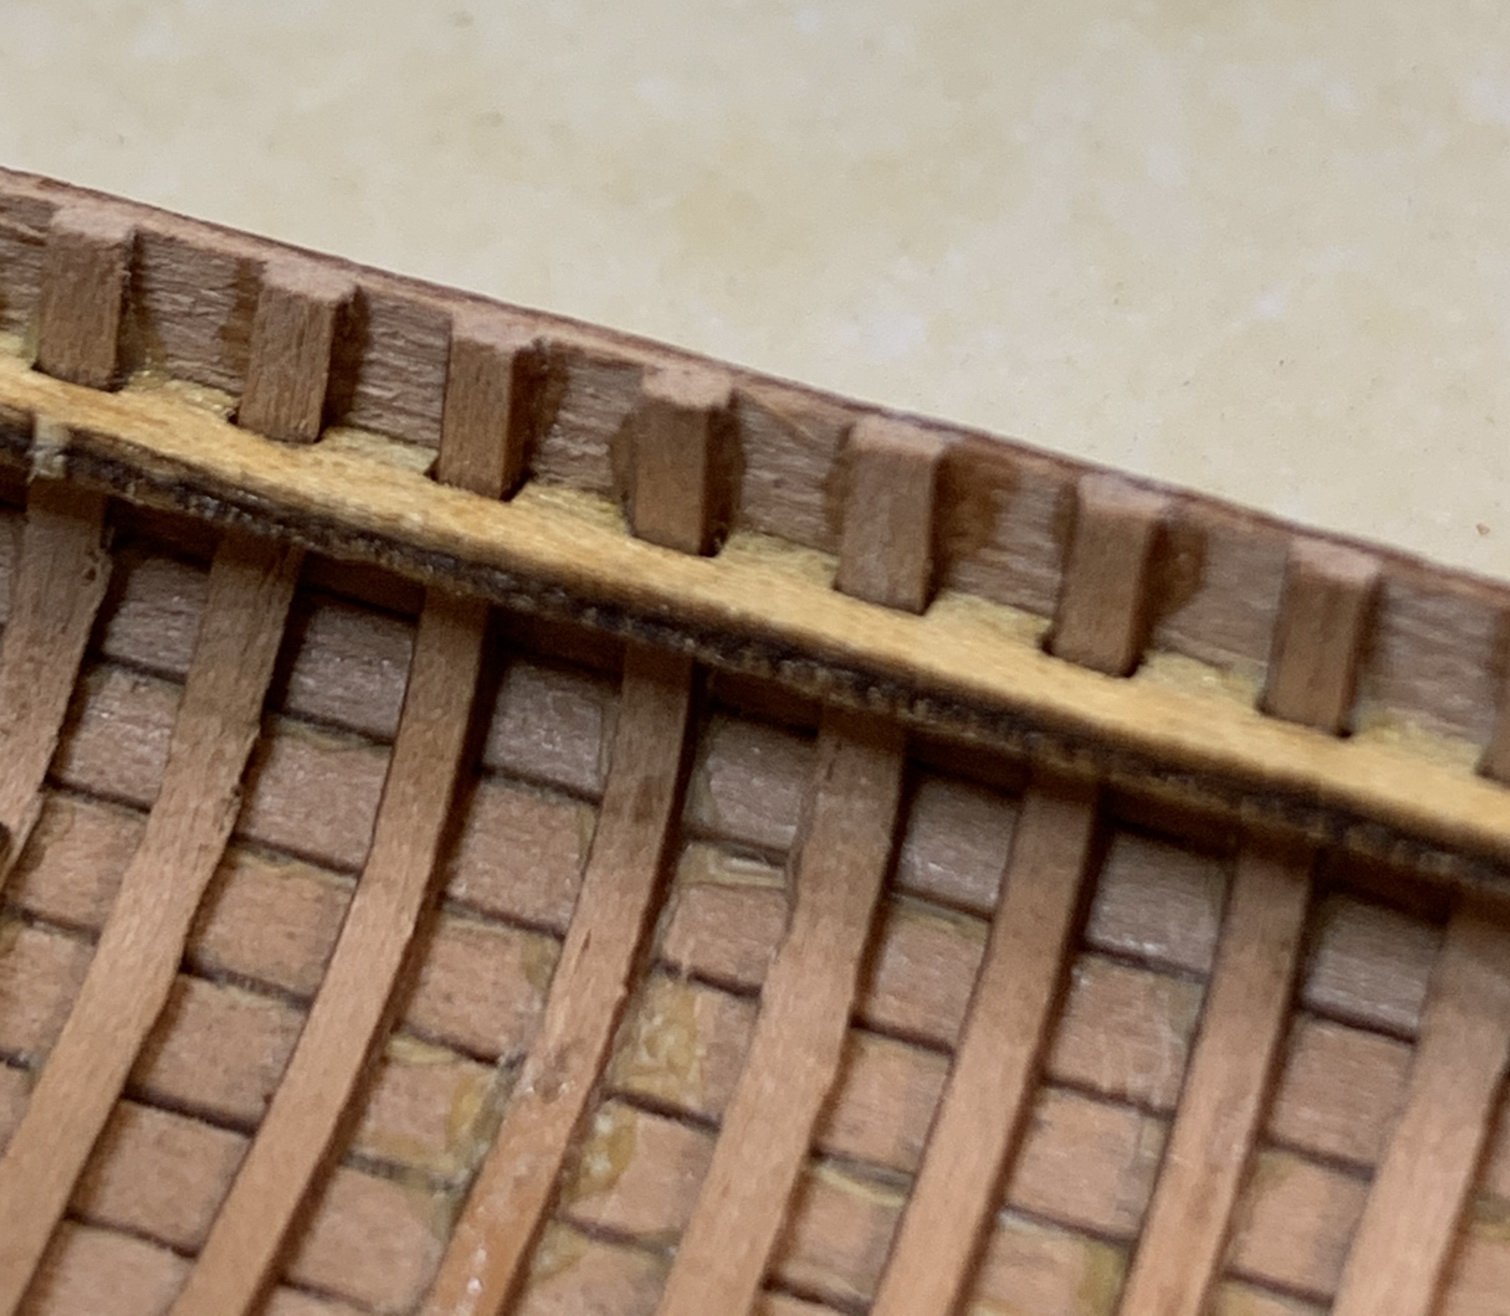
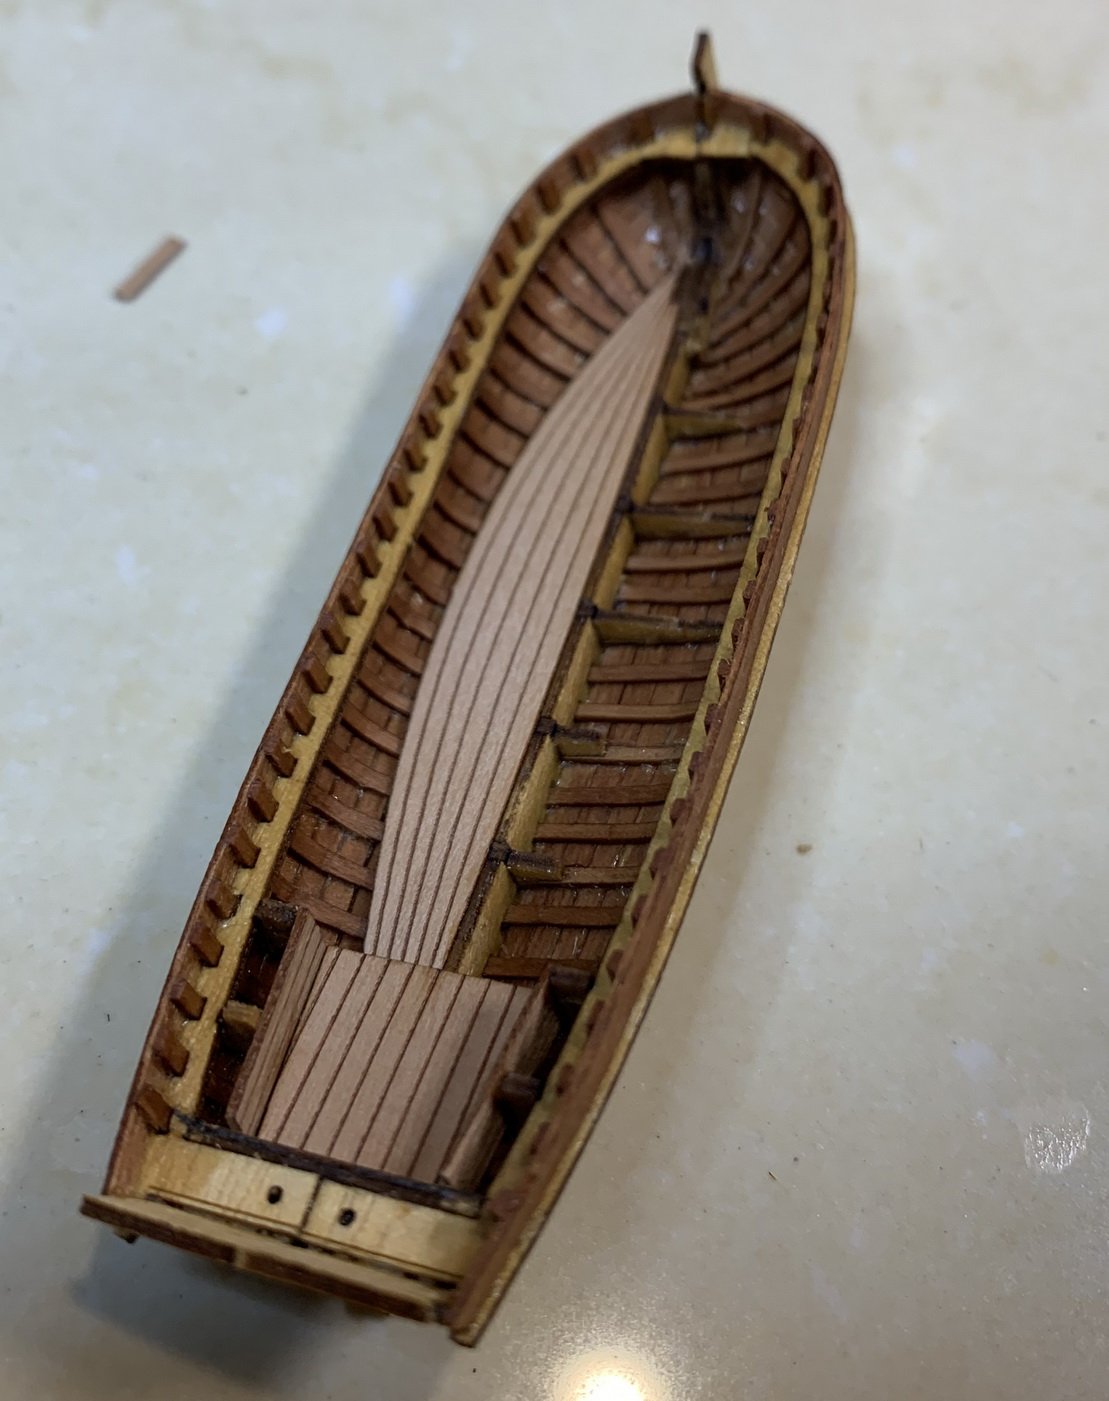
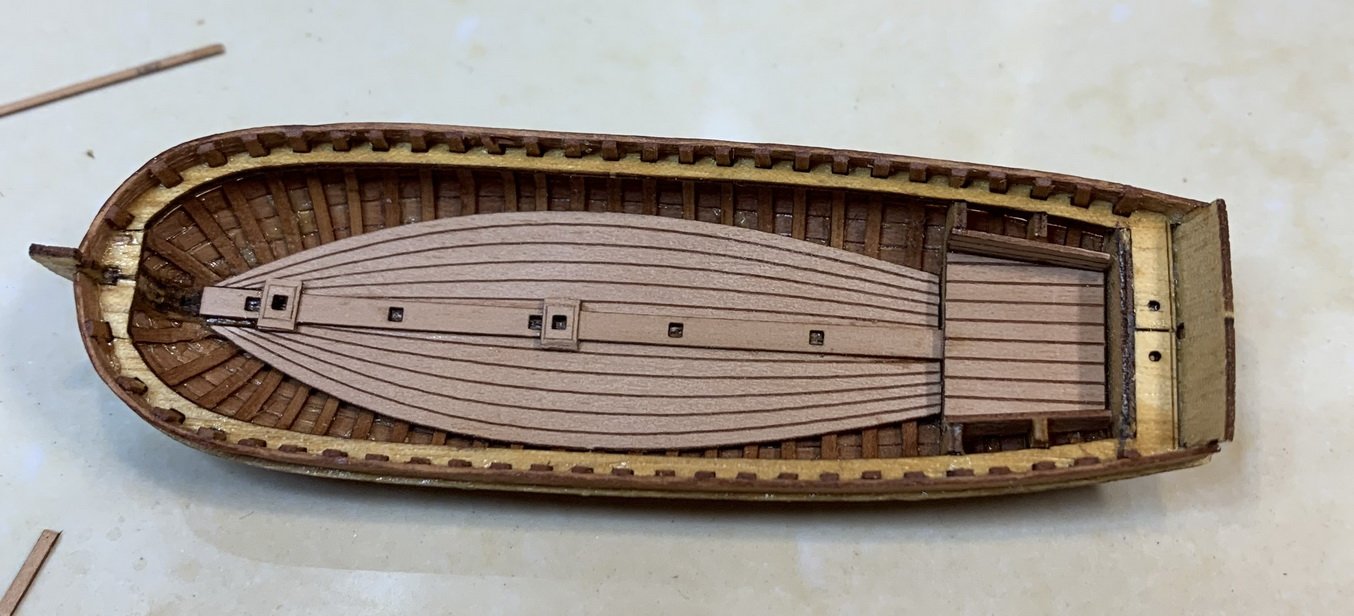
The boat has been completed. Overall it is very nice product, easy to put together, the quality of parts are very good, the wood is also of a good quality. But, the parts are very fragile and prone to breakage.

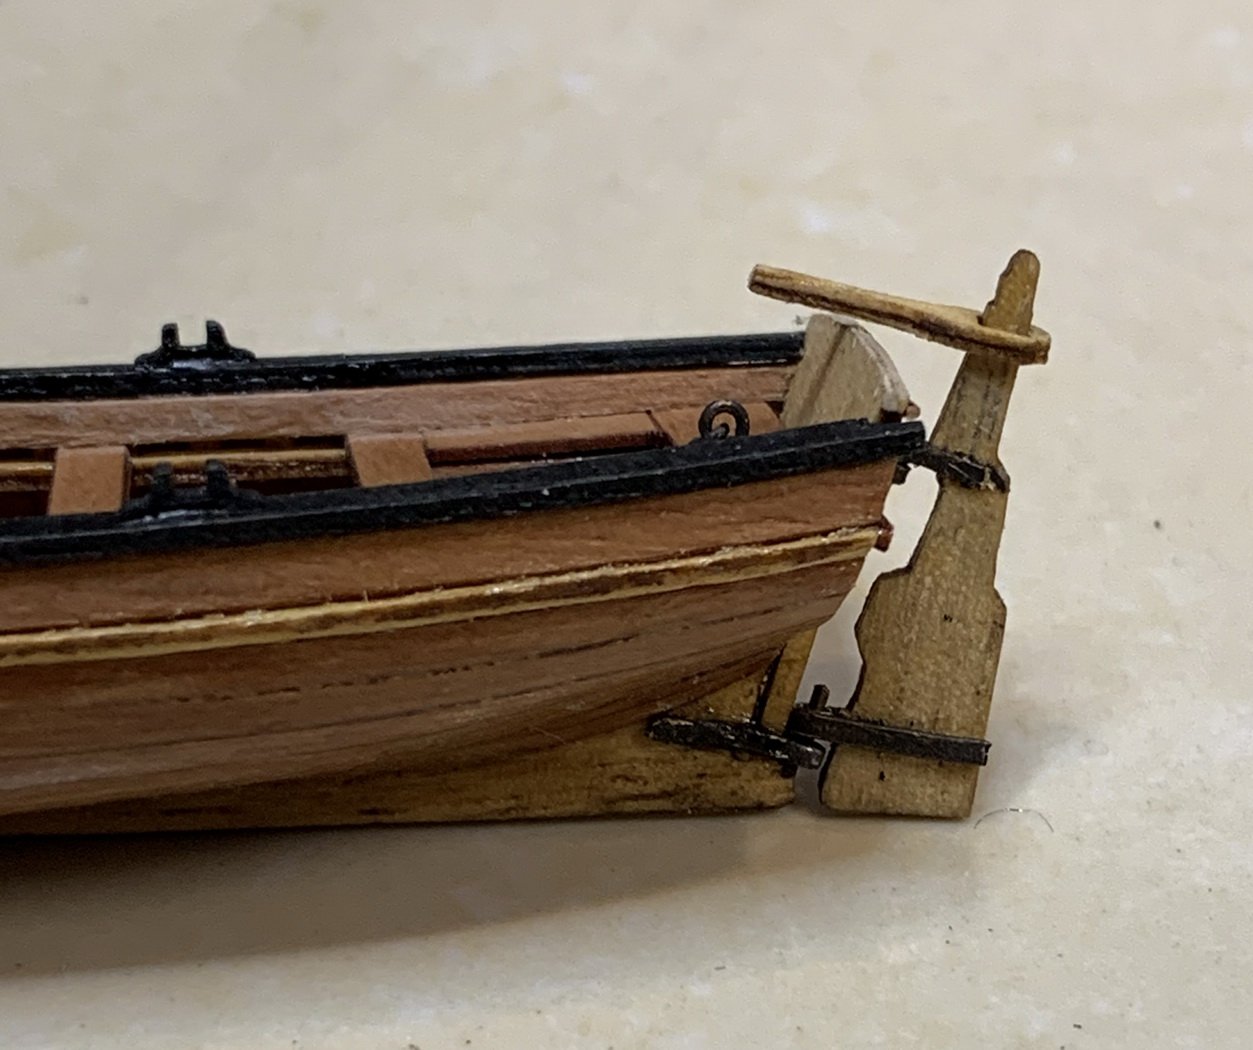
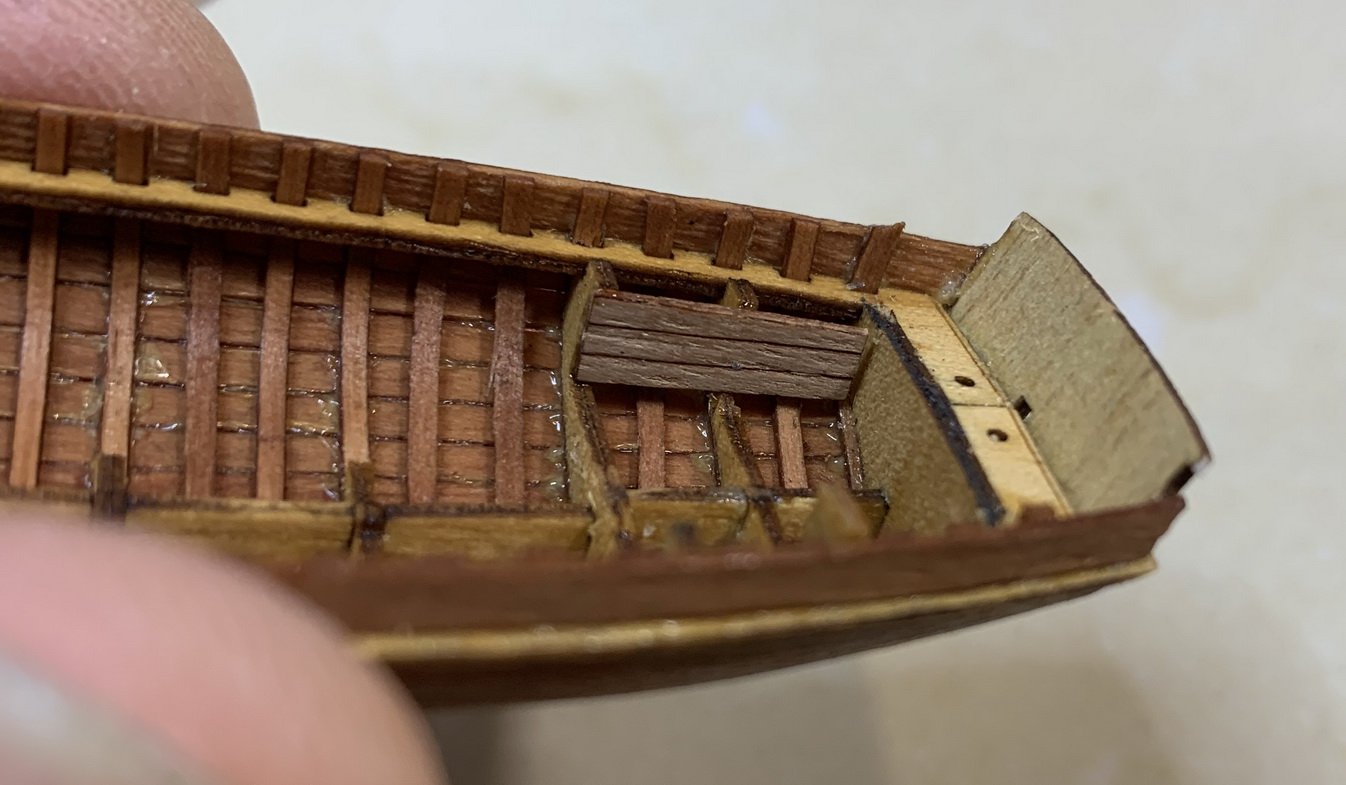
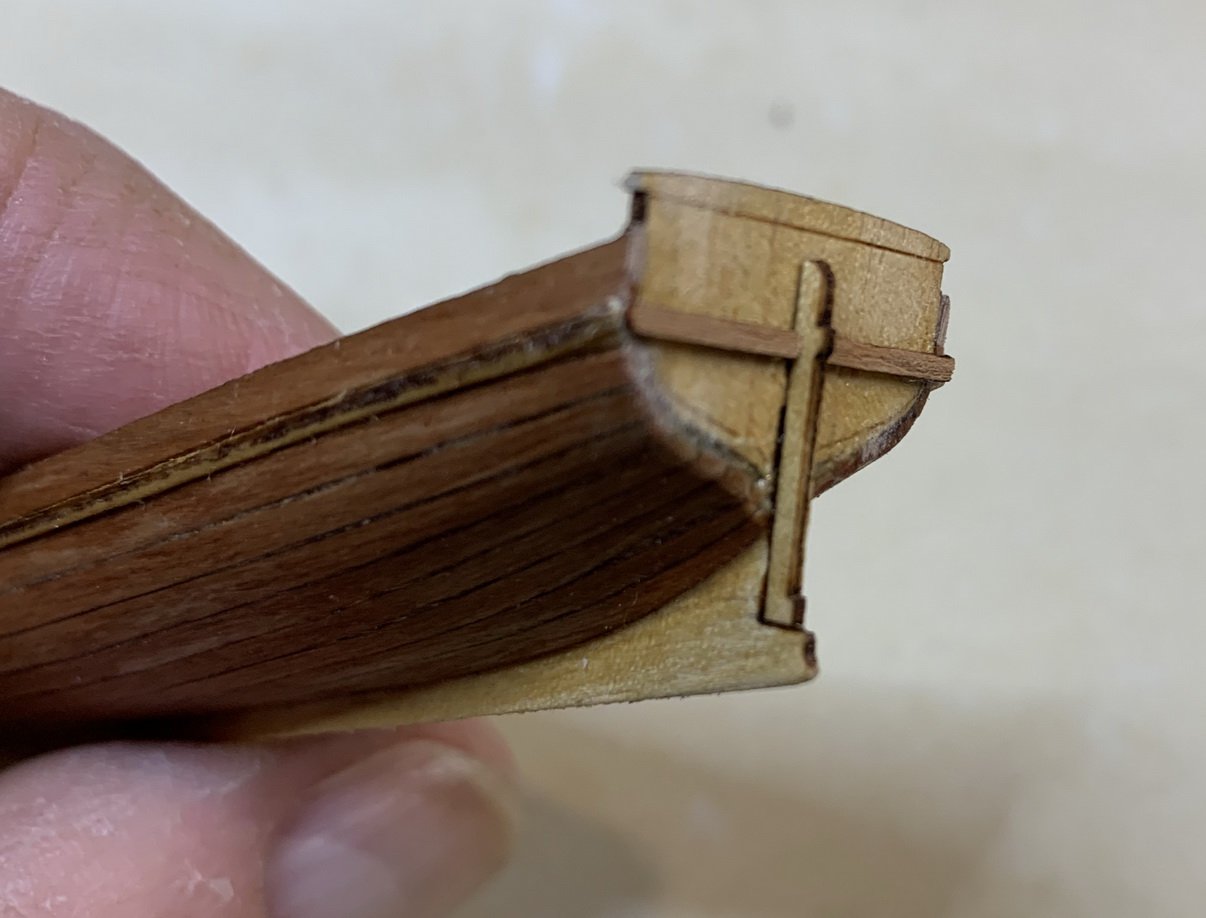
The keel and stern, rudder and some other parts are made of different wood type than rest of the boat. Did not pay to much attention at the beginning to paint those parts in matching color. This way the keel and stern are in different color. I dont like it and i might ended up making another one. Will see but the mental note will be: paint the wood in the color that will cover the laser burns because it is very difficult to remove those burns without breaking the part... Or paint the boat in some other color schema that might not be accurate representation of the period.


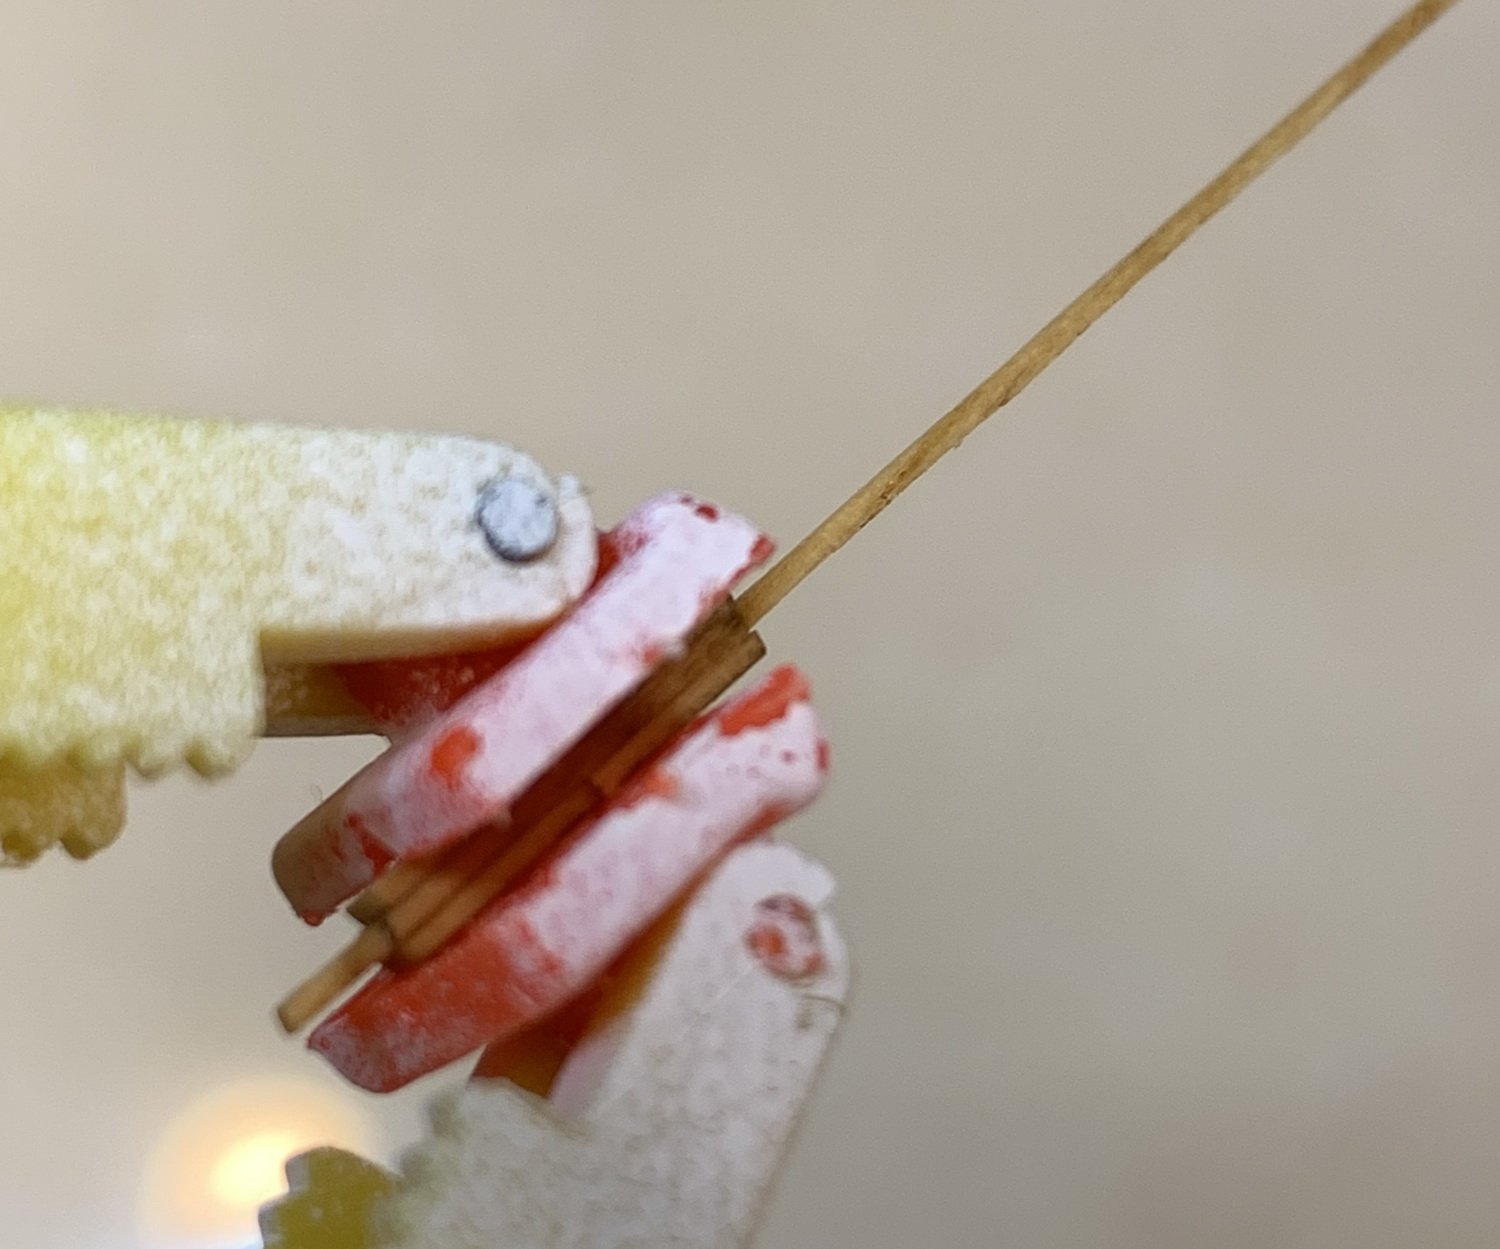
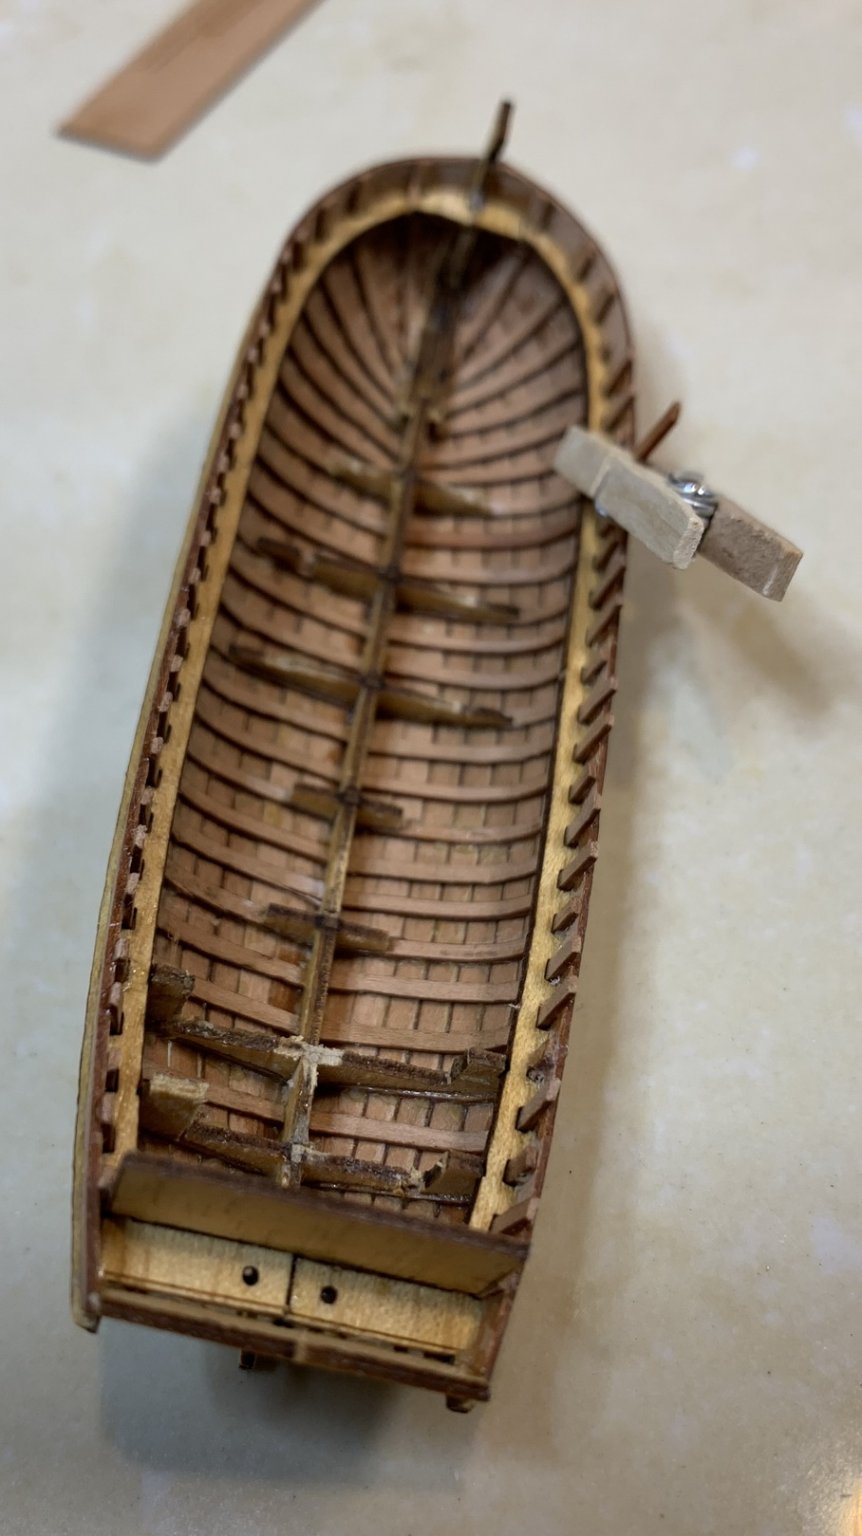
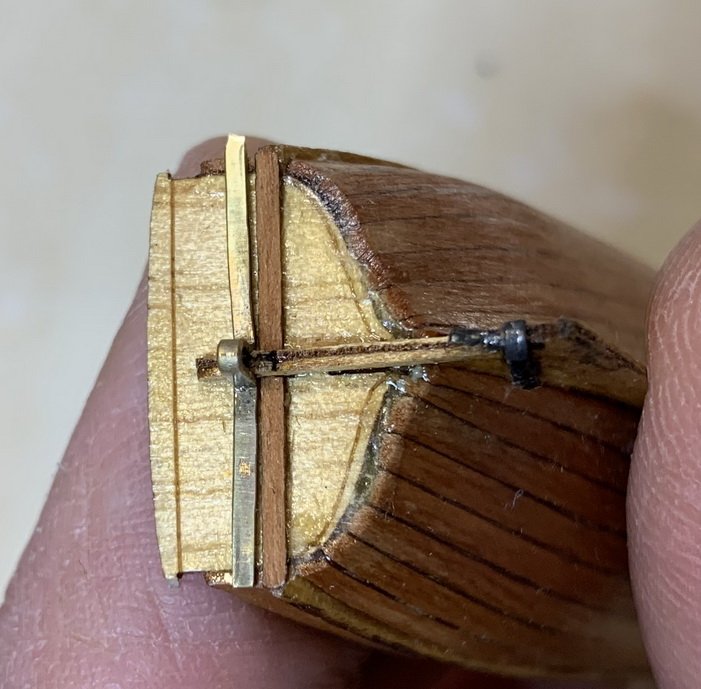
Rudder completed... For rudder i started a bit different approach. First i mounted all pintles and gudgeon together, up and down and then i slide the rudder in. A bit of a glue was applied to gudgeons as well..

IMG_2833-1.jpg.53b0ce8d5cbe27d9411d991255115105.jpg


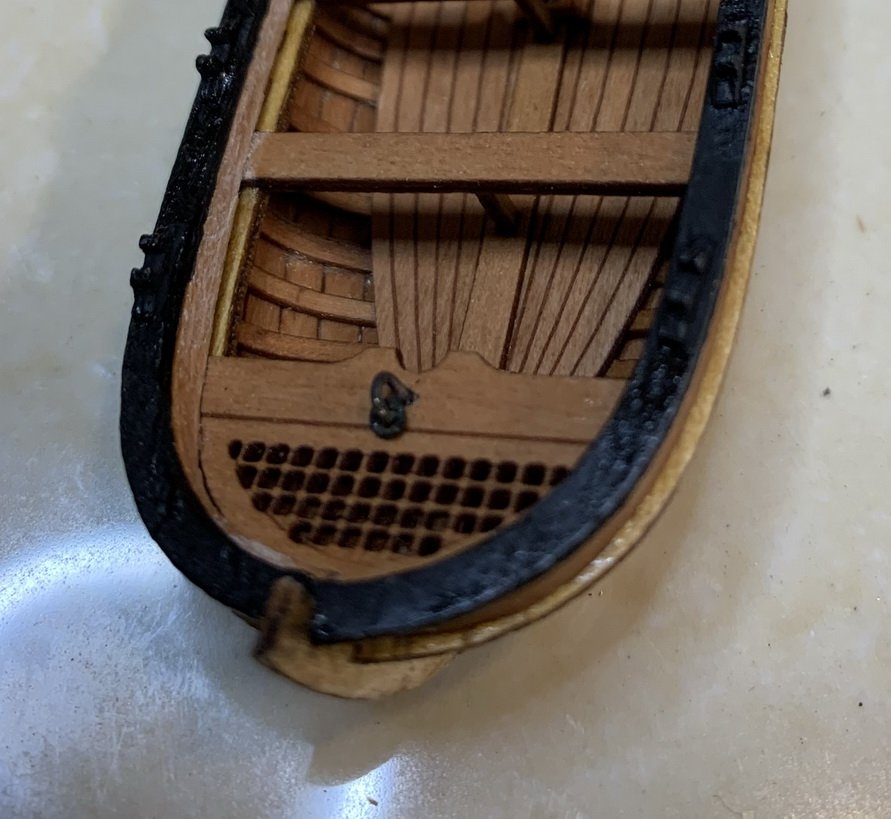
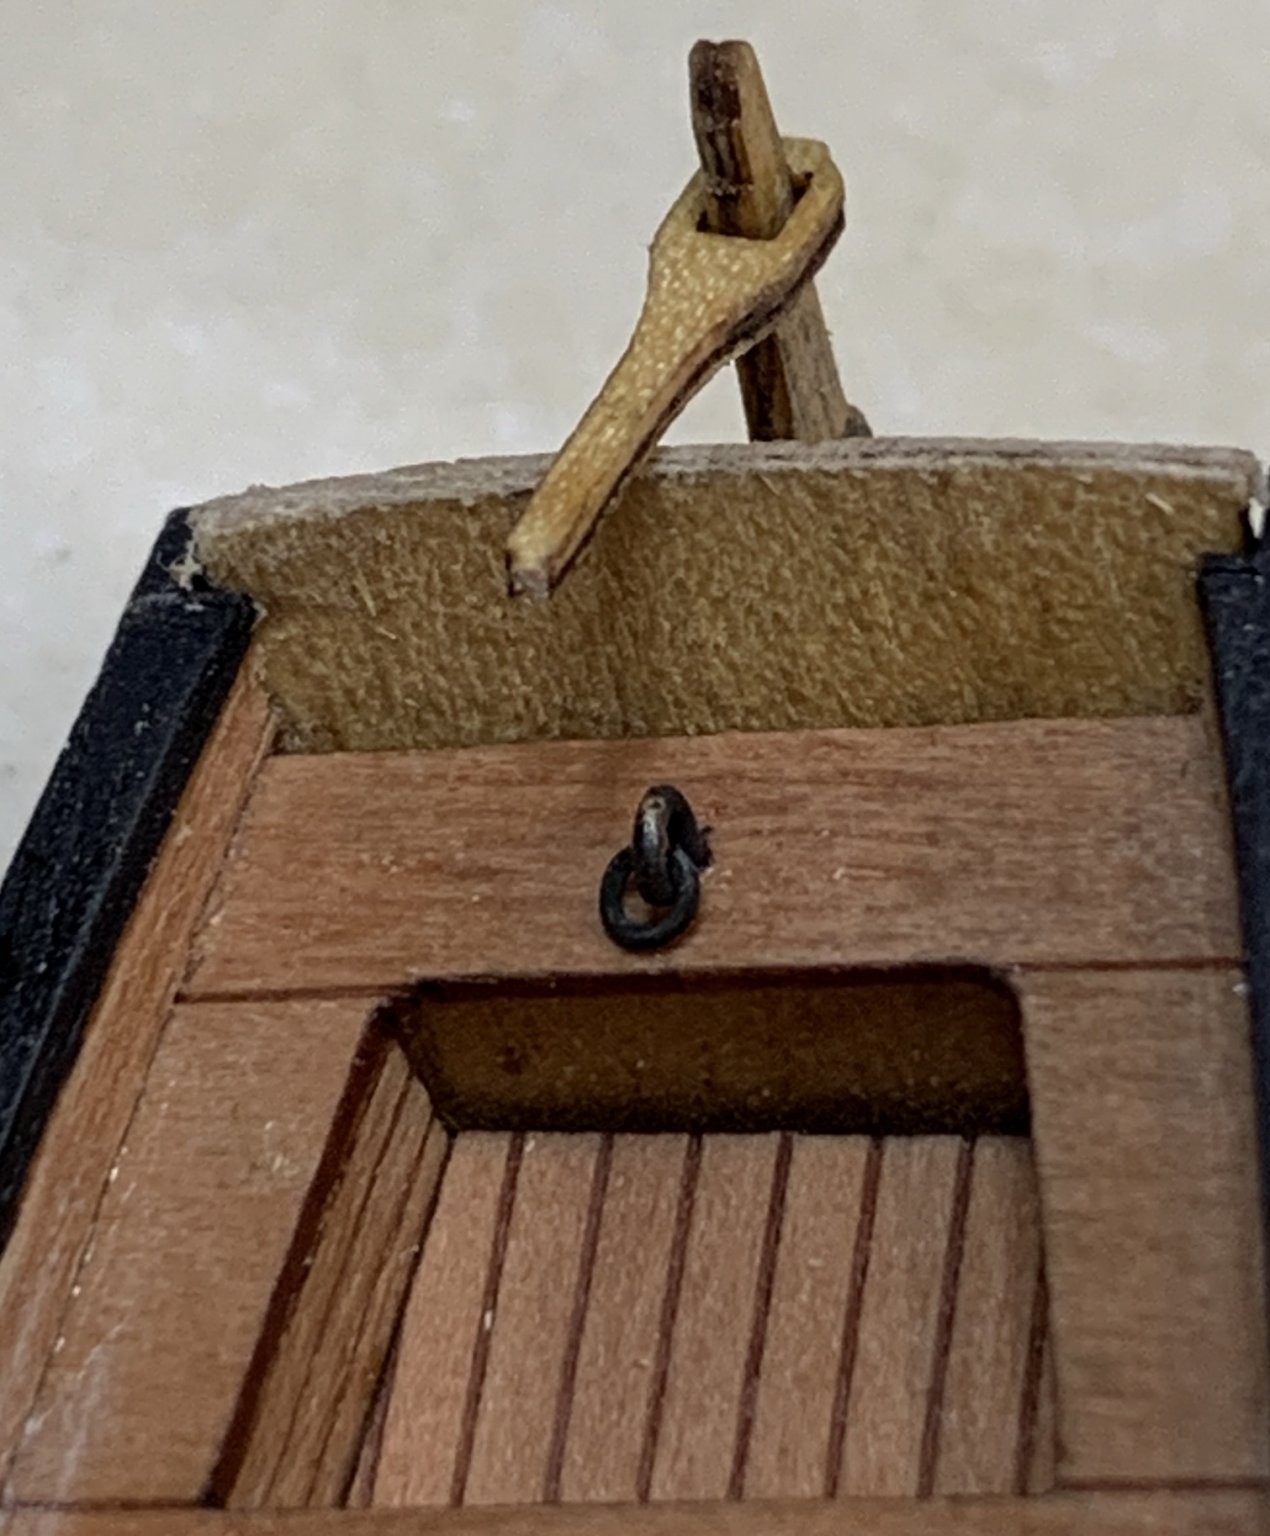
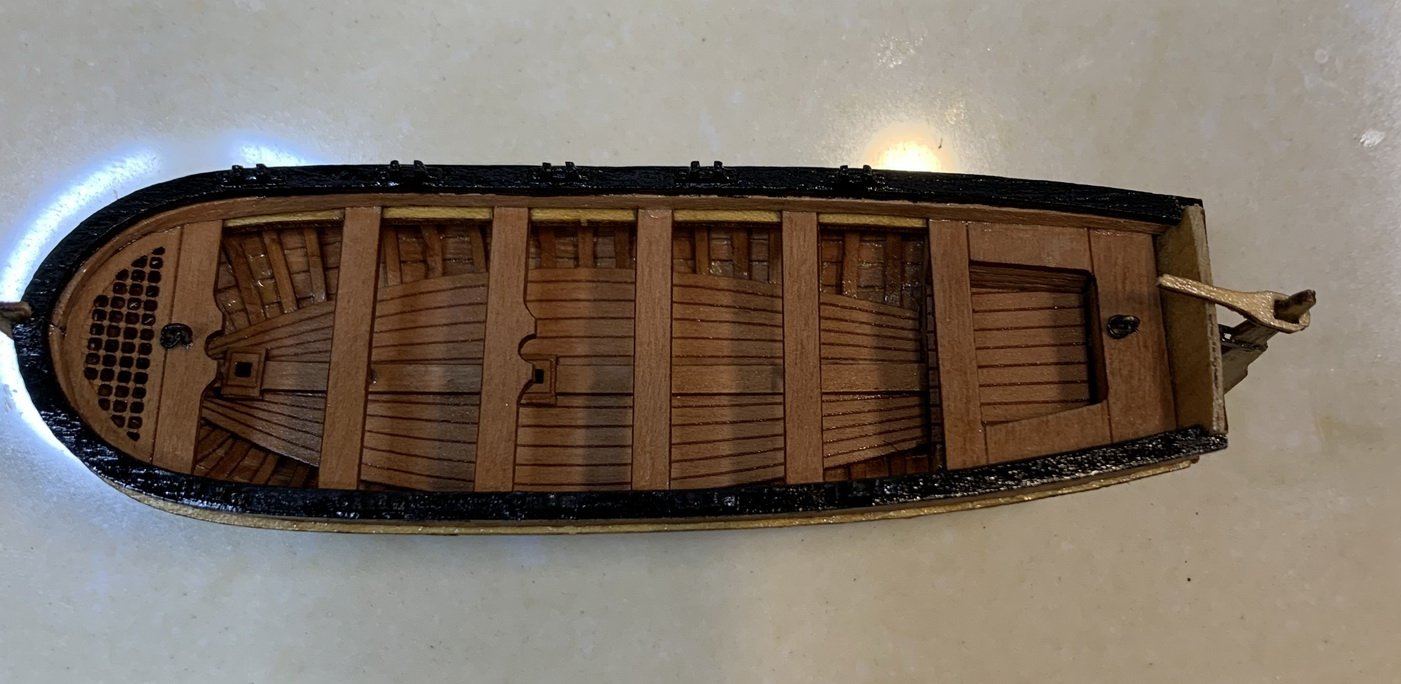
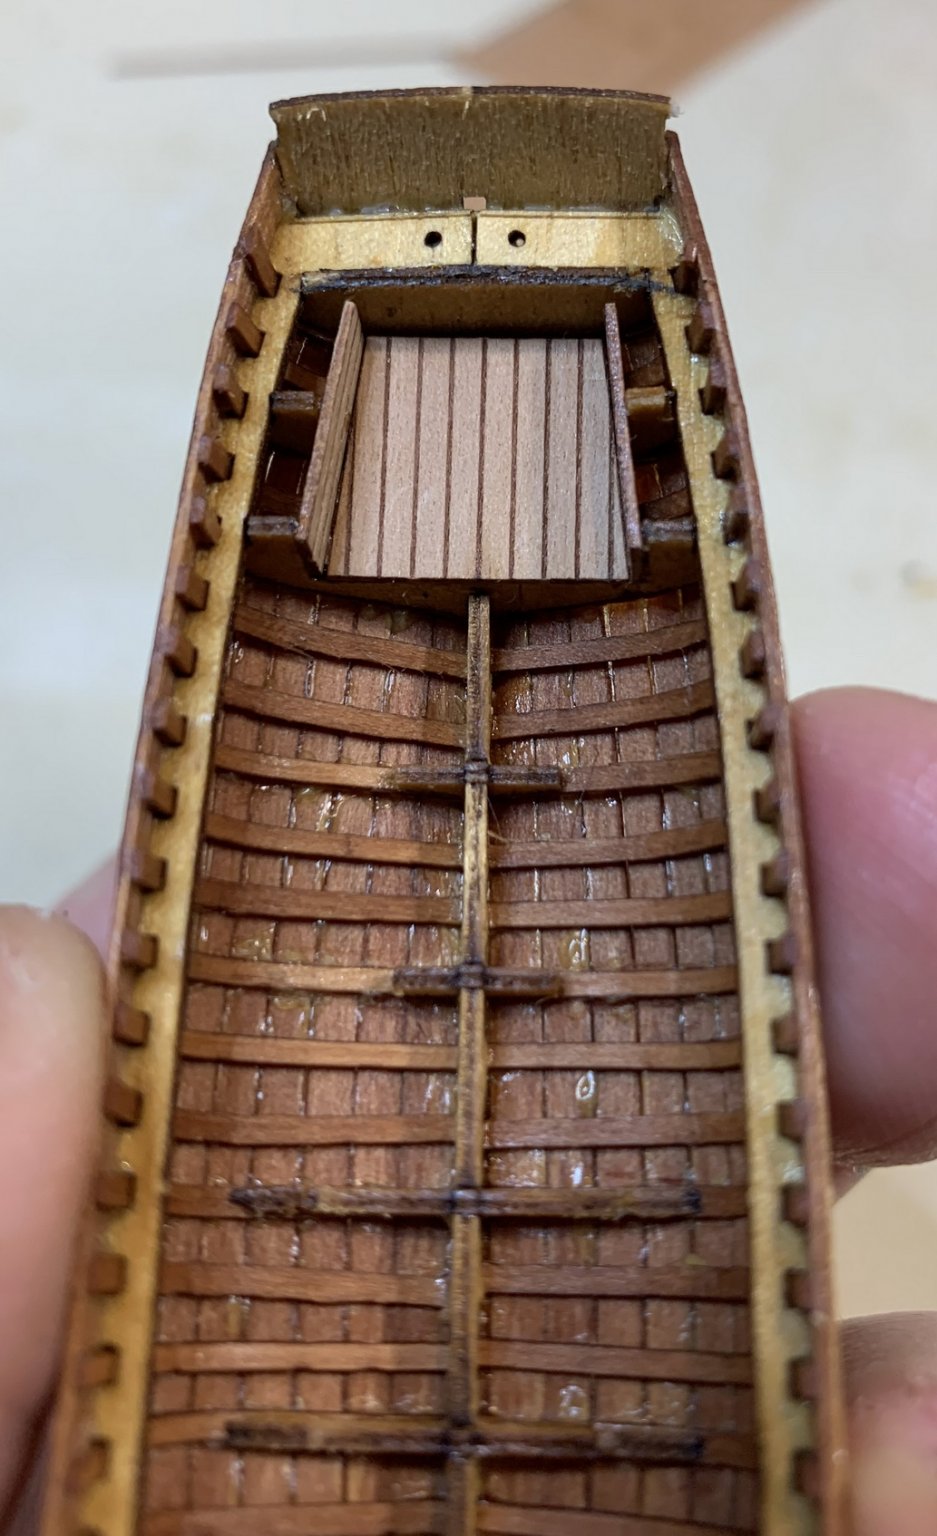
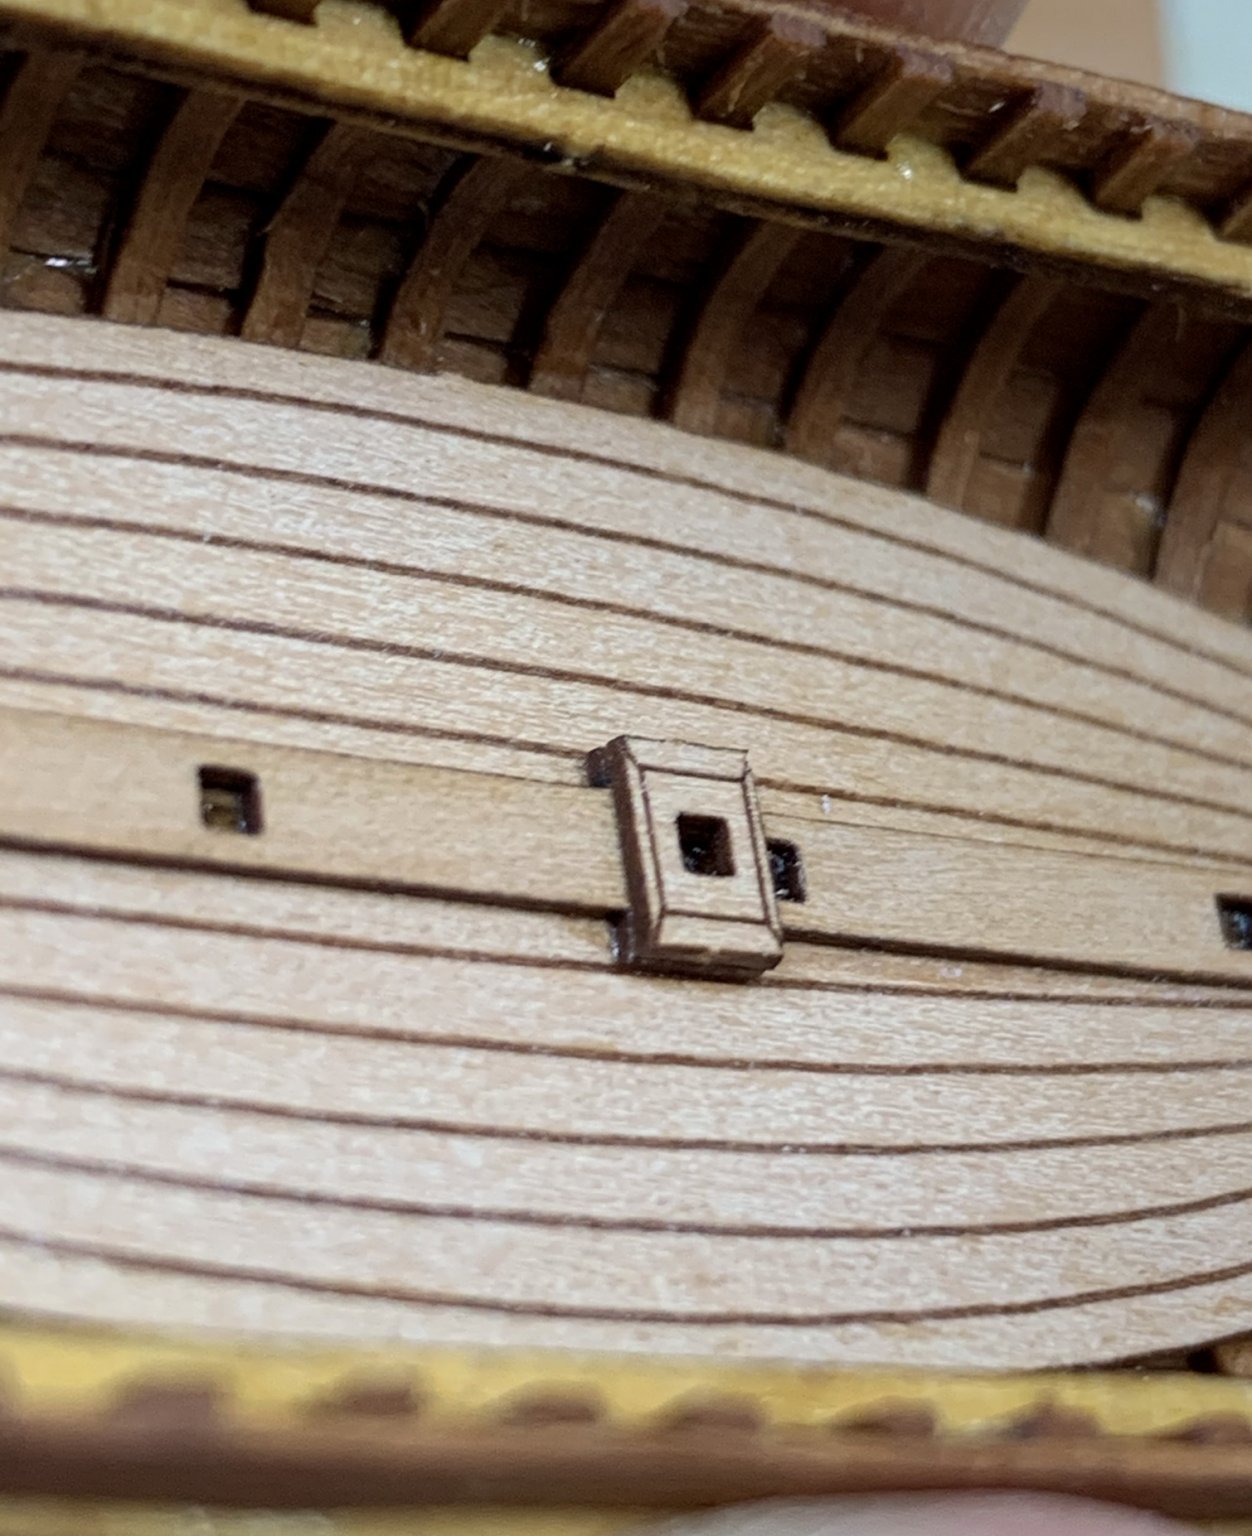
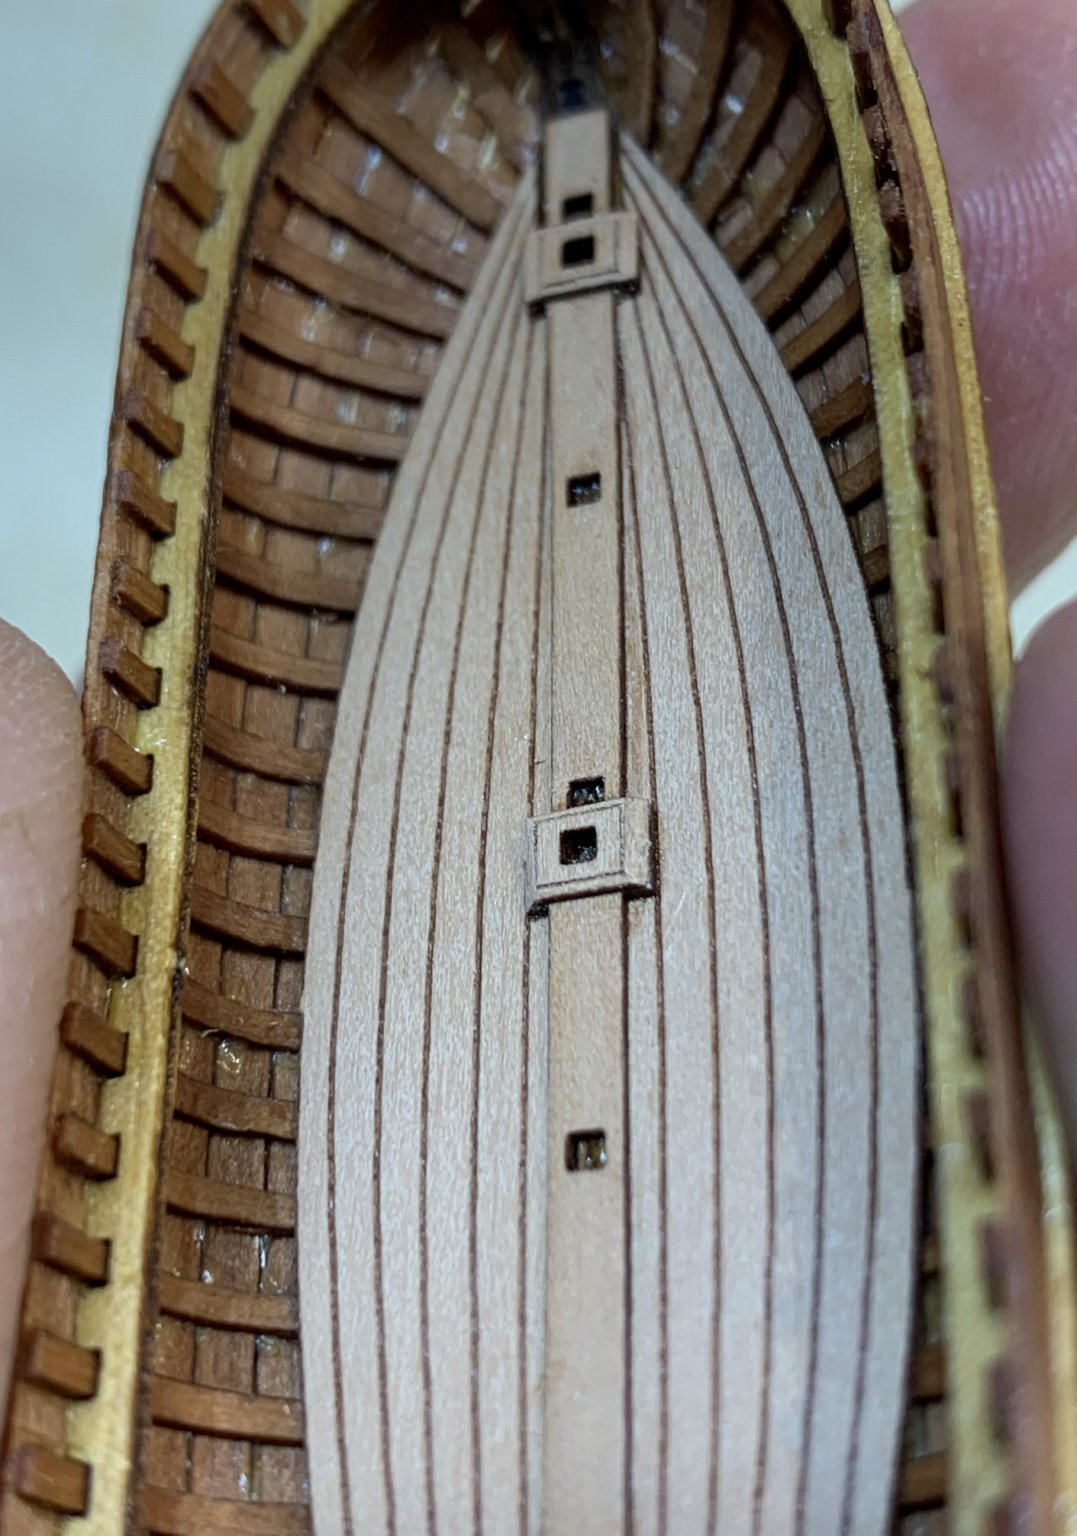
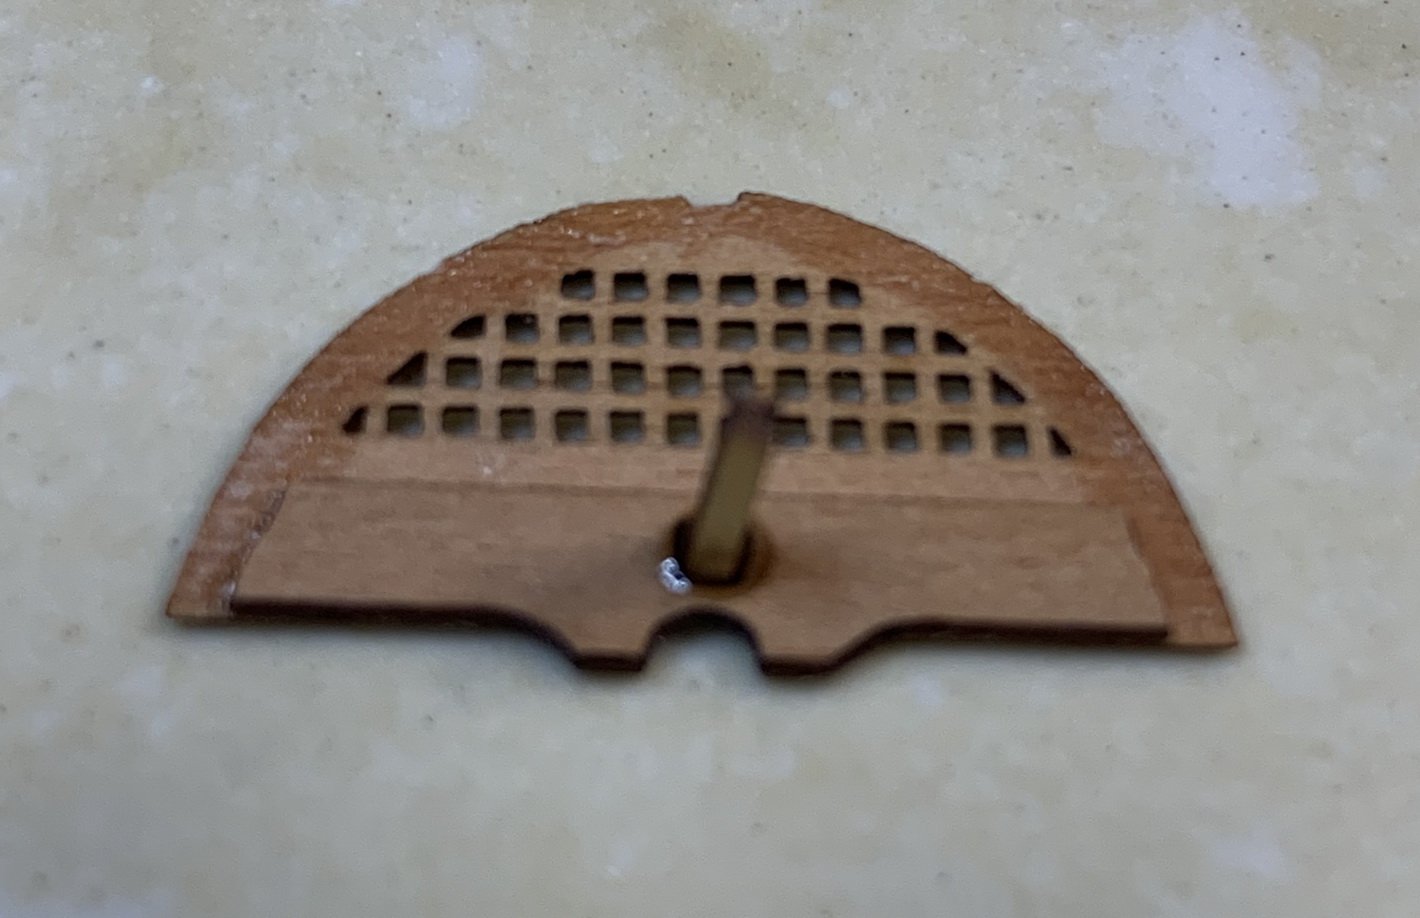
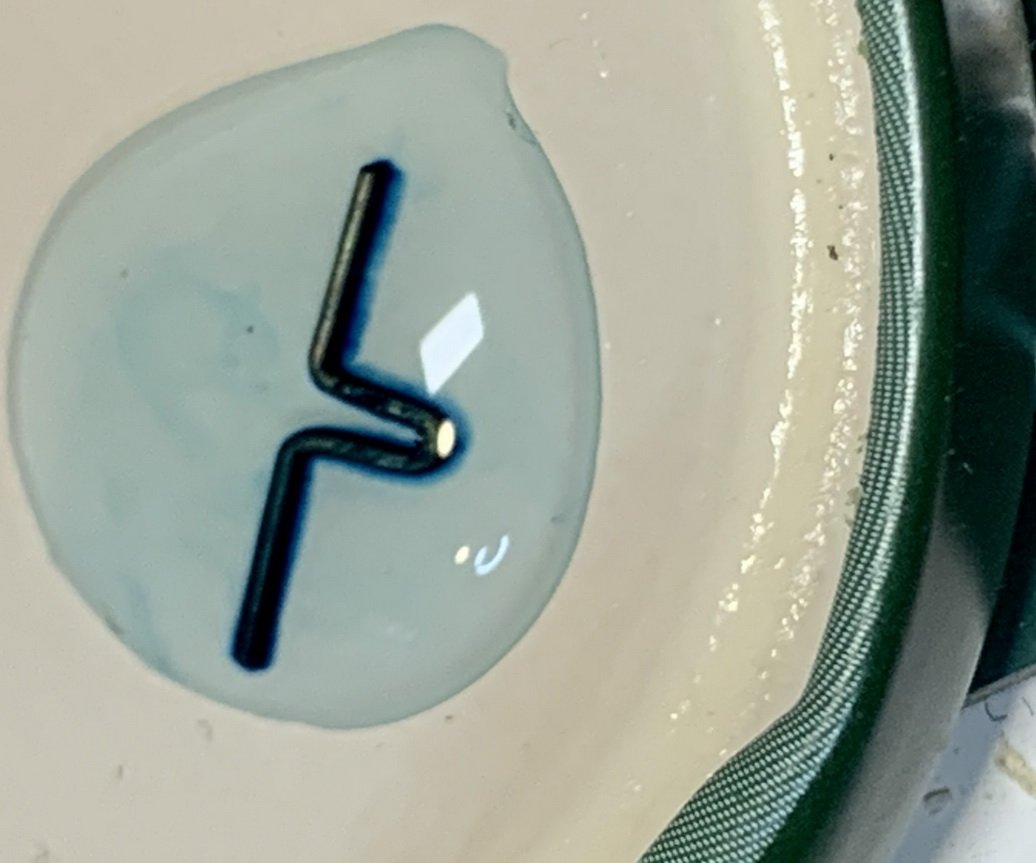
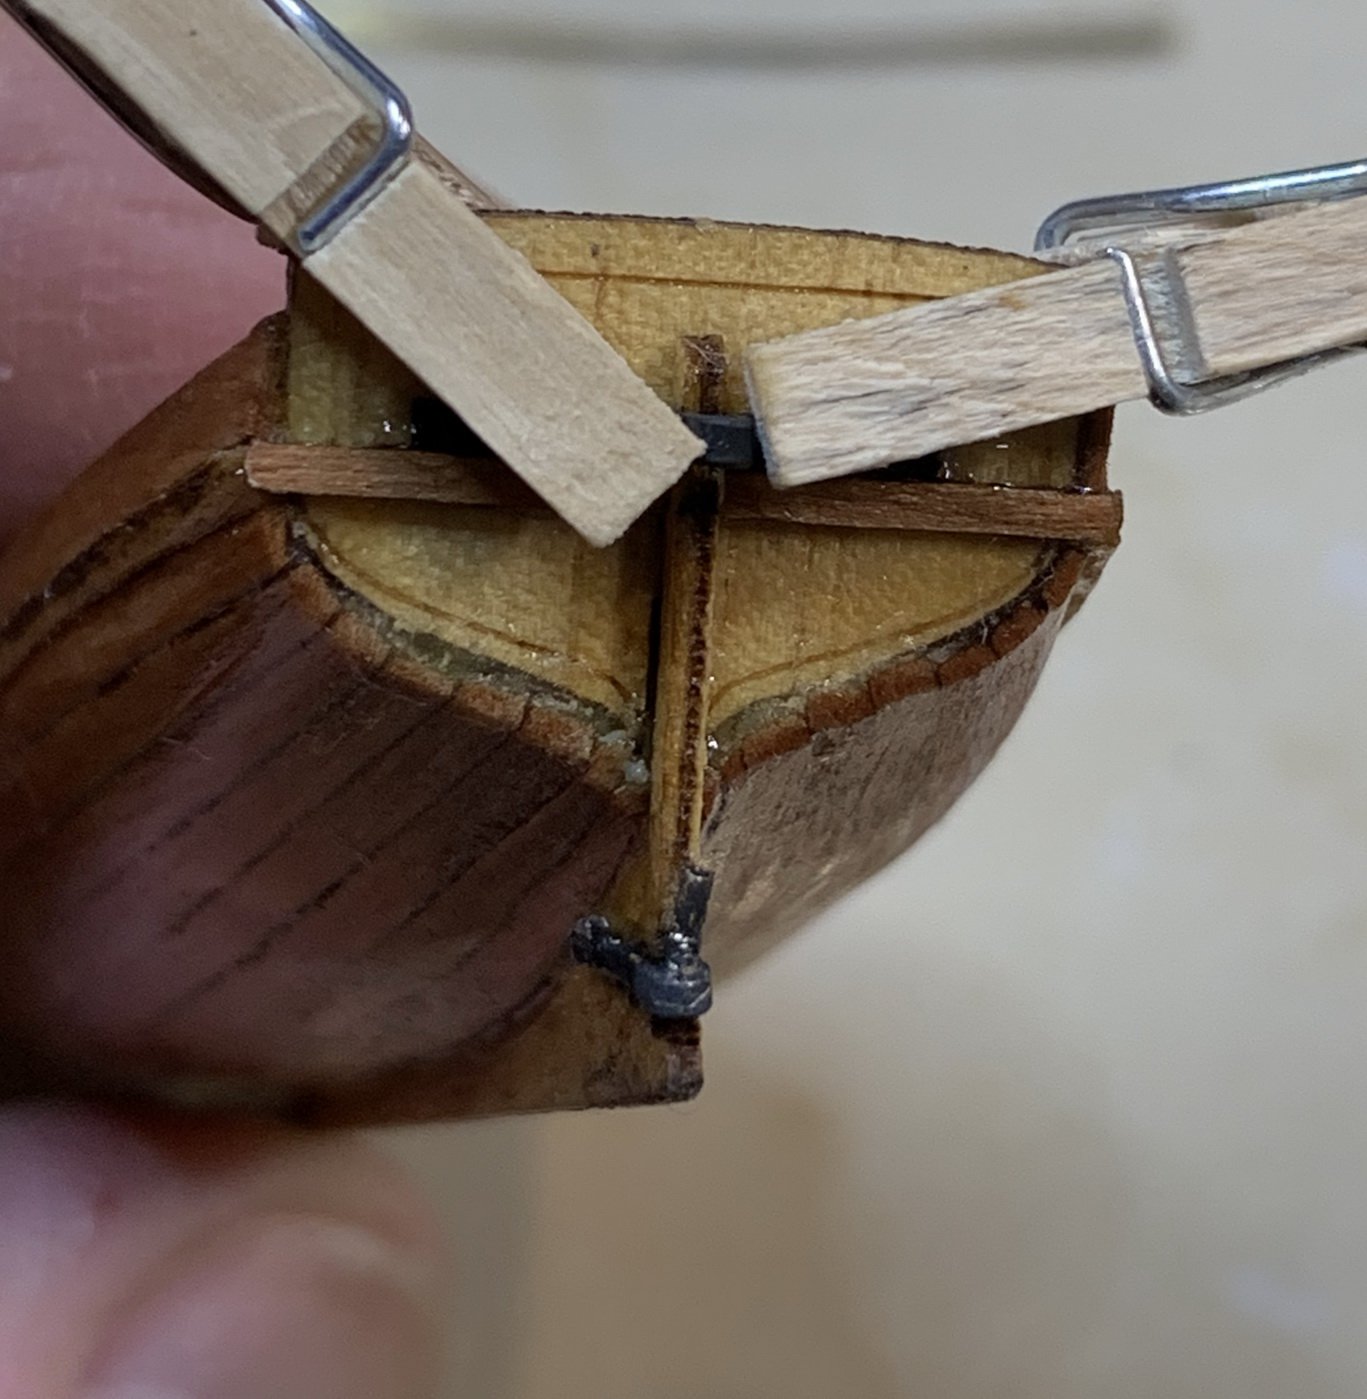
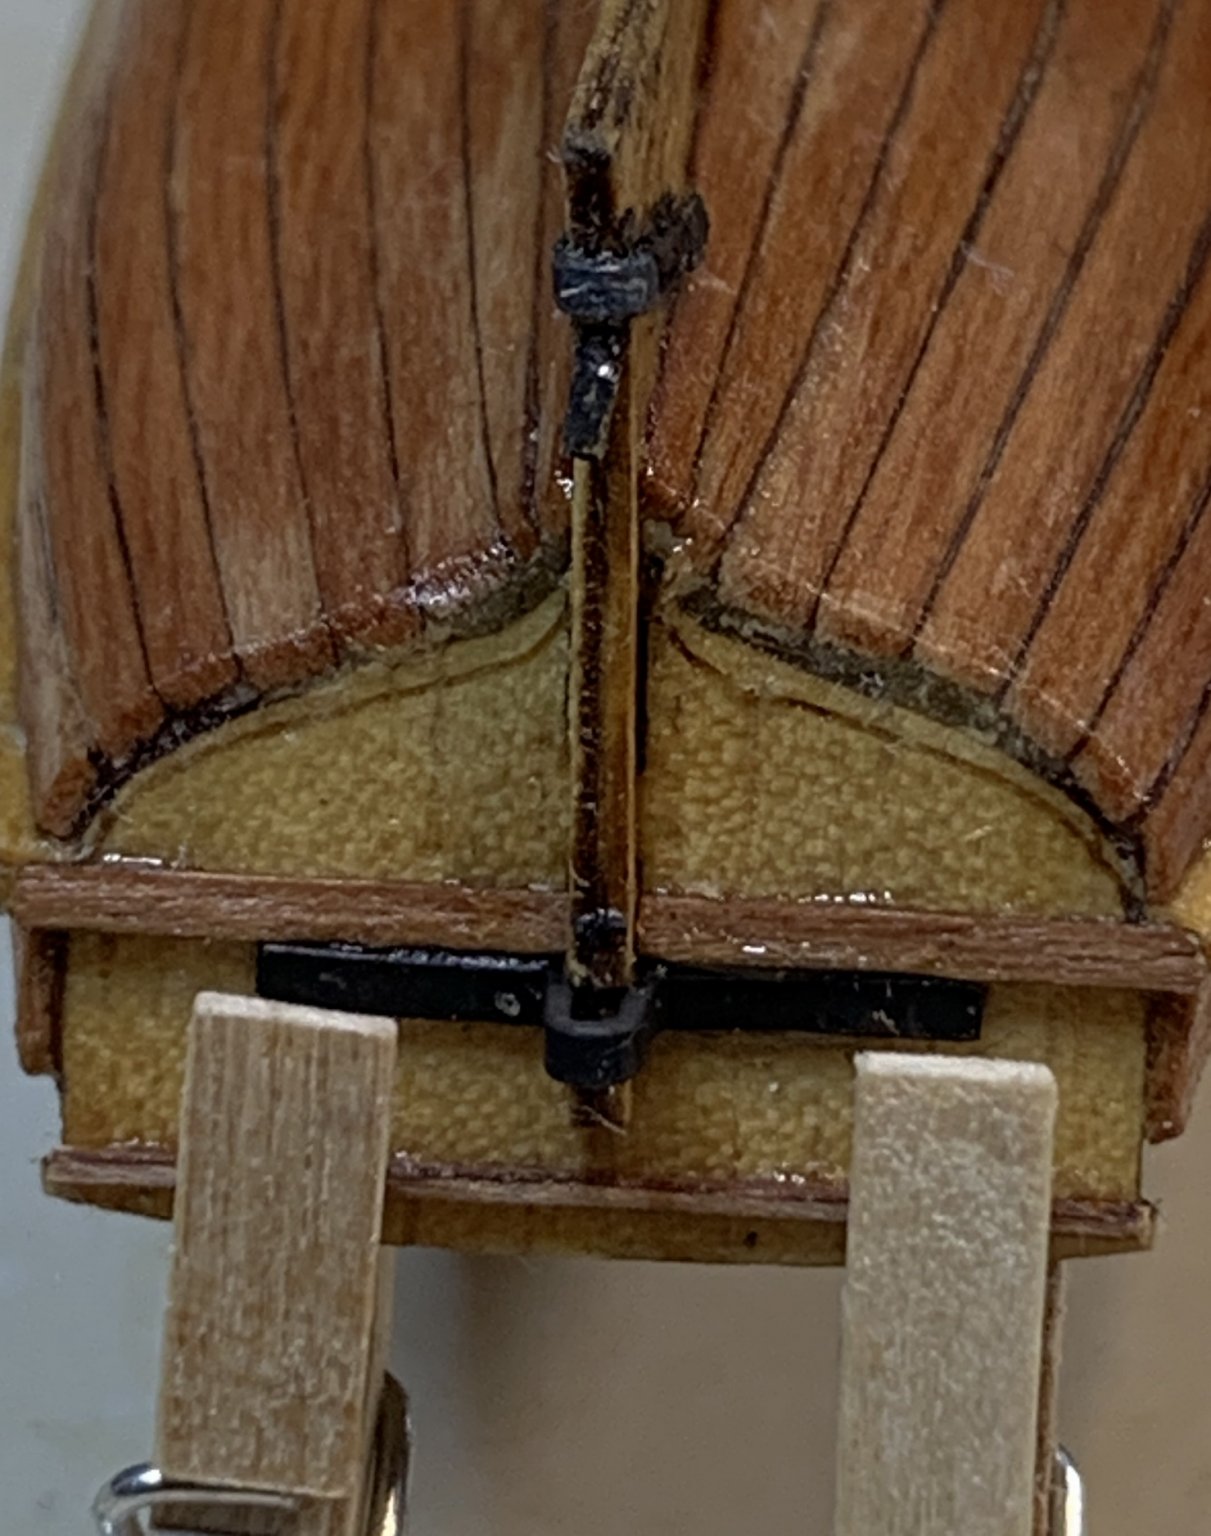
The eye bolt was added to stern and bow, as a detail; dont see it on the installation instruction..

IMG_2835-1.jpg.b396d8cf9c453d78329b7b2f8f463976.jpg


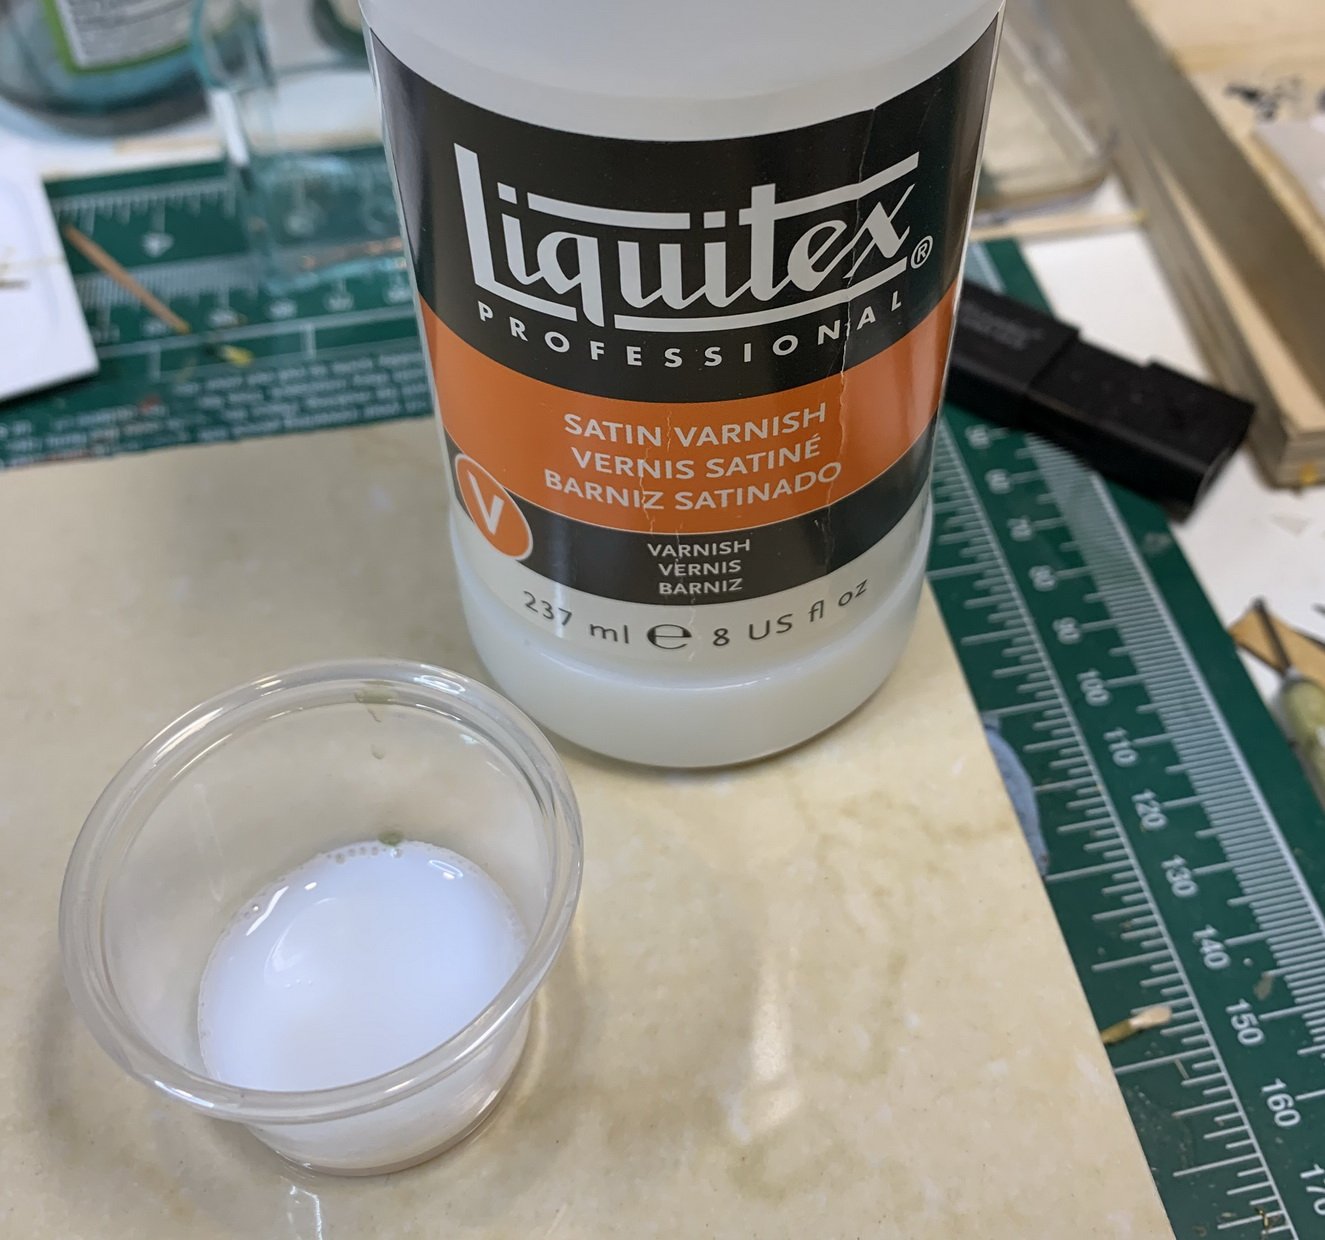
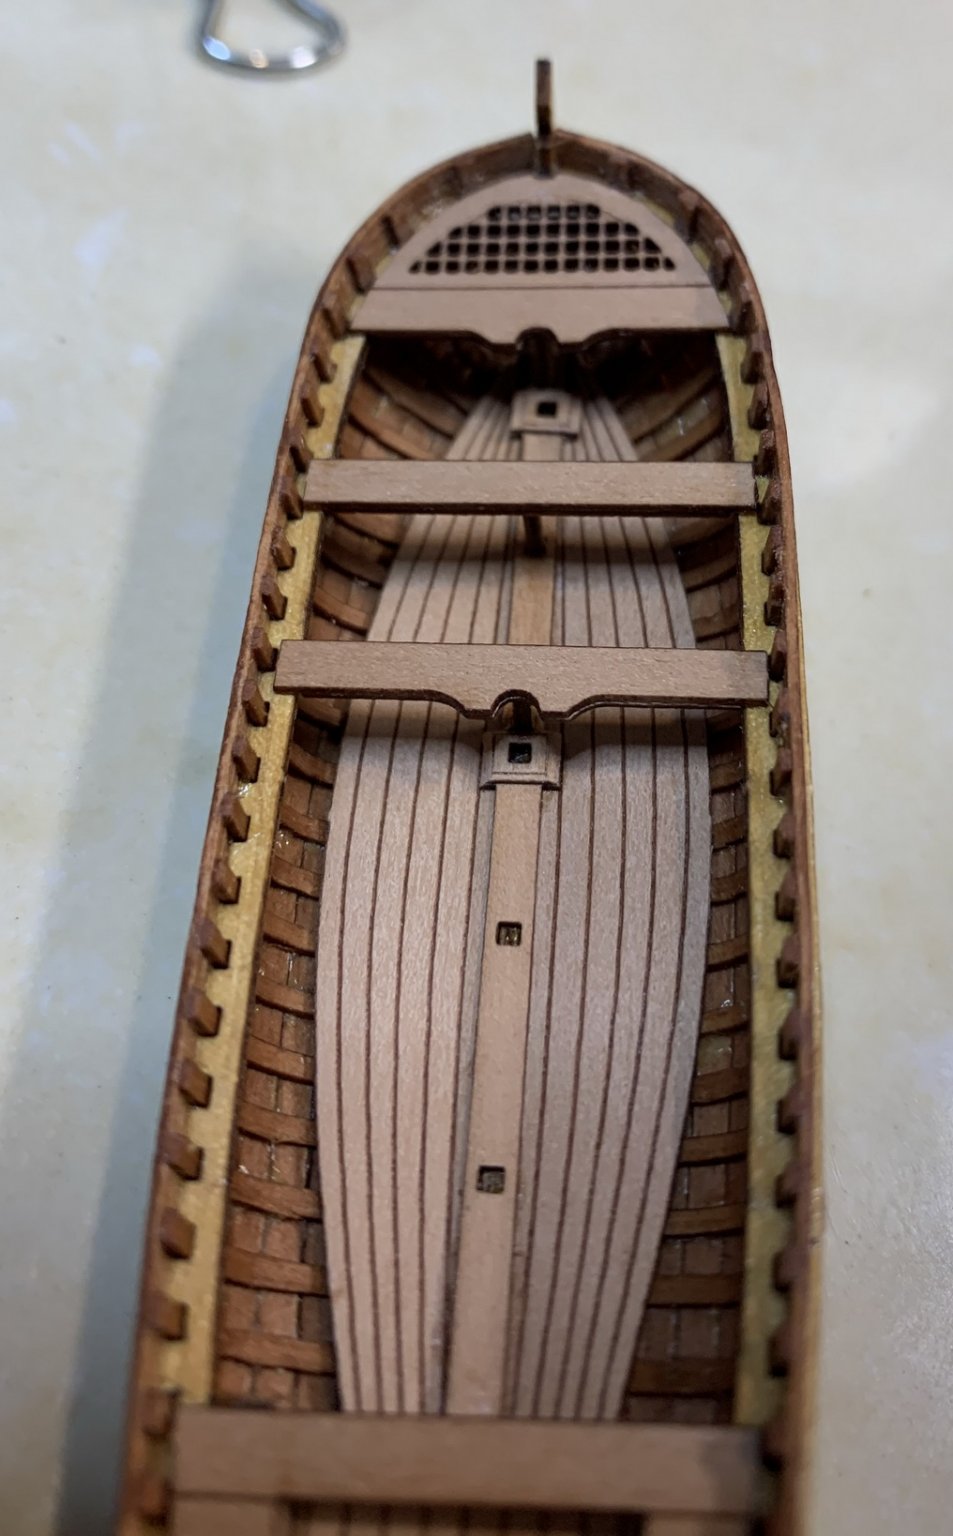
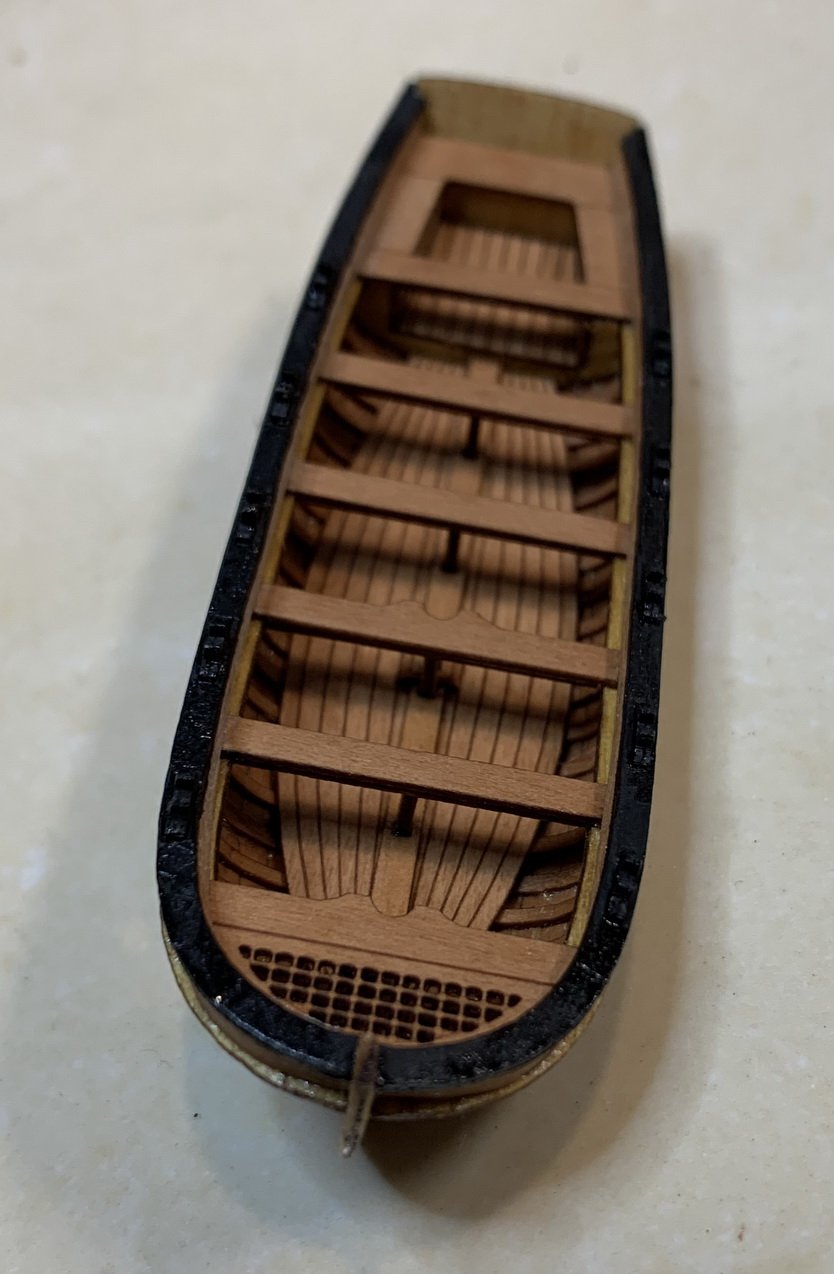
The coat of satin varnish was applied to the whole boat, inside and out.
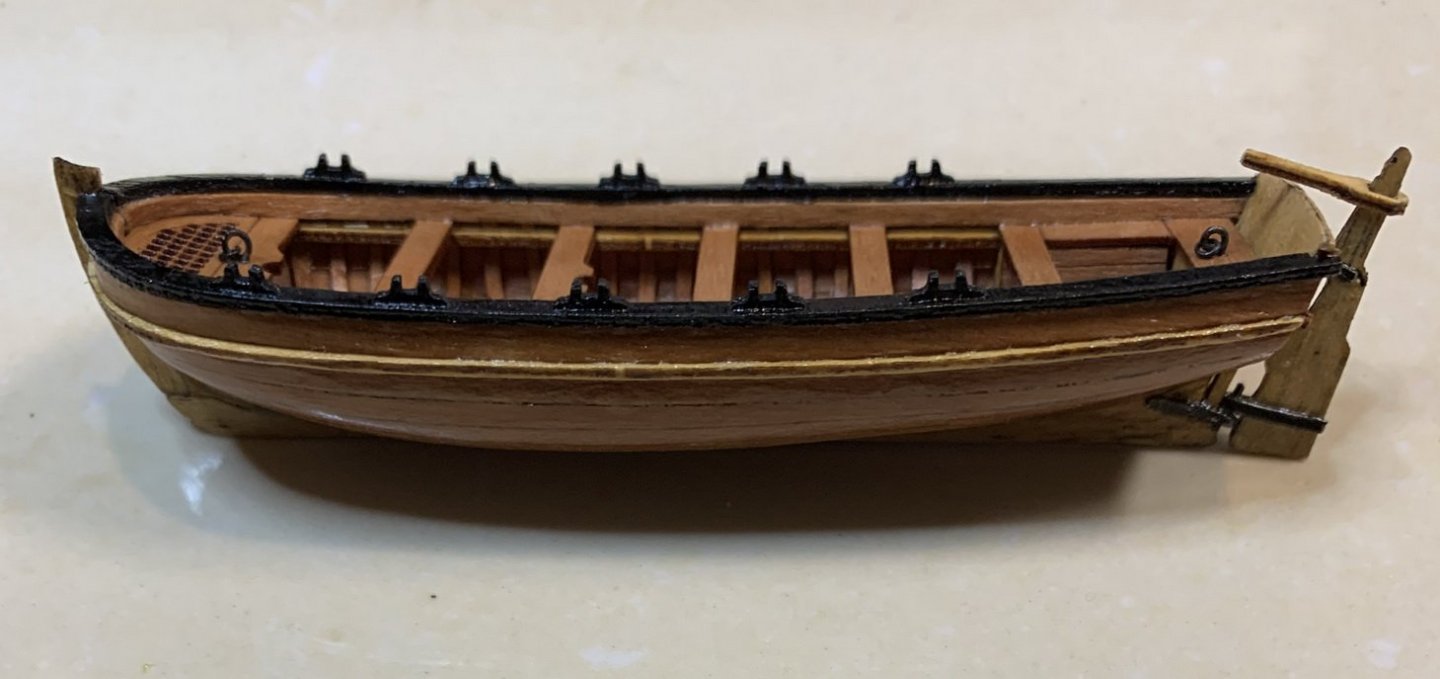


And here it is...


IMG_2841-1.jpg.2ae28d84edbcf05aa98305910765eb53.jpg


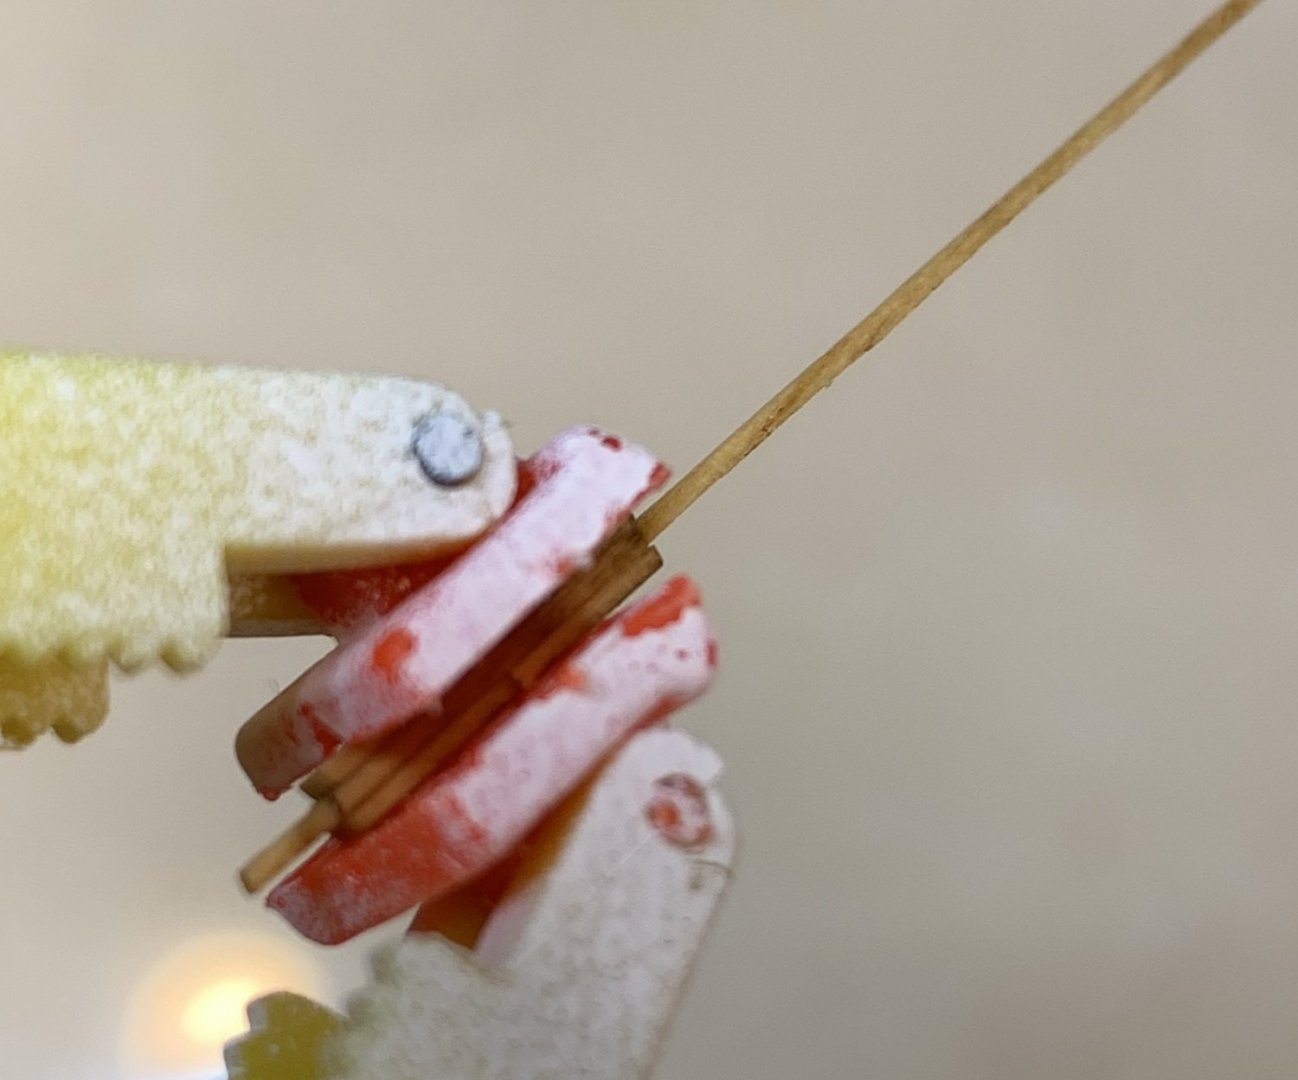
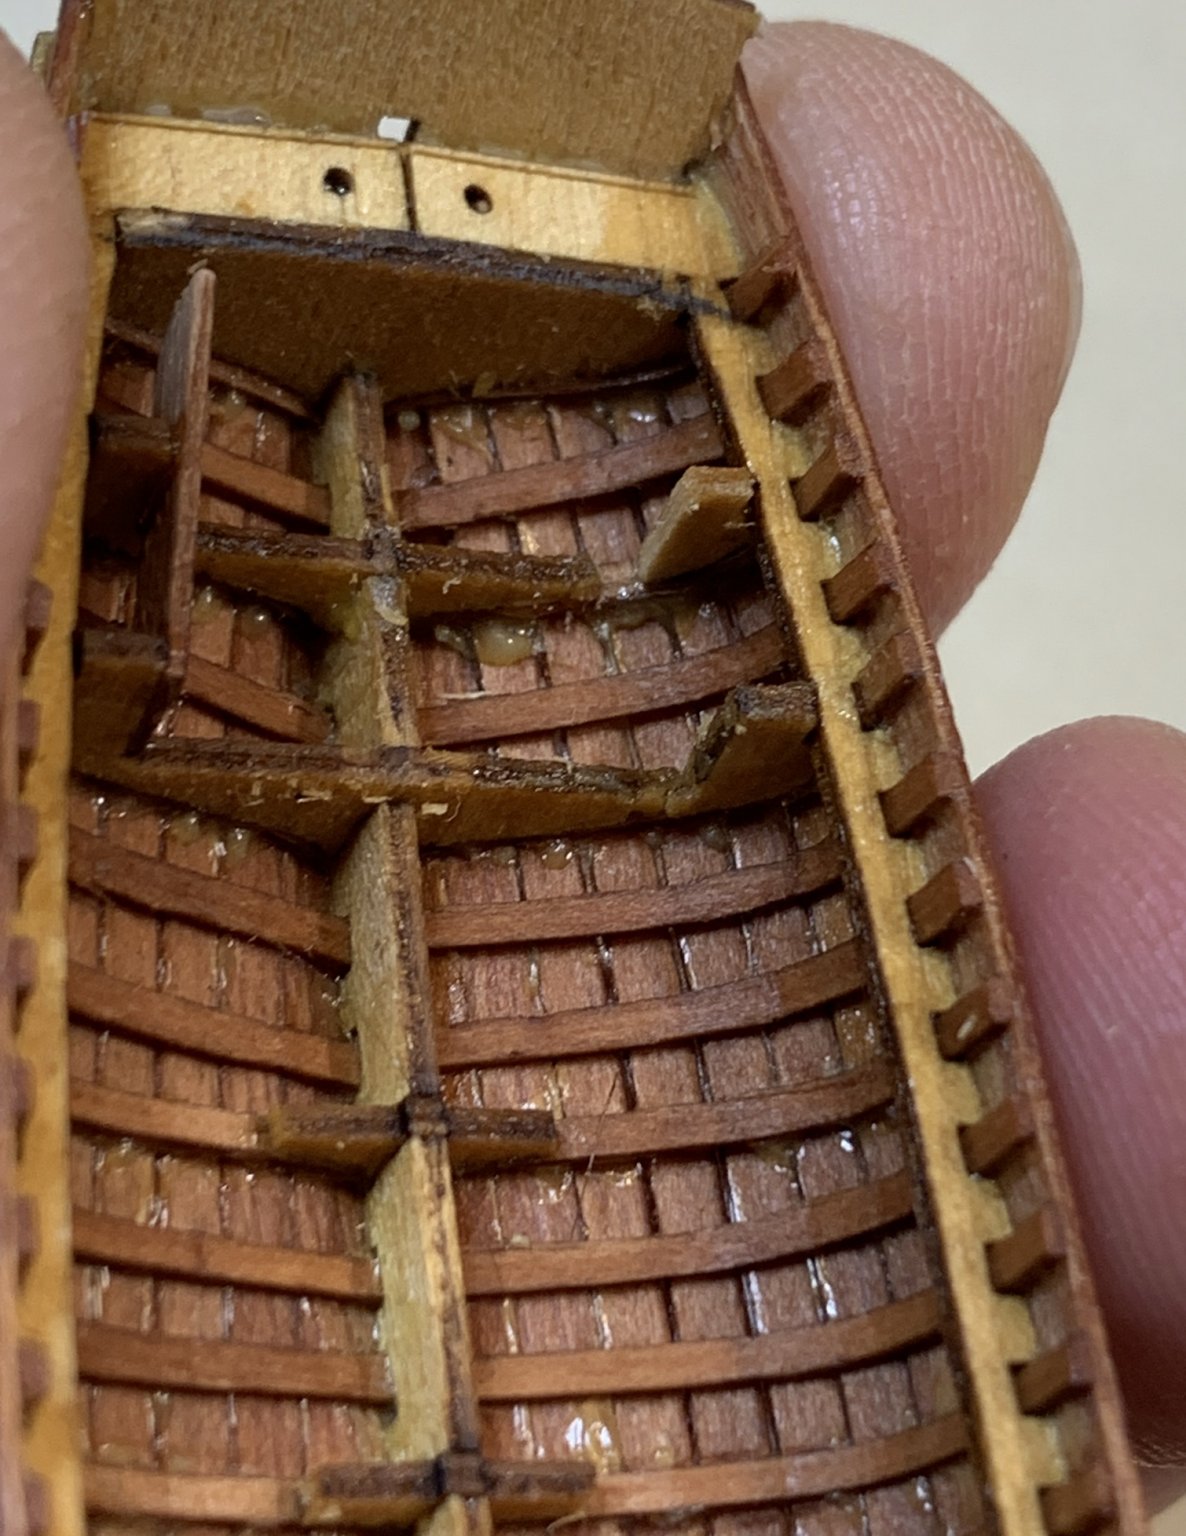
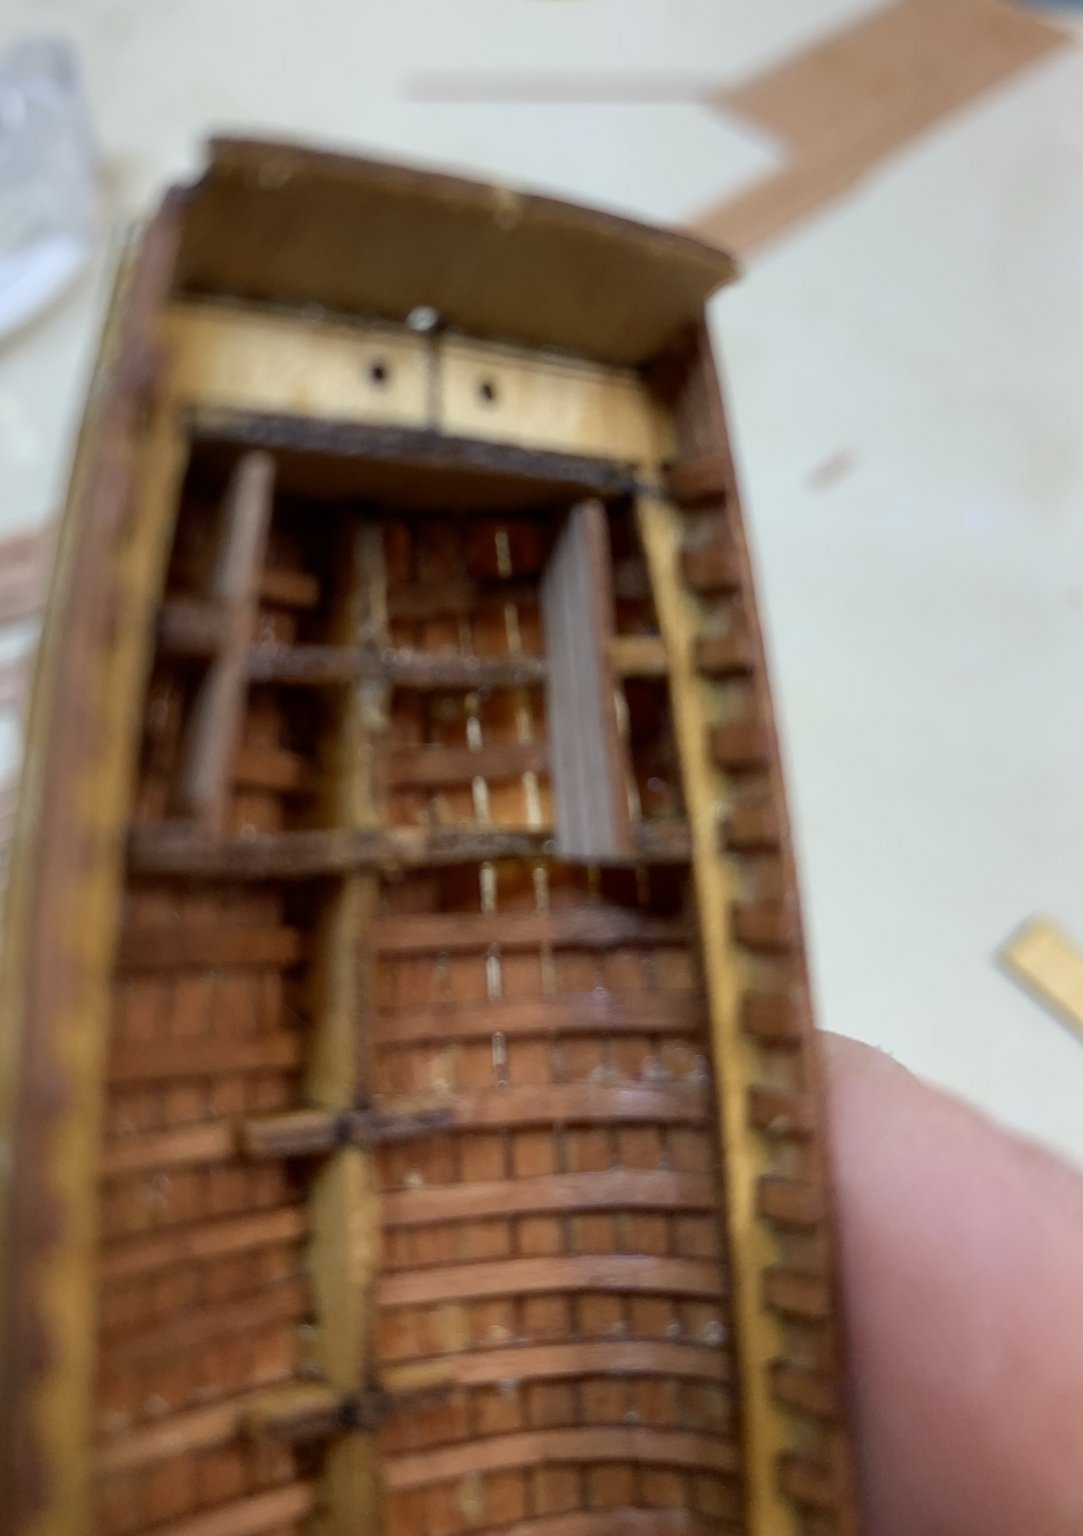
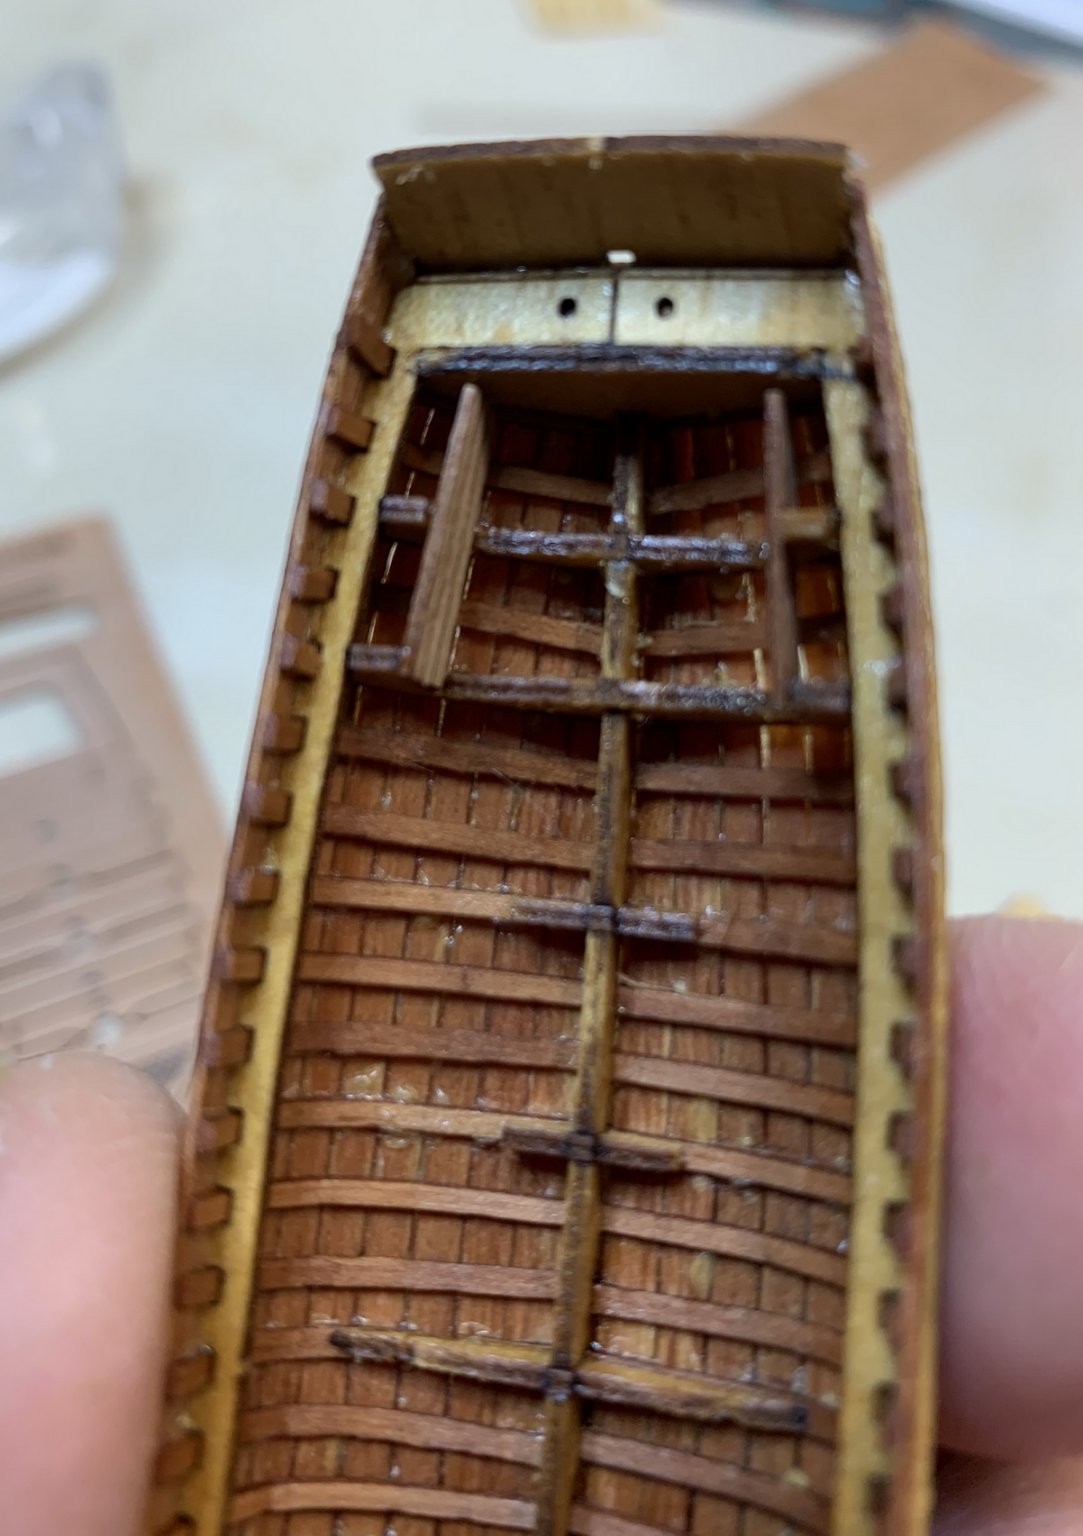
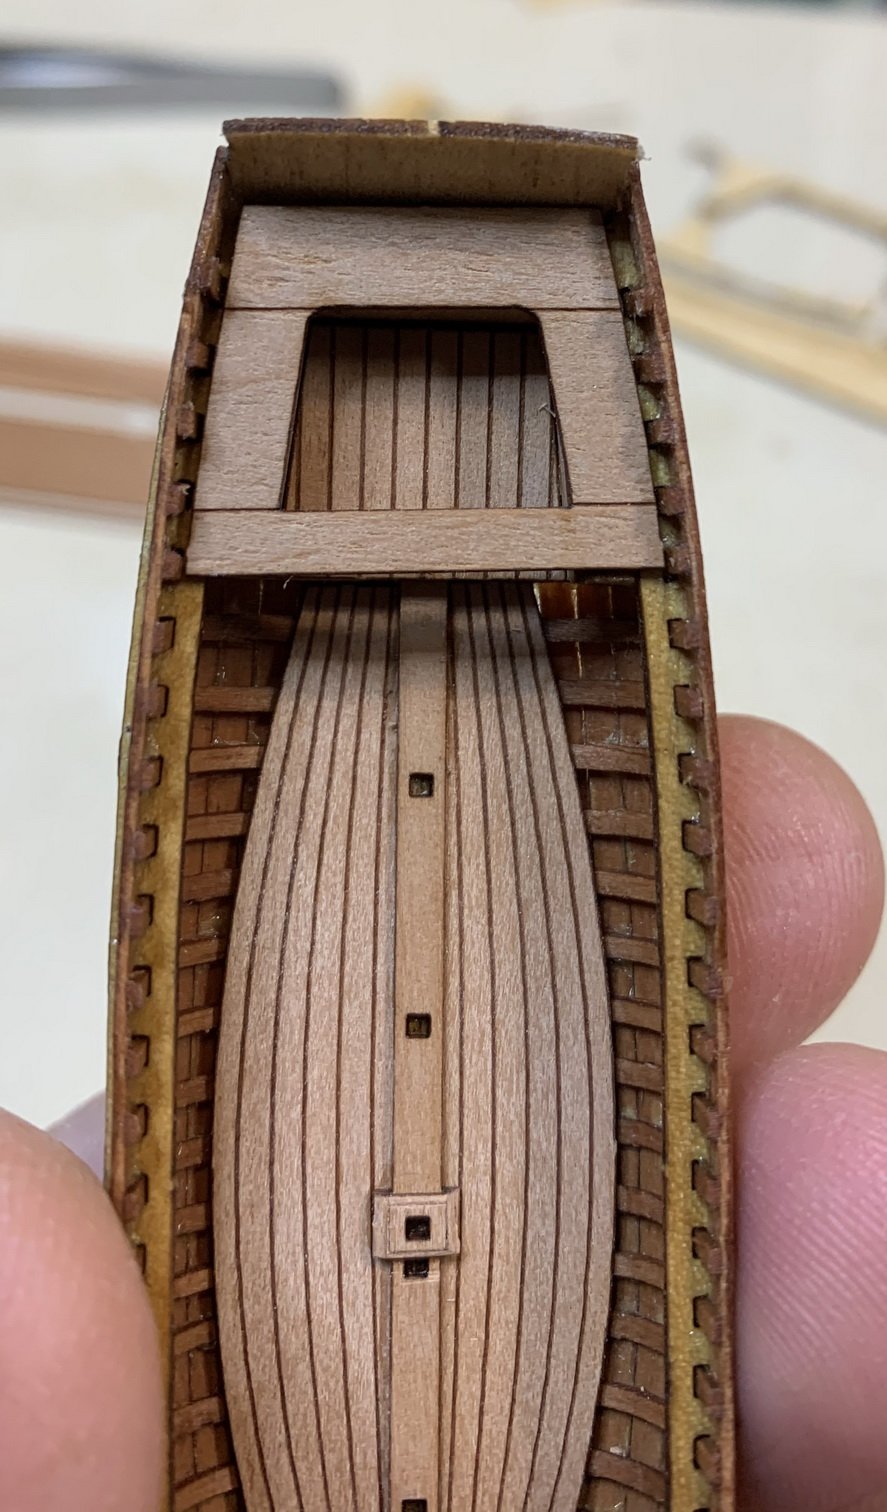
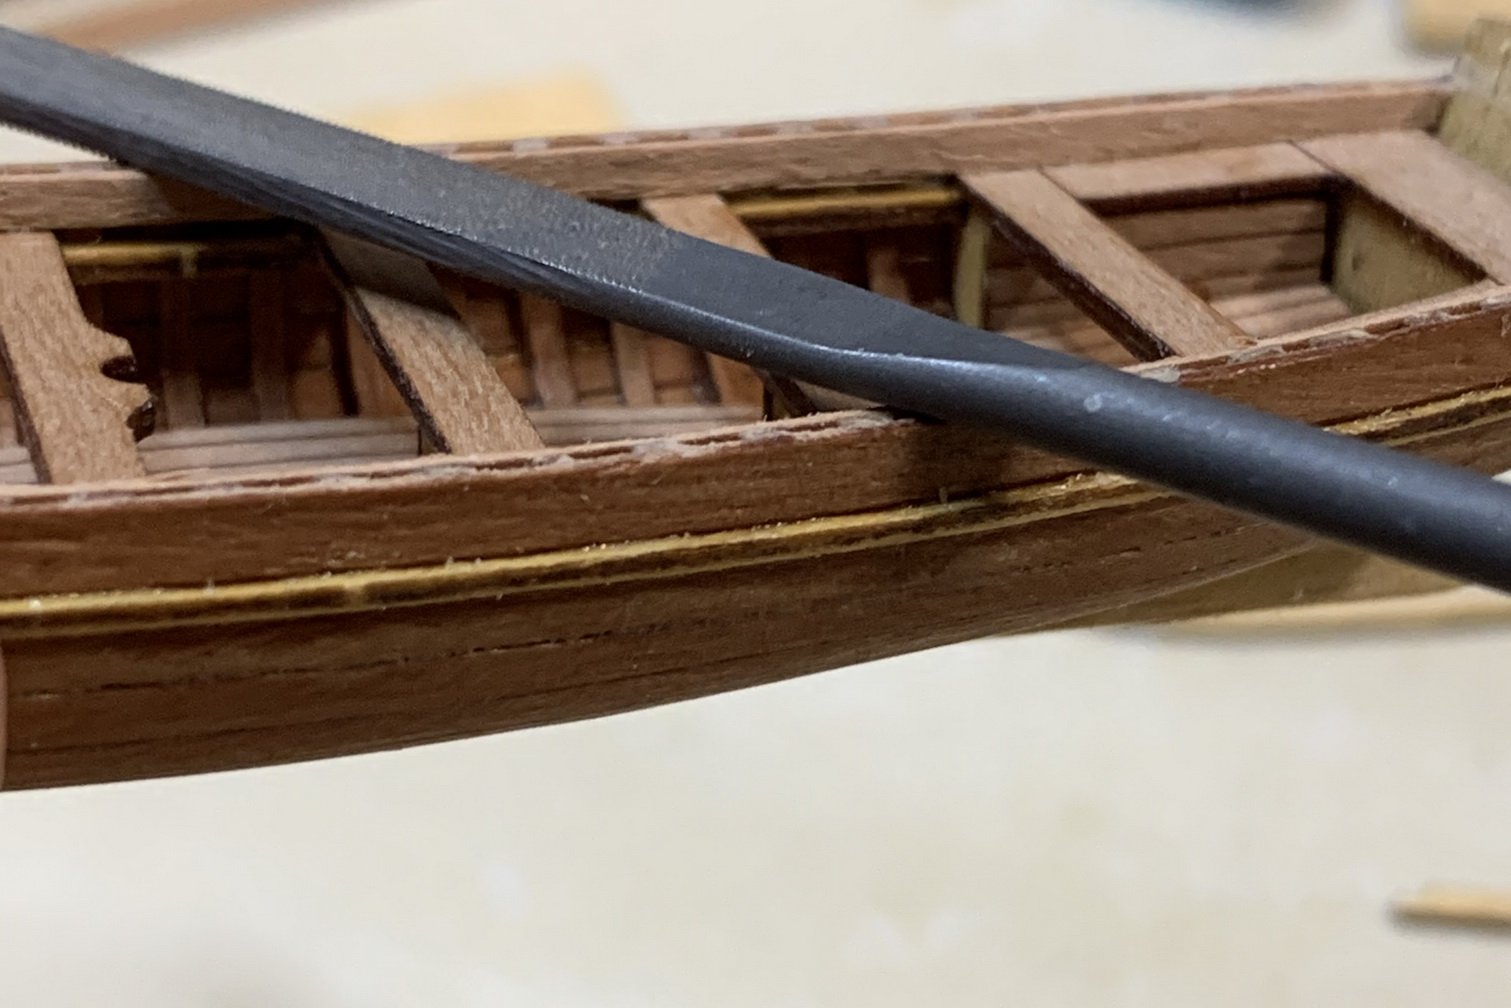
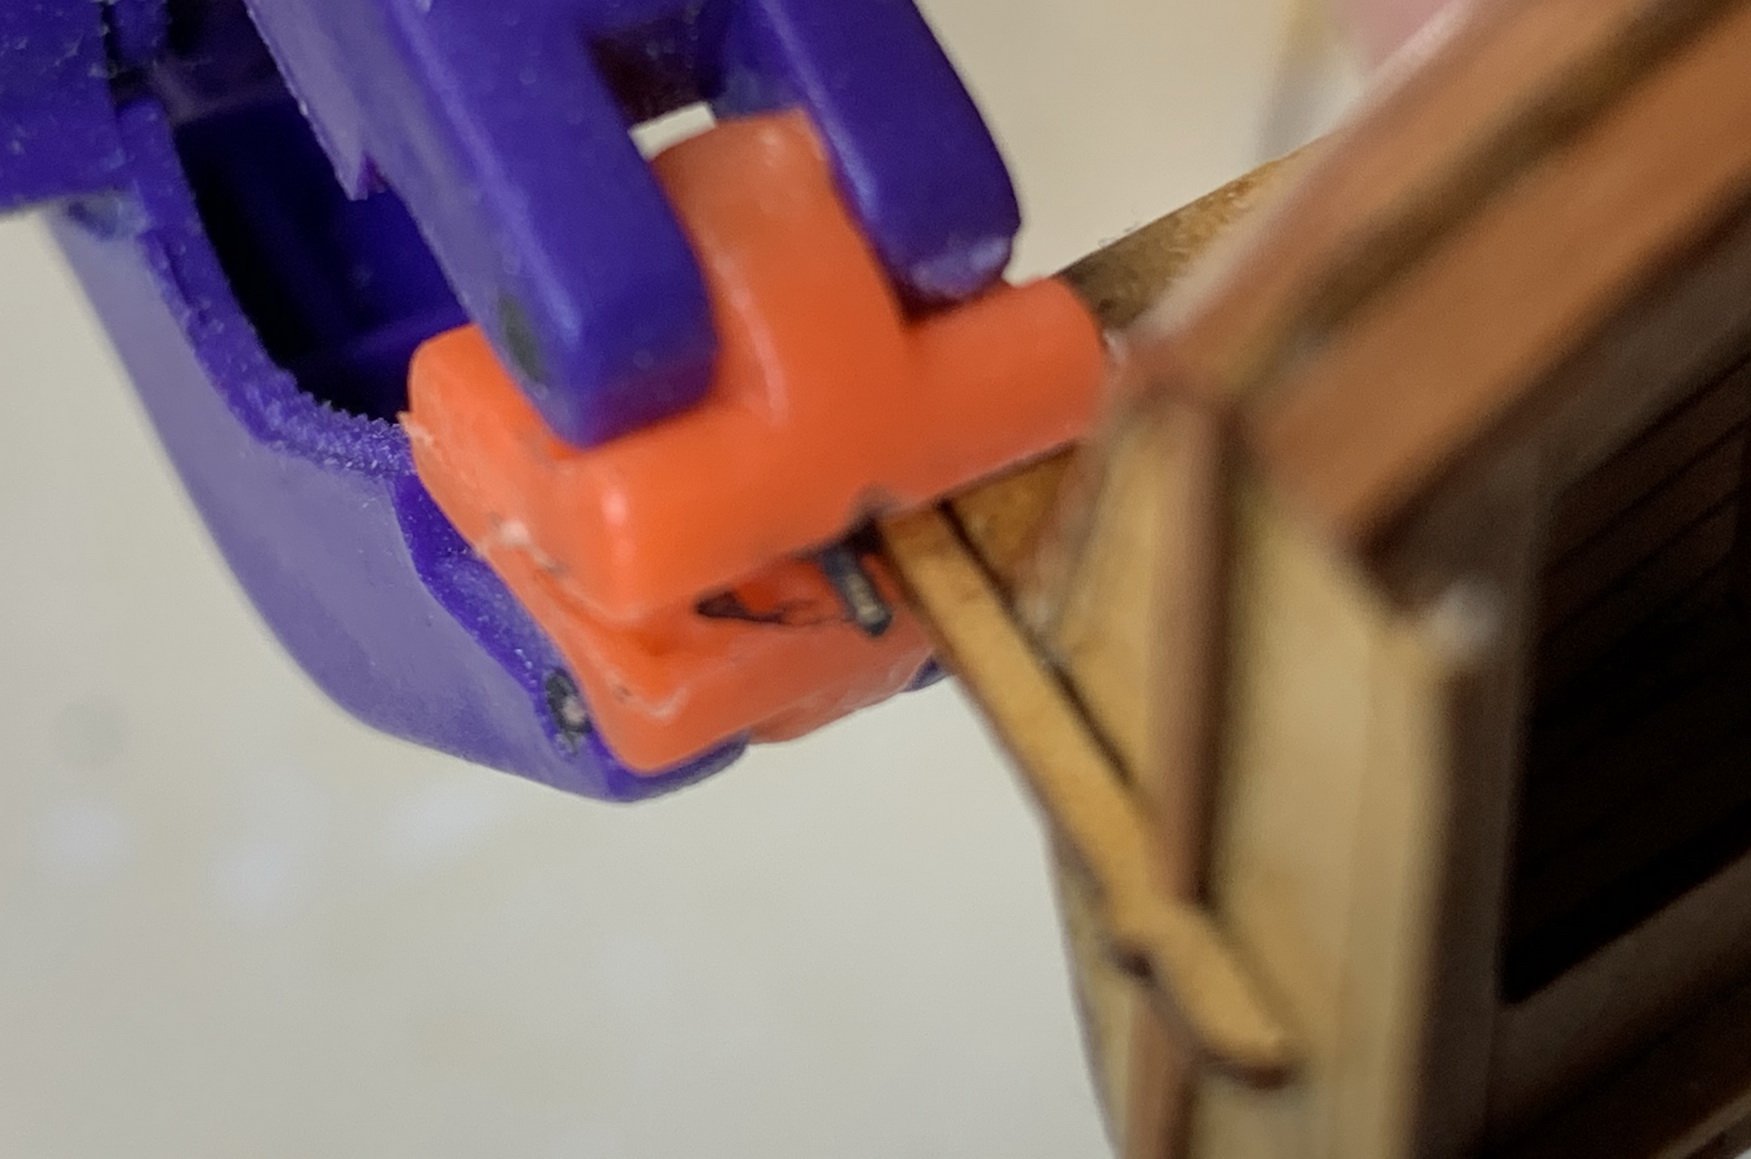
Then i started to work on rows... few extra parts were glued up and down on the row that will be rounded later...

Again very tiny parts... must be careful 1585720033196.gif


IMG_2843-1.jpg.2faa9d60917915c09ad219645e086edb.jpg

Happy modeling..
 
Looking into rudder, it does look a bit weird; the gap appears to be too big between rudder and a boat.. Need to redo it a bit..

Unfortunately i was not able to locate any info about the rudder on kit plan..
 
Back
Top