1/200 Titanic hull painted

Joined
Mar 29, 2020
Messages
75
Points
88

Location
England
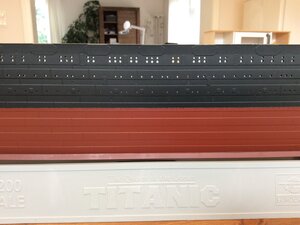
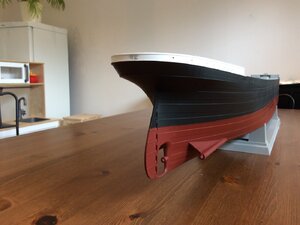
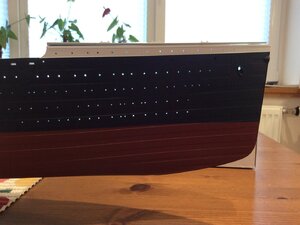
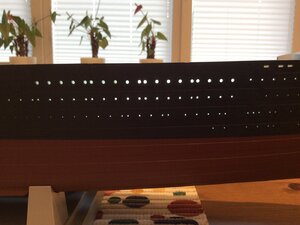
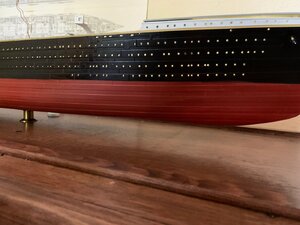
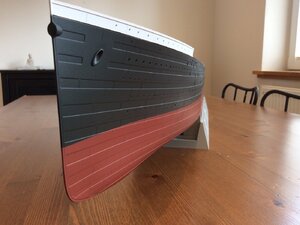
Have finished painting the hull apart from small details i.e the yellow line between the hull and superstructure of my 1/200 Titanic.
Now working on painting all of the superstructure.
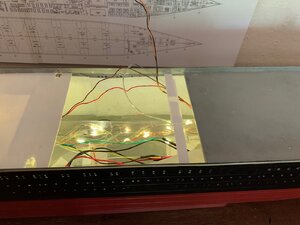
Played around with lighting the inside of the hull to see the effect.
Next big job is to pre cut acrylic rods and insert into the portholes and transparent sheet to fit into all the superstructure windows.
Should be a challenge.IMG_4682.jpegIMG_4690.jpegIMG_4681.jpegIMG_4746.jpegIMG_4747.jpeg
 
Thank you all for your kind words about my work on the model so far.
I do actually wonder if there is an end to it.
Now the real work begins with the detailing sets, yes you heard that right, I have the Pontos set and have ordered the KA models set which should be here about mid July.
I still have the 1:1 scale cruise ship we are building to finish.

I am doing the same thing. I’ll follow your progress with interest.
 
Looking good so far, I wonder if anyone will ever use this big kit to make a sinking diorama with just forward half sticking up.
 
Looking good so far, I wonder if anyone will ever use this big kit to make a sinking diorama with just forward half sticking up.

There is a builder on YouTube that is doing just that. He’s going to have the stern angling up out of the water. He’s already cut the ship apart.
 
Very nice paint job and very neat holes. Good luck with the acrylic port holes. I have finished putting the acrylic port holes in my hull. It did mess up the paintwork a bit though as the glue sometimes gets in the wrong places and on the tool used to countersink the glass ports holes the same distance in.
On the lighting issue. I placed lights weaved into sheets of clear acrylic running down the centre and the full length of the hull. I then placed sheets of clear acrylic with a thin coat of white paint to act as a diffuser. This stops the pin point lights coming from various port holes as you look at the hull from different angles. I now have very even lighting from almost all of the port holes. I hope this helps in some way. (uploaded a few pics).
I have also done away with the horrible stand and made a couple of brass pillars. These pillars also carry the wires for the lighting to the controller.
For anyone on the group that may have an interest in lighting. The LED lighting that came with the kit is in the trash can. I use Micro LED 3v, which do not require the complicated resistors. They are also very cheap. You can also grind off the blob of acrylic to give you a very tiny light. I have wired these individually to the the main cabins and even the outside bulkhead lights on deck. They are slightly larger than the scale but much more pleasing than the large blobs that came with the lit. They are also dimmable!
 
Thank you for your tips and advice on fitting the acrylic rod into the portholes and lighting the model.
I do agree with you that the LED set that came with the kit is not the best and I intend to replace them.
 
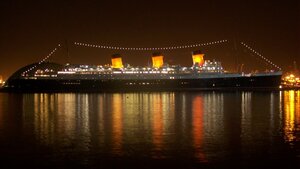
Just one question or general remark to such an illumination of a ship like yours.
I have to state, that I never did such lighting, so I am definitely not a specialist, but I have a question:
After drilling of hundreds of portholes and such installed lighting - the light is visible in every porthole.
Once the model is finished and the light is switched on, it is looking like, that in every cabin the light is switched on.
But in reality this would never happen, or?
I guess, that also in the time of the Titanic the guests would partly switch off the light in the cabin, when they are outside the cabin, or even sleeping - switched off.
Would it be not more realistic, if there are only groups of portholes illuminated - I do not not maybe 40% of them.....


55781454.jpg

This was bothering me already several times, when I see such a model..........
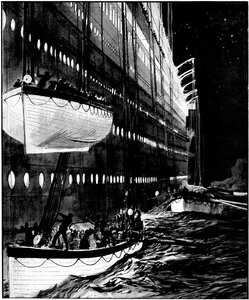
OK, the Titanic just sinking - everybody is awake and all the lights are switched on....... but when she was 2 hours earlier just sailing ?
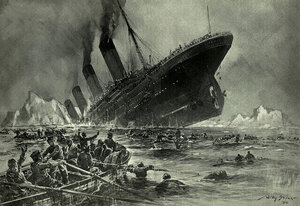
800px-Leaving_the_sinking_liner.jpg Stöwer_Titanic.jpg
 
Last edited:
Have finished painting the hull apart from small details i.e the yellow line between the hull and superstructure of my 1/200 Titanic.
Now working on painting all of the superstructure.
Played around with lighting the inside of the hull to see the effect.
Next big job is to pre cut acrylic rods and insert into the portholes and transparent sheet to fit into all the superstructure windows.
Should be a challenge.View attachment 159068View attachment 159069View attachment 159070View attachment 159071View attachment 159072
Hallo,
we wish you all the BEST and a HAPPY BIRTHDAY
Enjoy your day
Birthday-Cake
 
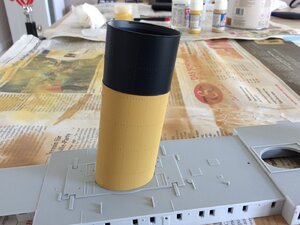
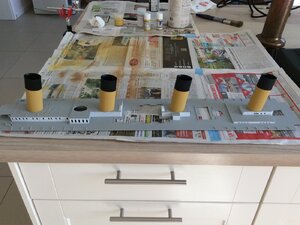
Today I managed to spray the funnels on my 1/200 Trumperter Titanic.

I think I got the Buff colour as close as I am going to get it.

The pictures don’t show the colour as it is in day light, but give a pretty good idea.

Received the Pontos detail set from China, which is incredibly well boxed, and contains a lot of nicely made parts.

One thing I would say is that I think the propellers are too small.

On opening the box I noticed that one piece of the photo etched had been cut out of one of the frets.
which I can’t understand why.

I have also ordered the KA models detail set with all the resin fittings so I am going to wait until I get that before I make a decision as to what I am going to use.

Hope you all have a pleasant weekend.IMG_4772.JPGIMG_4774.JPG
 
Back
Top