1/350 Akagi Hasegawa - Completion of a project long overdue

NMBROOK

Staff member
Forum Moderator
Joined
Jul 15, 2013
Messages
2,596
Points
688

Location
Yorkshire England
Just a brief intro for now. I am making an effort to try and complete some of my projects that have been shelved for some time.

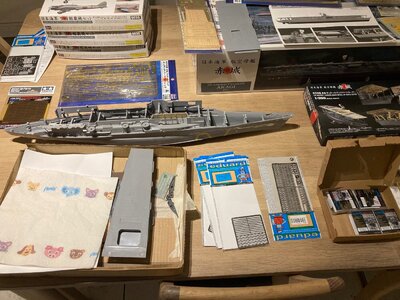
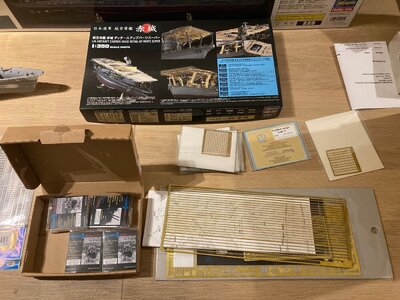
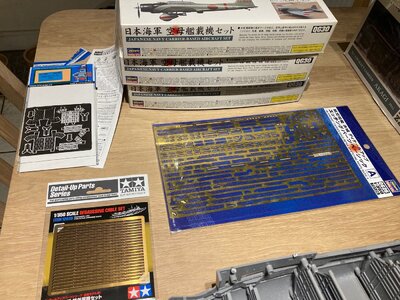
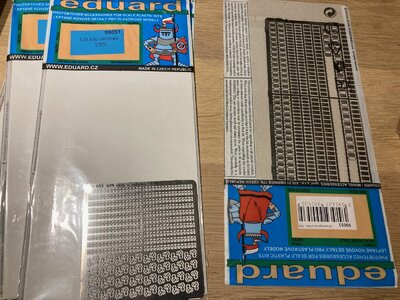
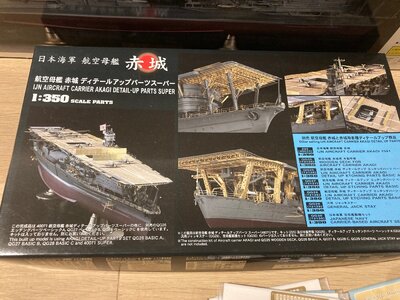
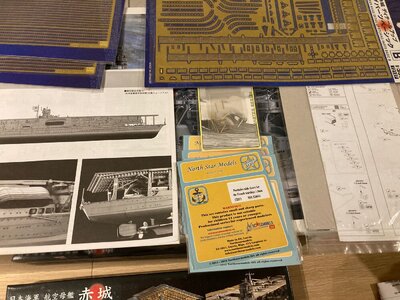
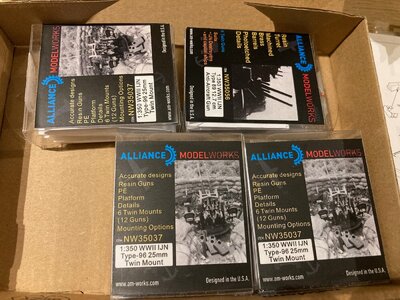
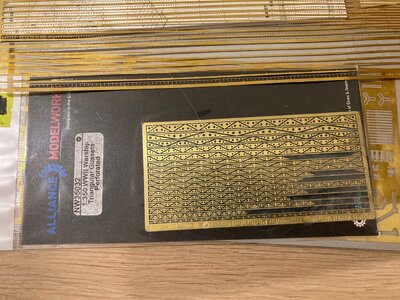
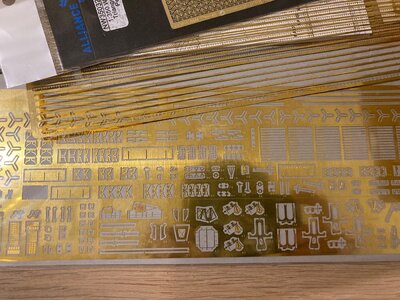
This build includes all the Hasegawa upgrades including Super Detail set plus 4 boxes of planes.In addition, custom scratch work has also been carried out plus further IJN details from Alliance model works and also Eduard's set for the model
This little lot cost me quite a substantial amount of money several years ago and I am sick of all the boxes in my wardrobe, it is about time I got this done and in a glass case!
Next weekend I will post pics of where I left off, in the meantime,I am relocating my necessary tools to the desk in the bedroom

Kind Regards

Nigel
 
Ok, well all I can say is I am shocked to as how much additional detail stuff I bought to upgrade this kit.It is a good few years back now, but going through all the bits for the project, I bought quite a few items from Latvia and Germany as well as Japan.

I did start this project with the intention of winning a medal at IPMS level so knew I did have to go all out to be in for a chance when not building out of the box.What also is apparent, is just how much work is still to do. I shall continue on and keep going until my eyes need a break or I finish the model. I am determined though to give it my all to try and get it in a case for the end of the year.

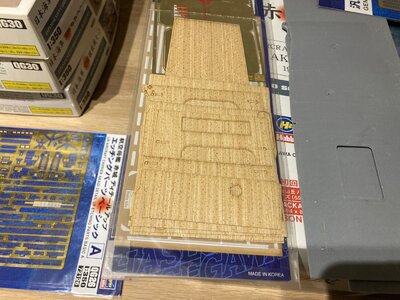
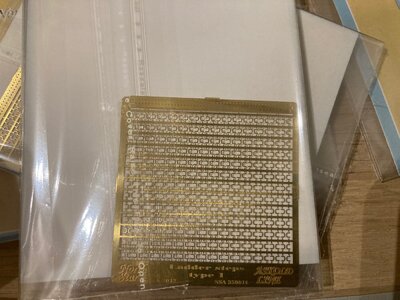
This first set of pictures covers just how much stuff there is for this build.My next instalment will cover exactly what I have done so far.

Kind Regards

Nigel
IMG_0803.jpgIMG_0804.jpgIMG_0805.jpgIMG_0806.jpgIMG_0807.jpgIMG_0808.jpgIMG_0809.jpgIMG_0810.jpgIMG_0811.jpgIMG_0812.jpgIMG_0813.jpg
 
Where to start:rolleyes:

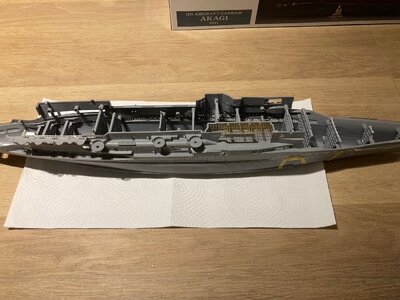
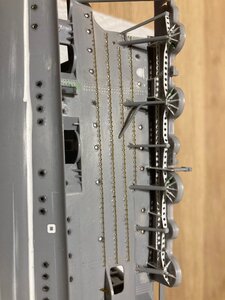
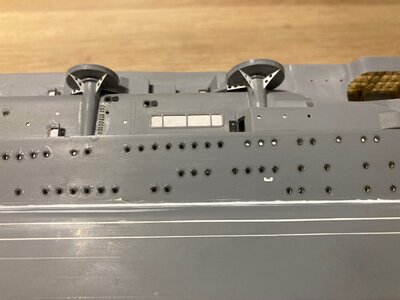
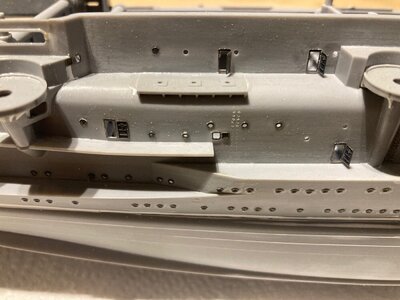
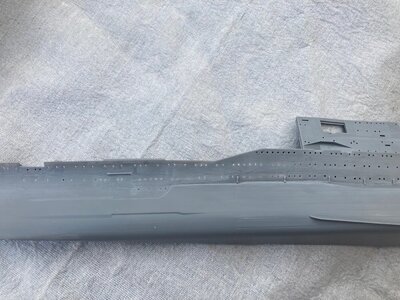
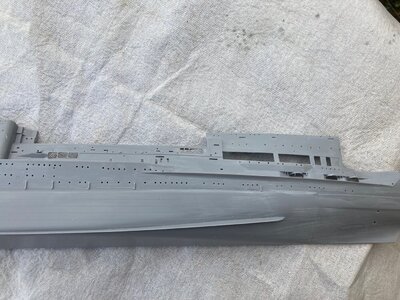
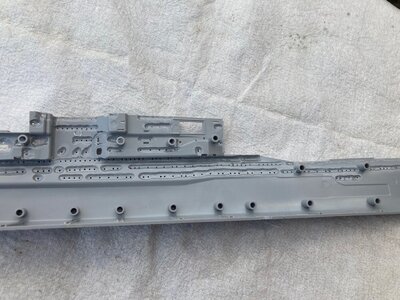
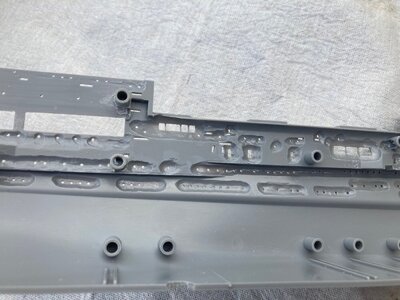
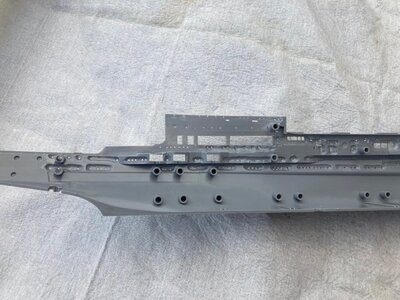
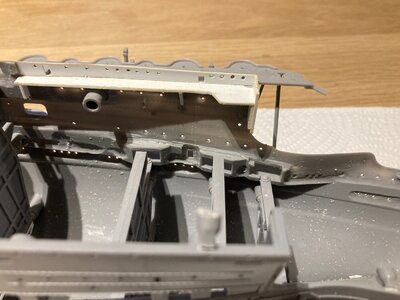
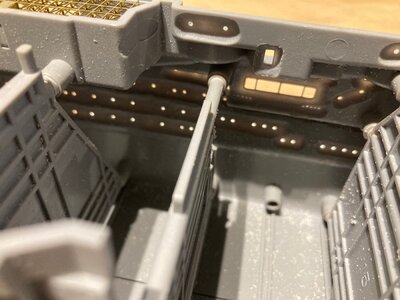
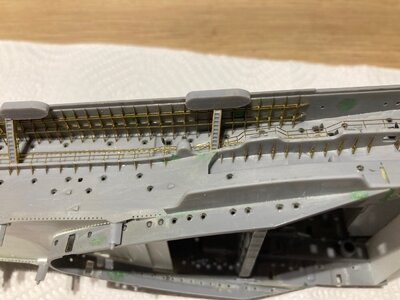
The hull halves have only been taped together while the model has been mothballed. The starboard side has been thinned local to all openings including every porthole to get near scale thickness.I am in the process of adding etched portholes, ladder rungs, hatches and then the degaussing cable.All gussets have been replaced, some with Alliance photo etch and some scratchbuilt in plasticard.All overcall hull plating will be removed with Mr surfacer when the halves are joined permanently.

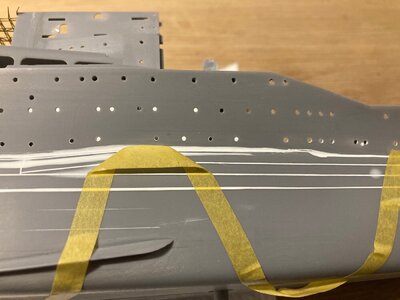
The Portside is still work in progress regarding thinning plastic from the inside and all portholes are drilled out.

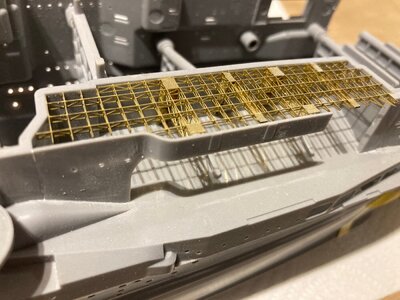
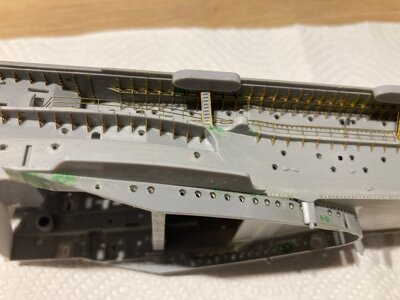
The front section of the flight deck and hull below has some photo etch details to finish then is ready for paint.

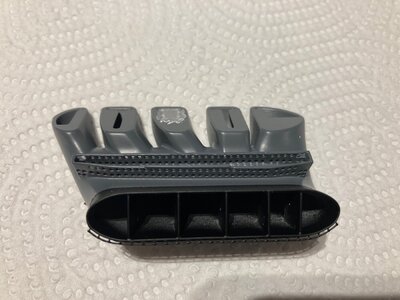
The funnel is complete.All rails and ladder rungs are fitted and the support has been internally thinned and drilled out.

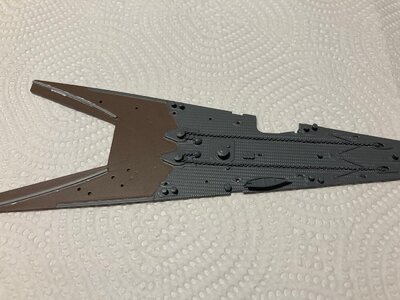
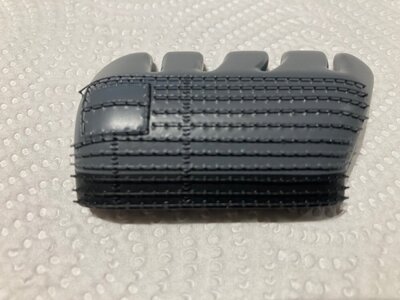
The foredeck is complete apart from adding a couple of minor details and the etched brass Linoleum deck strips

Kind Regards

Nigel
IMG_0814.jpgIMG_0815.jpgIMG_0816.jpgIMG_0817.jpgIMG_0818.jpgIMG_0819.jpgIMG_0820.jpgIMG_0821.jpgIMG_0822.jpgIMG_0823.jpgIMG_0824.jpgIMG_0825.jpgIMG_0826.jpgIMG_0827.jpg
 
Insane photo etching details.
Those pictures looked like I was seeing the real McCoy.
Great work my friend. I will follow this build till the end.
 
Excellent PE work. The girder system is really great. An interesting technique apparently combining kit and PE parts to make your stairways.
Enjoy
 
Thanks Guys

The half plastic, half PE railing is Hasegawa's design of their detail up parts.

Kind Regards

Nigel
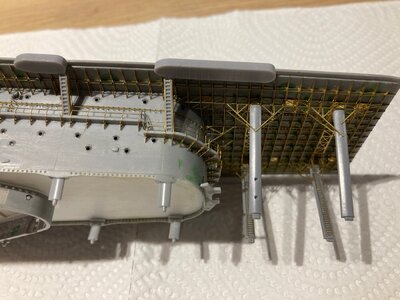
 
I'm new to plastic modeling and even had to look up IPMS and will into the website at a latter time. I agree with all on pe work under the flight deck. Nigel I'm pulling up a chair to follow along too learn from your skills.
 
Where to start:rolleyes:

The hull halves have only been taped together while the model has been mothballed. The starboard side has been thinned local to all openings including every porthole to get near scale thickness.I am in the process of adding etched portholes, ladder rungs, hatches and then the degaussing cable.All gussets have been replaced, some with Alliance photo etch and some scratchbuilt in plasticard.All overcall hull plating will be removed with Mr surfacer when the halves are joined permanently.

The Portside is still work in progress regarding thinning plastic from the inside and all portholes are drilled out.

The front section of the flight deck and hull below has some photo etch details to finish then is ready for paint.

The funnel is complete.All rails and ladder rungs are fitted and the support has been internally thinned and drilled out.

The foredeck is complete apart from adding a couple of minor details and the etched brass Linoleum deck strips

Kind Regards

Nigel
View attachment 349616View attachment 349617View attachment 349618View attachment 349619View attachment 349620View attachment 349621View attachment 349622View attachment 349623View attachment 349624View attachment 349625View attachment 349626View attachment 349627View attachment 349628View attachment 349629
Just amazing work!! There is a 1/200 Arizona in my future so I will pull up a chair and learn from a master. Looks superb.
 
Thanks Guys

I have a passion for a lot of IJN vessels. I think a lot of this is to do with the fact that many IJN aircraft carriers were not designed as carriers and many have an abundance of "scaffolding" in their design which creates visual interest.

Given that one could argue that most of the detail sets are by Hasegawa, to my knowledge, this is the most complex kit in 1/350 scale ever produced so far.The complete package without the additional parts by other manufacturers cost the same as the Caldercraft Victory back then !

Yes I know independent aftermarket companies have taken things even further, I have Tamiya's Musashi with full Flyhawk super detail set in my stash as testimony to that.The Trumpeter group of companies is starting to knock on the door now. I have recently acquired the 1/200 Glow2B Yamato and that comes with 15 sheets of photo etch and a total parts count of 2300 ! I have an obsession with all things Yamato class and I have been waiting a long time for this.

I have made a start this weekend, but half of my time was spent taking stock of where I was up to ( five sets of instructions to work with at once ) and what supplies (paint/glue etc) I need to order.Updates will commence next weekend

Kind Regards

Nigel
 
Just amazing work!! There is a 1/200 Arizona in my future so I will pull up a chair and learn from a master. Looks superb.

The Midwest model shop on Youtube is a good source of reference for 1/200 Arizona. I did watch one of Nigel's modelling bench updates on Arizona this weekend.He has every set of upgrades for his build and is mixing all the parts in his build but does mention if you only could buy one upgrade kit, the Eduard is the one to go for;)

Kind Regards

Nigel
 
Must have been nerve-wracking work with the burr, thinning the hull without punching through. Very detailed work.
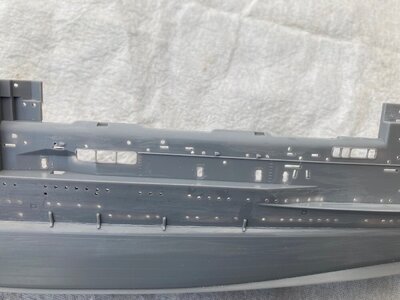
Yes but I have found that if you have a lamp on the far side of the hull, you can accurately gauge how deep you are going by the opacity of the plastic;)
 
Back
Top