1777 - H. M. Cutter Alert - VanguardModels

Joined
Sep 23, 2018
Messages
69
Points
113

Location
Dresden, Germany
A few weeks ago, parallel to building the TridentModel "Alert", I started building the smaller version of VanguardModels in 1:64.
At that time I had the kit for quite a while, according to Chris Watton I was the first to order it.
I have that in writing ;)
Anyway, the kit lay around for a while, I had to finish other projects, then there was the excitement about the Trident kit and just before new year's eve my little daughter wanted to join in...
It didn't work with the Trident kit, but the smaller kit was prepared relatively quickly and started out of the box.
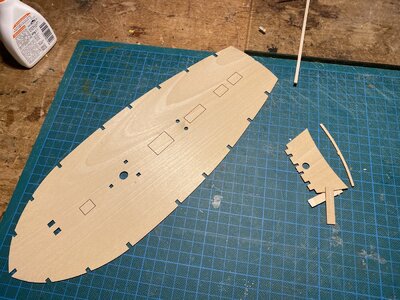
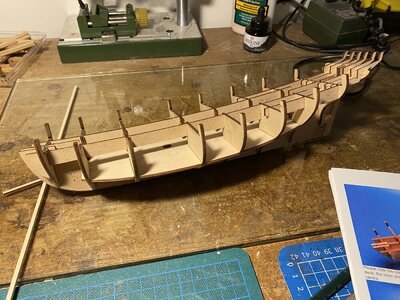
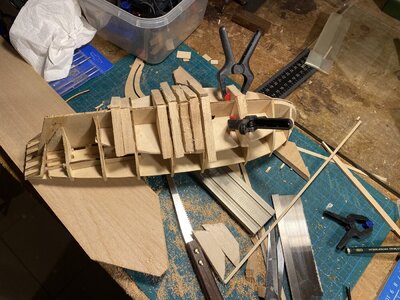
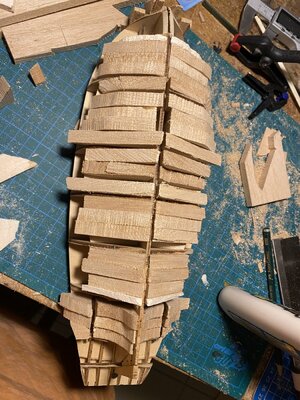
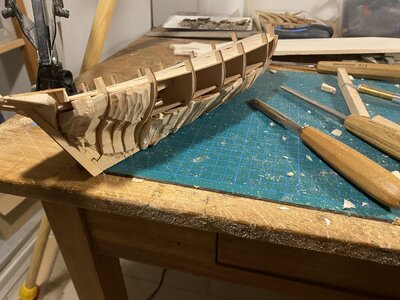
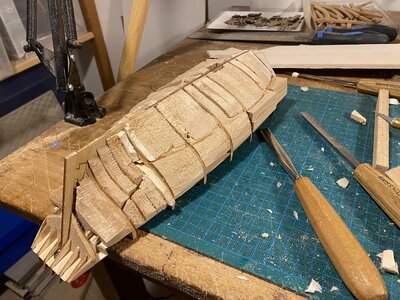
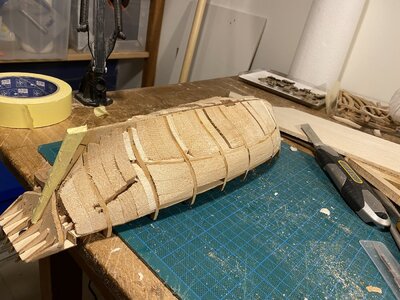
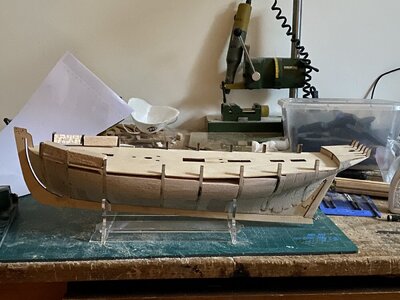
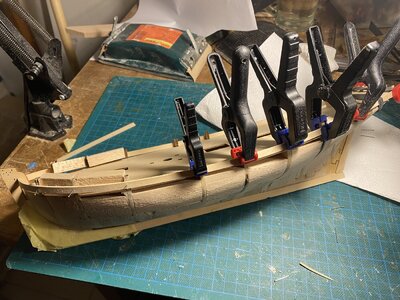
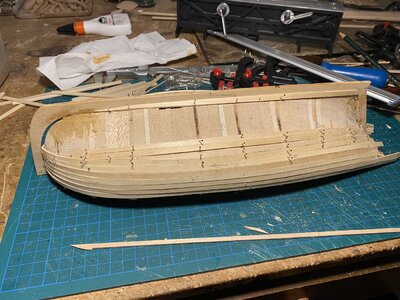
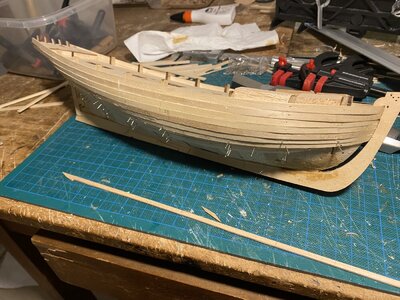
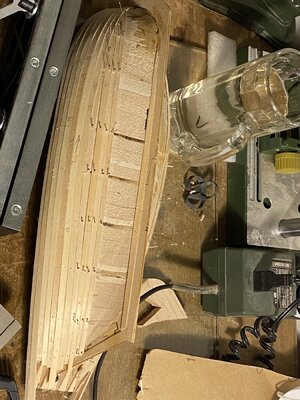
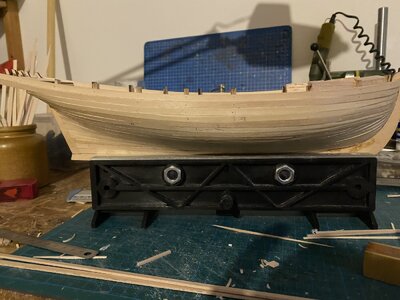
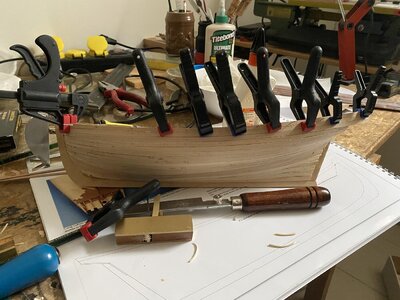
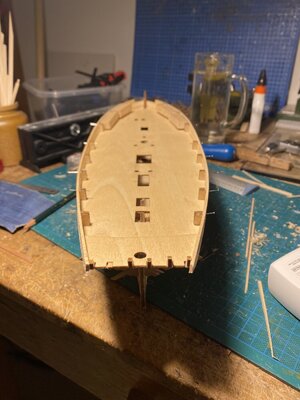
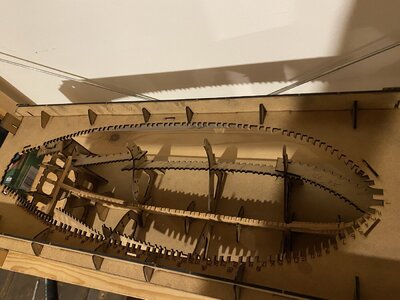
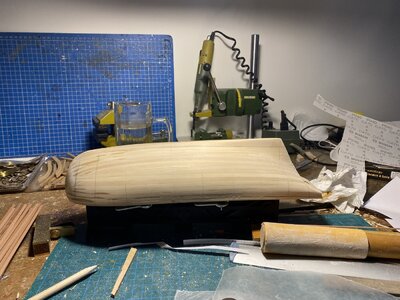
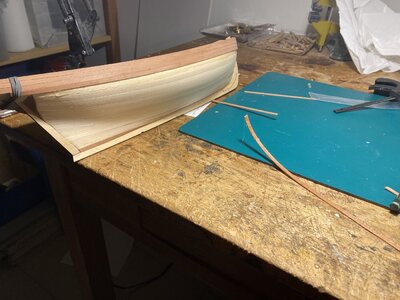
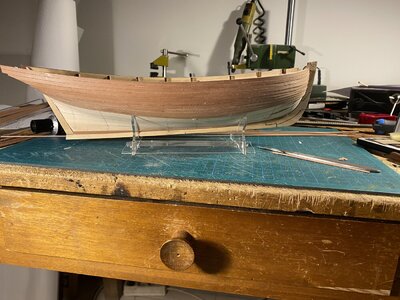
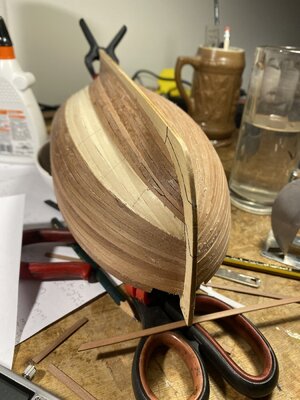
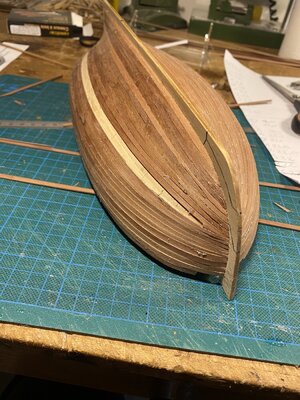
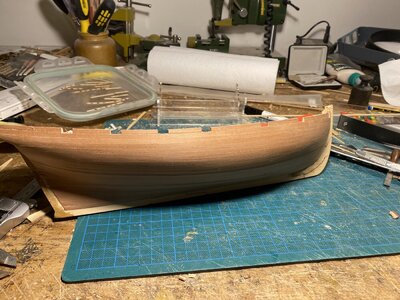
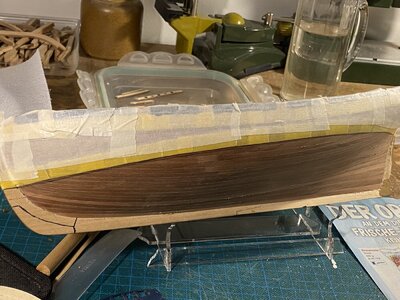
Within a short time I had assembled the frame, in the meantime I have finished the first planking, filled the fuselage and am preparing the visible planking.
I still keep the construction report in the German forum (schiffsmodelle.com), but will try to keep a slimmed-down version here in the forum as well.
I hope you will forgive me that there will only be posts at loose intervals.

I will post the pictures of the first stages of construction here tomorrow, as soon as I have made a preliminary selection.
Unfortunately, the very first steps are not documented, the first pictures show the assembled frame.

Funfact: My daughter has lost interest again in the meantime....Kids are funny, especially when they are still small.
 
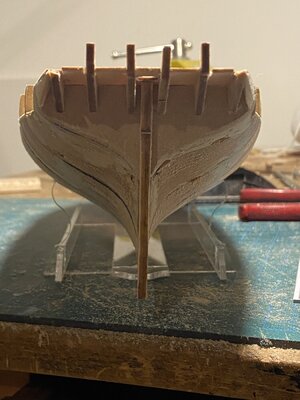
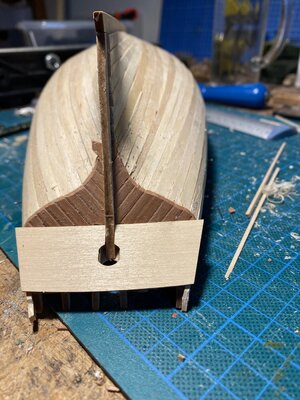
After completion, I planked the stern. Here the first thing that came into play was the bulb mouldings. Unfortunately, the one I used was badly cut.
I had to machine it quite a bit to make the ugly grooves disappear.
I also felt compelled to remove the stern and keel in the stern area in order to further sand down the planking to achieve a harmonious transition.IMG_7341.jpgIMG_7342.jpgIMG_7343.jpgIMG_7346.jpgIMG_7348.jpgIMG_7349.jpgIMG_7350.jpg
 
The construction steps of the last two months ran in fast motion: construction began between Christmas and New Year's Eve.
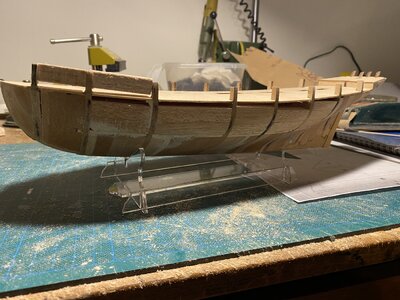
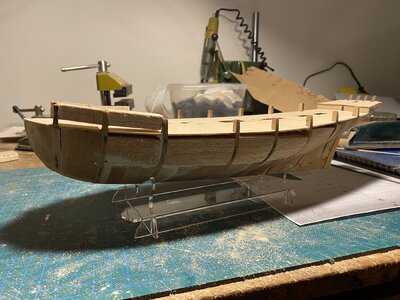
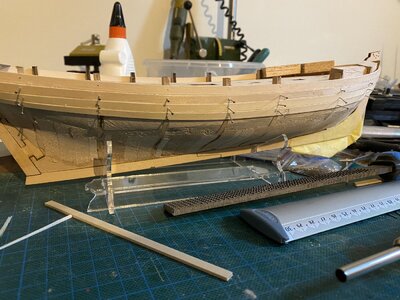
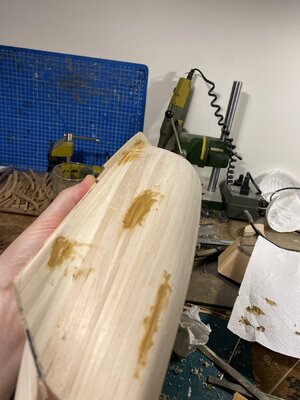
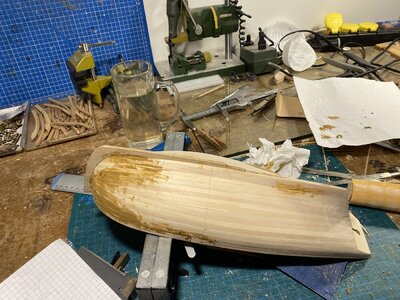
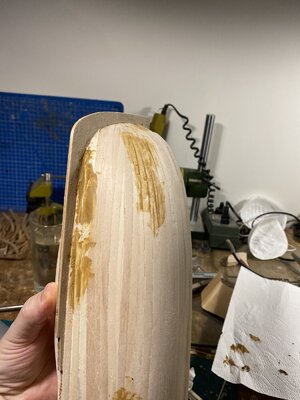
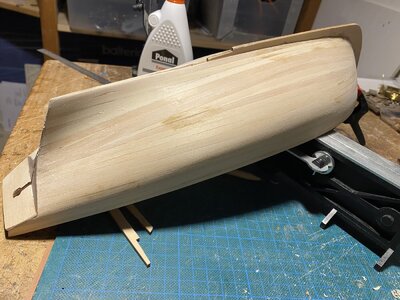
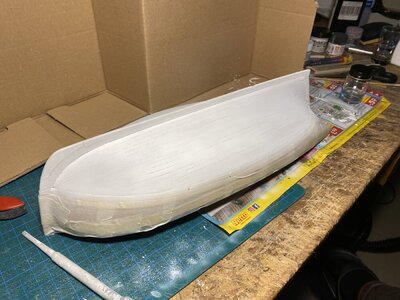
Now I have a first sanding behind me and have applied filler to close last cracks and gaps in the hull.
After I have smoothed these out, I will start preparing the second planking.
IMG_7356.jpgIMG_7352.jpgIMG_7355.jpg

In the background, parts of the Trident Alert's bows and the Trident model in the Berth.
IMG_7357.jpgIMG_7358.jpg
Many greetings and see you soon
Emanuel
 
Sanded, filled and (almost) ready for planking.IMG_7359.jpgIMG_7360.jpgIMG_7361.jpg
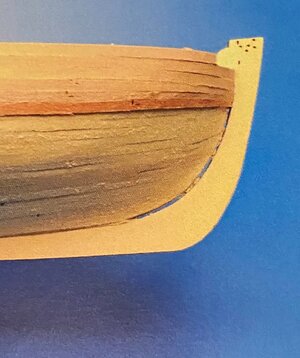
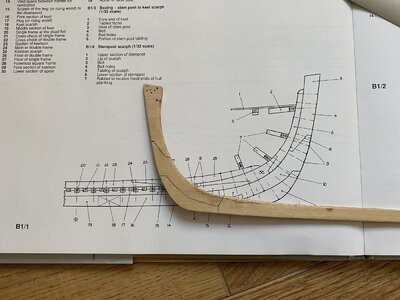
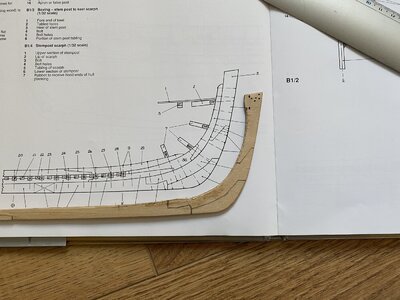
I'm also thinking about whether I should restore the strange spooning on the stern. The first planking fitted perfectly in there. However, I would have to change the swing of the (first) planking if I were to open the breakthrough again. Here is a picture from the building instructions:
IMG_7362b.jpg
or leave it and have the secondary planking butt up against the stern? Or cut a spoon in the stem yourself? Of course, if you do this afterwards, there is a relatively high risk of the stern slipping off and thus being ruined.
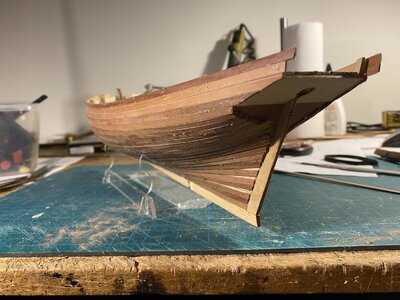
Anyway, the bark timbers are then placed on the planking, they butt up against the stern anyway.
The longer I think about it, the more questions come to mind.
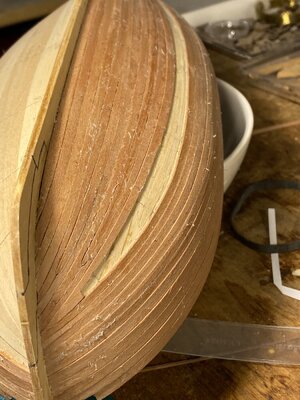
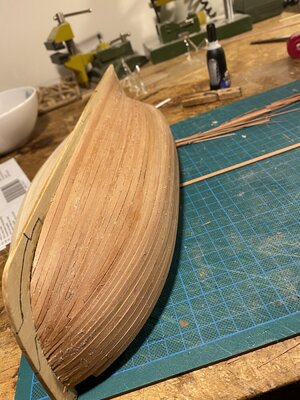
When I've done the final sanding, I'll definitely remount the sternpost and the second part of the keel. And then the keel planking will be done. After that, it's time to unwind. I have now read up on the various guides and will try out this type of division. I'm curious to see how it works.
However, most guides assume that you measure the hull below the bar timbers using this method. Is this practical for the Alert? Or should I first plank 3 courses from the upper bulwark end, then apply the bar timbers and only then calculate?
But that poses a difficulty: the bar timbers consist of 2 courses, half of which are planned on the 3rd course below the upper end of the bulwark, but the lower part of the bar timbers is already in an area of the hull that I would have to taper, and which would therefore have to have been rolled away....

Questions upon questions, I hope my thought processes weren't too frayed and you guys have an idea on this too....

The text is copied from my German construction report. I hope that the translation works reasonably well.
Many thanks & best regards
Emanuel
 
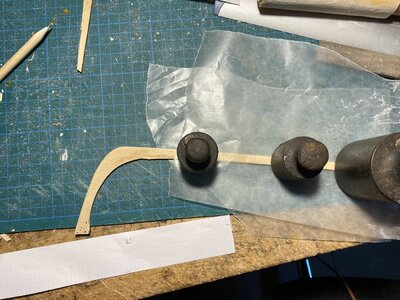
I actually did it. After sneaking around my work table for about 2 days and not really knowing what, how and above all why? And why me? I spontaneously grabbed the saw this afternoon and loosened the stem with well-dosed force.
Why I finally decided to do this was the fact that there was still an unevenness in the area of the keel plank that I would have liked to remove. And that was easier to do without the keel. Beforehand, I had already drawn the marking on the stern, which I wanted to turn into a spooning in situ.
But it was quicker with the saw. But it could have gone wrong. Or at least more crooked...

IMG_7363.jpgIMG_7364.jpg
When the keel is dry, I will work in the spooning.
 
After a break, I will continue the construction report here at greater intervals. I documented the construction progress better in the German forum, and to be honest I had forgotten about the thread here.
In fact, I have been working on the ship regularly and will gradually post the pictures here with selected comments.
 
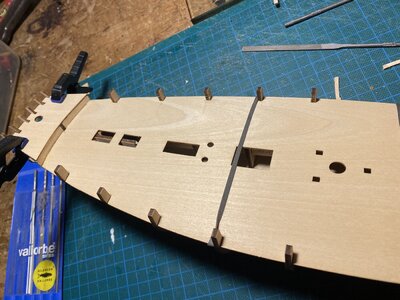
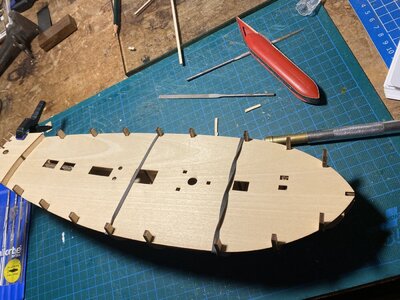
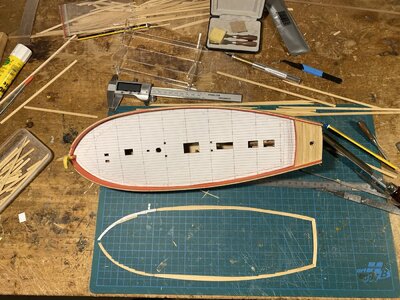
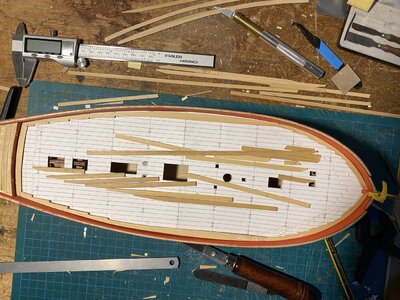
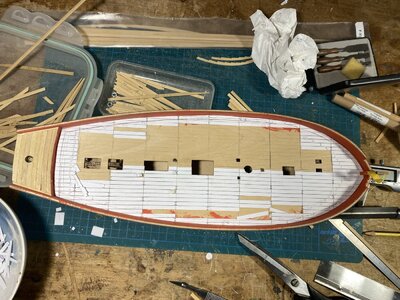
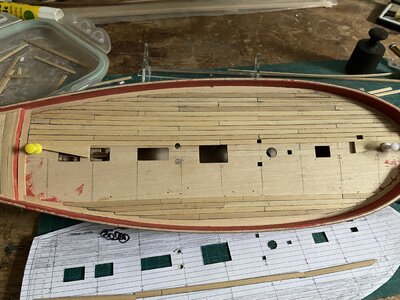
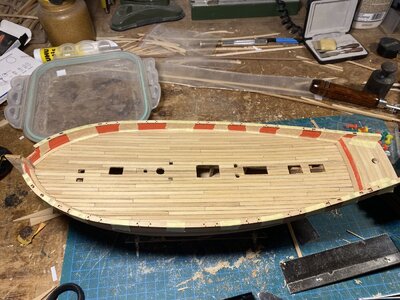
Afterwards, a few months passed in which I tried to construct the deck. Templates, calculating the thicknesses and a lot of trial and error, as well as the help of fellow model builders in the German forum, helped me to reach a good conclusion.
IMG_7565.JPEGIMG_7567.JPEGIMG_7568.JPEGIMG_7577.JPEGIMG_7579.JPEGIMG_7580.JPEGIMG_7590.JPEGIMG_7592.JPEGIMG_7593.JPEGIMG_7598.jpgIMG_7601.jpgIMG_7605.jpgIMG_7610.jpgIMG_7611.jpg
 

Attachments

  • IMG_7591.JPEG
    IMG_7591.JPEG
    270.7 KB · Views: 2
Back
Top