75mm Lifeboat-Master Korabel

Joined
Aug 25, 2017
Messages
313
Points
193

Location
Moira N.I.
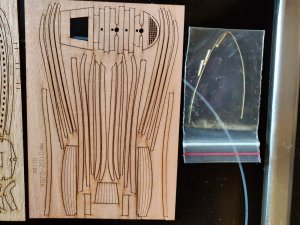
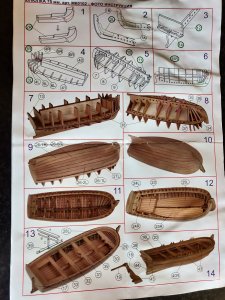
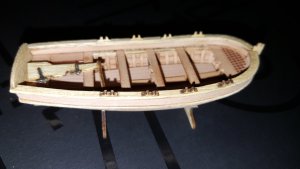
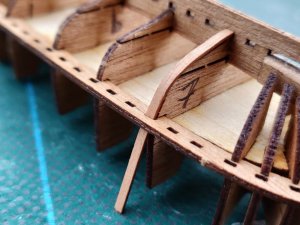
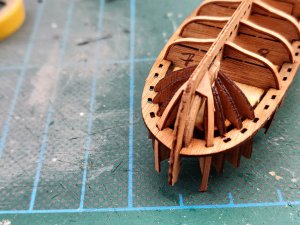
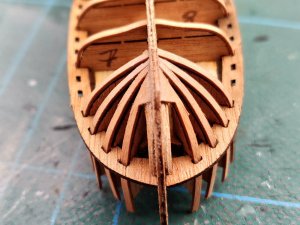
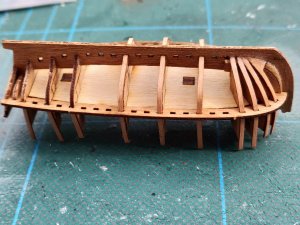
About a month ago I got a letter from HMRC (Her Majesties Revenue and Customs) with a large cheque for an Income Tax rebate. I spent a few days sitting in the garden wondering what to do with this hugh windfall, invest on the Stock Market, buy Gold or splash out on fast women and loose cars. I worked out I could get the 75mm Lifeboat kit from Master Korabel and once the postage was paid I would still have enough left over to buy a bottle of beer and a bag of crisps (potato chips) to help with the build. I like the look of some of the Master Korabel kits but I have always been a bit wary of ordering things from places like Russia or China, so this would be a trial run so to speak. 10 days after placing the order the kit turned up so no worries there then. As expected all the instructions are only in Russian but there is a picture set of instructions and I have been watching a chap on Youtube building the 95mm version so there shouldn't be any problems. I tried my nearby Public Lending Library for "Be Fluent in Russian in 7 days" book but someone else has borrowed it and it's unavailable for the next few months. I have Google Translate on my Mobile Phone and using the camera option I have been able to translate some of the instructions but that's all part of the fun of model building. I will be making a start on this at the weekend and will also be continuing with my HMS Eskimo build
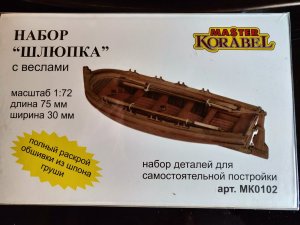
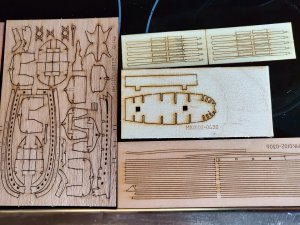
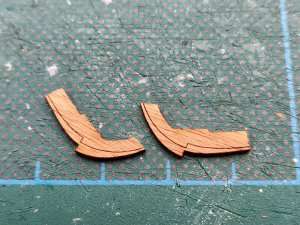
Lifeboat1.jpg
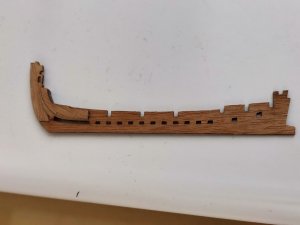
Lifeboat2.jpg
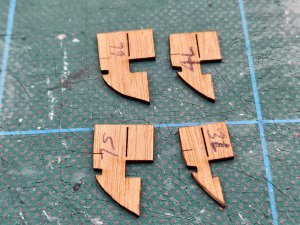
Lifeboat3.jpg
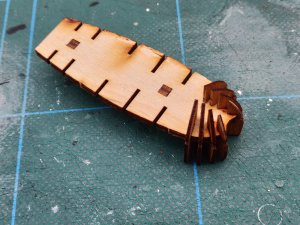
Lifeboat4.jpg

Cheers Andy
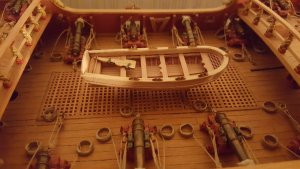
 
Good on you Andy, I love your sense of humour, I look forward to your build as I have the korabel Phoenix kit with life boat on the way from Russia,
Best regards John,
Thank you John, I spent the second year of my Instrument Technician Apprenticeship working with an ex Royal Navy submariner and an ex Army corporal, being the youngest I got a lot of p*ss take and sarcasm and learnt very quickly to give as good as I got and to be quick with witty, sarcastic replies. In my present job, servicing colour printers and copies, I need a good sense of humour. Although this was fairly cheap for a wooden kit it appears to be good quality and should be an interesting build.
Greenstone, who posts here, is with Master Korabel. PM him and he will send you an English translation of the instructions.
Thanks for that suggestion Dave, I could probably build this just using the picture instructions but there are a couple bits I'm not too sure about,
Cheers Andy
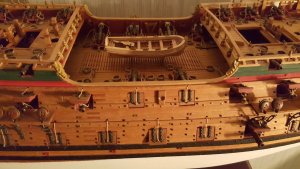
 
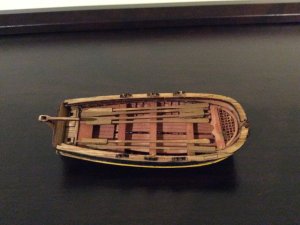
I got this kit from a US dealer on eBay. I modified it to fit my 1/48 La Belle since it was the only wood ship’s boat in the right size I could find other than the inferior boat kits from Model Expo.
It is very well designed and the photos are very helpful although the English instructions can be confusing. The main negative is that the planks and other elements are VERY thin wood and break easily. But, with care it can be completed satisfactorily.
I included a couple of pictures. I still need to add the rudder hinges for which I will use thin artists tape. I’ll also add rope coils and a bucket or two to cover up some imperfections. It’ll be a good added detail for La Belle.

52308E58-5939-441C-9C1F-59E47E13630A.jpegF3ADB3F7-4984-47C6-94D8-C79D17E9BB8C.jpeg
 
Thanks for the pictures, it's a great looking boat.
I have now managed to get the last 2 remaining items for this build and I can make a start. We have not had any rain here for nearly 2 months and my garden was bone dry but at the moment we are getting that 2 months rain and I now have a Paddy Field as a garden so instead of having to do outside jobs I can get on with this Lifeboat.


LifeboatA1.jpg

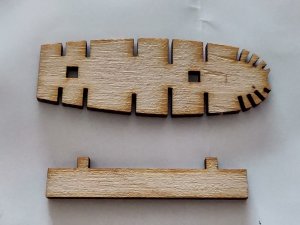
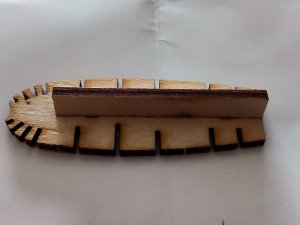
I started on the removable Bulkhead holder, this is 2 pieces of thicker laser cut wood, the fit was perfect without any adjustment required, and I used white wood glue.

LifeboatA2.jpgLifeboatA3.jpg

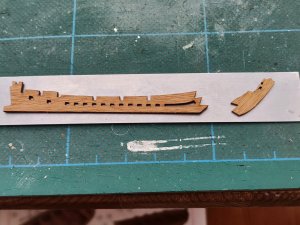
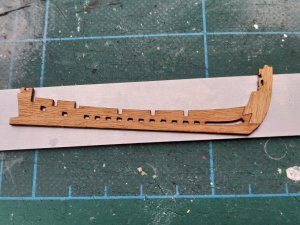
The Keel is also in 2 parts, I cut out the main Keel carefully and using a small needle file I removed the laser char. I did the same with the Stem and then glued the 2 parts together and left for a few hours to dry.
LifeboatA4.jpg

LifeboatA5.jpg

2 small pieces of wood are then fitted, one each side to the front end of the Keel to help locate the ends of the planking strips. These need to be filed down on one edge before glueing into place.
LifeboatA6.jpg

LifeboatA7.jpg
 
Very small pieces ...... and it will get a very interesting log - I will sit in the first row
Danke Uwe, I always seem to be building small things, still the best things come in small packages. You might need a comfortable chair because I am not going to rush this, feel free to bring along plenty of food and drink, that beer we had in Vienna was really nice, so a barrel of that will go down nicely,

Prost Andy
 
Thanks Greg, I stopped rushing things a while ago.
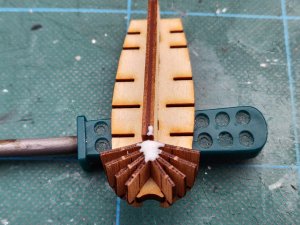
The next step is to fit the Bulkheads, surprisingly they are fitted to the Bulkhead holder that I assembled at the start. A couple of the slots needed a little bit of careful filing so that the Bulkhead could fit without forcing it. I broke one of the Bulkhead's top part but it will be removed once the planking is done . I started at the Bow and worked my way towards the Stern, the fit is that good the Bulkheads all stayed in place except the forward Bulkheads need a "blob" of glue on top to keep them all together (see photo).
lifeboatB1.jpg

LifeboatB2.jpg
LifeboatB4.jpg

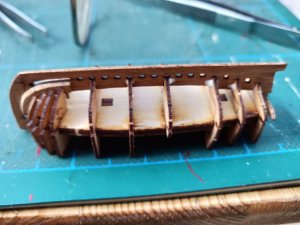
Once all the Bulkheads were in place they were carefully dry fitted to the Keel assembly, again no adjustment was required, but you do need to be careful these parts are fragile. When I was happy with the fit I glued all the joins with white wood glue using a wet paint brush to dilute the glue so that it ran into the joins. I am going to leave this for a few days so that the glue can fully harden before the next stage which is fitting the Ribs to the Bulkheads.

LifeboatB5.jpg
LifeboatB6.jpg

Cheers Andy
 
Now...step by step we can understand the planned sequence of the kit - many thanks for sharing with us
 
Now...step by step we can understand the planned sequence of the kit - many thanks for sharing with us
Danke Uwe, I am trying to explain everything I am doing in this build to help the other members of this forum that have either got or are getting these Lifeboats for their various ships.

Cheers Andy
 
Hi Andy,

How generous of the British tax regime to offer you the funds for your own yacht, guess you christiand her QE III. If you put the same money into bitcoins 5 years ago you could have bought a car with it by now.;)

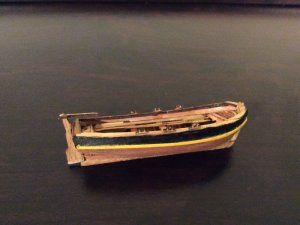
I build this kit last year as a boat for my Friesland model, the detailing is great. I found the small parts like the frames very brittle. But overall a very recommendable upgrade for most kit supplied boats and sloops and great fun to build.
20180114_195442.jpg
20180114_201615.jpg
20180114_201639.jpg
 
Regards Andy
A good overview of the assembly of our boat!

It is a pity that you have the instruction in Russian.
The fact is that our products are delivered to Europe, to the USA and Australia already with instructions in English.

At official sellers with it all okay.
And buying from them you are guaranteed to be sure of the receipt of the goods. In time, Qualitatively and with the English instruction.

Of course, I will be happy to help you.
But I do not know how I can send instructions to you?
In personal message, I did not see where to attach the file

We do not have the feature to attach files in PMs....sorry

These boats are realy great, especially in this small scale 1:72, very detailed. And seems to be especialy interesting for modelers building kit models in this scale or close to this scale, I think you can still use it for a main ship in scale 1:64 like the models from Jotika Caldercraft etc.
Would it be not interesting also, to produce some boats for the so called "Museum Scale" 1:48? Just an Idea......
Sorry Andy for hi-jacking your topic :eek:
 
Many thanks for you reply Eugene, I will send you my email by PM. I didn't realize that your kits were available in Europe so I brought this by eBay from Russia.
You are not Hijacking my thread Uwe, anything that helps me or other members is most welcome.

Cheers Andy
 
I have now received the English Instructions from Eugene.
Many Thanks for your help, fantastic customer service.
Andy
Большое спасибо за вашу помощь, фантастическое обслуживание клиентов,
Лучшие пожелания Энди
 
I have now received the English Instructions from Eugene.
Many Thanks for your help, fantastic customer service.
Andy
Большое спасибо за вашу помощь, фантастическое обслуживание клиентов,
Лучшие пожелания Энди
Now you have no possibilities for any excuses ;)
 
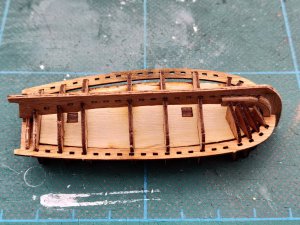
The 2 side pieces were next to be fitted, 1 each side. They fit into the slots on the Bulkheads and again the fit was perfect. They are only glued at the Bow and Stern and I used C.A. gel.

LifeboatC1.jpg
LifeboatC2.jpg

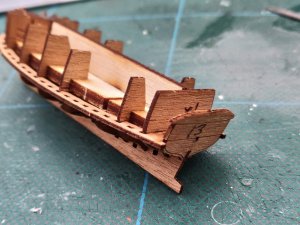
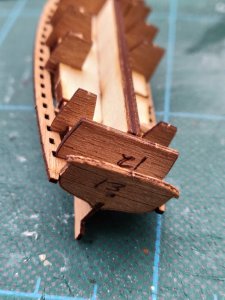
The Stern piece needed some of the sides filing an angle to the laser marks and then it was glued to the Hull.
LifeboatC3.jpg

LifeboatC4.jpg

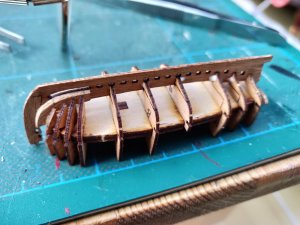
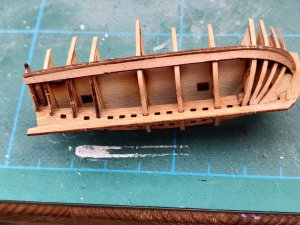
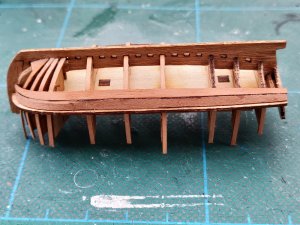
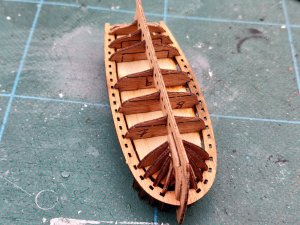
The Ribs are fitted to the outside of the Bulkheads and into the small slots of the Keel and side pieces. The instructions are very clear as to which Ribs are glued where. I started with the middle Bulkheads and first of all soaked the Ribs in water for a couple of hours. I then pushed the Rib down through 1 side piece, throught the Keel and up through the other side piece. These Ribs are then glued to the bottom and top of the Bulkheads with the rest just following the Bulkhead profile.


LifeboatC5.jpg
LifeboatC6.jpg

The Ribs at the Bow are pre-shaped and starting at the forward one I worked my way back.
LifeboatC7.jpg

LifeboatC8.jpg

On the rear 3 Bulkheads the Ribs are only fitted to the top of the Bulkheads, they are glued into the slots on the side pieces and then to the top of each Bulkhead. Once everything was dry I cut the tops off each Rib.
LifeboatC9.jpg

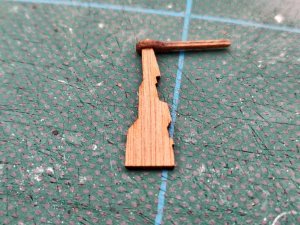
Whilst waiting for the Ribs to soak and for the glue to fully set I made up the Tiller and Rudder. This is 2 parts and simply glue together.


LifeboatC10.jpg

Cheers Andy
 
It is looking like a realy good prepared kit.....Thanks for sharing with us, especially showing us the small steps in between - very interesting log
Danke Uwe, there has been a lot of thought gone into this boat, it's good to see a product that has obviously been designed by model builders for model builders. At the moment I am saving my pennies for one of their larger boats, the quality is far better than some European manufacturers.

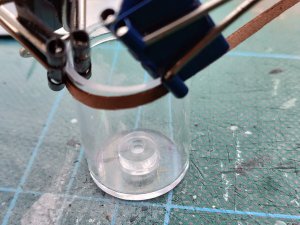
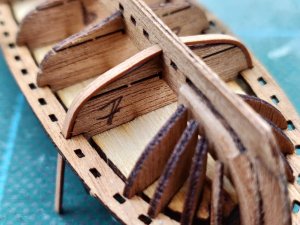
I have now got to the part that I have not been looking forward to and that is planking the Hull. Each plank is numbered and there is a left and right plank. Starting with the plank that fits below the slotted side piece, I soaked it in water for a couple of hours and then clamped the wet plank to the lid of a PVA glue bottle that looked to be about the right diameter. Once it was dry I started gluing the plank from the Stem towards the Stern a couple of Bulkheads at a time using C.A. gel and making sure the plank was tight up against the side piece. Whilst I was doing this I had the top plank for the other side soaking in water. I now have system where I have a plank soaking, one clamped and drying to shape and one being fixed to the Hull.

LifeboatD1.jpg
LifeboatD2.jpg
LifeboatD4.jpg

Cheers Andy
 
Back
Top