A new carving project: a full body figure of a ship captain in a 1:48 scale [COMPLETED BUILD]

Joined
Apr 20, 2020
Messages
5,679
Points
738

Hello dear friends
About two or three months after finishing my carving project - a lion figurehead of the ship la Belle Poule
IMG-20220910-WA0021.jpg
and focusing on the Alert model, I felt longing for the craft of carving.
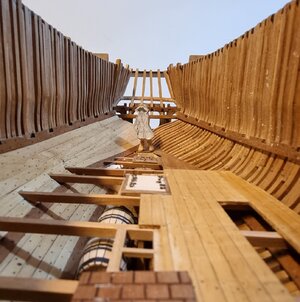
For some time I have wanted to carve a figure of a ship captain similar to the figures that some of you present at different stages of building a model to give an idea and scale of the area being built.
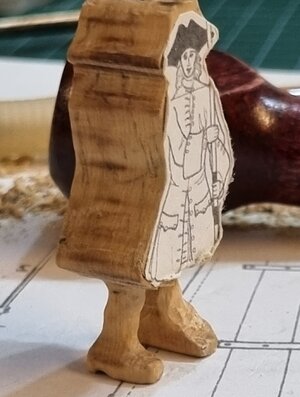
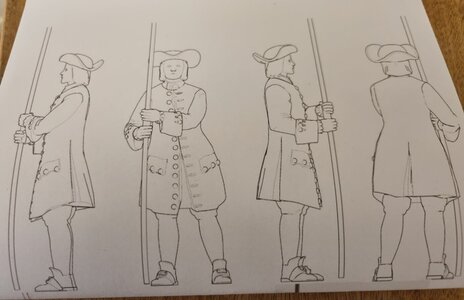
First step, I photographed a figure of a captain from ancre monographs in a scale of 1:48, a picture from the front and the second in a side projection. I chose a piece of high-quality boxwood and glued the figures on the front and side.
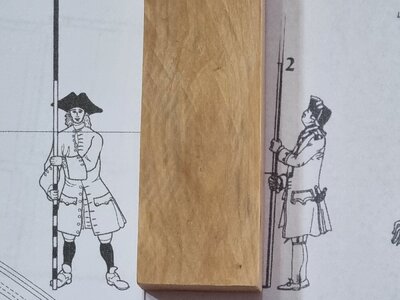
20221129_154209.jpg20221129_160655.jpg
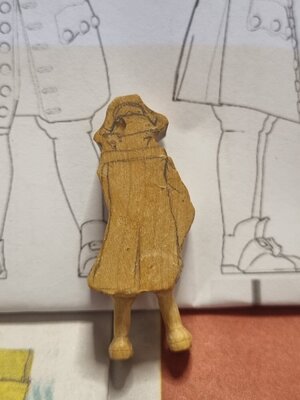
In the next step I sawed the contours of the figure with a wire saw
20221129_161012.jpg20221129_162016.jpg20221129_173859.jpg20221129_173910.jpg
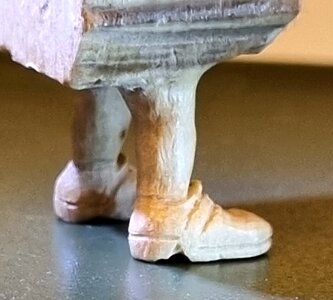
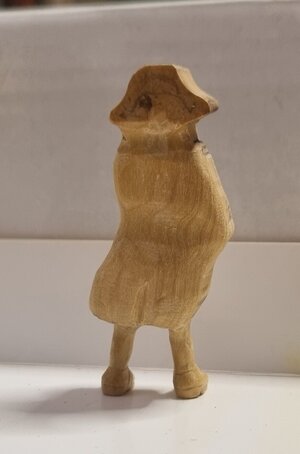
And from this stage began the carving craft that I love using different chisels and other tools. I decided to work on the legs and shoes area first. I'm just at the beginning of the journey/work I promise to keep updating the progress, for now you'll be impressed by the photos
20221129_185812.jpg20221129_185825.jpg20221129_185922.jpg20221129_185928.jpg20221129_205720.jpg20221129_205521.jpg20221129_204736.jpg
 
Last edited:
Hello,
it's not a captain it's a carpenter drawn by Jean Boudriot for his monographs.
I modeled it in 3D a few years ago. A design that can help with carving :aka_8vues.jpg

After I bring them on vacation :
plage_v3.jpg

Et j'en ai imprimé :
sonic_14.jpg
 
Last edited:
Hello,
it's not a captain it's a carpenter drawn by Jean Boudriot for his monographs.
I modeled it in 3D a few years ago. A design that can help with carving :View attachment 343344

After I bring them on vacation :
View attachment 343345

Et j'en ai imprimé :
View attachment 343346
I love them very much
@shota70 : the stick he has in his hand is a meter-bar - so you can measure / survey the height - the lower meter is separated into 10cm steps with black and white paints
 
good evening dear friends
Today I continued the carving work on the carpenter's legs.
I greatly regretted the drawings that Huc shared with us.20221202_174306.jpg
I focused on the outline of the shoes, the shoe buckle, the outline of the tab that comes out of the shoe at the top and the outline of the sole of the shoe. Then in the contours of the calves and thighs.
I'll let you see the pictures.
20221202_175037.jpg20221202_175007.jpg20221202_174913.jpg20221202_174900.jpg20221202_174847.jpg20221202_174841.jpg20221202_174824.jpg20221202_174743.jpg20221202_174757.jpg
 
Beyond anything I could ever dream of doing.... brilliant talent Mr Shota70.
Hi Shota,

I am very impressed with your carvings. It is certainly not as easy as it may look. To be able to think and carve in 3D shows an artistic flair that comes across in your early works.
A good start!
János
thank you very much my dear friend for the compliments and kind words :)
 
WOW. That carving is coming along well. Being able to see it half way shaped lets us see more of the process, which is very helpful to those like me who don't carve.
my dear friend
This is indeed the reason why I try at every stage of carving, to help those who would like both to experiment and to receive educational support from those who are more experienced than me in the art of carving.
 
good evening dear friends
Today I continued with the carving, where the focus is on the entire area from the neck to the edge of the cloak / coat below. First I sketched the different contours on all sides of the body as well as at the bottom of the robe in connection with the thigh area.
20221203_175652.jpg20221203_175712.jpg20221203_175739.jpg20221203_175754.jpg20221203_180102.jpg
After that I started carving the various contours, I'll let you get an impression of the intermediate results.
20221203_192735.jpg20221203_192742.jpg20221203_192755.jpg20221203_192804.jpg20221203_192810.jpg20221203_192821.jpg
 
good evening dear friends
Today I continued with the carving, where the focus is on the entire area from the neck to the edge of the cloak / coat below. First I sketched the different contours on all sides of the body as well as at the bottom of the robe in connection with the thigh area.
View attachment 343679View attachment 343680View attachment 343681View attachment 343682View attachment 343683

After that I started carving the various contours, I'll let you get an impression of the intermediate results.
View attachment 343684View attachment 343685View attachment 343686View attachment 343687View attachment 343688View attachment 343692
Hi Shota70,
Fantastic work, I have no experience with carving and was wondering if you could show what sort of hand tools you are using and did you make some tooling yourself?
I have had little experience with box wood, the only thing I would say is it is incredibly tough to machine.

Cheers,
Stephen.
Dear Stephen
I will try to answer your questions about work tools in the coming days (I just want to take pictures of the various tools for you), I saw your message minutes before going to bed.
Regarding working with boxwood, I think it is an excellent wood for carving, as long as the chisels are sharp
good night my friend
 
good evening dear friends
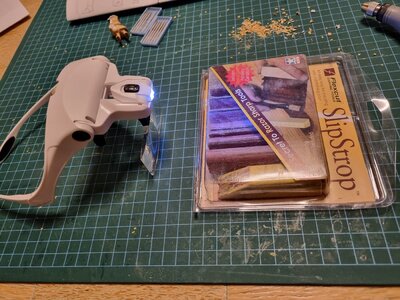
Tonight I continued with the carving, while this evening I focused on the left hand and the areas around it. First I will answer Stephen's question, I use a combination of several manual carving chisels alongside an electric dremel. In Dremel, I use diamond nail polishers, ball drills of 0.5-1 mm size, sanding/sharpening stones, magnifying glasses and sharpening accessories.

20221204_210540.jpg20221204_211201.jpg
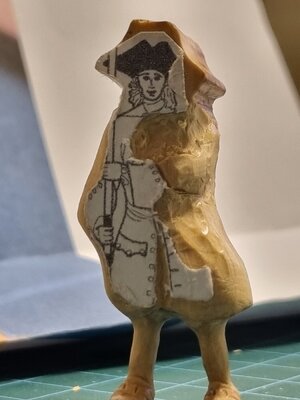
Now let's go back to the carving of the sleeve/left hand, before carving I examine the drawings carefully and transfer them onto the wood and start carving. I am slowly making the contours of the sleeve as well as the fit to the jacket in the lower part as well as in the chest to neck area.
I'm still in the middle of the process,
think this time too the pictures will express the carving process , more than words.

20221203_175754.jpg20221204_194535.jpg20221204_194548.jpg20221204_203240.jpg20221204_210059.jpg20221204_210121.jpg
 
Back
Top