I finally got started and the dry fit was easy enough.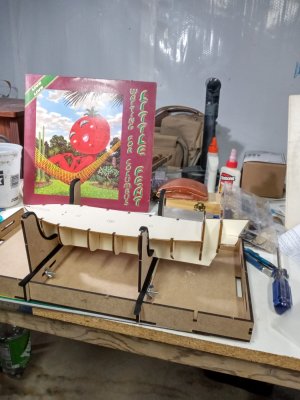 I used the deck to make sure the frames would align when I glued them in.
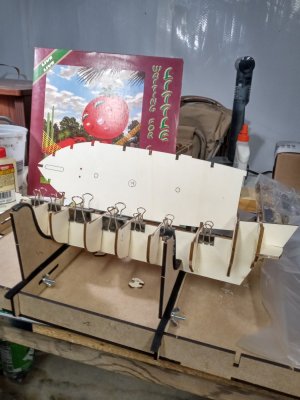
Planking the deck was a bit tedious and I used white glue. Contact glue was recommended, but I used what I had and it seems fine after sanding.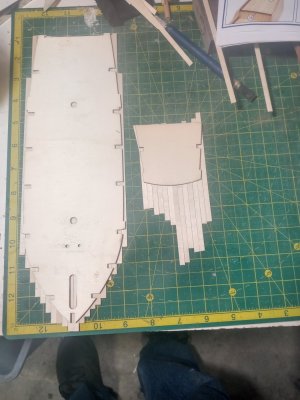
The trimming and opening all mast holes went well. I was really bothered by the instructions concerning the nails, or treenails, in the instructions. It didn't look right so I found a post on the SOS forum by Uwek about this exact ship. His advice that the nails should follow the frames supporting hatches and masts seemed solid so I followed it with my landlubber logic. I lightly penciled in the frame lines then created butt joints that were staggered. The nail holes were added and it ain't perfect but I think it looks more realistic. The light frame lines will be erased and sanded leaving the nail holes and butt joint lines. The deck has been glued on.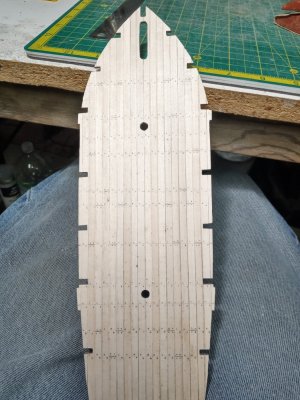
So far it's been fun and challenging. The deck was tougher than I imagined trying to match frame lines with masts and hatch openings. The diagram of the deck to scale in the rulebook helped immensely.
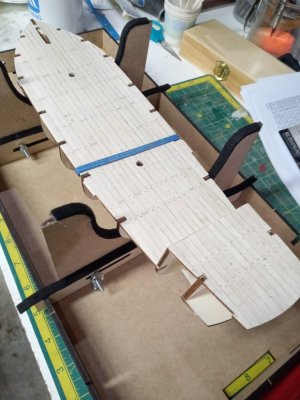
 I used the deck to make sure the frames would align when I glued them in.
Planking the deck was a bit tedious and I used white glue. Contact glue was recommended, but I used what I had and it seems fine after sanding.

The trimming and opening all mast holes went well. I was really bothered by the instructions concerning the nails, or treenails, in the instructions. It didn't look right so I found a post on the SOS forum by Uwek about this exact ship. His advice that the nails should follow the frames supporting hatches and masts seemed solid so I followed it with my landlubber logic. I lightly penciled in the frame lines then created butt joints that were staggered. The nail holes were added and it ain't perfect but I think it looks more realistic. The light frame lines will be erased and sanded leaving the nail holes and butt joint lines. The deck has been glued on.

So far it's been fun and challenging. The deck was tougher than I imagined trying to match frame lines with masts and hatch openings. The diagram of the deck to scale in the rulebook helped immensely.


