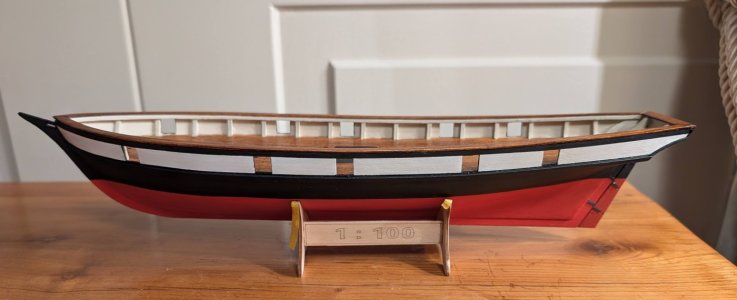
Another... Halcon - 1/100

Joined
Jan 2, 2025
Messages
16
Points
48

Hi all,
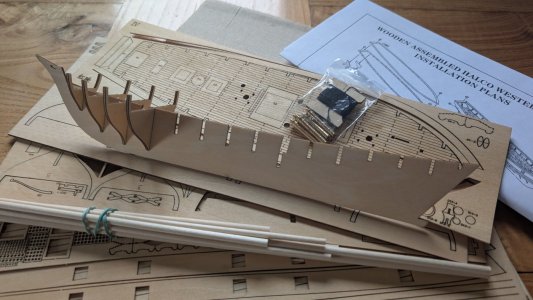
I got this Aliexpress 'Halcon' 1/100 kit for christmas, so I did not choose it but it chose me.
It is my first wooden model kit after something like 25 years or so. Since I quite like Clippers, both the hull and rigging, I thought, I might as well give it a go.
Also it is my smallest wooden ship model so far.
 
Last edited:
Day two

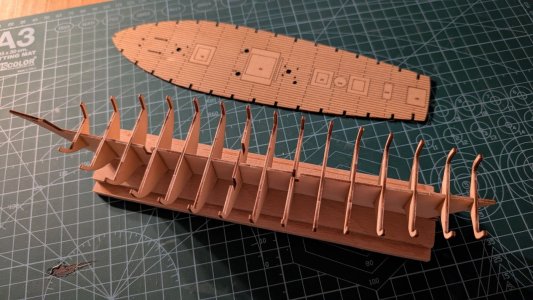
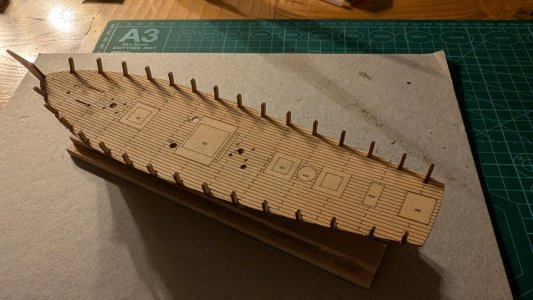
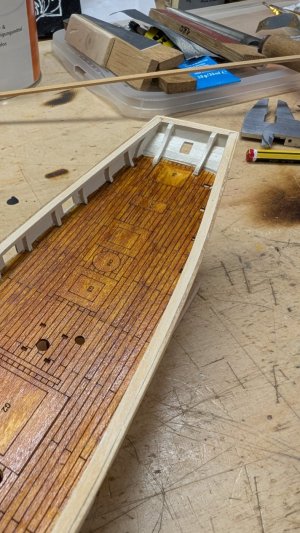
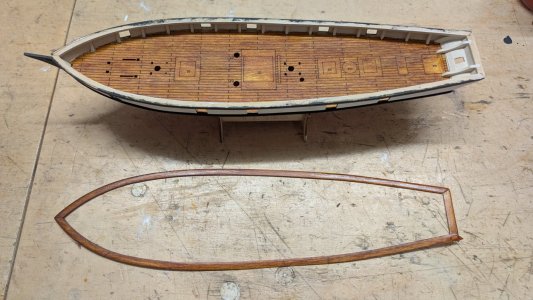
Attaching the lower railing frame parts.
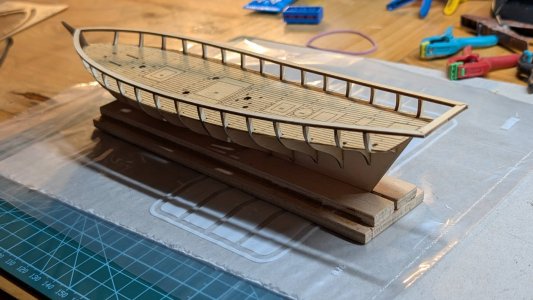
Attaching the railing planking. I soaked the parts and heat bent them over an soldering iron shaft.
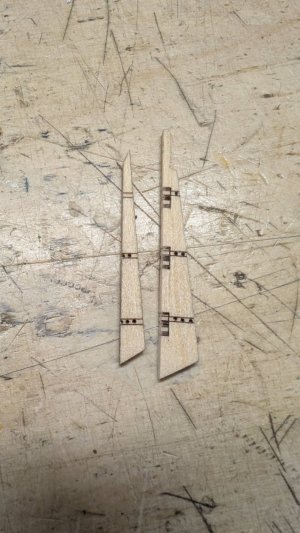
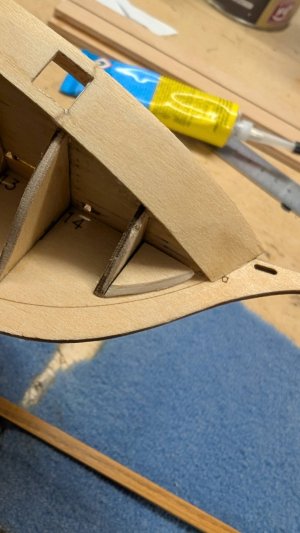
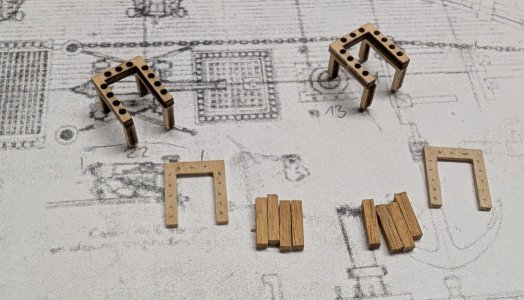
Planking the stern overhang and building four support frames for the overhang section (not included in kit), two on the sides and two center ones.
Painting the railing inside in a off white (Acrylic paint) and the deck (nitrocellulose lacquer with some leather oil dye)

PXL_20241229_191825758.jpgPXL_20241229_203922870.jpgPXL_20241229_203955368.jpg
PXL_20250105_111918739.jpg
 
Last edited:
Day three and four

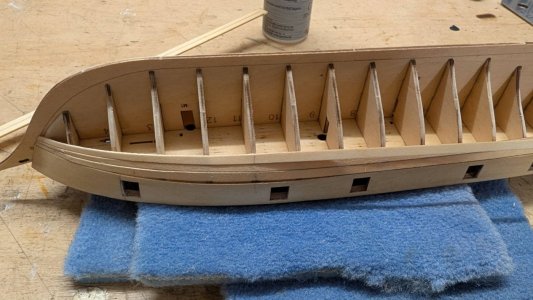
Separating the rudder and stern. Attaching stern to keel part.
Filling bow sections for easier attachment of the planks (not included in kit)
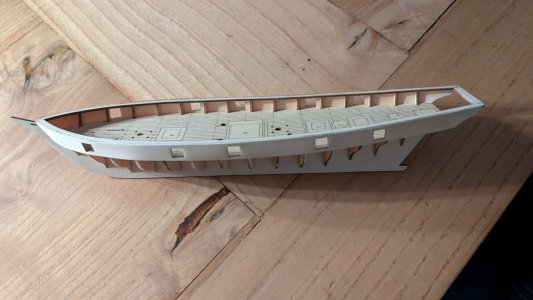
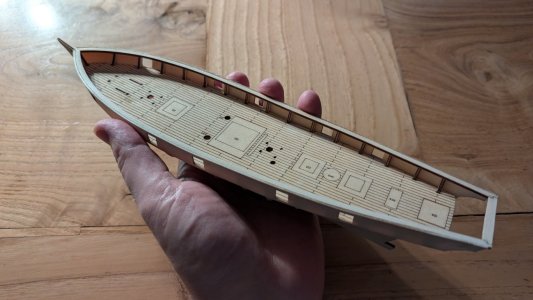
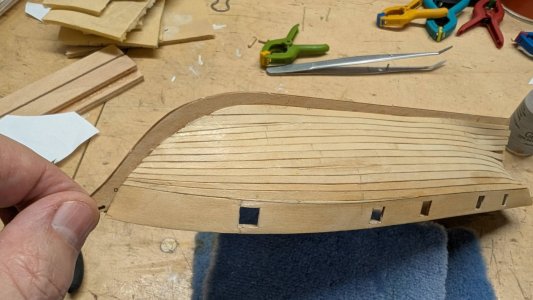
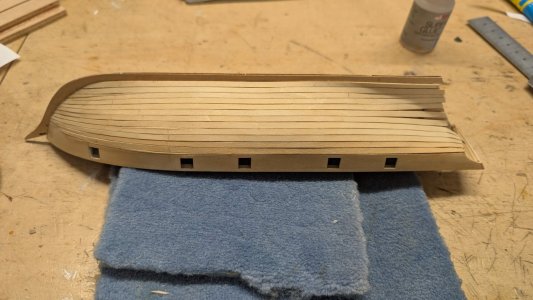
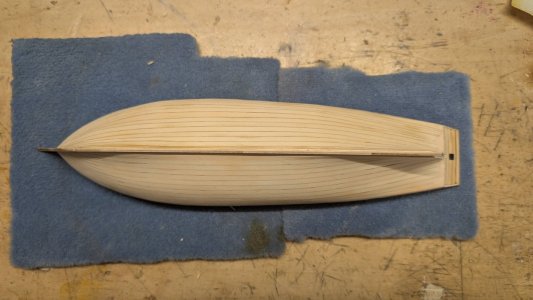
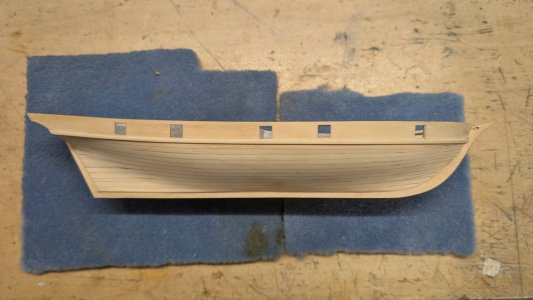
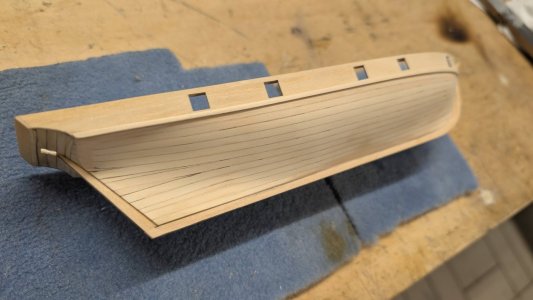
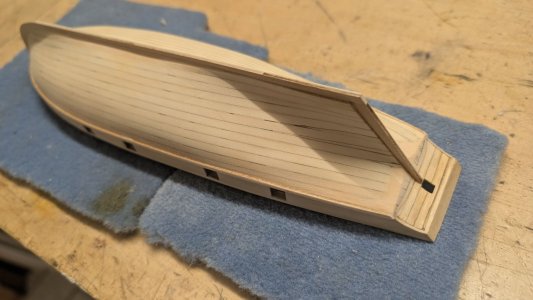
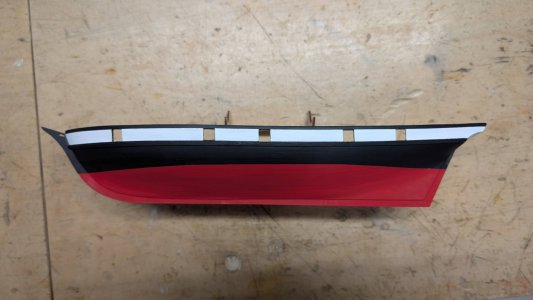
Planking star-board side (a bit chaotic. Did not mind so much since I intend to paint the hull). Planks were watered, heatbent and tapered.
The portside planking went a lot better - after- checking some literature for how the plank directions should go.

PXL_20250105_112315844.jpgPXL_20250105_114930325.jpgPXL_20250106_174824936.jpgPXL_20250106_191248120.jpgPXL_20250106_191252612.jpg
 
Last edited:
Day five

watering the planks really helped to be able to bend them without breaking. The downside was that they had expanded and after drying there were gaps everywhere.
So, filling time. I used a wood based filler for wooden floors that turned out to be really hard and a bitch to sand by hand.
Since the stern part of the planking formed a crinkle ( I saw this in many Halcon builds) I also filled this up a little to give the hull a nicer stream line.
Added a rail just below the gun-ports.

PXL_20250108_181210097.jpgPXL_20250108_202446208.jpgPXL_20250108_202456902.jpgPXL_20250108_202511370.jpg
 
Last edited:

Day seven


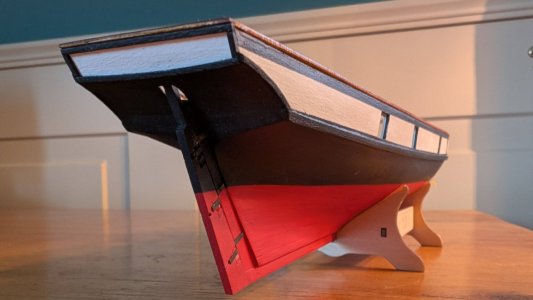
Finished the railing (same nitrocellulose lacquer as deck) and built the transom. This was pretty much the biggest let-down in the build instruction one pager that came with the kit so far.
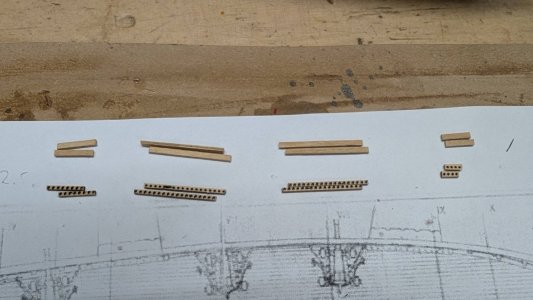
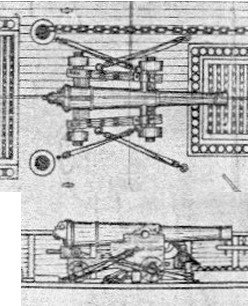
Again I took a look at some reference material. Also I had found this old looking Halcon plan in someone elses build blog. Both helped a lot in constructing something plausible. So the transom plate got a frame of really thin wooden strips as well as the lower edge of the curved overhang. I messed up a few times - the transom itsef, the curved frames, the stern cover section of the railing was redone. While painting it and trying to blend it in with the reailing covers on the sides I meesed one up. So I detached it, paint stripped it and painted it again.
Finally I made some tiny fake hinges (as in not working) out of brass sheet, chemically blackend and attached the rudder.
Next will be the deck details.

By now I have developped quite an ambition and fell a bit in love with this cheap a** kit.

PXL_20250113_174842974.jpgPXL_20250118_202439733.jpgPXL_20250119_124148543.jpgPXL_20250118_202513024.jpg
 
Last edited:

Day eight and nine


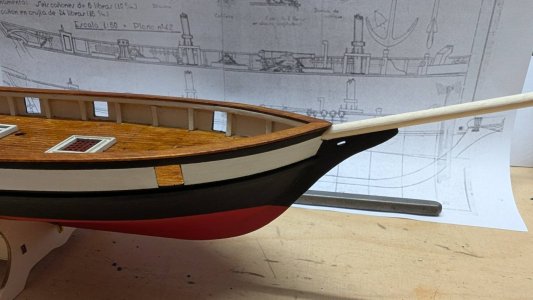
Before I could carry on with the deck equipment I had to drill the hole for the bowsprit.
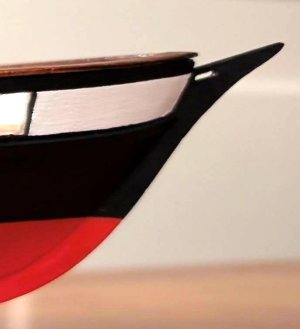
That was when I noticed that I had to fix a mistake I had made first: my railing was too low not allowing enough space below the reiling cover and the top of the stem. This was caused be the fact that I had placed the upper edge of the reiling side planking to end at the hight of the frames uper edge. This was not clear from the one pager instruction. For me it seemed logical that both ended at the same hight. I felt a bit stupid at that point because the images showed the stem in relative position to the top of the railing. Well...
Now I had the choice to raise the railing or lower the stem. I opted for the later for obvious reasons.

Stem shape and position before modification

Bug_alt - Kopie.JPG

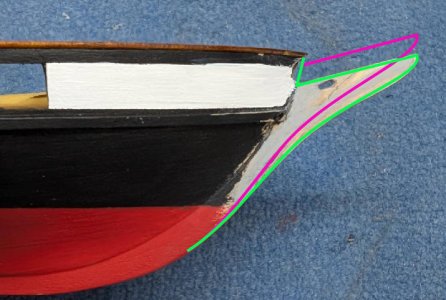
The new (green) and old (magenta) stem positions. This was achieved by adding wood at the bottom and removing wood on top. Of course I snapped the remaining very thing section while doing so.

Vordersteven_alt_neu.jpg

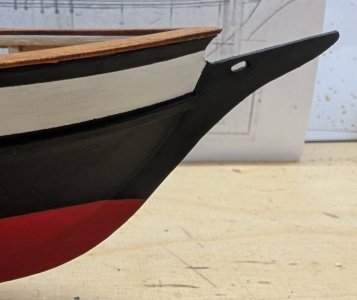
New stem position and shape and fixed paint.

Bug_neu - Kopie.JPG

Test fitted bowsprit

PXL_20250123_191623343.jpg

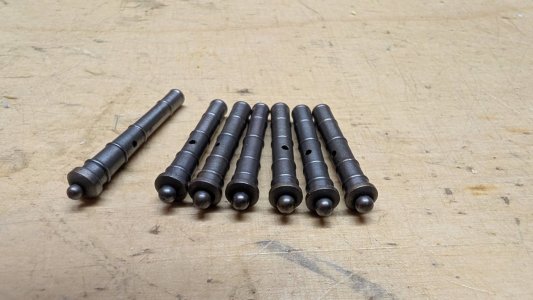
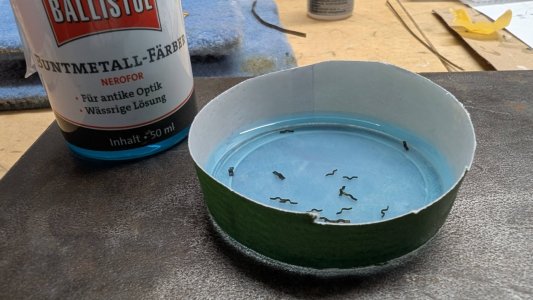
I then went on to work on the gun barrels and chemically blacken them. This seemed like a quick job and I needed a quick win after the stem desater.

PXL_20250123_191519469.jpg

Finally I started working on the deck equipment. After glueing the various bits together, they were coloured by dipping them into paint/ dye.
The parts are not glued into position yet.

PXL_20250123_191429409.jpg
 
Last edited:

Day ten​

Working on more equipment.
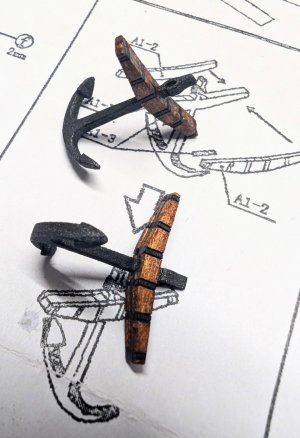
Built the anchors, which was accompanied by occasional swearing due to the bad quality of the ply wood. The layers do not stick together so well so when working on thin sections, chips of the outer layer tended to come off. Also the the 'iron' and 'wooden' main part were a one piece cut in one plane which obviously does not make much sense. The cross bar parts had to be trimmed off in order to assemble the hole thing correctly. Again no hint in the plan about this.
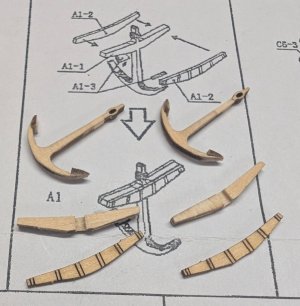
PXL_20250125_104739195.jpg

The final result

PXL_20250125_112315964.jpg

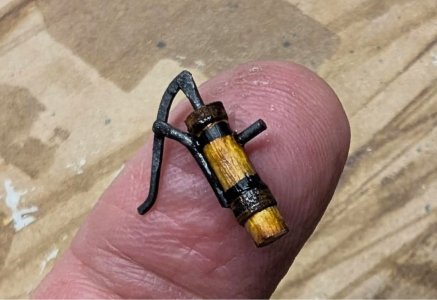
Next item was the bilge pump. You can see the kit pump on the plan in the background. Erm, no thanks. So a quick search brought me to a pump type used around that time. Here I reached the limit of my machining possibilities. I had no drill bit small enough for hinging the parts. So they are only glued.
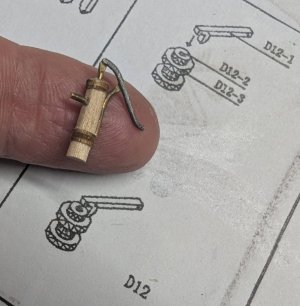
PXL_20250125_155910942.jpg

Finished pump

PXL_20250125_160753367.jpg

More deck equipment - not painted yet
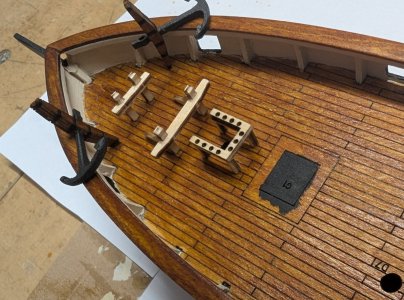
PXL_20250125_163052338.jpg

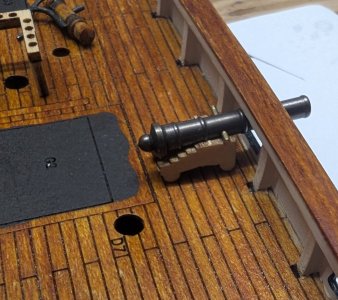
Then I moved on to build the first gun carriage.
I am quite sure that the barrels included in the kit are too large/ off scale.
Would you agree?
PXL_20250125_163108564.jpg

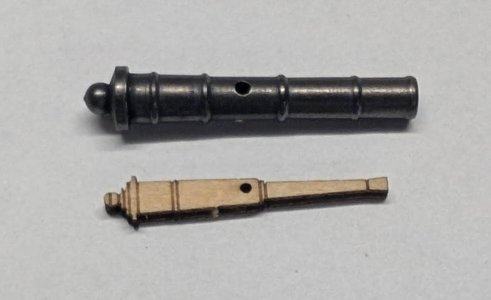
Here you can see the brass barrels from the kit and the laser cut 'barrels' that came with it also.
Another quick online search revealed that likely this kind of vessel at that time (1840) would have carried 12 pond long guns.
From the images I saw the wood cut much more resembles the shape of that type of gun.
Would you still go with the metal barrels? Or would that mess up the look?
PXL_20250125_162832037.jpg

I am honestly considering CAD modelling and 3D printing new barrels and also possibly to replace the gun carriages.
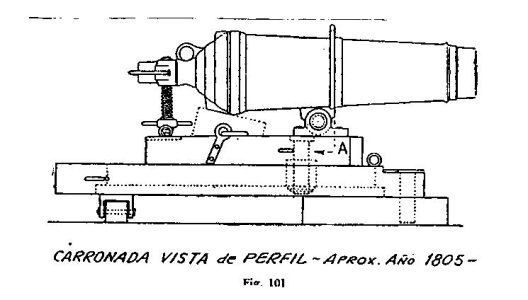
I already have a CAD model of a carriage from around 1800 from an earlier project (see my profile pic).
So I am inclined to reuse that, scale it down and print thinner long gun barrels for it.
Is this worth the effort for this cheap Aliexpress kit? What are your thoughts?

And finally, I need some ideas/ input for colouring some of the deck equipment and gun carriages.
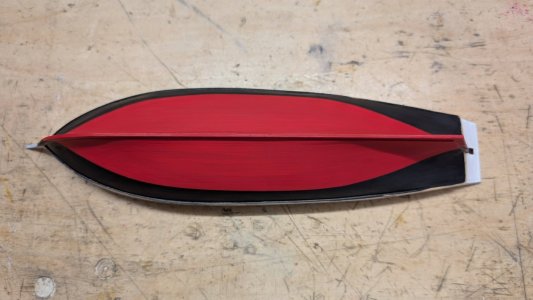
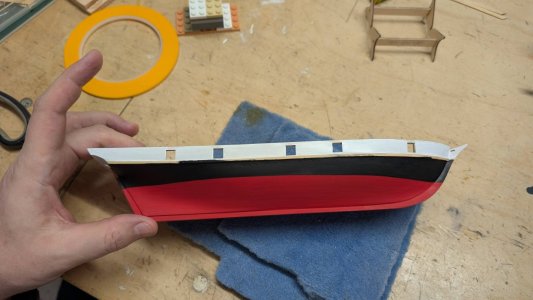
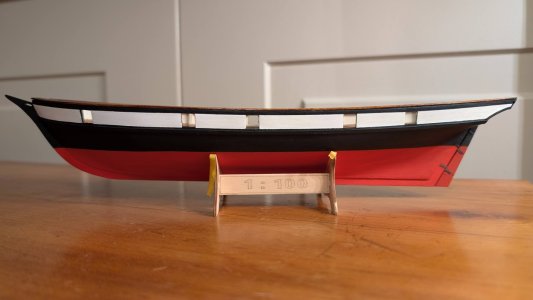
With the outer hull I went for the checkered Navy look. I am not sure if I should follow that scheme for the rest of the equipment as well (red), or not.
That would mean, to also repaint the inside of the railing in red.
And if I opt for not following that scheme and use brown and black tones for the equipment, would the hull paining still make sense?
Any comment welcome, and yes, these are things I should have propably thought about earlier, but here we are now.
 
Last edited:

Day eleven​

Said and done...
Yesterday was modelling and test printing time. I printed the parts on my rather new Bambulab A1 printer with a 0.2mm nozzle.
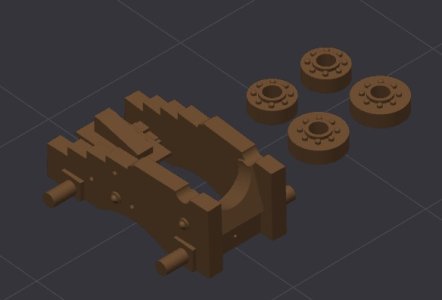
This is the modified and scaled carriage.
Screenshot 2025-01-28 170645.jpg

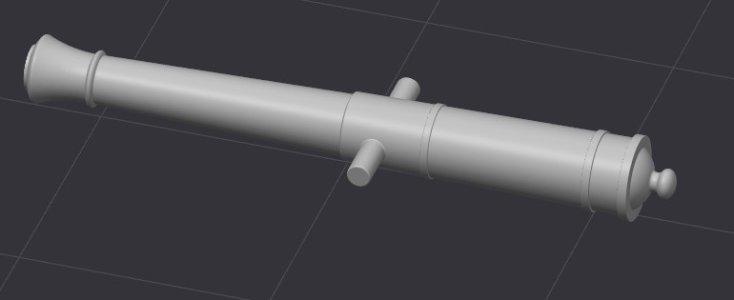
...and the newly modelled barrel (in the free browser CAD Tool 'Onshape' if anyone is interested)
Screenshot 2025-01-28 170844.jpg

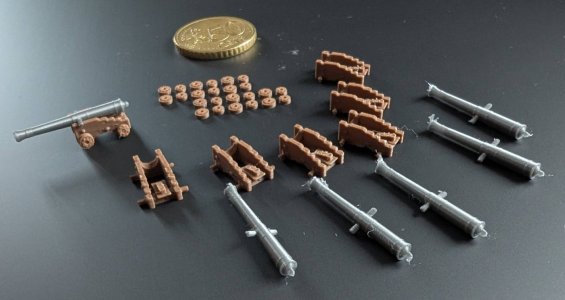
The printed parts before cleaning up. The barrels were printed vertical and muzzle down with a tree support.
This gave a much nicer 'turned' finish compared to being printed lying down.
I also have CAD models for the barrel hingle locks, but I am not sure how they will turn out at 3mm length.
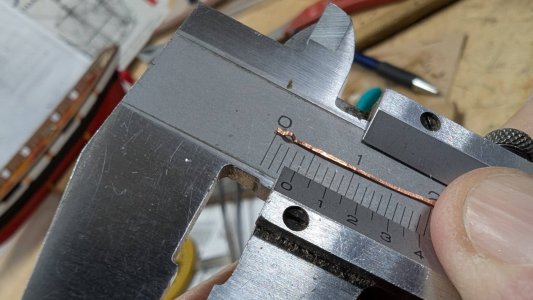
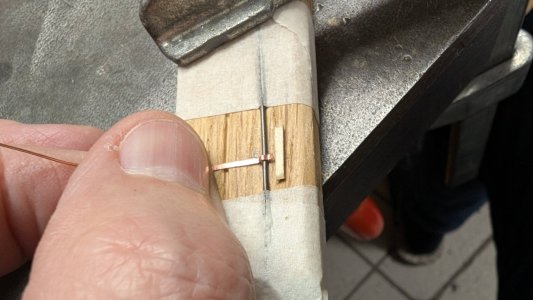
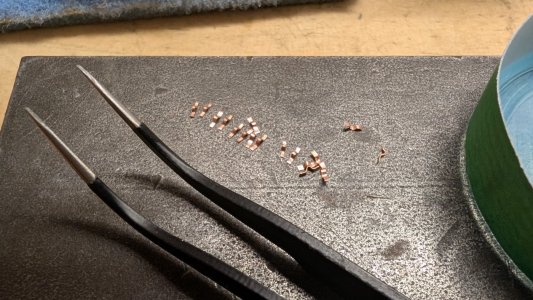
I might go with super thin copper sheet strips instead.
PXL_20250127_123149345.jpg

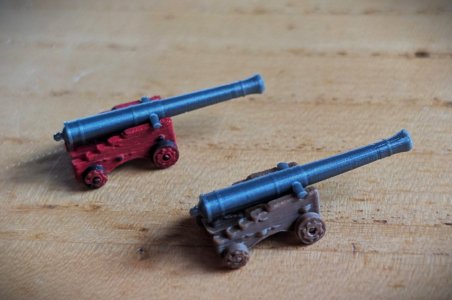
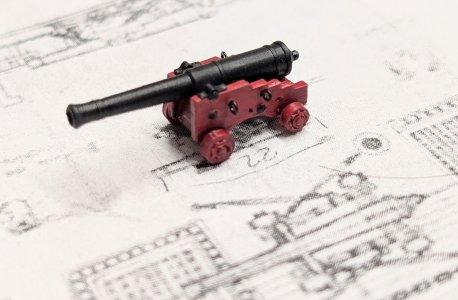
One carriage painted for testing
PXL_20250128_123842241.jpg

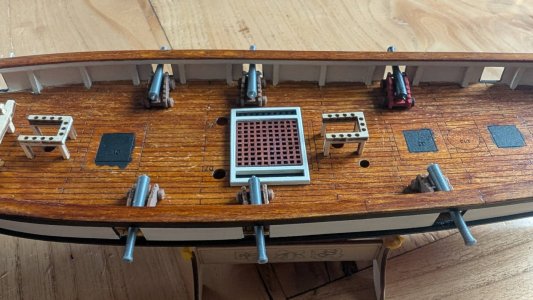
Put on the deck for a visual test. The proportions look way better then the model kit guns I think.
The barrels will be painted in a gunmetal grey or black.
Still not sure about the other deck equipment, if I should also go with red, also for the carriages.
PXL_20250128_123741276.jpg

I am happy to share the 3D models of the gun (stl). Drop me a message if you are interested.​

 
Last edited:

Day tvelve: descision made and more detailing​

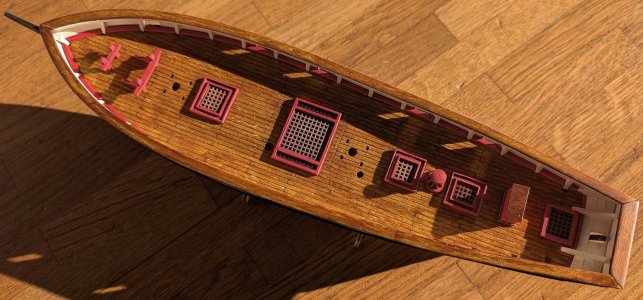
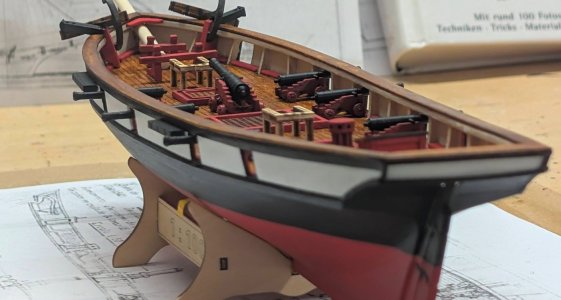
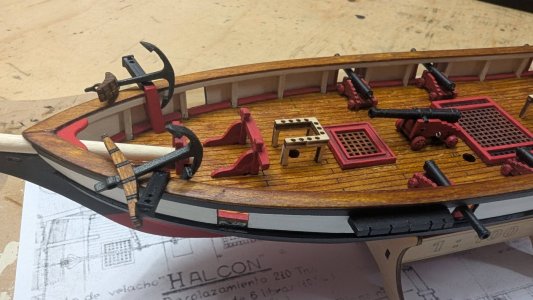
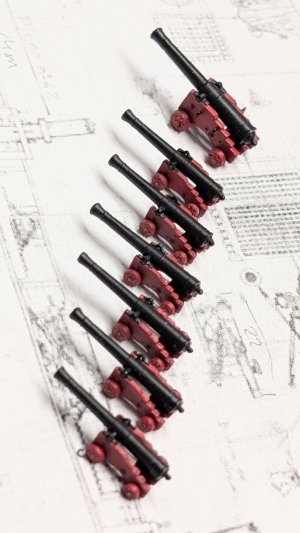
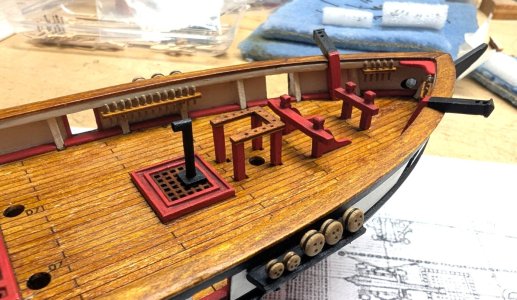
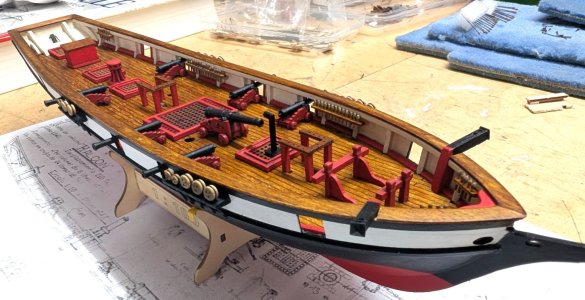
I made up my mind about the coloring. My Halcon build is goint to be a Navy vessel.

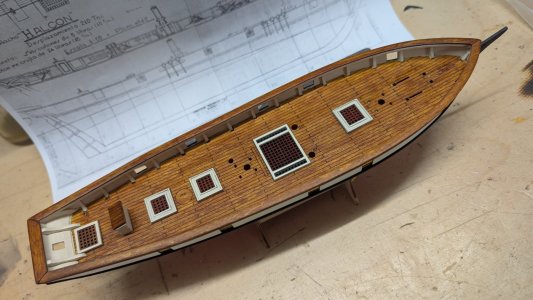
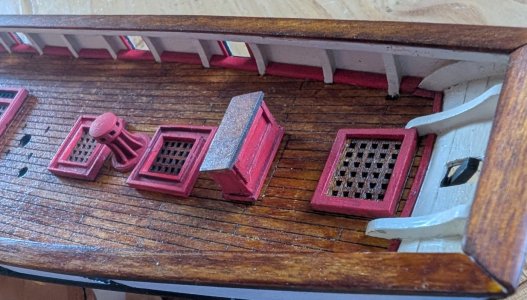
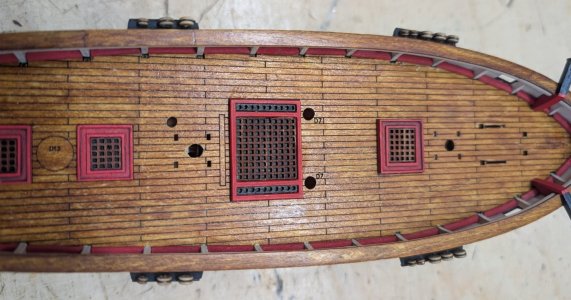
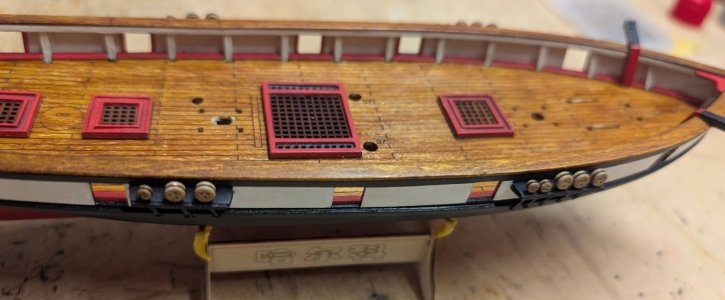
As a consequence I painted the grating frames and the compass housing red, added a red footrail at the base of the railing.

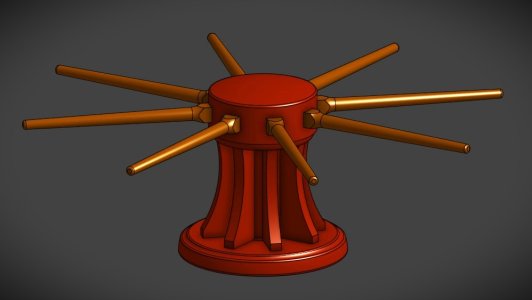
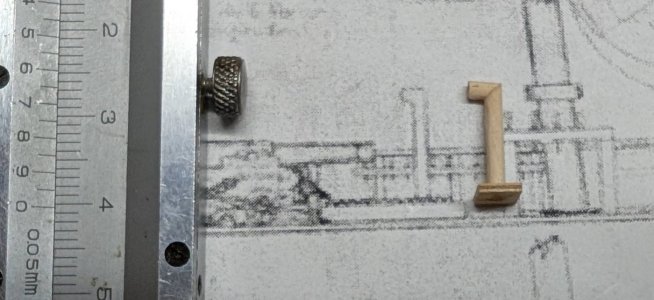
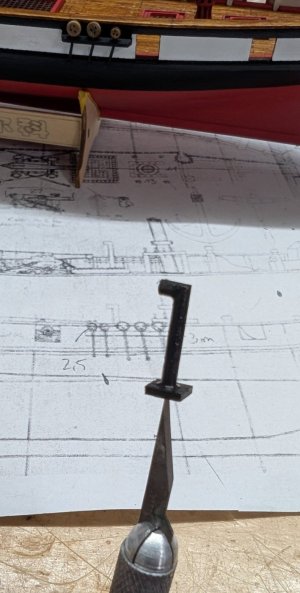
Also, not being happy with the degree of detailing of the provided equipment from the kit, I modelled (Onshape) and 3D printed the capstan.
Again, I am happy to share the model.

Capstan.jpg

All red deck equipment now

PXL_20250201_095904347.jpg

I also added some details to the compass binnacle - following the detaild Halcon plan that I found in another therad here.

PXL_20250201_100423865.jpg

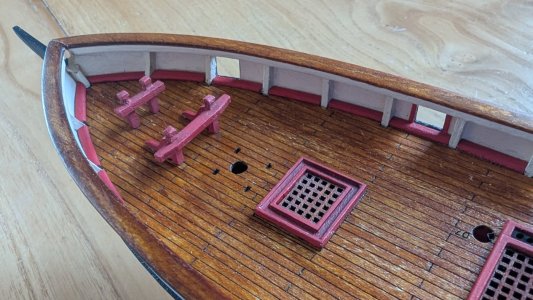
Foredeck details.

PXL_20250201_101640262.jpg

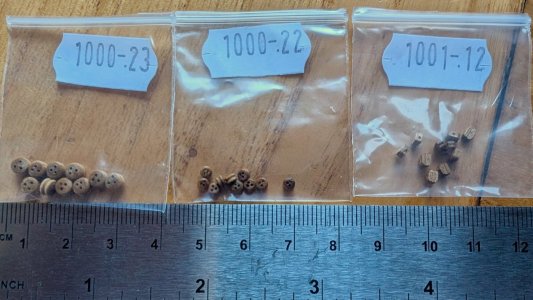
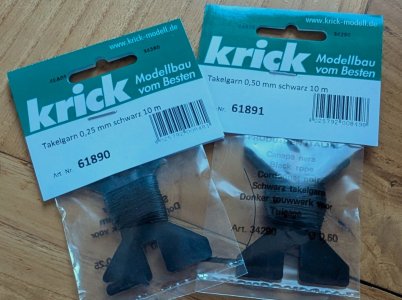
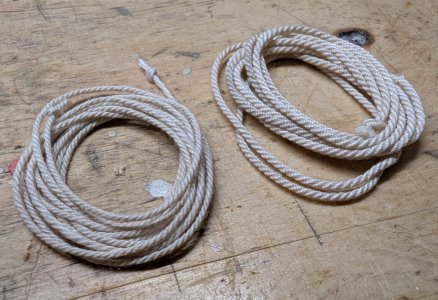
I also recieved an order with some tiny blocks and deadeyes as well as some finer rigging twine. Another order is on its way with some brass balls, 1 and 1.5mm. These were the smallest sizes I could get. According to my research, 12# cannon balls were slightly above 100mm in Diameter (105, 107mm e.g.) which would make 1mm balls perfect for 1:100 scale.

PXL_20250201_103804822.jpg


PXL_20250201_103819408.jpg

Next step is to finish the guns (painting, assembling), then model, print and finish the larger front facing gun (likely 18#?).
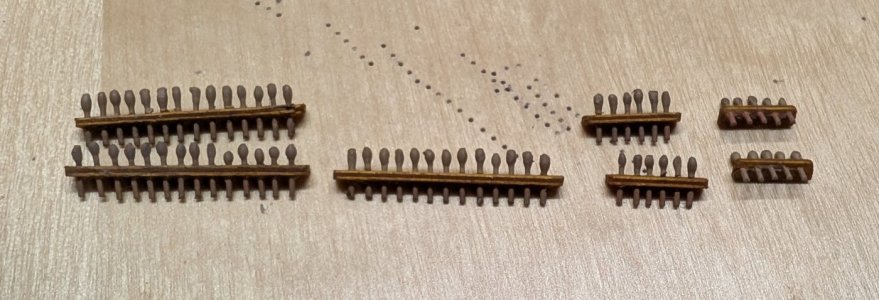
Then the pinrails will follow as well as the shroud boards (did not find the english word) at the sides of the hull.
 
Last edited:
Back
Top