Kurt Konrath
Kurt Konrath
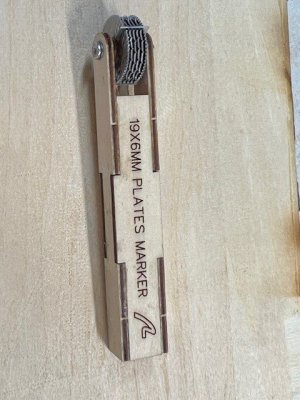
OK, I recently received my AL embossing tool, I ordered both sizes they sell, and when it arrived, no instructions on how to assemble, so based on website photos and hunches, I was able to get a usable tool assembled.
Below are photos of assembly and tools needed are sanding sticks, small file to clean up metal edges and both PVA type glue for wood and some CA for metal parts.
Both kits are same process just different pattern size.
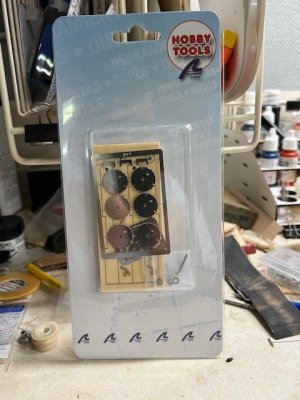
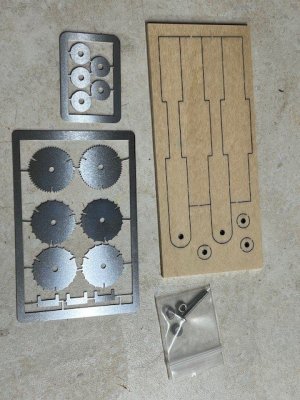
Photos show packaging and parts as they come, and then some assembly photos.

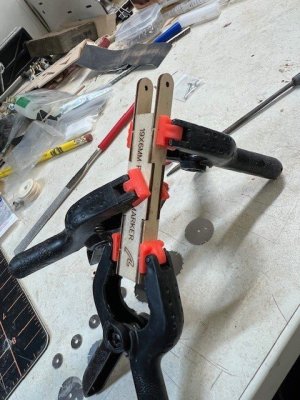
Next set shows gluing and clamps assembly of handle of tool.
Then the fun starts with the embossing head! after cutting all metal parts and two of three small wood spaces out, clean up edges of metal pieces to ensure no fouling of pattern by retention tabs.
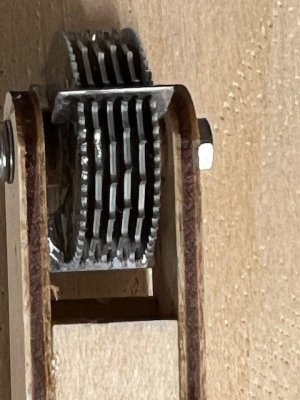
I assembled on the screw but a small toothpick or dowel could be used, start with disk, which are marked with letters, A, B, C, D, E & F, use A, then metal spacer, B then spacer until you have all six disks stacked. Next step required you to align slots in disks and then install the end marker piece which goes across all disks and hangs over outside of assembly.
I added a small drop of CA to outside ends of the cross pieces to keep them in place.
Use one of small wooden spacers on each side of head when placing in handle and place screw, washers and nut to finish assembly. Tighten to all smooth rolling, and add CA to nut, to keep it from falling off (don't ask how I know).
This should finish the assembly.

Below are photos of assembly and tools needed are sanding sticks, small file to clean up metal edges and both PVA type glue for wood and some CA for metal parts.
Both kits are same process just different pattern size.
Photos show packaging and parts as they come, and then some assembly photos.


Next set shows gluing and clamps assembly of handle of tool.


Then the fun starts with the embossing head! after cutting all metal parts and two of three small wood spaces out, clean up edges of metal pieces to ensure no fouling of pattern by retention tabs.
I assembled on the screw but a small toothpick or dowel could be used, start with disk, which are marked with letters, A, B, C, D, E & F, use A, then metal spacer, B then spacer until you have all six disks stacked. Next step required you to align slots in disks and then install the end marker piece which goes across all disks and hangs over outside of assembly.
I added a small drop of CA to outside ends of the cross pieces to keep them in place.
Use one of small wooden spacers on each side of head when placing in handle and place screw, washers and nut to finish assembly. Tighten to all smooth rolling, and add CA to nut, to keep it from falling off (don't ask how I know).
This should finish the assembly.


