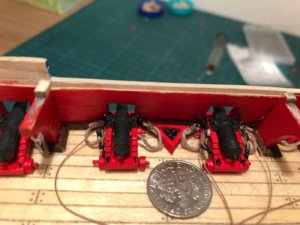
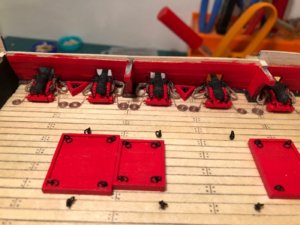
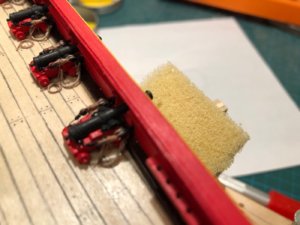
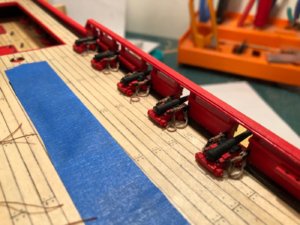
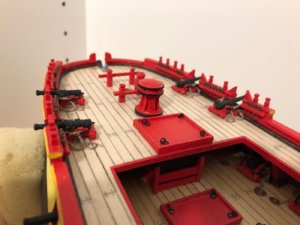
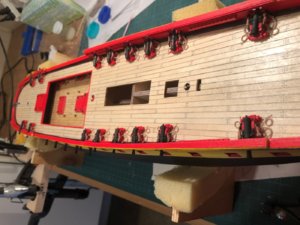
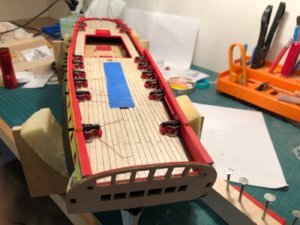
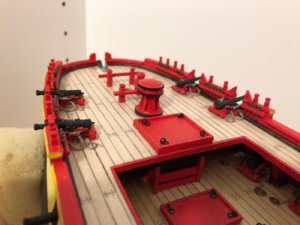
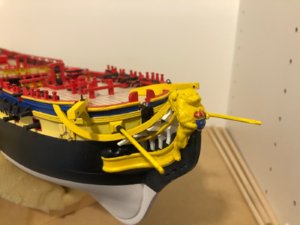
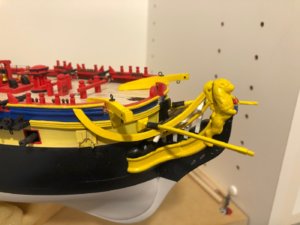
I wanted to contribute my build log for the Astesania Latina L'Hermione. Unfortunately I didn't start taking pictures of my progress until the hull planking had been completed and much of the gun deck work was well underway.
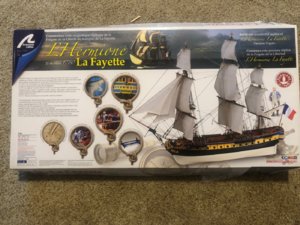
This is my first attempt at wooden model ship building. I came to this hobby with some plastic kit modeling experience (mostly aircraft and armored vehicles) and some cabinet making and wood working skills. I chose the L'Hermione kit because it seemed to provide a wide variety of challenges that come with an warship of that era and because the price would keep the “Abort” option available.
As I started this kit I was completely ignorant of the various wooden model ship building networks and stumbled through the earliest phases of planking the hull on a trial and error basis. Needless to say some of that planking went through several iterations of application before I was happy with the outcome.
There were a few things that I cam across during this process that are worth highlighting. During the the finishing and shaping of the hull I found that a woodworking tool known as a cabinet scrapper was a very useful tool. For those of you not familiar with this tool it is a flat piece of mildly hardened steel on the edge of which a kind of burr is created. This burr acts as a nearly microscopic plane that scrapes a small amount of wood off the work as it is drawn across the surface. I found this tool made it easier to detect the highs a lows in the hull surface and to be able to quickly work those areas. The straight or consistent edge of the scrapper also eliminates much of the “following” that comes with sandpaper. Often sandpaper makes things smooth but not necessarily along a consistent arc or plane. The other process that took some time to master was the fill material to be used to span gaps in the planking. I started out using modelers putty (Squadron or Tamiya). These putties are difficult to apply consistently and smoothly and require considerable sanding to remove. I found I had to reapply repeatedly before I had an acceptable finish. So, I began experimenting with alternatives. The two option I found where drywall joint compound and water-based wood glue. The drywall compound is easy to apply and sands much easier but it adds moisture to the planking and this can and did result in many drying cracks. The wood glue does a great job of filling the finest of the cracks and I used it as a final step prior to painting.
A word on caution regarding the AL supplied gun port templates. The ports on the templates are of all shapes and sizes, most are rectangular but many are trapezoids or parallelograms.
Like I said, I was completely ignorant of all the great advice available to me and I'm sure many of you read the above discussion while nodding their head and saying “Yup, that's right”. My introduction to this group came as I was seeking advice about cannon rigging for the 12 pound gun deck cannons. From here on out there will be pictures to make this more interesting.


