Artesania Latina "Swift - 1805" - 40th Anniversary of Purchase Build

Joined
Apr 3, 2023
Messages
104
Points
88

After nearly forty years.... yes, forty years! I decided the time had finally come to take this box off the shelf and tackle it again. I say again, because this is the second time I'm building this kit. The first was nearly forty years ago, and I gave the completed model to a family member. Who in turn managed to pretty much destroy it during one of several moves. I learned a lesson from that. :) I had purchased another one that I planned on tackling eventually because I wanted my own version of the model. Well, we can see how that progressed. Not. But finally, without further delay (LOL), it's off the shelf and onto the table. Let the entertainment begin...
20240225_112834.jpg 20240225_113018.jpg
 
Last edited:
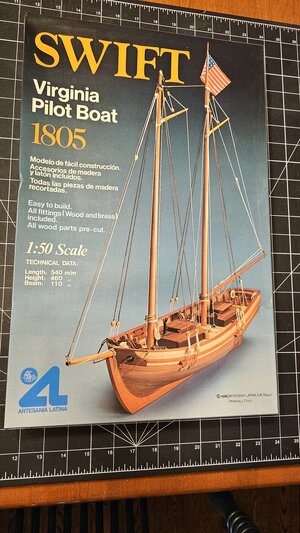
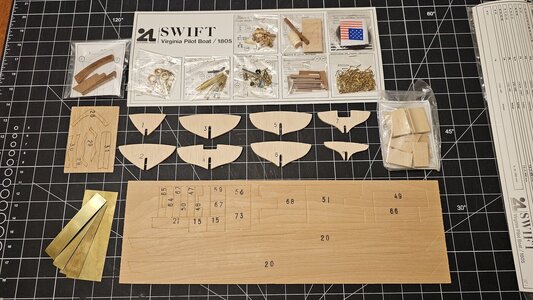
The unboxing.... here's what's in this version of the kit that was produced in 1982:
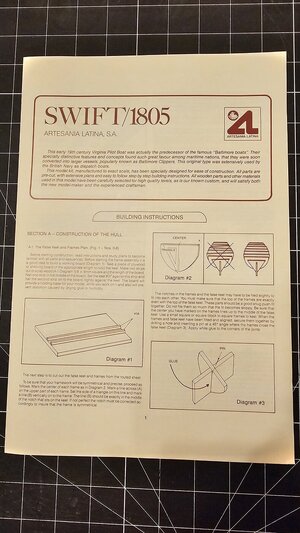
Instructions:
20240225_113038.jpg

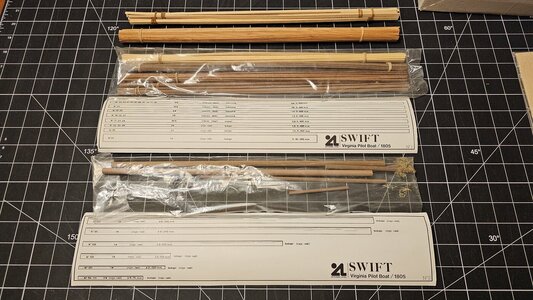
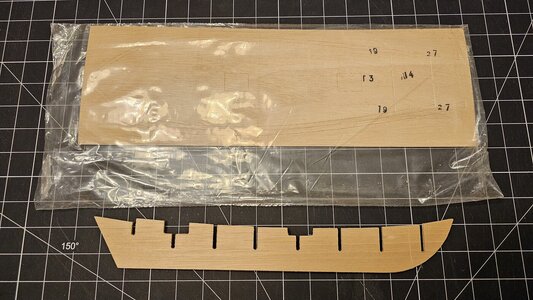
The various pre-cut parts and raw materials:
20240225_113307.jpg

20240225_113525.jpg

20240225_113553.jpg

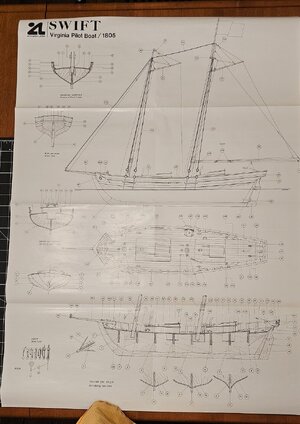
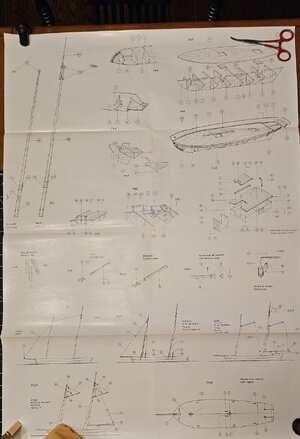
....and one large, double sided sheet of plans:
20240225_114912.jpg 20240225_115018.jpg
 
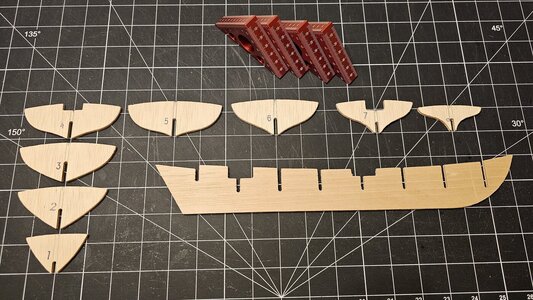
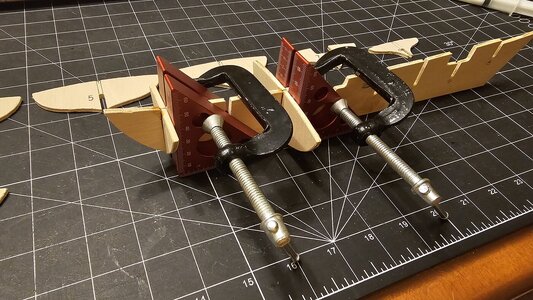
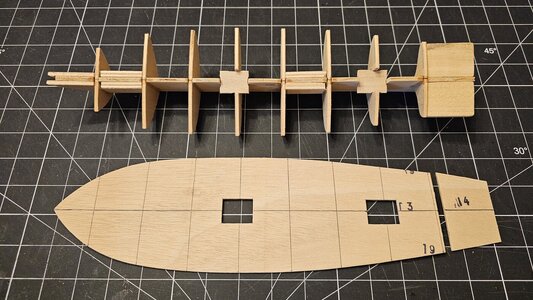
Let's get rolling and get the false keel and bulkheads assembled:
20240226_175949.jpg

20240226_181510.jpg

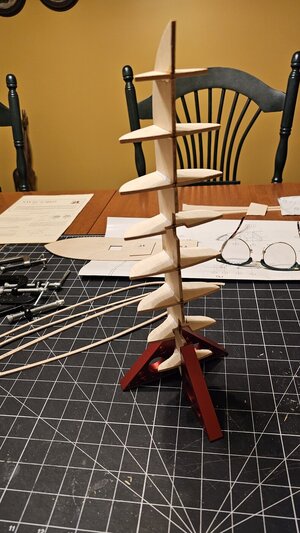
Lot's of Weldbond, and the results look like a Charlie Brown Christmas tree...
20240226_185957.jpg
 
Now that the false keel and bulkheads have been glued up and confirmed straight, the blocking for shaping the bow, stern, and mast supports are glued in place. Now to add the deck. I drew on my centre line, and the lines to show the locations of the bulkheads.
20240227_122739.jpg

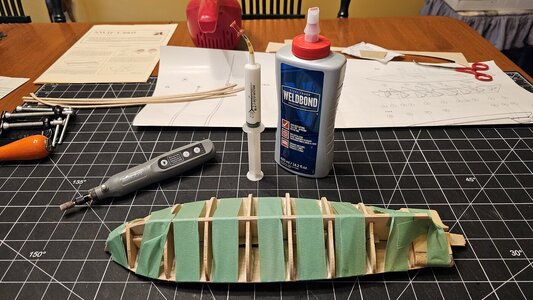
Then this was glued to the keel/bulkheads and temporarily secured by both the provided brass pin nails along with painters tape. I then added more Weldbond (glue) from the underside along the edge of each bulkhead where they came in contact with the deck.
20240227_132255.jpg

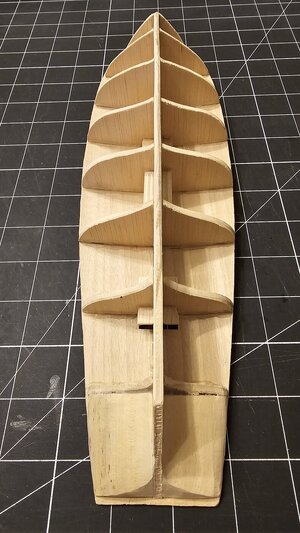
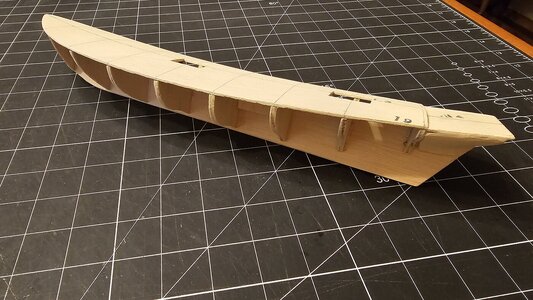
Using a combination of a rotary tool with a grinding drum, I shaped the bow and stern blocks. I then used a flat file to shape the edges of the bulkheads to provide a smooth transition along the length of the hull.
20240301_142709.jpg

And here's the end result viewed from the side and top:
20240301_142804.jpg
 
Last edited:
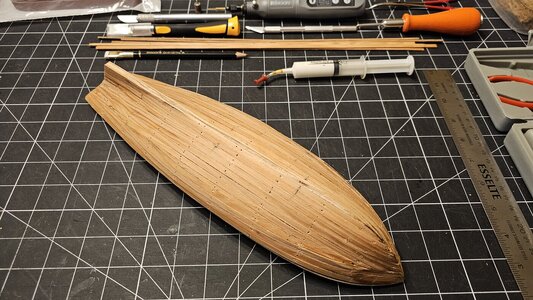
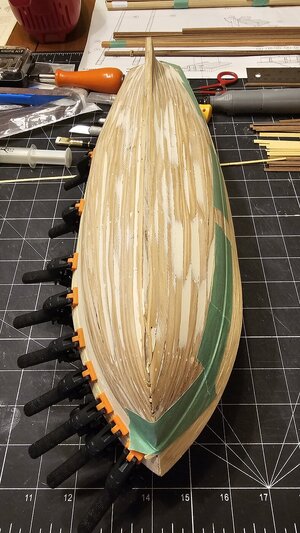
This older version of the kit was designed for two layers of hull planking. The first layer in a thicker pine material (1.5mm thick by 5mm wide), and a second outer layer of walnut (0.5mm thick by 5mm wide). The newer version of the kit only provides one thick layer of hull planking, with the instructions having been modified such that the model builder is expected to fill, sand, and then paint the hull. I prefer the look of the walnut, so even if I had purchased a newer version of the kit, I'd have purchased the walnut strips to complete the second outer layer.

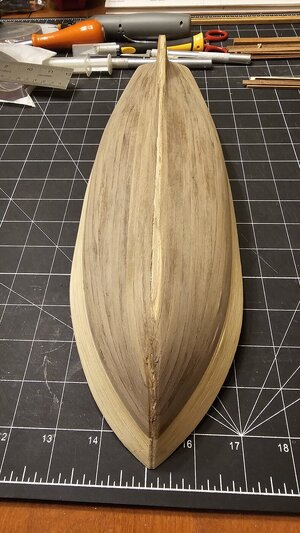
I guess I should mention now that I really hate pine for this purpose. I prefer the softer and more flexible woods like limewood that some other kit manufacturers use. Did I mention how much I hate pine for this? The only thing worse than pine is forty year old pine. Even using a copious application of water and a heated bending tool, that decades old pine was brittle as glass. My typical process is to use brass pin nails to secure the planks as I glue them down to the bulkheads, and then use needle nosed pliers to remove the nails once the glue sets. In this case, I actually had to pre-drill all the nail locations in the pine stock to prevent the wood from splitting. Yes, it was that brittle. But now the first layer of planking is in place.... filling and sanding to follow...
20240315_162627.jpg
 
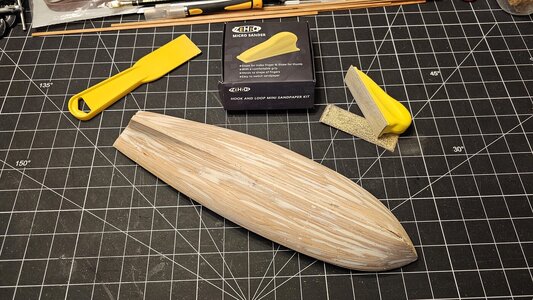
Filler and sanding completed on the first layer of planking. Related aside... I recently acquired this little "belt and loop" (or Velcro) thumb sanding tool from Amazon. It's only about 3.5" (9cm) long, by about an inch (25mm) wide. It came with a pretty large supply of sanding paper strips in a variety of grades. I started with an 80 grit for the first pass, and then dropped down to a 180 grit for the second pass. The sander and supplies was under $17 CAD, and I kick myself for not trying these sooner. I've used foam sanding blocks (dense blocks of foam pre-coated with sanding material), as well as conventional sheets of sanding paper prior to this... but this little thumb sander worked far better than I had expected. The strips of sandpaper stayed on extremely well, with absolutely no shifting during use. I still use the foam sanding blocks on inside curves (like at the stern where the vertical side sweeps into the curved hull near the transom).

For those that are interested, I'm attaching a link to the Amazon.ca site for the thumb sander I bought. You'll find them listed by dozens of suppliers, and you should be able to easily find one in your country's Amazon site. Thumb (micro) Sander

So yeah, now it's time to "let's get it on baby"... the second layer of walnut hull planking that is....
20240316_110727.jpg
 
Well, I guess I jumped the gun (almost)... I was so eager to see that outer walnut planking I was just about to dive in, but decided to take a quick glance at the build instructions. Oops! I guess they want the deck planked, and bulwarks installed before those thin walnut strips see the light of day. So, a quick course correction, and at least the deck planking is "mostly" complete.

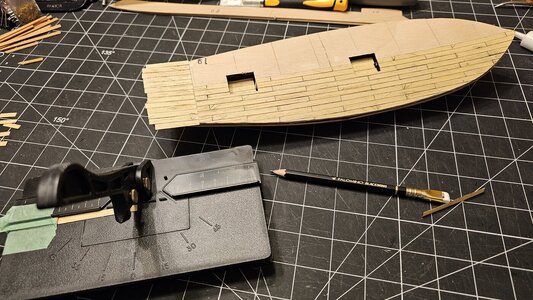
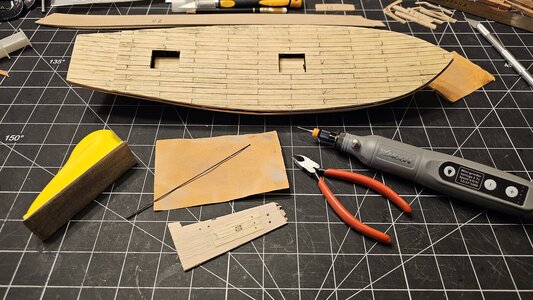
The instructions called for the planks to be cut to 80mm lengths, but I thought that looked too long, so I opted for 60mm instead. Here's the beginning of that process. I have a little cutting jig that I really shouldn't have wasted money on, as it doesn't do an adequate job of locking in mitre cut angles. But it does serve to generate cut planking in a rapid manner, so it's not a complete waste. I tape on a thicker piece of wood to provide an end stop, and it becomes a quick job.
20240318_102630.jpg

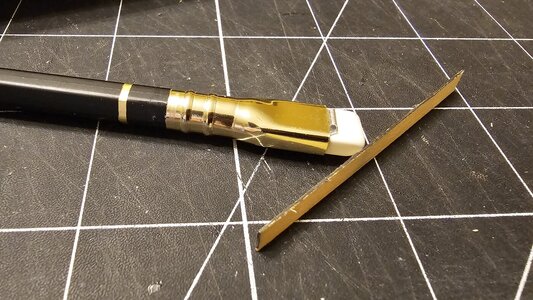
For the seams, I use a very soft graphite pencil to coat one longitudinal edge and one narrow end of each plank. It provides a subtle seam effect and holds up to final sanding very well. You can see the dark edges in this close up shot:
20240318_102748.jpg

And here's the completed plank installation (no sanding yet, and there's a reason for that...):
20240319_134747.jpg

You may notice at the bottom of the photo above, is a scrap of wood with a deck sample on it. For the first time ever, I've decided I'm going to try to "nail" the planks to the deck.

For the pins or pegs, I'm using 0.5mm diameter plastic bristle from a floor broom. People in Walmart must have thought I'd lost my mind as I spent half an hour this morning in the cleaning aisle using a caliper to measure broom bristle diameters, till I found one thick enough to do the job. Valida Pet Hair Broom to the rescue! I drill the hole, insert the plastic, and then use the small cutters to snip it off tight to the wood. I then glued it in the hole and sanded it to see what it would look like.

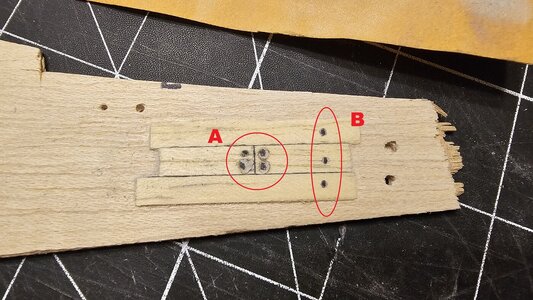
I thought it best to do a test before I went whole hog on the deck of the model itself. Good decision, and you'll see why in the image below. My first plan was to use thin CA glue to secure the plastic rod in the pilot holes. That's shown by the circled area "A". As you can see, it both bled out a bit and seemed to partially dissolve the plastic into the wood. It doesn't look very nice. The area outlined as "B" shows three pilot holes that I've pinned with the same material, but this time I used Weldbond wood glue. Like the old lady in the Frank's Red Hot Sauce TV ads, "I put that $hi+ on everything!".

Once sanded off I'm quite happy with how they turned out in test area "B". So that will be the process I use for the entire deck. I now just have to create a small clear plastic jig that I can use to quickly indent the wood so the drill bit doesn't wander around. I'm trying to get spacing like in area "A", but using the glue process in area "B".
20240319_134801.jpg
 
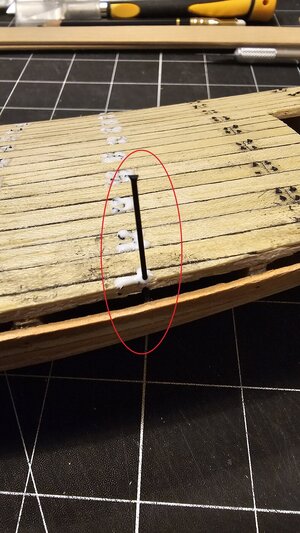
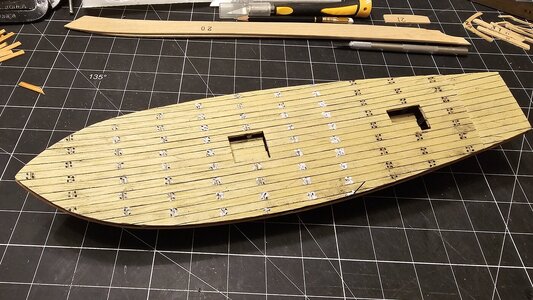
So, for better or worse, it's a done deal. I've completed the decking and "peg-work". In the photo (below, left), I've circled in red one of the 0.5mm plastic broom bristles inserted into a pre-drilled hole in the deck. I snip them off level to the wood (or as close to level to the wood as I can get), and then top it off with a dab of Weldbond glue. You can see the white glue blobs in the photo, but the stuff dries clear as it hardens. In the second photo (below, right), you can see all the pegs installed, and the ones that appear black at the bow and stern are the ones where the glue was applied the previous night and has now hardened and become clear.
20240322_101741.jpg 20240322_101654.jpg

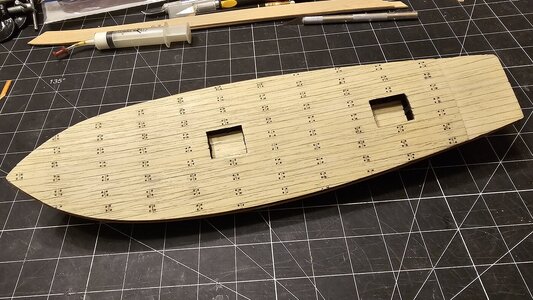
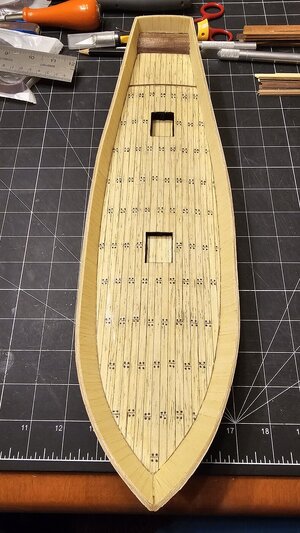
This is the result after two sanding passes. The first was done with 120 grit, and the final was done with 320 grit.
20240322_214609.jpg

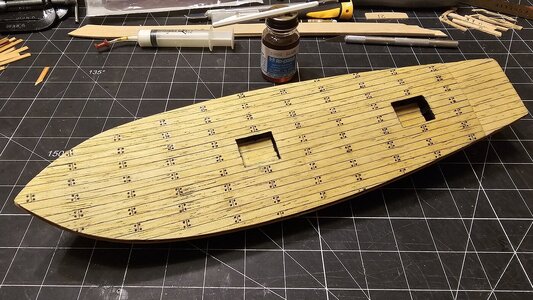
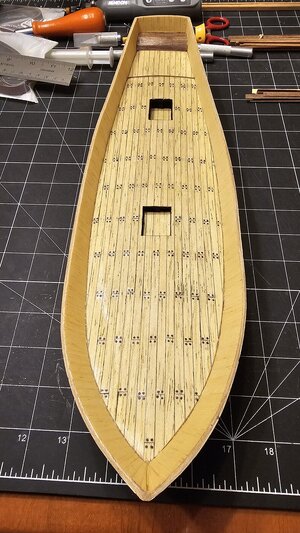
And this is the final result after application of two coats of Floquil Amber Glaze. The lighting distorts it, but the colour is a consistent golden hue. I use this Floquil product on all my wood pieces on all my kits. Unfortunately it's no longer manufactured, so someday I may need to source a replacement product. But for now, I just cracked open a new bottle, and I've got five more in reserve. That's enough to do at least five kits of this size, or three of something larger like a 1:98 HMS Victory.
20240322_215800.jpg

Would I do the pegging on another project? Certainly not on something that's smaller scale, but perhaps on something around 1:50, I'd consider it again. Maybe. Possibly.... :) It's not difficult, just time consuming. And it certainly makes any difference in plank length and alignment stick out like a sore thumb. Ultimately I opted not to make a template and drilled the holes freehand by eye. There's a few that are kind of buggered up but most came out fairly even.

Next up.... installation of the bulwarks...
 
After nearly forty years.... yes, forty years! I decided the time had finally come to take this box off the shelf and tackle it again. I say again, because this is the second time I'm building this kit. The first was nearly forty years ago, and I gave the completed model to a family member. Who in turn managed to pretty much destroy it during one of several moves. I learned a lesson from that. :) I had purchased another one that I planned on tackling eventually because I wanted my own version of the model. Well, we can see how that progressed. Not. But finally, without further delay (LOL), it's off the shelf and onto the table. Let the entertainment begin...
View attachment 435192 View attachment 435193
Now this is a blast from the past.
 
Now this is a blast from the past.
Yes, and given that the first one was the very first ship kit that'd I'd built... this time around things are very, very different. I expect the final product to be a much different beast than the first attempt. :)
 
A bit of a lag in updates, but I've been busy... with the Swift....

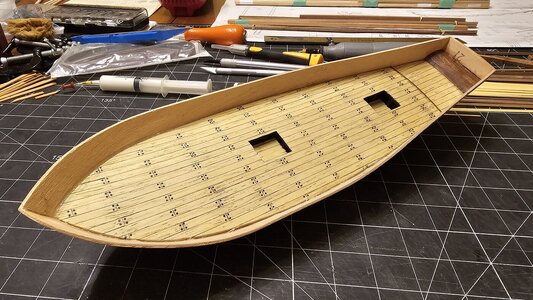
Bulwarks installed:
20240328_181723.jpg

And now to get rolling on the outer planks for the bulwarks, and finally... that second planking layer in walnut...
20240329_115349.jpg

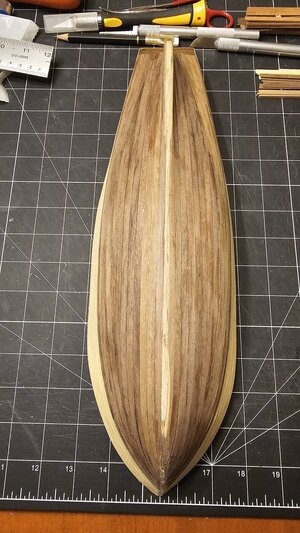
Second planking layer in walnut installed...
20240404_151511.jpg

And since there was lots of ramen wood stock left over (the same as was used for the deck planking), I decided to line the inner wall of the bulwarks with it. I'd originally thought about doing this in walnut, but later decided the darker wood wouldn't be a good choice in that location.
20240404_151540.jpg
 
Now I need to get that new wood sanded down smooth...
20240404_163120.jpg

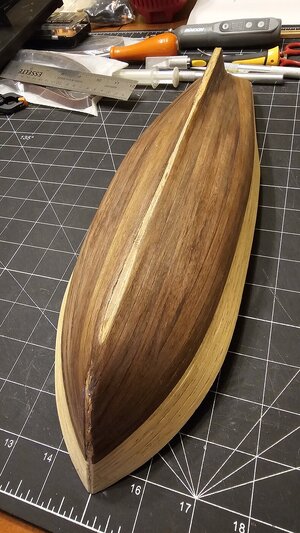
On the port side of the bow section you can see where a couple of the planks have lifted slightly as they were sanded pretty thin. I'll address that with some CA in the next step... Floquil Glaze applied to the bulwarks and hull...
20240405_092947.jpg

20240405_093024.jpg
 
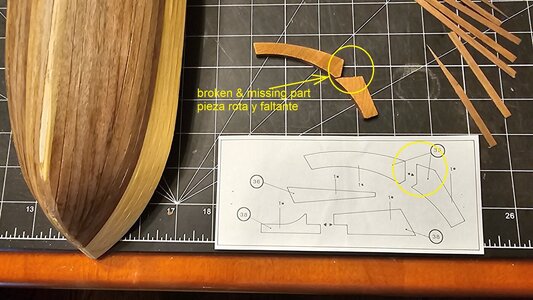
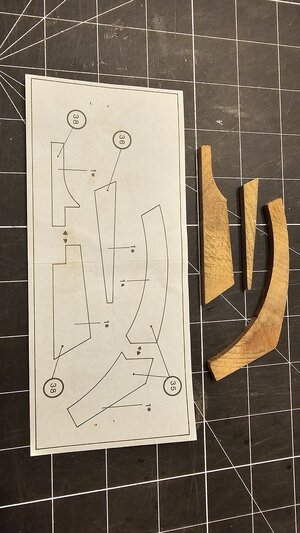
Game delay! So as with many kits, I'll eventually need to apply a bow stem, the false keel, and a stern post. These are made of 5mm thick bokapi wood, and I was shocked to see that one of them was not only broken, but the piece broken off wasn't in the bag of pieces. Completely missing. Equally baffling is that there is zero mention in the instructions of installing these parts on the model. The parts are listed in the "parts list", and they're shown on the plans, but never mentioned in the build instructions booklet. This will likely be the next part I proceed with, since once installed, I'll then mount the hull to a walnut base using brass pedestals. That then works like a keel clamp device as I work to complete the rest of the build.
Swift Broken Part.jpg

So I contacted Artesania Latina to see if they could send the replacement piece. No joy in mudville. Shockingly, given this is a forty year old kit, they've completely changed the materials used for this piece... it's now made of laser cut plywood, and understandably, they don't have spares from the old version of the kit. On the plus side, they were rapid to respond to my query. Literally next day reply, even if the reply wasn't good news.

I happened to have some 1.5mm x 5mm bokapi plank left over from another completed kit, and used layers of that to build up the missing section. I then filed it down to complete the proper profile and assembled the two pieces. I'm okay with the end result. It's not great, but it's going to have to suffice:
20240404_151629.jpg
 
Okay, I needed a break from mucking around with the hull and broken and missing bits. So I deviated from the instruction manual and decided to build the two cabins that mount on the deck. So here's the start of the process...
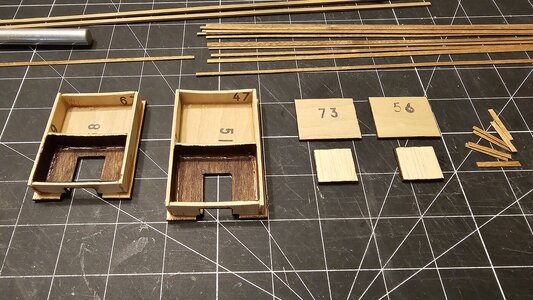
20240407_160508.jpg

I used a wood touch-up marker to colour the thin plywood inside that would be visible if the hatch is slid back.
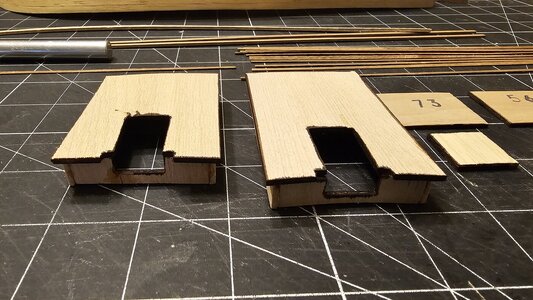
20240407_160541.jpg

And I then used the same marker to go around the edges of the plywood that would be seen from the outside. You have to apply a layer of 0.5mm x 3mm walnut strips to the top and sides, so if the edges of the plywood weren't dealt with, I think it would have stuck out like a sore thumb. I had two options. One would be to make thin strips of that same walnut and veneer the edges of plywood... or use the wood repair touch-up marker. The marker seems like a viable option.

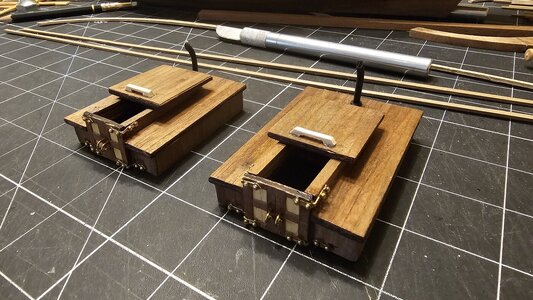
Here is the end result with all the walnut applied: Floquil finish added, and hardware put in place.
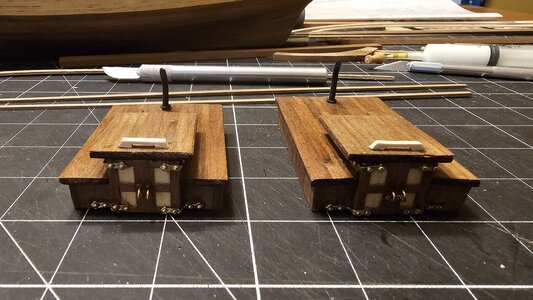
20240412_132108.jpg

20240412_132158.jpg

Again, I wandered a bit from the kit instructions (and I just noticed I forgot to apply Floquil glaze to the sliding hatch handles. Once I do that, they'll be a nice light golden colour). So what did I deviate to? First off, the hinged doors were supposed to be the same white plywood with frames of walnut applied over top. I had lots of ramin wood left over from deck and bulwarks, so I added a layer of that 05mm x 5mm strips to the plywood doors, and then put the walnut frame on top of that. But that also resulted in the finished doors being a bit thicker, which in turn would have buggered up the brass hinges... so once everything was dry, I sanded the backs of the doors till the plywood portion was about half removed in thickness. The doors didn't have any handles, so I just bent four brass nails and glued them in pre-drilled holes. I'm okay with it. Not the best... not the worst.

Once thing I did discover is that the hinges (really they're just pre-cut brass strips with holes in place for the nails to go through, and are then bent to the required shape to fit to the doors and frames)... had holes that were actually smaller diameter than the brass pin nails supplied with the kit. Hmmm.... what to do? I first tried drilling the holes a bit larger using my small electric handheld drill. That resulted in the bit grabbing the brass strip and resulting in something akin to an airplane propeller. I ponder this for a while. Solution? I have a small set of four jewelry reamer tools... two of them are long, round tapered tools covered with industrial diamond grit. They're normally used for enlarging holes drilled in softer gemstones and pearls so they can be strung on necklaces. In this case, since the starting diameter of the tool is 0.5mm, I was able to insert that into the openings in the brass strips and use it to grind away material to enlarge the holes such that the pin nails would easily fit into them.

Then I glued the brass pieces to the wood using CA, and used a hand twist drill to create the holes in the wood for the nails to pass through. The last step was to cut the pin nails to about 3 ~ 4mm in length, insert them into the holes, and then add a drop of CA to set them in place permanently.

One last thing.... the back part of the roof where the ventelation pipe comes out is quite thin... again, just that thin ply and 0.5mm thick walnut. I wanted something a bit more robust to glue the black pipes into, so inside the cabin and out of site, I used some of the scrap plywood and glued a couple extra layers on the inside of the roof. Then when I drilled the hole for the pipes to go into, they're nicely settled in about 6mm of wood. Nice and sturdy.

So now, back to the hull...
 
Back
Top