Artesania Messerschmitt BE 109G [COMPLETED BUILD]

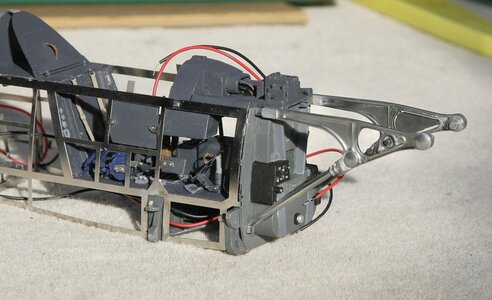
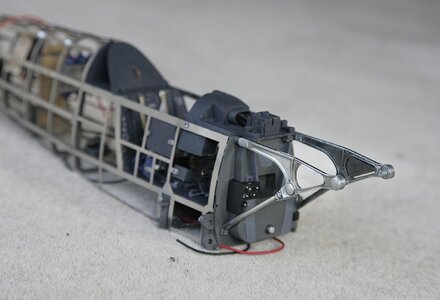
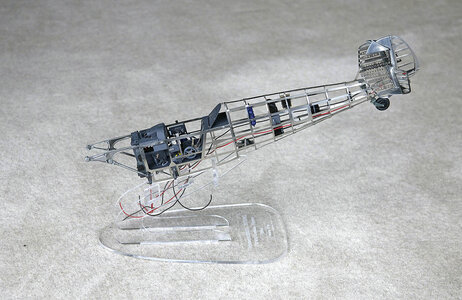
Hello Everyone. Just another small update. I've made up and fitted the harness at the seat rear and a small locker behind the pilots head, I thank that's where he keeps his sandwiches. That's the fuselage finished for now so it's on to the wings, no painting these thank goodness.

054.jpg

055.jpg

056.jpg

057.jpg

058.jpg
 
The harness looks very realistic! Great model!
But are you sure about the colour of the engine mount and the firewall? As far as I know the inside areas where only painted in RLM02 grey (except the visible cockpit in RLM66 black grey, as you show it) without green areas.
 
The harness looks very realistic! Great model!
But are you sure about the colour of the engine mount and the firewall? As far as I know the inside areas where only painted in RLM02 grey (except the visible cockpit in RLM66 black grey, as you show it) without green areas.
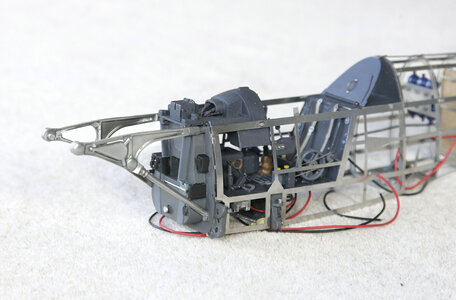
Hi, Thanks for the compliment. No, I’m not sure at all, I’m not building this as an absolute replica but just for the fun of building something different so I’m not doing any research. The kit instructions tell me grey/green and suggested the contrast on the edges, I had the colour that you see, it looked ok but now that you’ve pointed it out it doesn’t look quite right. I thought that I was going to get the afternoon off but instead I’ve now got my pot of paint out and will paint the lighter green part a light grey instead, that shouldn’t be too difficult and will do me.
 
Last edited:
Hello All. It’s all change at the front. After the post by Gebirgsmarine politely pointing out that the colours that I had chosen for the firewall and engine mount were wrong I took note and decided that although I hadn’t been aiming at authenticity I would change them to a more correct colour. Initially I was just going to paint over the lighter green with grey but things didn’t go as planned. There were already four coats of paint on, a primer, two top coats and after some paint flaking off a touch up coat so another layer would be too much of a build up. I decided to strip it back to bare metal and start again, so out with my Dremel and small wire brush, as I’d mentioned earlier the paint had very little adhesion so it came off quite easily. When it was done looking at it I decided that I really preferred the metal finish over the painted one, it matched the theme of the model better, all polished metal. I buffed the mount up to a nice shine then painted the firewall the appropriate grey, after my issues with acrylics I used Humbrol enamel which seems to adhere better on this surface. No one likes to have to redo work but I think that this time it was worth the extra effort, so thanks Gebirgsmarine for taking the time to put me right.

064.jpg

065.jpg

066.jpg
 
Didn´t want to bring you into trouble Ken!
Here is a link to a link, how this colour could have looked like:
and here another one where it is referenced to RAL, Revell and humbrol colours:
 
Didn´t want to bring you into trouble Ken!
Here is a link to a link, how this colour could have looked like:

and here another one where it is referenced to RAL, Revell and humbrol colours:
Hi, It’s no trouble at all. It’s now much better than it was and it’s good enough for me for now.
 
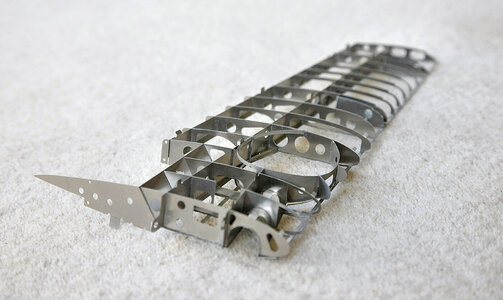
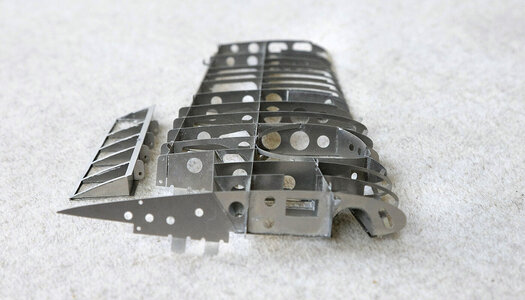
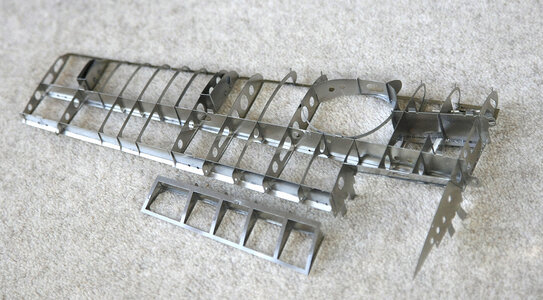
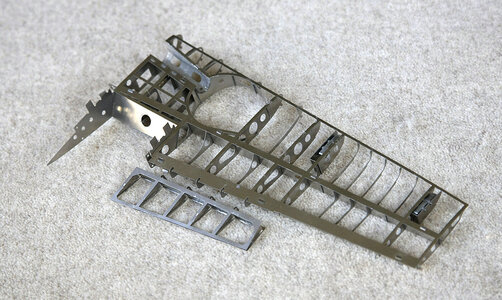
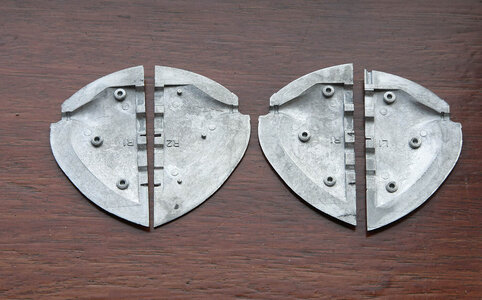
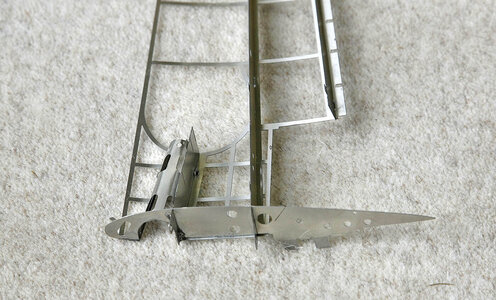
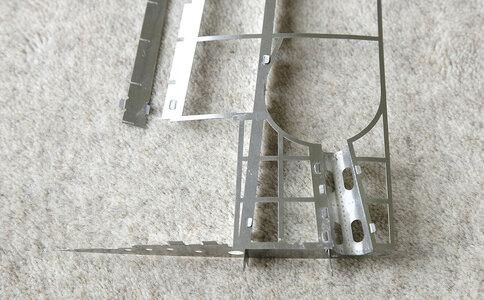
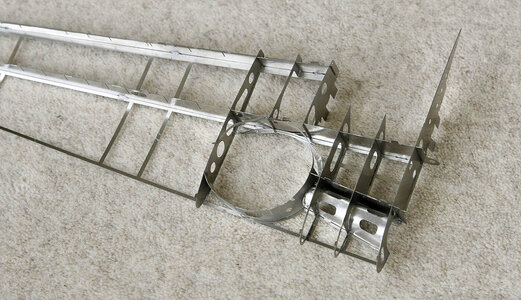
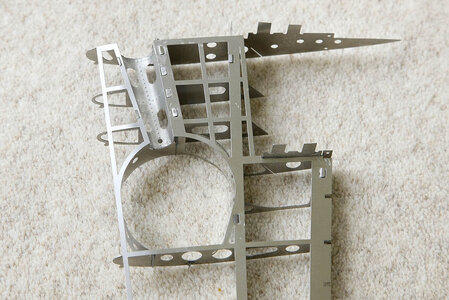
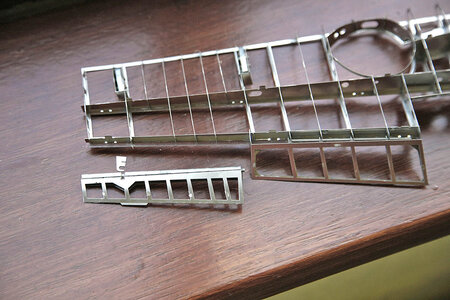
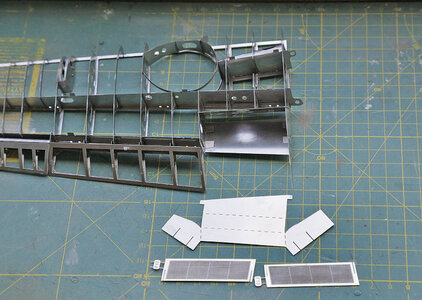
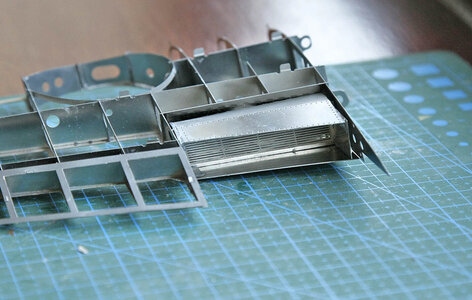
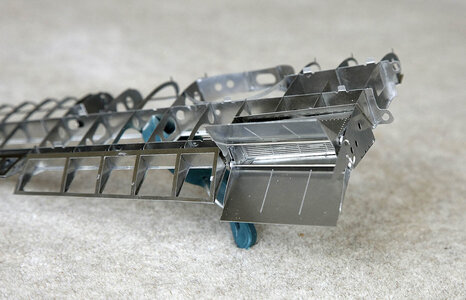
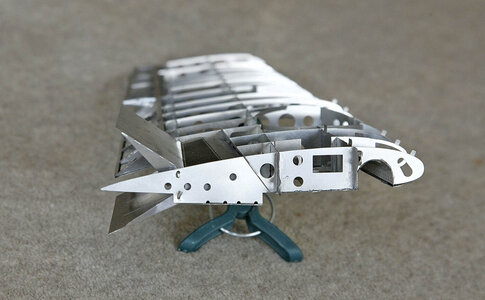
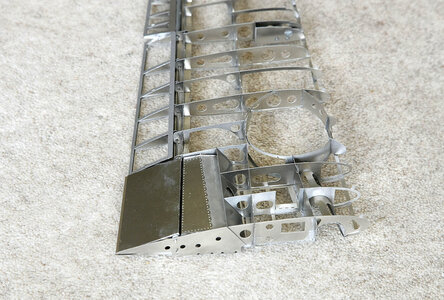
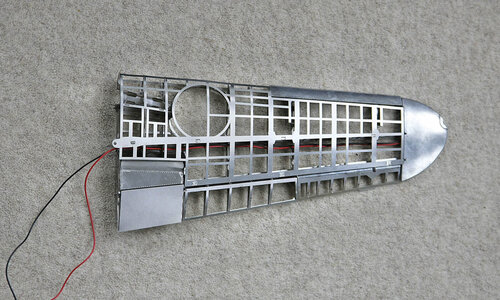
Hello All. Today’s update is the start of the wings. As you can see I’ve been playing with them on and off whilst waiting for paint to dry on my other parts. The initial stage, the spars, leading and trailing edges was simple enough but bending the sheets for nice even curves for the wheel housing parts was a bit tricky. The plan led me nicely through the ribs, flaps etc, everything had to be so accurate as there will be ailerons, air brakes and coolers to squeeze in and the tolerances are tight. The first kit problem has arisen, the wingtips are four pieces, top and bottom for each side, easily identified as they are numbered, they have given me three right pieces and one left, they are large cast pieces and as I said, numbered so a sloppy mistake. I’ve mailed Artesania so we’ll see how good their response is.

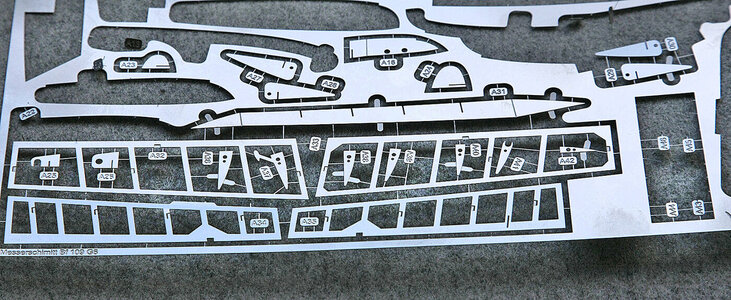
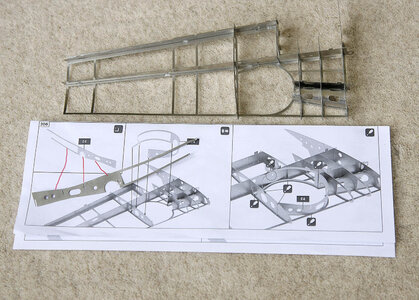
I’ve shown the sprue sheet, you will see that even the smallest part has at least six connection tabs. Not only does this lead to a lot of filing to get rid of them but it leaves needle like bits sticking out so that every time that you pick up the sprue sheet you get stabbed, not just once but several times as the parts attached become less and the spikes become more. This is becoming very painful and with the cuts my fingers are raw. At the end of each day there is enough blood on the model for you to believe that it’s gone ten rounds with a Spitfire!

059.jpg

060.jpg

061.jpg

062.jpg


063.jpg

000 wingtips.jpg
 
The wing looks great! Is there a jig or do the parts fit in a perfect angle?
The wrong part is really annoying. I hope AL sends the right part very quickly.
 
  • Like
Reactions: Ken
The wing looks great! Is there a jig or do the parts fit in a perfect angle?
The wrong part is really annoying. I hope AL sends the right part very quickly.
As long as your careful the wing stays true, the fit of the parts is exceptional and when the ribs are all in place it is pretty rigid. There will be thin flat sheets to fit over the ribs so when they’re fitted I doubt even with force you won’t be able to twist the wing if you tried, very good for a kit
 
Hello All. Today’s update is the start of the wings. As you can see I’ve been playing with them on and off whilst waiting for paint to dry on my other parts. The initial stage, the spars, leading and trailing edges was simple enough but bending the sheets for nice even curves for the wheel housing parts was a bit tricky. The plan led me nicely through the ribs, flaps etc, everything had to be so accurate as there will be ailerons, air brakes and coolers to squeeze in and the tolerances are tight. The first kit problem has arisen, the wingtips are four pieces, top and bottom for each side, easily identified as they are numbered, they have given me three right pieces and one left, they are large cast pieces and as I said, numbered so a sloppy mistake. I’ve mailed Artesania so we’ll see how good their response is.

I’ve shown the sprue sheet, you will see that even the smallest part has at least six connection tabs. Not only does this lead to a lot of filing to get rid of them but it leaves needle like bits sticking out so that every time that you pick up the sprue sheet you get stabbed, not just once but several times as the parts attached become less and the spikes become more. This is becoming very painful and with the cuts my fingers are raw. At the end of each day there is enough blood on the model for you to believe that it’s gone ten rounds with a Spitfire!

View attachment 228659

View attachment 228660

View attachment 228661

View attachment 228662


View attachment 228663

View attachment 228664
absolutely amazing ThumbsupOkayFirst Place Metal
 
  • Like
Reactions: Ken
Frustrating with the wing tips, looking at the wing tip casting identifying lettering it almost looks like the odd one out belongs to another model
 
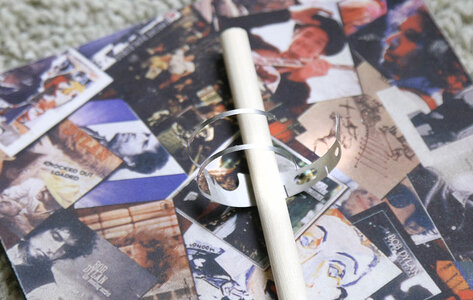
Good morning. Just a couple of things, first on my last post I showed the wing quite a bit into its construction without going into detail on its early part. Although this is in the wrong order here’s how it started. For bending I use a dowel rolled against a mouse mat, the mat has just the right give to allow control of the curve, this is also how I curved the fuselage and wing. As you can see the angles are set by the slots in the spars and the position of the ribs are set by the tabs fitting into the slots, the clean accuracy of the PE means that the fit is perfect and as the tabs/slots only fit the correct way you can’t build it wrong.

The second thing is that I contacted Artesania and I got an acknowledgement and request for my address details within a couple of hours, human, not automated so it looks like they may be on top of it. Pretty good I’d say.

067.jpg

068.jpg

069.jpg

070.jpg

071.jpg

072.jpg
 
Hello All. Again thank you for your many likes. Good news on the wingtip issue. As I mentioned in my previous post I’d been given a wrong wingtip in the kit, I contacted Artesania and they replied within a couple of hours requesting my address, the next day I got an email from them telling me that the replacement part was in the post to me. Now that’s what I call customer service, I wish all manufactures were like this.

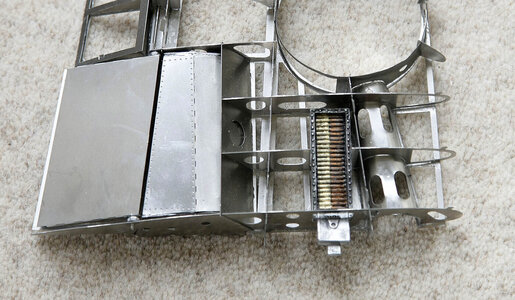
The latest on the build are the ailerons, the coolers with their shutters and the ammo and case for the canons. I hope that you can see from the pictures how things were done.

073.jpg

074.jpg

075.jpg

076.jpg

077.jpg

078.jpg

079.jpg
 
Hello Everyone. Again thank you all for the many likes that you’ve given my build, they are all noted.

Yes Ewe, not a single touch of solder has been needed; the design to achieve this is pure genius and has to be experienced to appreciate it.

The port wing is on hold at the moment waiting on the wing tip to be delivered. The tip isn’t just added at the end but is an integral part without which you can’t add the upper skins on the ribs. Instead I made up the starboard wing which is now complete; I haven’t shown the progress of this as it’s just a mirror of the port one. The slots/tabs for the top skin all fitted perfectly and no force was needed. Given the large number needed and the fact that they were on a curved surface was quite a feat of design.

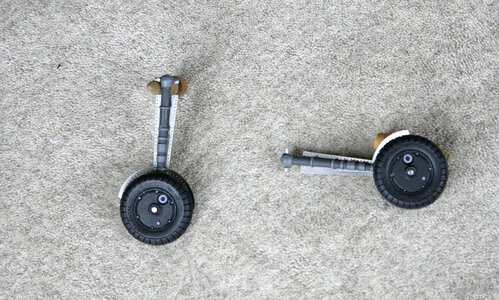
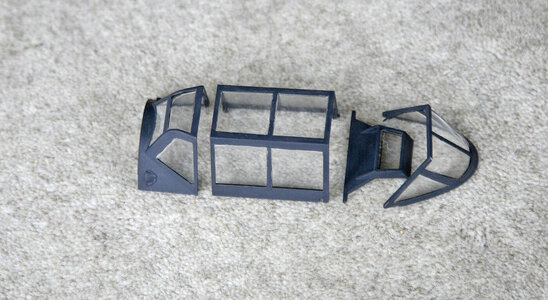
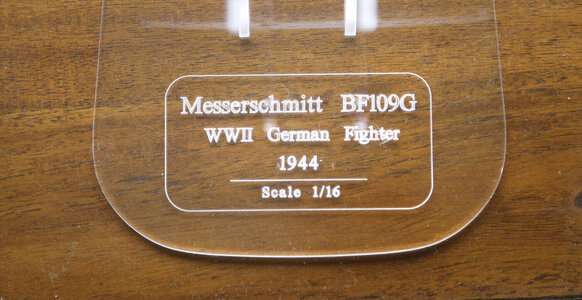
I’ve prepared and painted the canopy, made up the wheels, painted them and added the covers. I put the stand together and I’m very impressed with how aesthetic it looks, it’s very good quality, crystal clear Perspex and is nicely engraved.

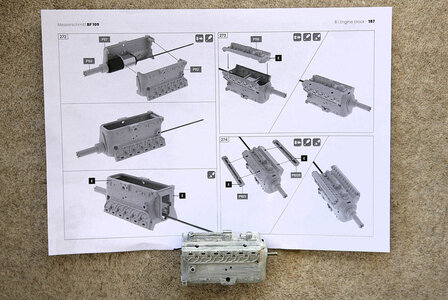
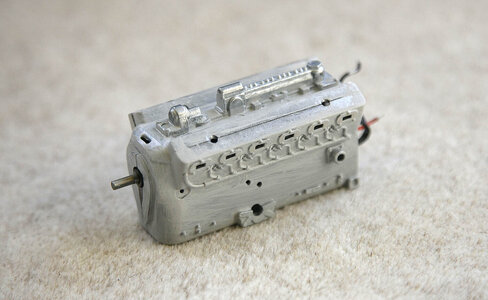
I mentioned that I had a problem with poor paint adherence to the metal surface, almost every time I touched it some would rub or flake off, it was a nightmare. As the engine needs many small painted parts and would need a fair amount of handling I decided it was time to experiment to get it sorted. I knew there had to be a way and it turned out to be not difficult but is time consuming, so the build will now slow down. I found that I first needed to key the surface with about 400 grit, then paint on metal etch primer and leave that untouched for at least 24 hours, previously I’d only been leaving it for about 12 hours. I used Humbrol enamel paints, again leaving 24 hours before the second coat. I am now left with a tough hard surface. I now even find it’s difficult to scrape off where I have over painted areas, so issue solved. I think that water based acrylics must have been too soft for this kind of surface. The picture of the engine is after I had fitted the motor and had just been primed.


080.jpg

081.jpg

082.jpg

083.jpg

084.jpg

085.jpg

086.jpg
 
Back
Top