Hello everyone.
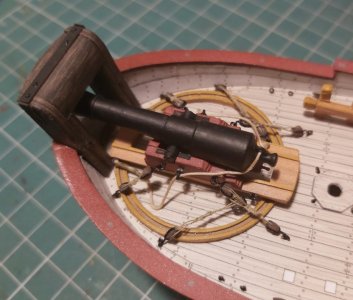
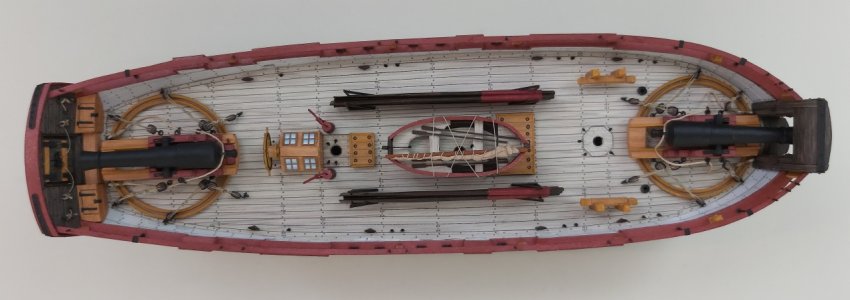
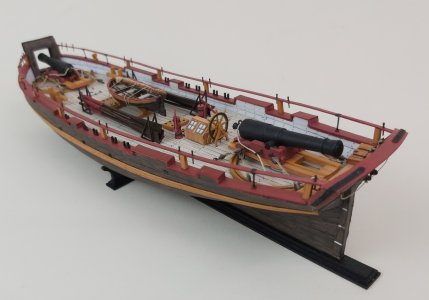
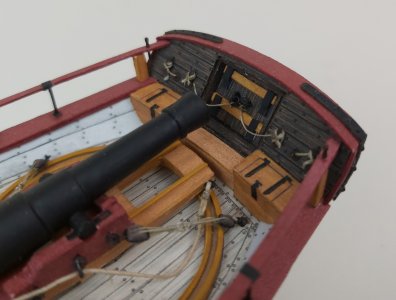
This time, as in the title, the Norwegian gunboat from 1810 "Axel Thorsen".
From the first time I saw this unit, I knew I had to build it someday. And it happened!
The gunboat "Axel Thorsen" had its twin "Skjøn Walborg" and both were launched in 1810. Initially, they served as patrol ships, tasked with protecting merchant ships leaving Arkhangelsk from attacks by the British during the Napoleonic Wars. After the Peace of 1815, Norwegian authorities viewed Russian activities in Finnmark in northern Norway with great suspicion, and in 1816 Axel Thorsen was sent north to remove Russian settlers from the area and demolish their buildings. In 1817 and 1818 this role was taken over by Skjøn Walborg. Both ships also participated in a mapping program in the High North. In 1831 and 1832, a cholera epidemic broke out in Arkhangelsk and the aim of both units was to prevent ships sailing from the epidemic area from calling in northern Norway. In 1864, Axel Thorsen participated in the Svalbard expedition organized by Adolf Nordenskiöld, while Skjøn Walborg was used by Graf Walburg-Ziel and Baron von Heuglin on a similar expedition in 1870. Both ships were extensively engaged in seal and walrus hunting in Nova Zemlya. Their lives ended in 1872 when both were crushed in the ice and lost.
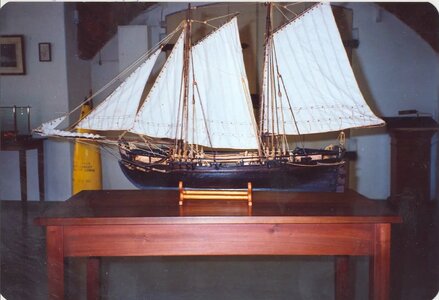
Few models of this unit have been built so far, I found 3 or 4, but there is an interesting example in a museum in Norway...
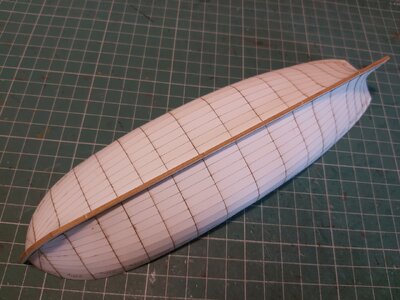
First of all, of course, there was the frame and the first (transverse) covering. The stringer was made of 2 mm cardboard, as it turned out from the plans, and the frames were made of 1 mm as standard. I must admit that everything was lasered, including the first layer, which is why it has kinks in places of the engraved lines.
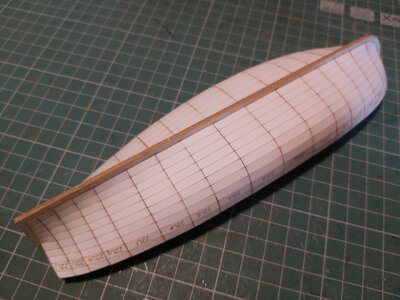
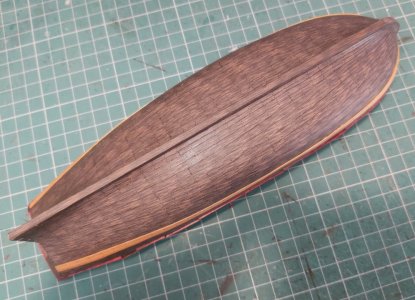
The next step couldn't be different, so I placed a 0.5 mm cardboard first covering (also laser cut). I'm impressed with my own design, because I didn't have to make any corrections - I cut it out and glued it and everything fit perfectly.
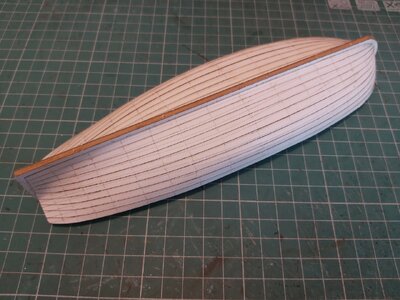
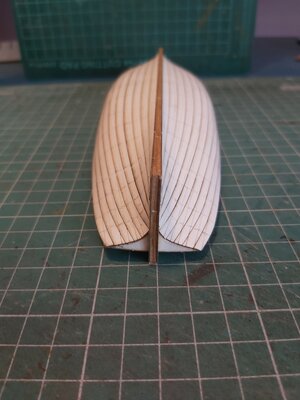
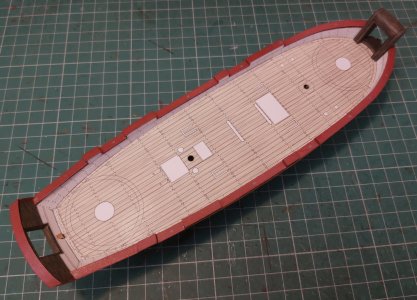
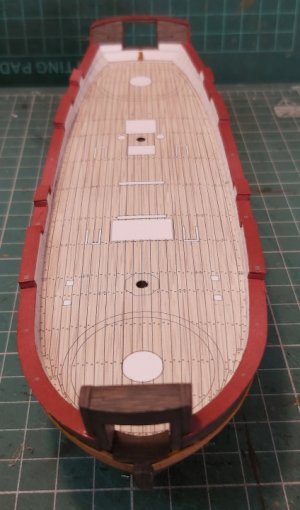
To build the bulwarks, it was necessary to make a transom and a wonderful, large gun port on the bow.
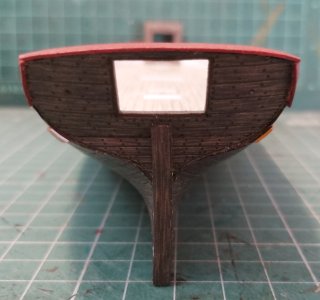
The transom is so thick that it is made of two 0.5 mm layers and spacer strips between them. To make sure everything fits together (and there are no reference points) I glued these parts together on the hull without gluing it to the deck. After removing it, I adjusted the gunport frames and then glued it permanently to the deck.
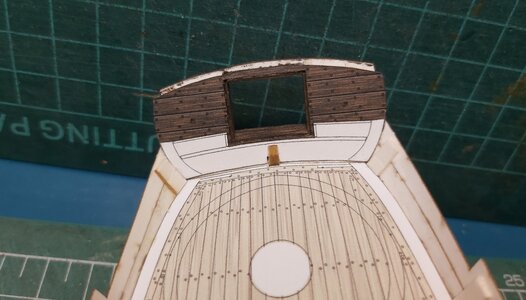
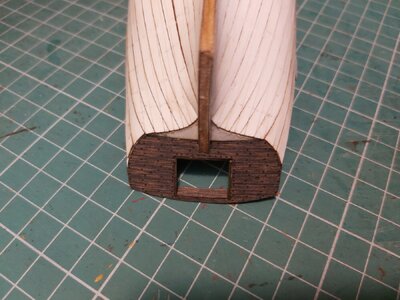
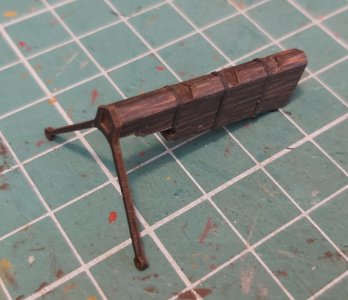
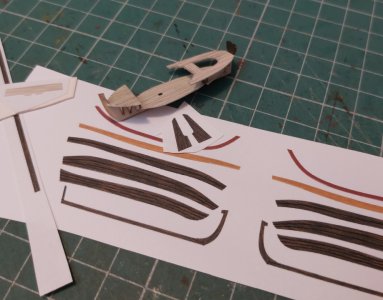
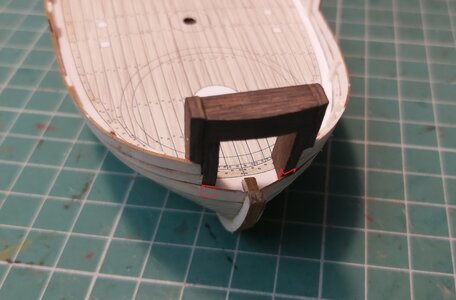
The bow consists of two thick posts connected by a horizontal beam. The posts need to be filed down and cut with a scalpel to give them the right bevel at the edge of the deck. And then, after some time, I saw my mistake, which was that the third strip of cover (counting from the top) should also "hide" in these posts (showed with red on picture). This will of course be corrected, because the bow embrasure is now glued about 0.5 millimeters too far back. And because of this, I immediately had to shorten the last two upper strips of the cover.
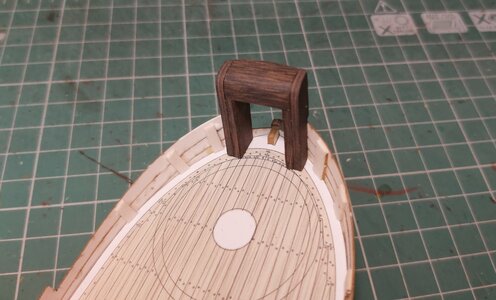
And now... Why are there so few photos? Because I started making short films showing step by step the test construction of this model. And fascinated with recording, I forgot about the photos :-((( I feel better now, the excitement is gone, so I will also take photos while gluing, I promise.
The channel where you can watch the videos is "Seahorse Modele"
It is created mainly for modelers who have not glued sailing ships (especially those designed by me with a specific philosophy of making the hull) and wooden shipbuilders who, out of curiosity, try their hand at cardboard. I've found that the biggest challenge is switching to a different material and treating paper and cardboard not like wood.
I invite. If you like it, please like, comment and, preferably, subscribe! Whether I will continue making guides depends (understandably) on interest.
Regards
Tomek
This time, as in the title, the Norwegian gunboat from 1810 "Axel Thorsen".
From the first time I saw this unit, I knew I had to build it someday. And it happened!
The gunboat "Axel Thorsen" had its twin "Skjøn Walborg" and both were launched in 1810. Initially, they served as patrol ships, tasked with protecting merchant ships leaving Arkhangelsk from attacks by the British during the Napoleonic Wars. After the Peace of 1815, Norwegian authorities viewed Russian activities in Finnmark in northern Norway with great suspicion, and in 1816 Axel Thorsen was sent north to remove Russian settlers from the area and demolish their buildings. In 1817 and 1818 this role was taken over by Skjøn Walborg. Both ships also participated in a mapping program in the High North. In 1831 and 1832, a cholera epidemic broke out in Arkhangelsk and the aim of both units was to prevent ships sailing from the epidemic area from calling in northern Norway. In 1864, Axel Thorsen participated in the Svalbard expedition organized by Adolf Nordenskiöld, while Skjøn Walborg was used by Graf Walburg-Ziel and Baron von Heuglin on a similar expedition in 1870. Both ships were extensively engaged in seal and walrus hunting in Nova Zemlya. Their lives ended in 1872 when both were crushed in the ice and lost.
Few models of this unit have been built so far, I found 3 or 4, but there is an interesting example in a museum in Norway...

First of all, of course, there was the frame and the first (transverse) covering. The stringer was made of 2 mm cardboard, as it turned out from the plans, and the frames were made of 1 mm as standard. I must admit that everything was lasered, including the first layer, which is why it has kinks in places of the engraved lines.


The next step couldn't be different, so I placed a 0.5 mm cardboard first covering (also laser cut). I'm impressed with my own design, because I didn't have to make any corrections - I cut it out and glued it and everything fit perfectly.


To build the bulwarks, it was necessary to make a transom and a wonderful, large gun port on the bow.
The transom is so thick that it is made of two 0.5 mm layers and spacer strips between them. To make sure everything fits together (and there are no reference points) I glued these parts together on the hull without gluing it to the deck. After removing it, I adjusted the gunport frames and then glued it permanently to the deck.


The bow consists of two thick posts connected by a horizontal beam. The posts need to be filed down and cut with a scalpel to give them the right bevel at the edge of the deck. And then, after some time, I saw my mistake, which was that the third strip of cover (counting from the top) should also "hide" in these posts (showed with red on picture). This will of course be corrected, because the bow embrasure is now glued about 0.5 millimeters too far back. And because of this, I immediately had to shorten the last two upper strips of the cover.


And now... Why are there so few photos? Because I started making short films showing step by step the test construction of this model. And fascinated with recording, I forgot about the photos :-((( I feel better now, the excitement is gone, so I will also take photos while gluing, I promise.
The channel where you can watch the videos is "Seahorse Modele"
It is created mainly for modelers who have not glued sailing ships (especially those designed by me with a specific philosophy of making the hull) and wooden shipbuilders who, out of curiosity, try their hand at cardboard. I've found that the biggest challenge is switching to a different material and treating paper and cardboard not like wood.
I invite. If you like it, please like, comment and, preferably, subscribe! Whether I will continue making guides depends (understandably) on interest.
Regards
Tomek


