Follow along with the video below to see how to install our site as a web app on your home screen.
Note: This feature may not be available in some browsers.
Ships of Scale has incorportated an extra level of security when you log In. Please follow
on-screen prompts to acknowledge that you are not a robot via a "Check Box" or a "Pictorial Check Box Puzzle". This is needed due
to higher level of AI Activity Security.
The beloved Ships in Scale Magazine is back and charting a new course for 2026!
Discover new skills, new techniques, and new inspirations in every issue.
NOTE THAT OUR NEXT ISSUE WILL BE July/August 2026
Win a Free Custom Engraved Brass Coin!!!
As a way to introduce our brass coins to the community, we will raffle off a free coin during the month
of August. Follow link ABOVE for instructions for entering.
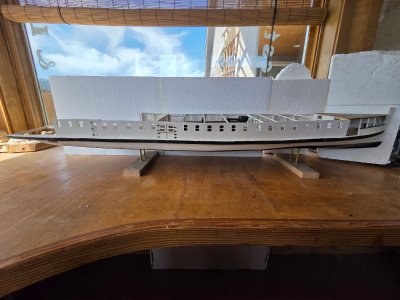
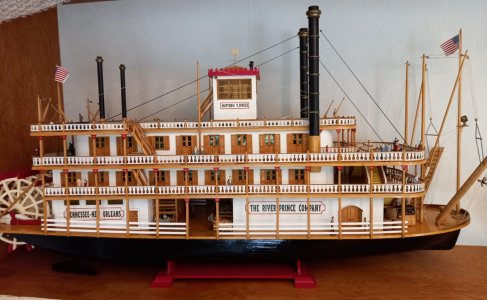
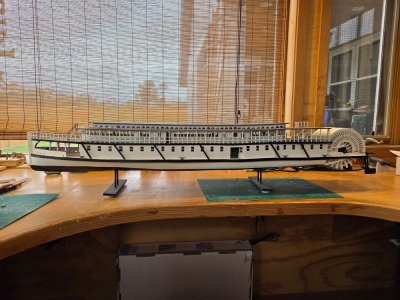
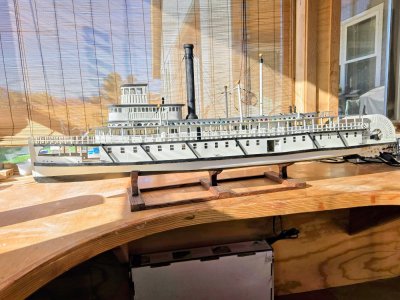
This is a scratch built boat, there is a set of plans that were drawn in 1911 when the boat was refitted to burn oil rather than wood. The plans have little detail and I have found them to be incomplete and full of errors that do not match photographs that exist. I chose to build it as it was outfitted 1n 1890. The boat was named after the first Jewish mayor of Seattle. It was built in the Tacoma shipyards. The first deck was dedicated to freight, boilers, crew quarters, and a kitchen with a dumb waiter to the dining room on the boiler deck. I had a ding capacity of 120 seated customers with menu that was chef designed and cooked. It had the boat's name on the dishes and glasses. It had a saloon for seating with 150 capacity, a smoking room for the men and a parlor for the ladies. The hurricane deck had 24 8'x6' "suites" with bunk beds, there was a wedding suite with a double bed. It"s steam boilers were built by John Rees and sons. It had a top speed of 22 knots and won a race against the Greyhound on the Columbia River. It operated in the Puget Sound until 1911, There after it operated on the Columbia River between the Dalles and Portland until 1923 when it was converted to a pier. It was a first class boat and was famous for its luxury.
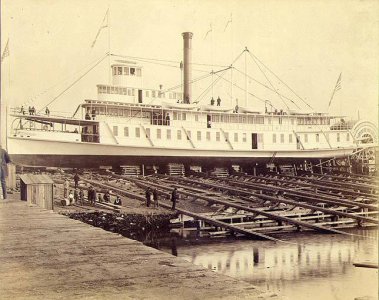
This is a photo of the boat prior to first launch.
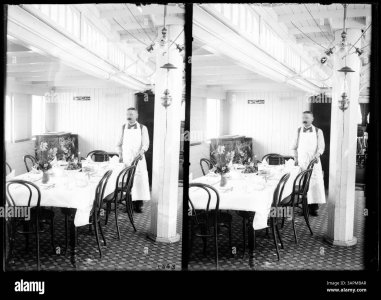
This was a photo of the dining room, 10ft ceiling with stained windows, electric lights and carpeted floors. The original boat was 172' in length and 32' beam. The bow was 10' and shaped for use in ocean waters.
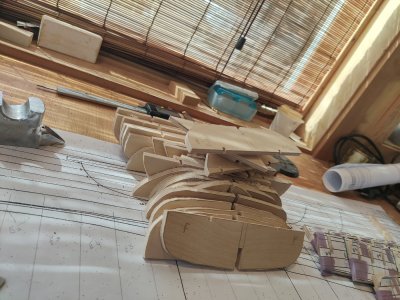
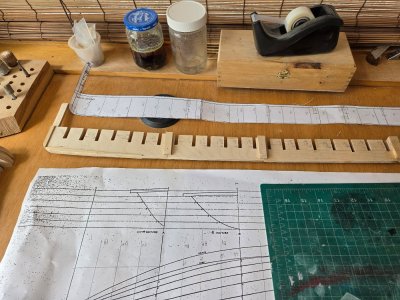
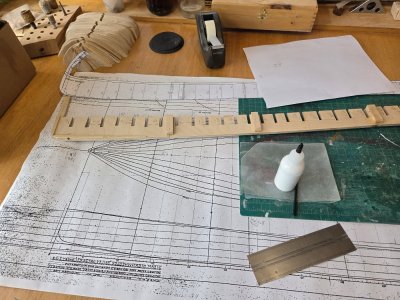
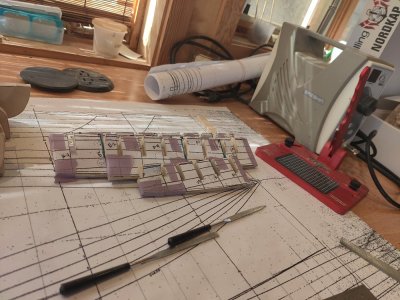
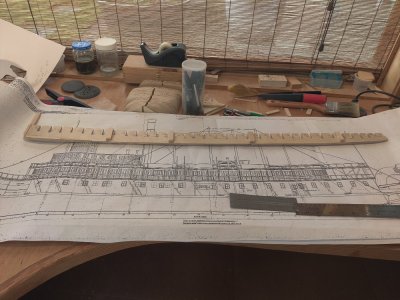
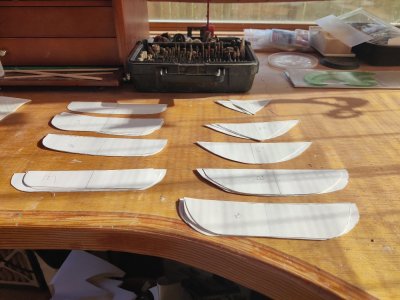
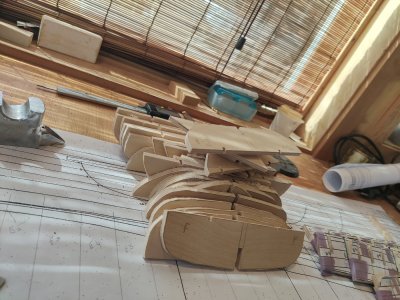
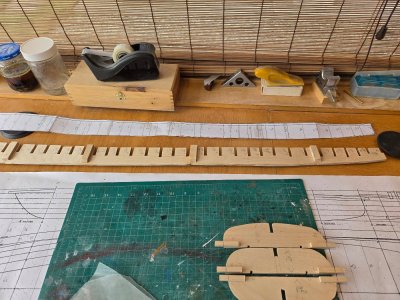
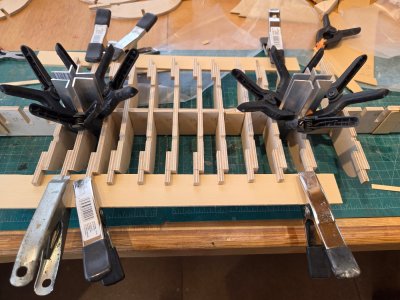
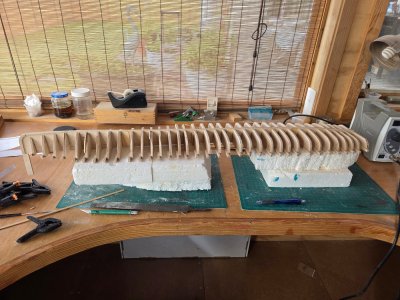
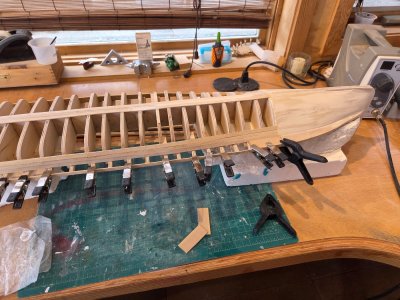
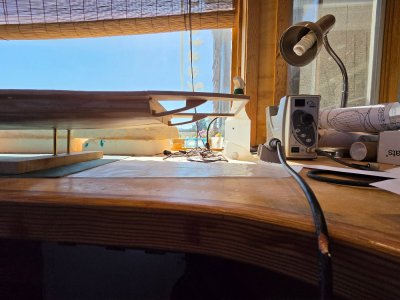
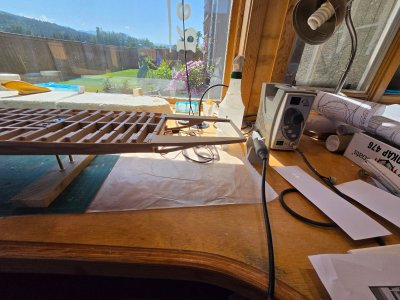
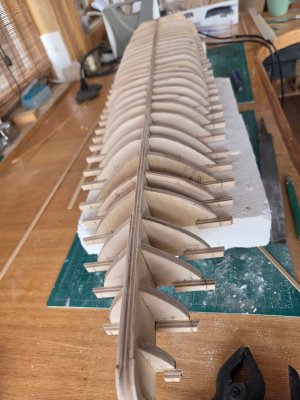
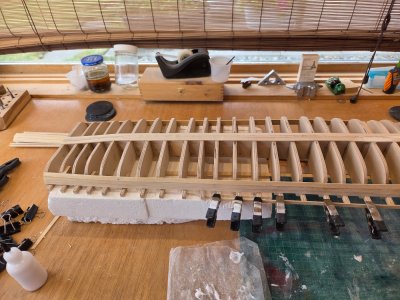
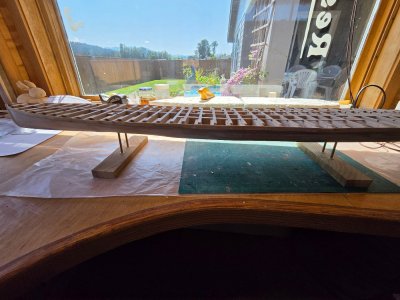
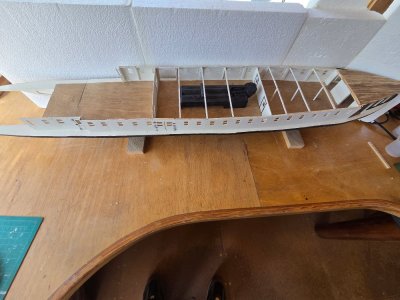
This is the layout for the keel and bulkheads. I had to use the 4 pages of drawings to determine the bulkheads. I decided to put a bulkhead every 13/16" for a total of 34 bulkheads. The plans only had 9 drawn, I used drafting block paper to make the patterns. I cut the pieces on the bandsaw.
I chose to do this 1/48 scale, so the boat will be 4'10" long and 8" in breadth.
Keel made from 1/4" aircraft grade 5 ply plywood. This is true 1/4". Bulkheads made from the same material. All cut with bandsaw.
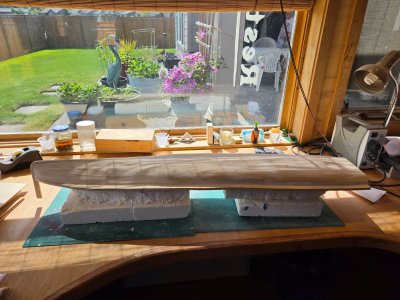
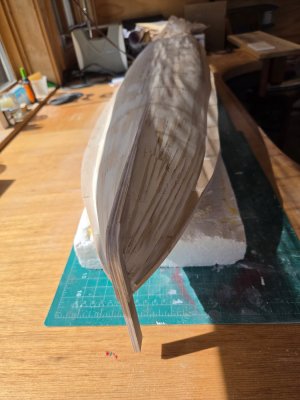
Because the main deck is wider than the bulkheads I had to add an extension to each bulkhead. The fairing was completed next.It was fairly severe at the bow where it transferred to flat bottom. I chose to plank from the bow to the point where flat bottom made dramatic change.
Planking was fairly easy thereafter and I could make long runs.
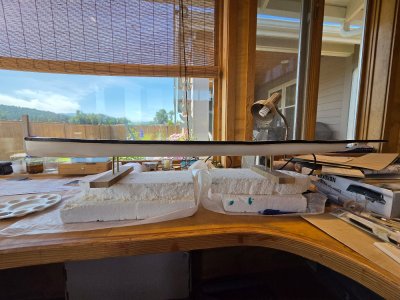
If you look closely you can see that the bulkhead extensions became the hull guard rail. In the Pacific Northwest at this time, the primary industry was lumber. Most piers and docks had cut lumber stacked high. When ships came into the pier they would easily run into the stocks and cause extensive damage to hull and structures above the hull deck. To prevent this there were heavy extended guardrails and if you look at the photo of the boat taken before launch you can also see that posts were also added on top of guard rail that extended about 10 feet above the deck. The guard rail narrowed at the bow but was quite wide thereafter.
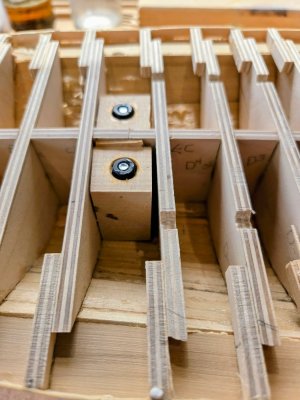
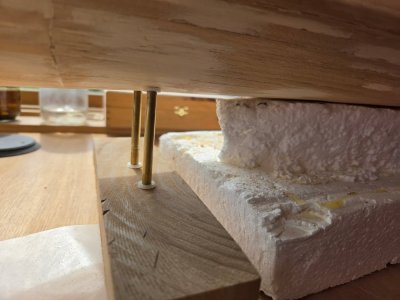
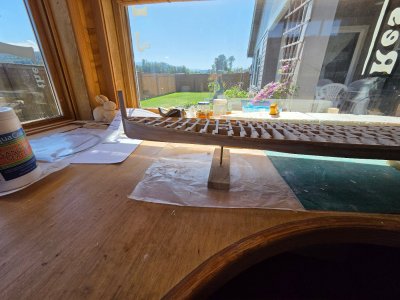
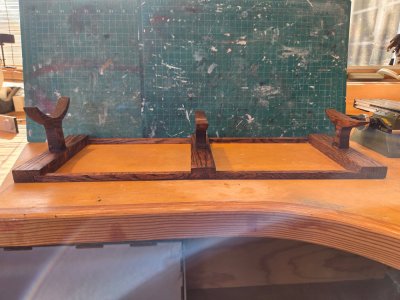
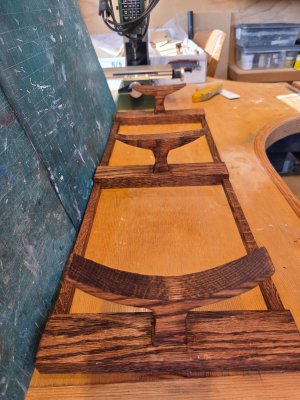
To support the boat I installed blocks in the interior that included nuts to accept bolts. I used 4 1/2" machine screws, brass tubes to cover the screws, and nylon bushings to protect the hull.
There were two near the bow and two near the transom. The next step was to add an extension at the transom that would be the support structure foe the paddlewheel.
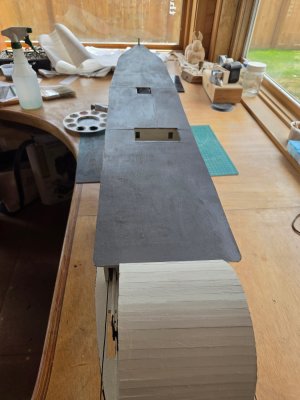
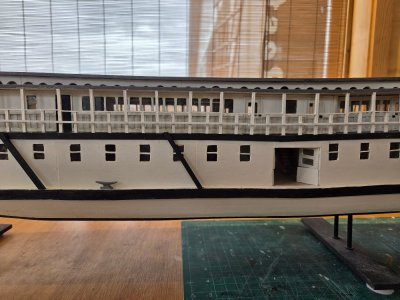
Sidewalls for main deck completed after planking the entire main deck. I used 1/16" birch sheets to make the sidewalls, And 1/8" yellow cedar strips to plank the deck. The windows were cut out on the Proxxon milling machine. I originally put hinges on the main gangway doors and the aft door. However after viewing photos there were no hinges on the outside, they must have been inside so I removed them. I planked the hurricane deck.
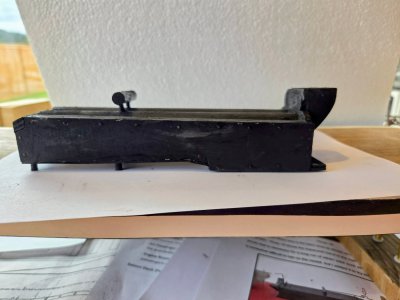
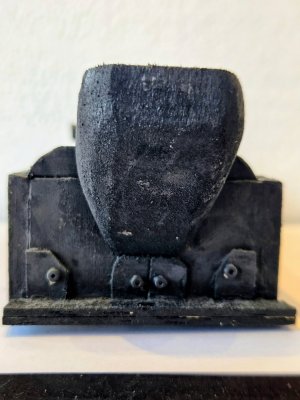
I made the steam Boiler to match the drawing of John Rees and son.
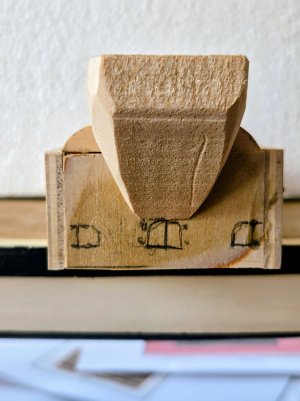
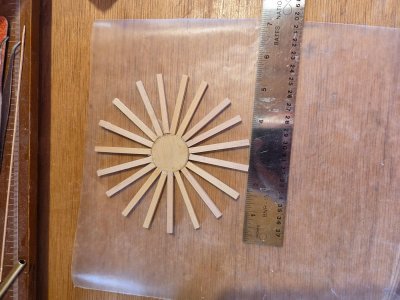
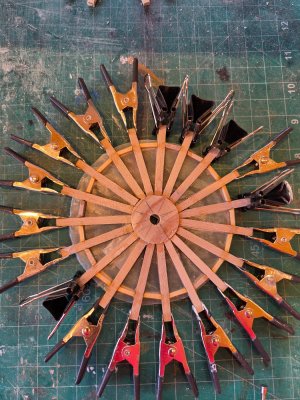
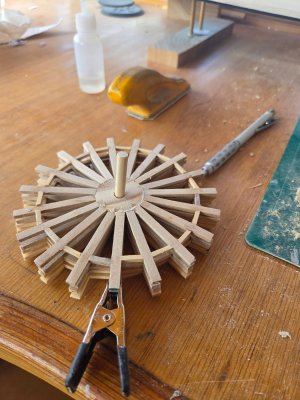
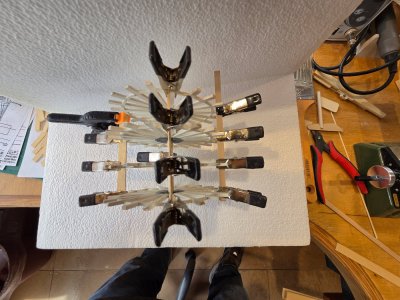
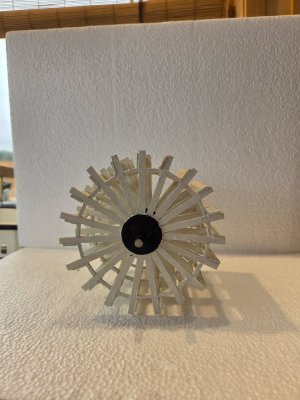
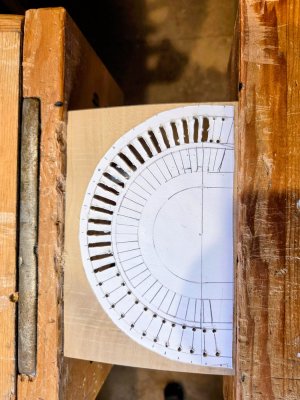
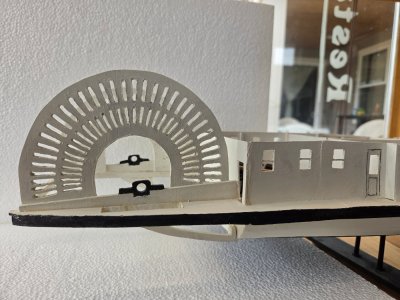
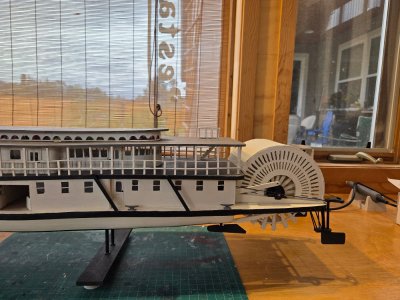
I then started on building the paddle wheel. I used yellow cedar strips and a 1.25 inch pine dowel for the center. There were 20 spokes, so they were 18 degrees between them. First i placed the hub and spkes on a piece of polypropolene so the parts would not stick to the table top. I placed the spokes diredtly on top of the paper pattern to be sure they placement was correct before gluing. I marked the #1 spoke and whwn it was time to do the second thru 4th wheel I put wax paper between each layer and clamped each spoke to the one below it so that each wheel was the same. Be sure to drill the hole in the center of the hub before startng. On the first wheel I did not do it and the hub split when I drilled it. Started over and drilled the hubs first. I triedmass producing the spacers between the spokes but that was not successful. The second time I measured each one and sanded the ends to 18 degrees and glued them in place one at a time.Putting the center rod was a painful process. First put all wheel on the dowel, add a lot of extra length to the dowel. Kine up all the #1 spokes and put in two paddle boards, One on each side, clamp them in place. then commence adding all the paddles. Match their length and alignthem with the inserts.
Very nice to see that you started a scratch build of a Paddle Steamer, ‘woodartist’.
The main deck, boiler engine and paddlewheel are looking very nice.
Regards, Peter
Wonderful build. I love paddlewheel boats, particularly sidewheelers (you can see mine, from a kit on SOS). I much look forward to seeing your progress. You are an artist as well as a craftsman
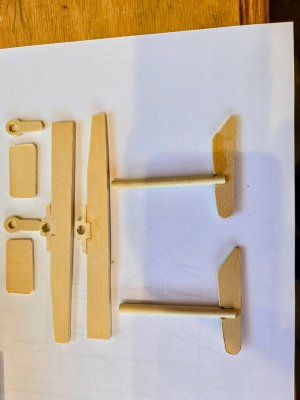
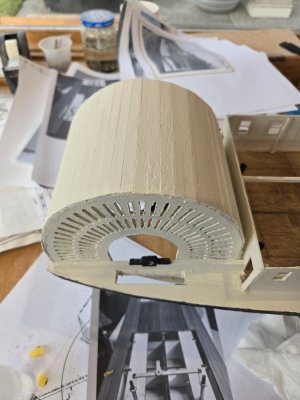
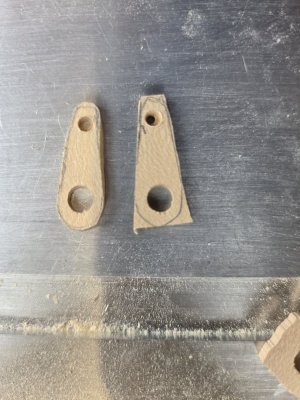
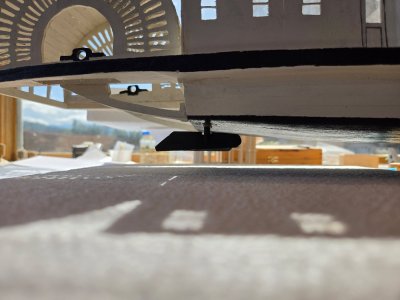
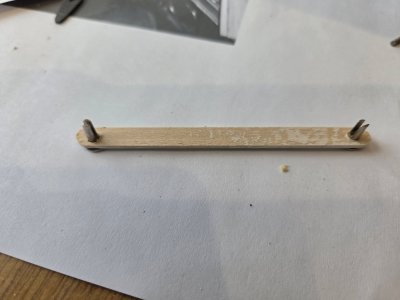
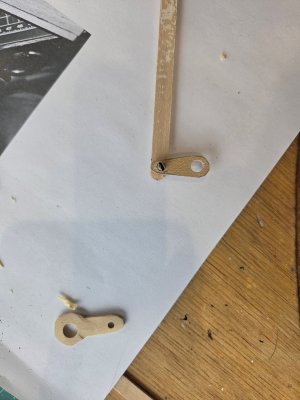
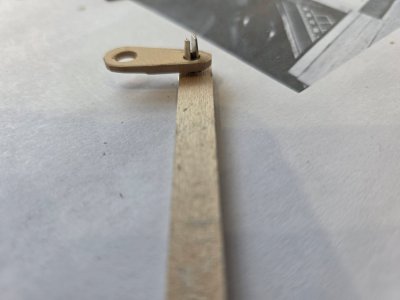
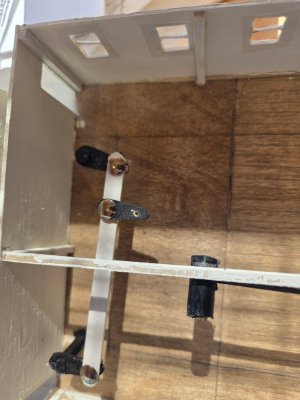
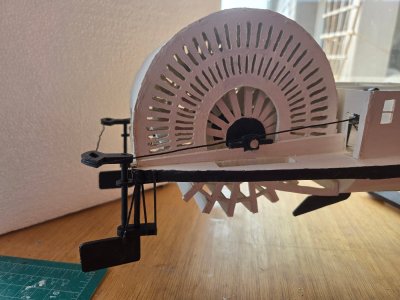
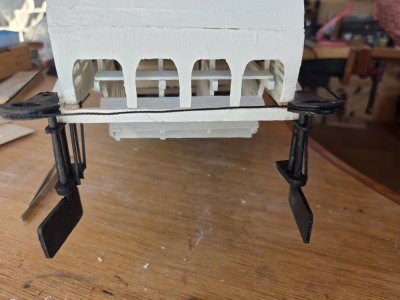
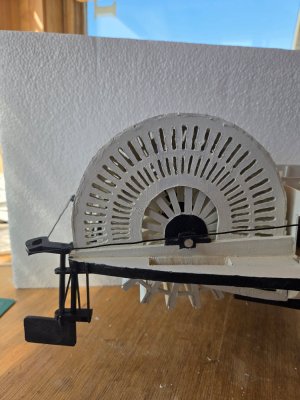
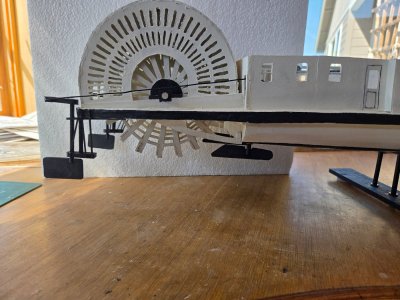
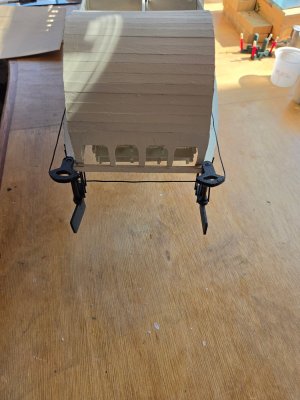
Finished the sides for the paddle wheel shroud cover, and the top of the shroud. Should have done it before I put in the aft wall it would have been much easier. Next came the forward rudders and the monkey rudders that are aft of the paddle wheel. The controls for all four rudders are control arms,, and I needed to build two steering quadrants for the monkey rudders. I used split rivets to tie the pieces together the the forward rudders. Once again I used a brass tube that was glued into the hull and inserted the rudder control arm in the tube. There were a lot of pieces necessary for the monkey rudders, and getting the steering quadrants was a real challenge. I used my rotary carver to make the slots in the quadrants to hold the rope.
What an exceptional build and process here in the UK no plans available I did build the Mississippi Paddle Steamer and loaded it with people, animals, lighting and working paddles. Would love to do another scratch built steamer next time Please put up the finished model when finished
What an exceptional build and process here in the UK no plans available I did build the Mississippi Paddle Steamer and loaded it with people, animals, lighting and working paddles. Would love to do another scratch built steamer next time Please put up the finished model when finished
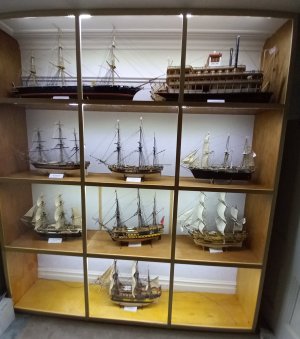
That is an awesome collection. I have a spare set of the plans for the Bailey Gatzert. They do not have a lot of detail and were drawn in 1910 when it was refitted. I supplemented the plans with photos(there are about 7 different photos) If you want a copy of the plans, provide me your address and I will send them to you. I lived in London for a year in 2000 and toured the country every weekend.
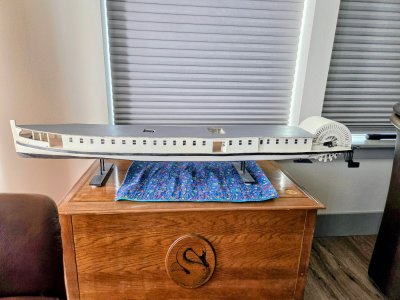
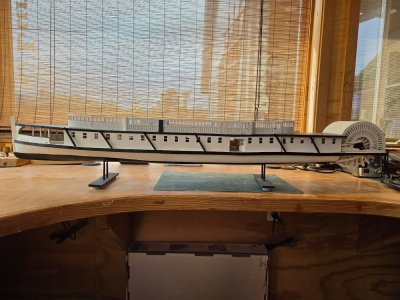
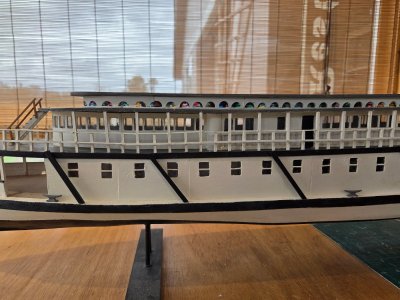
I finished the walls on the first deck and laid the flooring for the second deck. I do not have enough room in my shop to house the boat, it is 4'10" and build the remaining three decks, so i moved the Bailey to the living room and I started on the boiler deck.
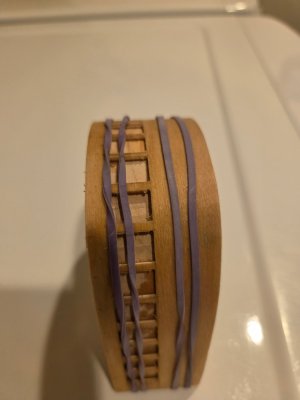
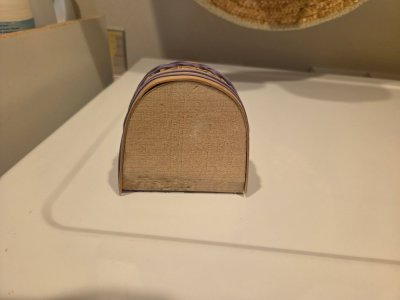
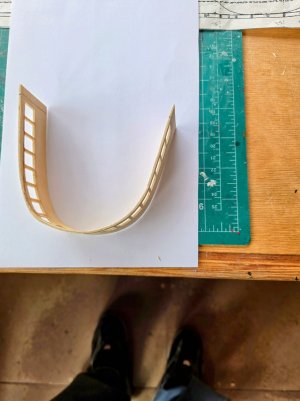
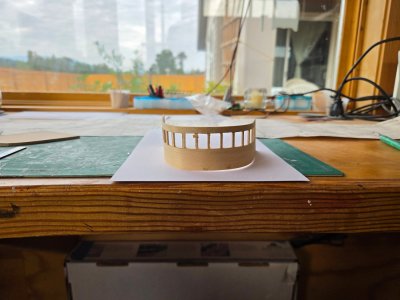
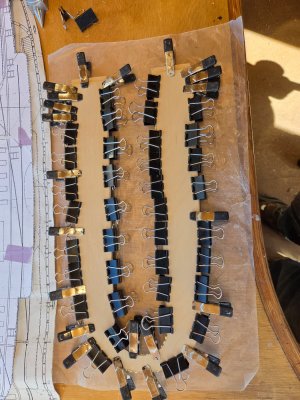
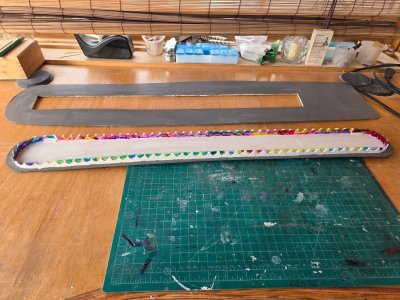
I started on the second deck. I has a 1/2 round front with windows all the way around. I milled out the windows and made a form to the exact size, steamed the wood and wrapped it around the form and held it in place with rubber bands. I will let it set overnight to dry and hopefully it retains the1/2 round shape. I was worried that with all the cut outs for windows that it would break but iy did not.
I used a1/16" birch sheet for this.
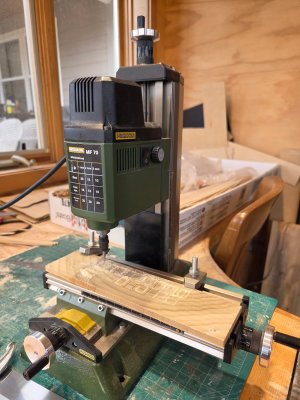
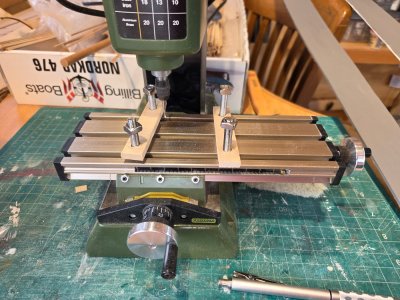
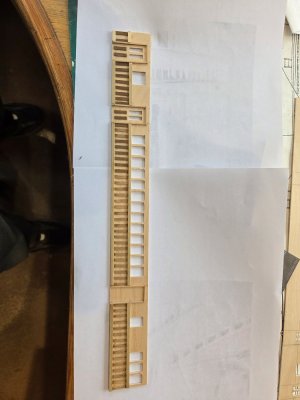
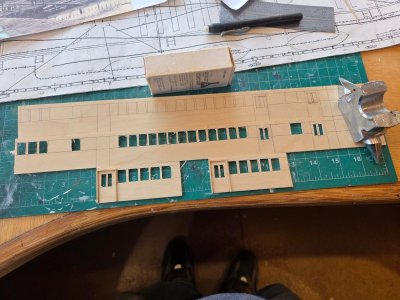
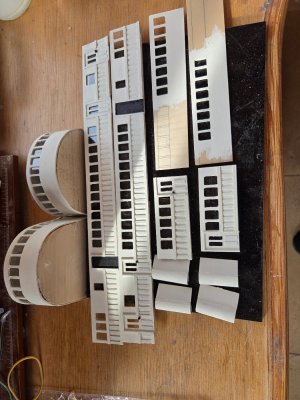
I have continued making the component pieces for the 2nd (boiler) deck. I milled the windows and doors on my Proxxon. The 2 hold down pieces that Proxxon provides are difficult to put in place so I created my own clamping system which works much easier.
This is my version:
The component pieces:
I also built the 3rd saloon deck, and the stained glass window in the center of the deck.
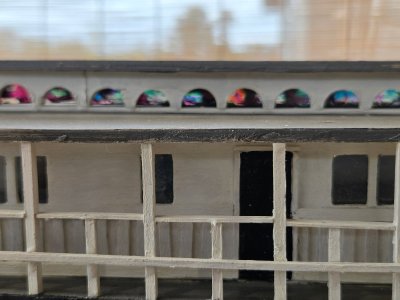
I took transparent glass paint and used it on clear plastic and put it on the milled trim. The boat has a raised center section that is adorned with stain glass windows. I used dowels and cut the edge off it to get the rounded corners on walls.
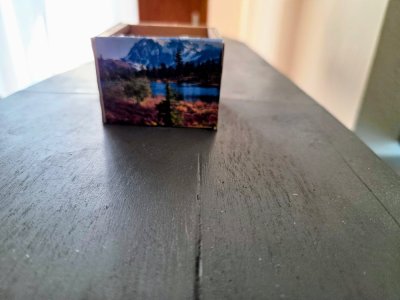
on the top of the boiler deck there is a walled section that surrounds the smoke stack. That wall was decorated with murals of mountain scenes in Washington. So I found photos and reduced them to 2"x1.85" printed them on heavy stock and glued them to the center wall. I put a different one on each wall.
The saloon deck was added, and the rub boards for the side.
I sat the deck above the saloon deck to check the fit, and the stained glass window center piece. It is not glued in and I will have to strap it with velcro straps to get it to fit tightly when it is glued in place. Before then there are a lot of miscellaneous bits that need to be put in, like all the railing for the deck. There are 112 posts that need to be installed, a side rail and a top rail.
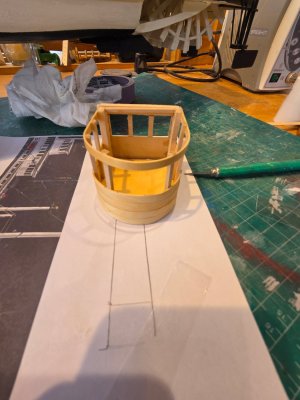
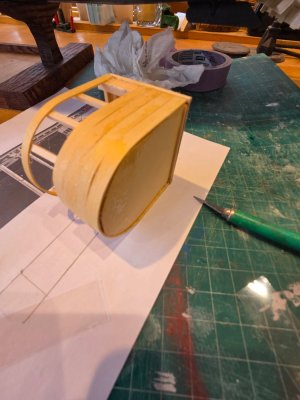
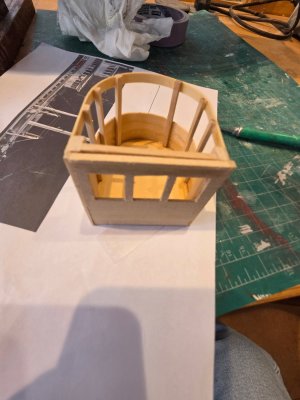
Built the pilot house, I tried to use the birch 1/16 sheets to build initially but found that even after soaking and steaming the panel it splintered when it was fitted to mold. So i built it out of individual 1/32 strips. I covered the mold with thin plastic and fitted each strip to mold with white glue and secured with rubber bands til dry. Then i took the four strips and glued the permanently to a base mold, added posts for window frames, then added top window frame and then secured back panel.
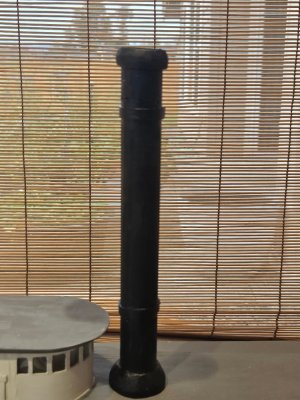
Added the smoke stack, used 1" dowel and built a base to mount it in, used a section of a rubber band to make the joints, and took a 1 1/4" dowel, hollowed it out and shaped to make the crown on the smoke stack.
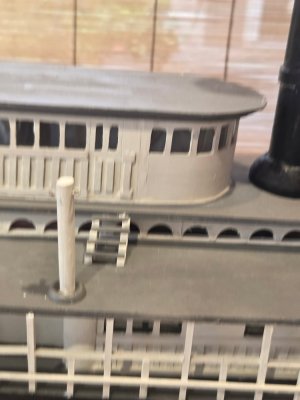
Made the four sets of stairs to access the hurricane deck.
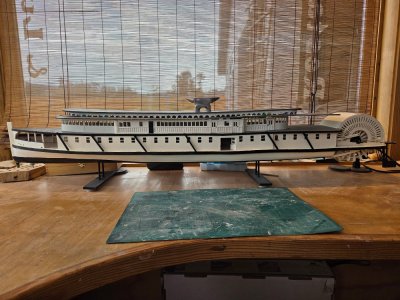
I then added the support poles and the cable wires to support them, the cables were all secured with cable clamps that were made from aluminum tubing. I painted the pilot house and placed it on top of the hurricane cabins. The small smoke stacks were added. I still need to put in the steering wheel and and bench in the pilot house before it is glued in place. I used stainless furniture caps at the base of all the support posts. I still have one more post to install in front of the pilot house, make six lifeboats with davits and fittings, add the running lights, spot light, fire buckets, whistle and whistle pipe, and signage.