Black Pearl - Zhl 1:50 by Vfordyce [COMPLETED BUILD]

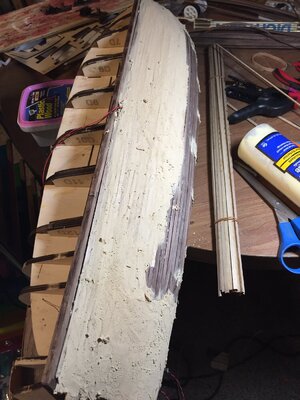
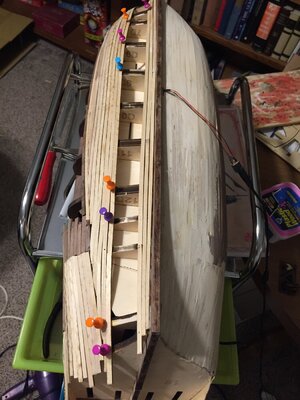
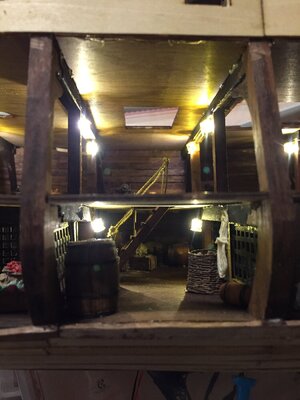
Installing upper deck was tough. I had to trim some slots for the ribs to pass through. A bigger problem was having to remove some beams that the instructions had me install earlier. And the pictures for the deck installation has them missing. It seems the pictures are on a time machine.
I'll need to keep my eyes open for this when I start the build.
You are recommending not to install those beams, right?

On another note, those lights look awesome :)
 
I'll need to keep my eyes open for this when I start the build.
You are recommending not to install those beams, right?

On another note, those lights look awesome :)
Definitely not until the upper deck is installed. And thanks about the lights.
Vfordyce,

Forgot to mention that I like the hook look on the cannon ropes.
I will try that on my next build :)
I've seen other builds with the hooks. I believe it may be for quick release from the eyebolts.
 
I have just caught up with this build whilst awaiting delivery of my Black Pearl. Absolutely stunning.
I have, unfortunately, an observation. I believe that the gun carriages should have the narrow and at the front, not at the back. This is clearly visible on one of the layout drawings posted earlier. Sorry
Oh no, Nigel! Those blasted pirates never get ANYTHING right! Good thing it's just a fun build with no historical accuracy. Just hysterical. This is my second build. My next one is Le Soleil Royal. Hopefully, I will have gained enough experience from my Constitution and Black Pearl to do my next one justice. (No wonder they seemed a little heavy up front.)
 
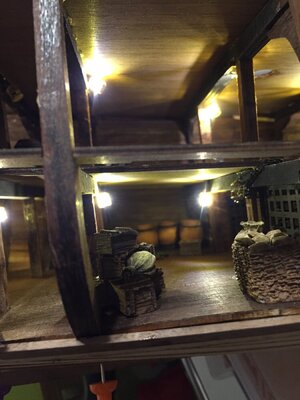
Coming along nicely and the interior pics look cool!

Do the instructions say to use the dark walnut for that area or is that your idea?

You are building this at light speed, lol.
 
The instructions do say to use the black walnut. I didn’t want to. I was ready to paint the inside black because the walnut is harder to work with than the pawlonia, but I went ahead with the instructions for a change. I like the look of it inside.
 
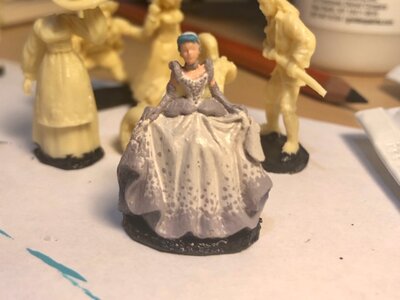
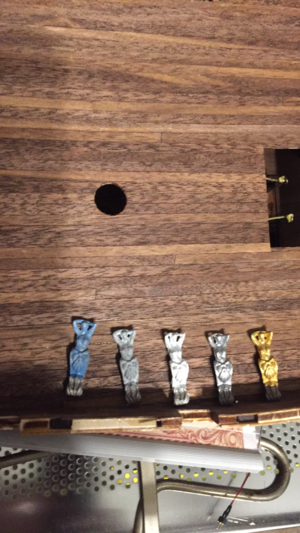
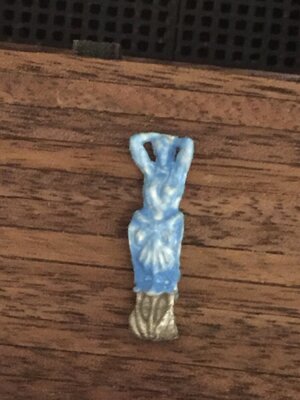
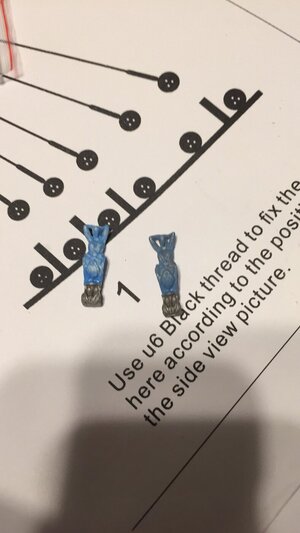
I showed my daughter’s friend different possibilities for coloring the decorations. She wants the glow-in-the-dark blue. I wanted the pearlized white or the silver. So I painted the blue over the white. I was surprised how well it showed value or shading. And it still glows and looks a little spooky. 5B572127-9781-4691-9020-BFA03A42C747.pngABF41FF0-73E6-4931-821B-2A34FA29D534.jpegFBC05C29-5639-40A9-A9B4-6E3C6B8D86C5.jpeg
 
Now, take a little black paint ( or very dark blue ) and thin it to about 80 % thinner to 20 % paint. Brush it on in one stroke over the figurine.
You just did a wash, the pigment will fill in the very low spots giving a look of more depth to the parts when it dries. ;)
 
Back
Top