Sails, sails and more sails... I think I have a good process for my sail making now. Using the paper templates that have been cut and adjusted I laid them out on my sail cloth. There is twice as much material as is needed for the sails. So I tried to keep the weave going in the direction that I think is correct. Each of my sails I numbered on the good side, the side I will show. This side goes face down on my sail material when I draw out my sails using a pencil. I don’t care about the pencil lines as they will be folded inside the seams.
View attachment 202655
View attachment 202658View attachment 202656
Now I need to iron the material, I use a towel under the sail cloth and iron both sides.
View attachment 202654View attachment 202653View attachment 202652
Now I’m ready to cut out and sew my first sail. You can see the sail on the inside and the material for the seam around it. I started with one of the triangular sails as it will be easier.
View attachment 202651
Now I turn up the longest side to the inside line and iron it flat. I then tuck the material under this flap and iron again. This creates my seam with no ragged edges to worry about.
View attachment 202649View attachment 202648
Now I sew the first seam.
View attachment 202647
Fold up the next seam, sew and then finish the last seam.
View attachment 202646View attachment 202645View attachment 202644
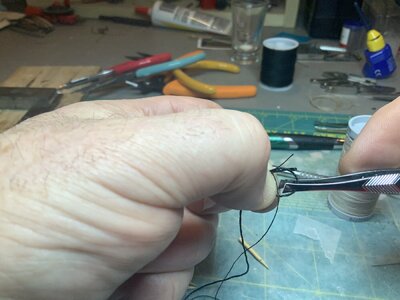
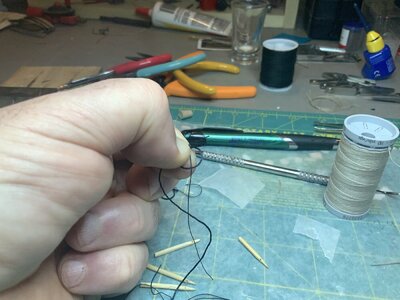
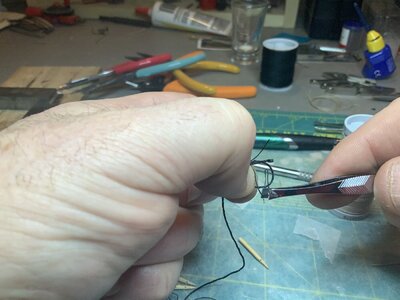
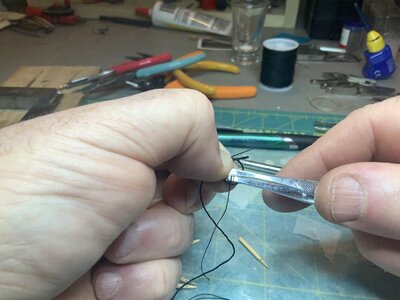
Now to add the sail fake strips to simulate the pieces sew n together. This is sewn with the good side facing up on the sewing machine.
View attachment 202643View attachment 202641
The completed sail after all the trimming has been completed.
View attachment 202640View attachment 202639
Here are some thumbnails of the main sail being done.
View attachment 202638View attachment 202637View attachment 202636


 Now onto sail making.


