The gunwale and covers accentuate the lines very nice. Looks very good!
Also nice to see you started with the deck attributes.
Regards. Peter
Also nice to see you started with the deck attributes.
Regards. Peter
Thanks Peter. Slowly but surely it is starting to look like a real ship nowThe gunwale and covers accentuate the lines very nice. Looks very good!
Also nice to see you started with the deck attributes.
Regards. Peter
That was my first build as well. I had zero knowledge of how to do it, but I managed to get it done. Yours looks 10 times better than mine did at the time. Well done!This is my very first ship modelling endeavour, or my first modelling endeavour of any nature really. I ordered the Bluenose II from Artesania Latina as a starting point and it already feels that I'm punching well above my weight. Nonetheless, I was encouraged by other build logs on this forum and thought I'd try the same, so any advice and suggestions are more than welcome. With family and work commitments, and a total lack of experience, it is likely that this build, if successful, will be the slowest build known to man. Still, I am fascinated by sail ships in general, and look forward to the challenge of building the Bluenose II, learning more about modelling in general, not to mention coming to terms with all the nautical terminology with which I am wholly unfamiliar
View attachment 245596
Thank you Jack Sparrow. Too kind, I'm just good at hiding all the cock-ups I makeThat was my first build as well. I had zero knowledge of how to do it, but I managed to get it done. Yours looks 10 times better than mine did at the time. Well done!

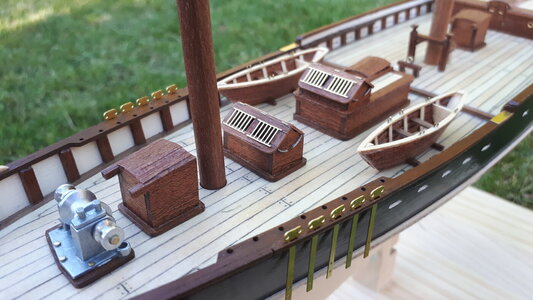
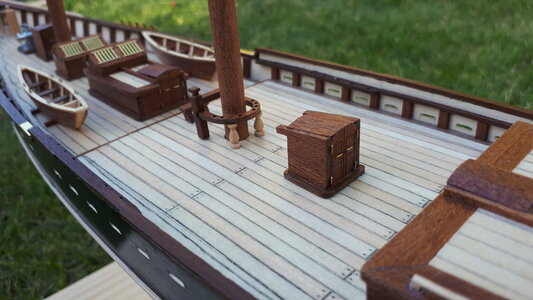
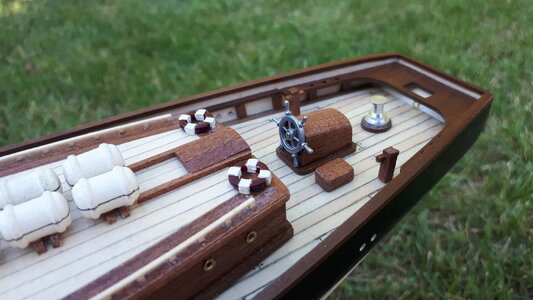
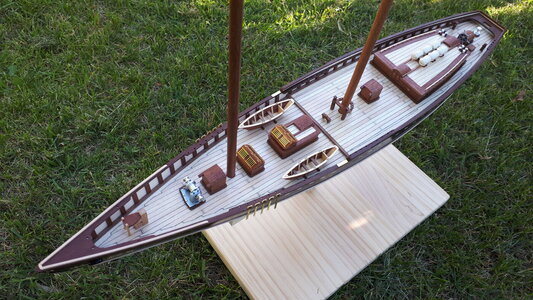
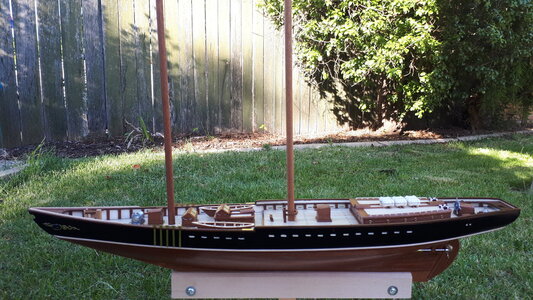

Indeed, it is looking more and more a nicely lined schooner. And the deck items looks very nice.I finally installed the deck furniture that I had assembled earlier while waiting for my order of stanchion wood. Well most of it anyway. I left the two dory boats loose for now as it seemed they might impede the rigging work that is still to come.
View attachment 268587
The smaller parts, such as the rope tie-offs, the bench and the central pin-rack were reinforced with wire dowels at their base for greater stability when attached to the deck.
View attachment 268588
Some of Artesania Latina's deck-spacing measurements were a bit off, but they do at least supply plenty of colourful photos to give you a reasonably good idea where everything should go.
View attachment 268589
There are still a few more components to fix on deck, such as cowls, lifebuoys and a series of eyebolts, not to mention the hand and warp line rails, but the furniture so far has at least given life to a deck which had been rather bare and dormant until now.
View attachment 268590
And with the masts loosely fitted, it really is starting to look like a real ship now!
View attachment 268591
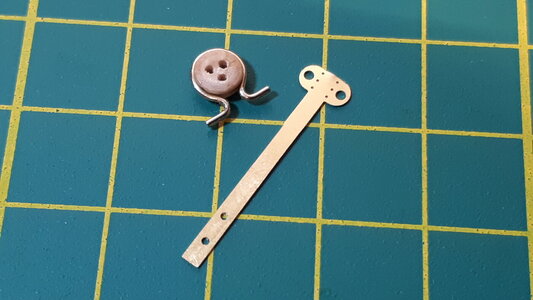
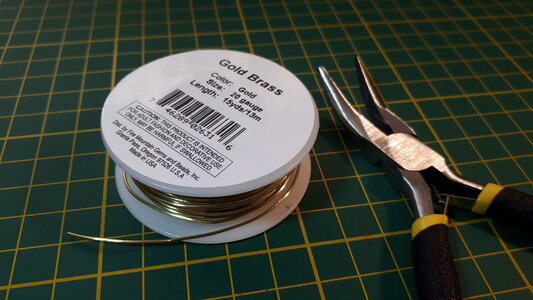
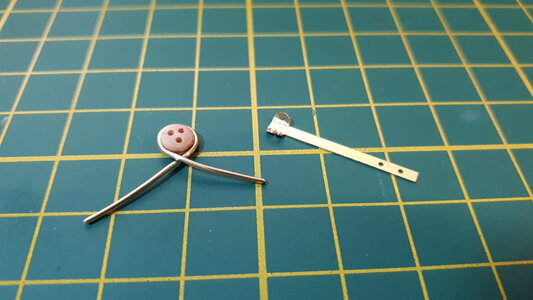
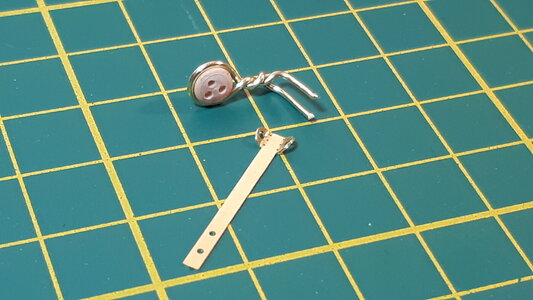
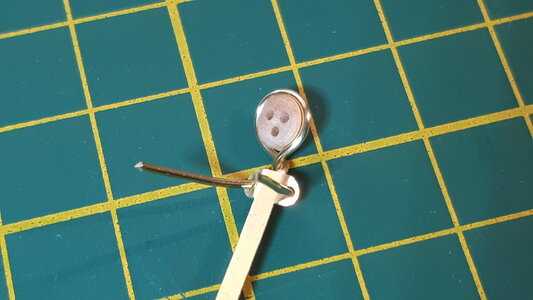
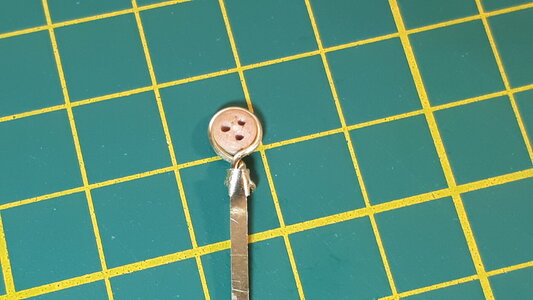

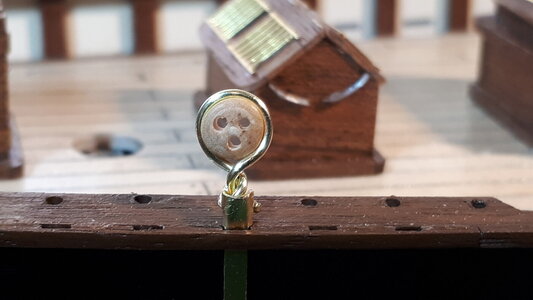
Yes I thought that too, until I tried it. I managed to complete a couple of them, but most of the ears were too short and the strap finished right up against the face of the dead eye. But worse still, the hoop wire didn't take to being bent much and the ears broke off all too easily when they were adjusted. I felt a bit better when I learnt that this is a common issue with AL's BNII kit and most have gone about creating their own. Either way, it also gave me the opportunity to acquire a few wire-bending skills which may come in handy in future buildsLooks like what was provided should work. If you bend one ear 90 degrees first, then install one side of the wire around the deadeye through that hole as far as possible. Then as you bend the other ear, once it gets close to the wire you should only have to bend the wire a little to find the hole in the second ear. Then finish bending the second ear to 90 degrees. Looking at the material above the hole in the eye and the distance on the provided wire, the deadeye should remain above the top of the strap. But the wire might be too long to get the second ear hole over it. In that case you might have to cut it a little shorter?
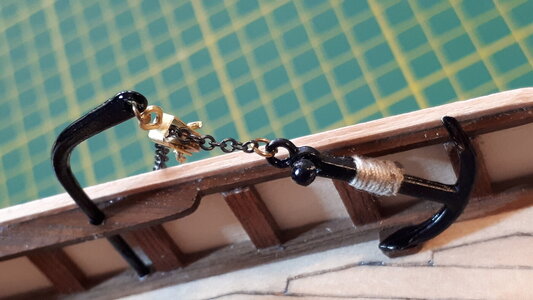
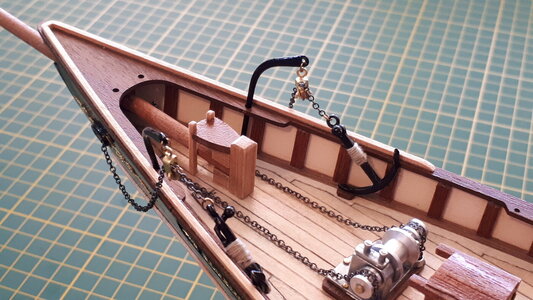
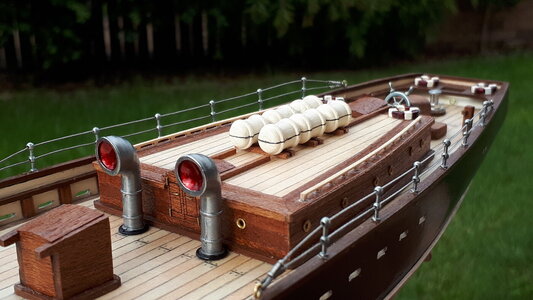
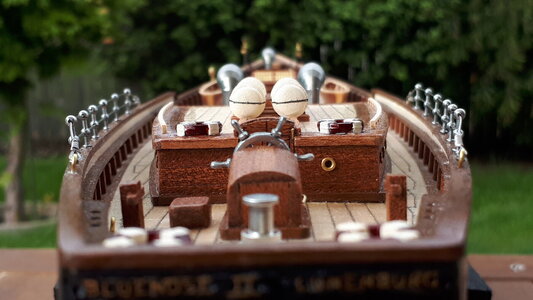
Hi Mark. The surrouding of the main cabin on the aft deck starts looking very nice.Added the cowls to the deck and hand-rails to the gunwales. It was something of a challenge to fasten the loop-ends of the rails with lengths of seriously thin galvanised wire, but managed to get there in the end after a fair amount of trial and error
View attachment 271167
The deck is starting to get quite busy, which must mean that the masting and rigging effort can't be too far off now
View attachment 271168


Batavia, Duijfken? Two ships with Australian connections.Thank you for the kind comments and reactions to this build, although I must say after browsing through several other logs I am blown away by what other modellers have achieved, some of them with their very first build. Even now I consider myself lucky to have got through the planking phase without too many injuries, and still get the jitters about being able to finish this whole thing properly.
That said, I'm already scratching around for another kit to follow this Bluenose II so I'll take it that I'm hooked. Any suggestions are most welcome, just not straight into the HMS Victory like I see others are able to do with relative ease
Thanks for the suggestions Johan, both ships look very interesting. The Duyfken, in particular, is on a very handy special with Premier Ship Models at the moment. It uses walnut/oak planking and also carries several cannons, a good step up from the Bluenose II. Food for thought anywayBatavia, Duijfken? Two ships with Australian connections.
