Bomb Vessel Granado 1742 - Cross Section - 1:32 Scale - Scratch Build by DocBlake [COMPLETED BUILD]

Dave you have such wonderful talent - not only is your building method clinically perfect, but you also have a great eye for color combinations.

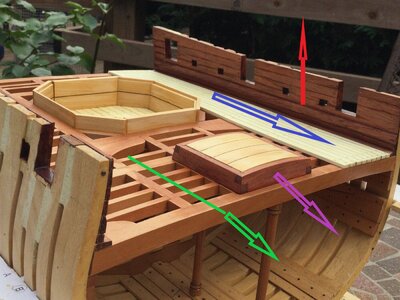
So ... please help me out here ... On the picture below, I have marked (what looked to me) like four different wood types.
179.jpg

My guesses would be:

Inner Bulwarks = Red Padauk? (Marked in Red)
Deck Beam Construction = Pear? (Marked in Green)
Hatch Frame = Cherry? (Marked in Purple)
Deck Planking = Boxwood / Castello? (Marked in Blue)

Many thanks in advance my friend. By the way, when are you venturing into your next, full-sized build?
 
Dave may I ask where you obtained the bloodwood?
 
Heinrich, Bloodwood is readily available from many sources in the USA, I live in Utah and there are two hardwood distributors near me - Macbeath Hardwood and Woodcraft - both carry dimensioned lumber exotic hardwoods, Bloodwood, Purpleheart, Redheart, Rosewoods etc… but Castello boxwood and Swiss Pear are still hard and expensive to find.
 
@DocBlake @Stargazer

Hi Lou and Dave - so sorry guys - I missed both of your replies! Thank you so much for the info gents - it is good to know that there are a few options.
 
I've been busy! I just finished painting the inside of our house, including our family room, kitchen, foyer, 2 bathrooms and two bedrooms. I also removed carpeting and underlayment in two bedrooms to prep for installing hardwood floors...which is my next project! I have sneaked in a little modeling time, though.

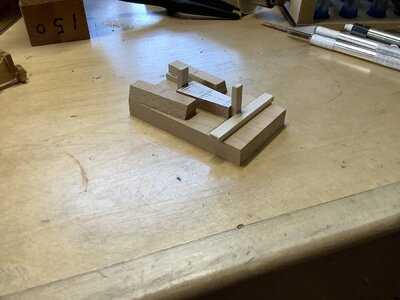
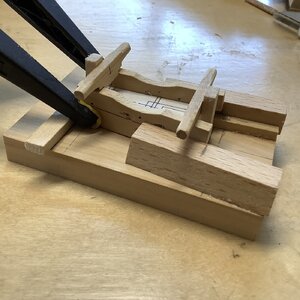
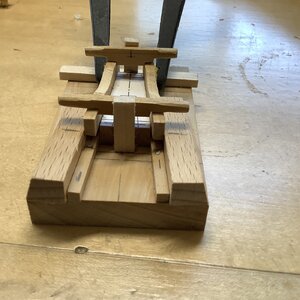
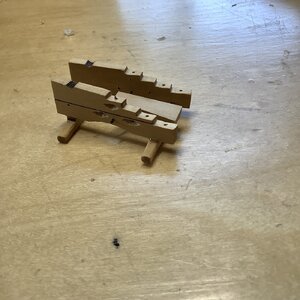
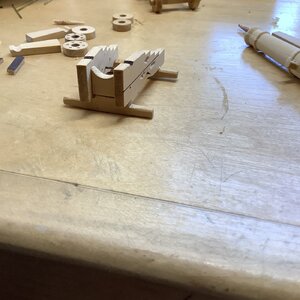
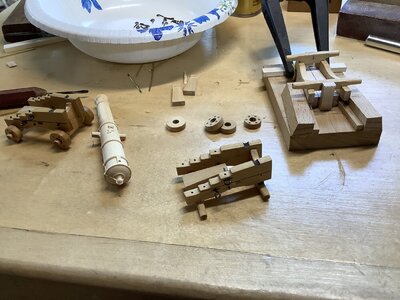
Here is some preliminary work on the cannons. I first built an assembly jig so everything goes together nicely and the same. The metal work will come next and then the trucks. You can see some shallow "gouges" in the carriage brackets where the eyebolts fit. This is so the eyebolts can be "buried" in the brackets as they were in real life, to prevent them from turning.


180.jpg181.jpg182.jpg183.jpg184.jpg185.jpg
 
I've been busy! I just finished painting the inside of our house, including our family room, kitchen, foyer, 2 bathrooms and two bedrooms. I also removed carpeting and underlayment in two bedrooms to prep for installing hardwood floors...which is my next project! I have sneaked in a little modeling time, though.

Here is some preliminary work on the cannons. I first built an assembly jig so everything goes together nicely and the same. The metal work will come next and then the trucks. You can see some shallow "gouges" in the carriage brackets where the eyebolts fit. This is so the eyebolts can be "buried" in the brackets as they were in real life, to prevent them from turning.


View attachment 259273View attachment 259274View attachment 259275View attachment 259276View attachment 259277View attachment 259278
Well done with the jig for uniformity. Did you turn the barrel shown in the last photo? It loos excellent and a perfect companion to the carriages that you have made. Rich (PT-2)
 
Thanks, Rich!

The cannon was CNC carved by my friend Mike Shanks. It even has the cypher of King George II who was the English monarch when Granado was built.
The CNC carving amazes me in the all around ability. A step up from what would have taken who knows how long to do by hand. MIke certainly knows his stuff in the programming and utilization of the machine. So I assume that you have an inventory of barrels for each carriage. I wonder how long it takes for each detailed barrel??? The quality will match that of your own work. Rich (PT-2)
 
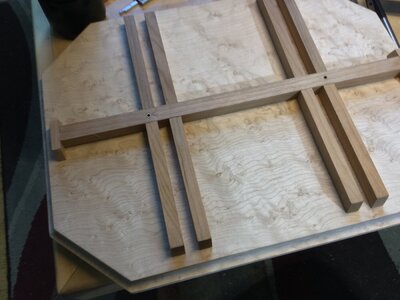
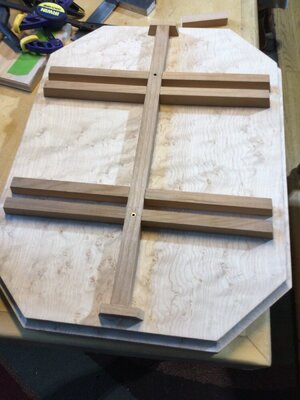
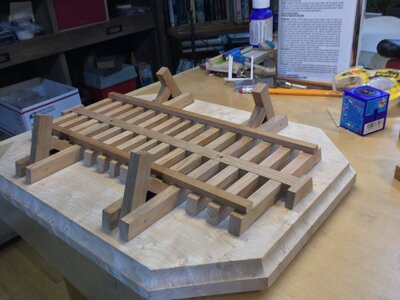
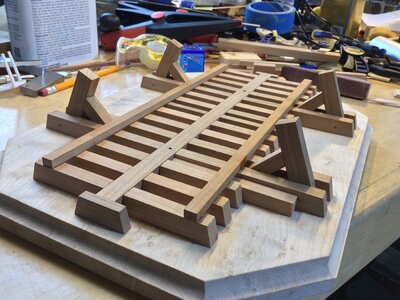
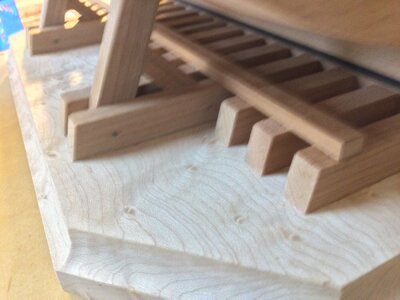
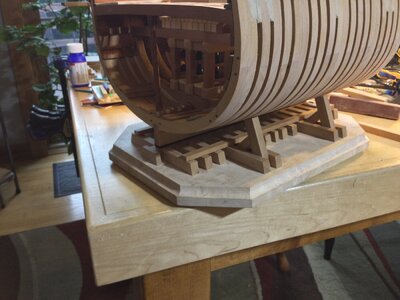
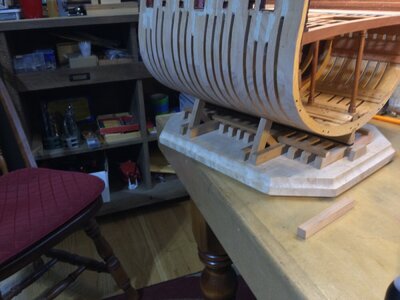
I'm getting ready to plank the outboard bulwarks. The jig will get in the way of the wales, so it's time to build a display stand. I have some curly bird's eye maple that I'm using for the base. The section will be cradled in scaffolding/bracing much as I did for my Blandford project. The wood is cherry.


View attachment 263620View attachment 263621
That is a very precise and tightly crafted cradle. Rich (PT-2)
 
Just beautiful work Dave! I can't wait to see those finished gun carriages and cannons. And then, of course, Mike's work is on another level!
 
Thanks, Heinrich and Rich, and all the "likes"!

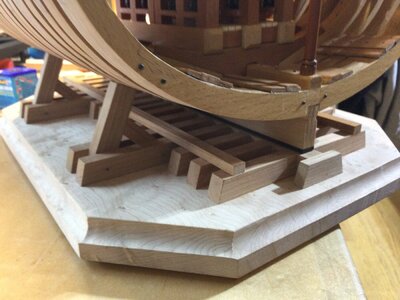
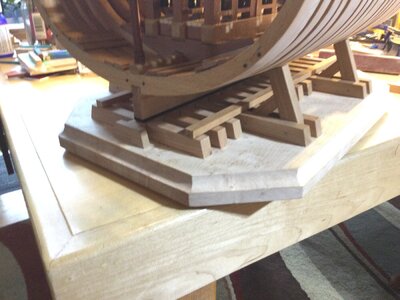
I added a little more to the base/launching ways to display the model. I still need some "curbs" on either side of the center timber to keep the keel centered where it should be.

Once the finish is on, the contrast between the maple, beech, cherry and swiss pear will be more dynamic.


188.JPG189.JPG190.JPG191.JPG192.JPG193.JPG194.JPG
 
Thanks, Heinrich and Rich, and all the "likes"!

I added a little more to the base/launching ways to display the model. I still need some "curbs" on either side of the center timber to keep the keel centered where it should be.

Once the finish is on, the contrast between the maple, beech, cherry and swiss pear will be more dynamic.


View attachment 264174View attachment 264175View attachment 264176View attachment 264177View attachment 264178View attachment 264179View attachment 264180
Excellent idea for the keel support-work base.on the plaque. Rich
 
Maybe you can do a post about how to "Paint by Lumber Type" so us newbies can see the differences a slight change is type wood has in contrast to wood next to it in planking, displays and other model workings.
 
Maybe you can do a post about how to "Paint by Lumber Type" so us newbies can see the differences a slight change is type wood has in contrast to wood next to it in planking, displays and other model workings.
I’ll see what I can put together! There is a great difference in color between finished and unfinished wood, also.
 
Back
Top