• "LUCZORAMA SHIPWRECK SCAVENGER HUNT GIVEAWAY RAFFLE"
    Luczorama is proud to launch a 4-week scavenger hunt giveaway packed with creativity, laughs, and nautical nonsense. Explore historic ships, solve easy clues, and have some fun with fellow builders. Complete weekly missions to earn raffle entries — the more you join in, the better your chance to win a Fram model ship by OcCre!
    **VIEW RULES HERE**

Bowsprit construction

Joined
Oct 1, 2023
Messages
1,446
Points
393

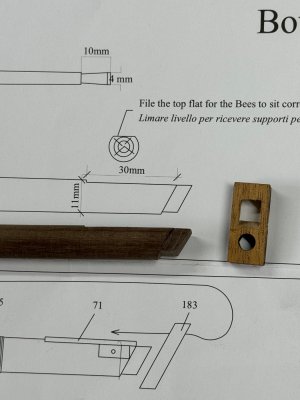
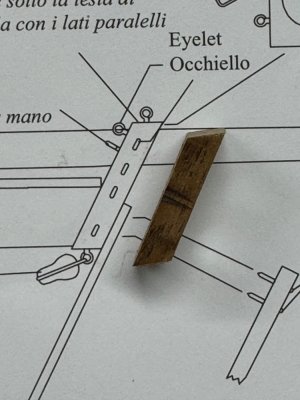
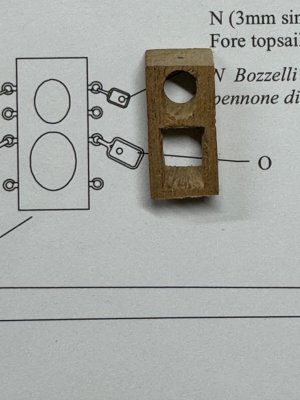
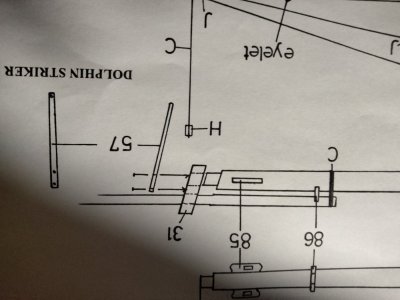
I'm looking for a source of instructions on how to make the forward portion of the bowsprit.
The portion that goes through part 31 is rounded.
How do I go about carving this out?
All I have available are xacto blades files, sandpaper and a Dremel drill press.
I found an almost identical part being made on a YouTube video of the Victory but he used a table saw.
Do I just start cutting and filing or is some sensible procedure around that would consistently produce the sloped circular oval. somehow my photo is mirror imaged. I hope it is understandable
IMG20250510192411.jpg
 
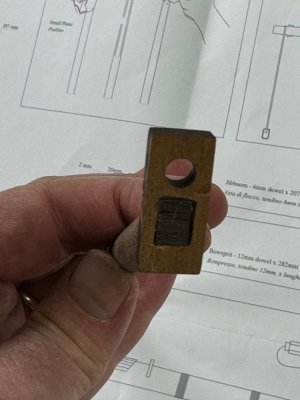
The drawing looks like a kit with numbered part, was that part not there, or not drilled?

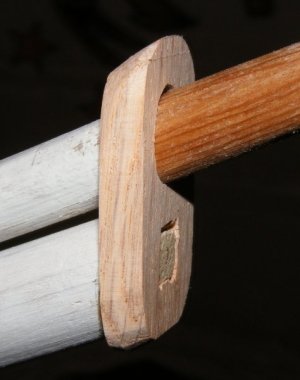
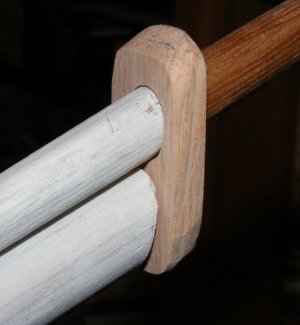
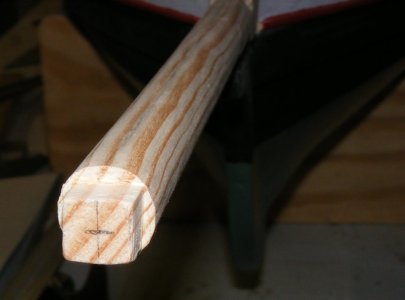
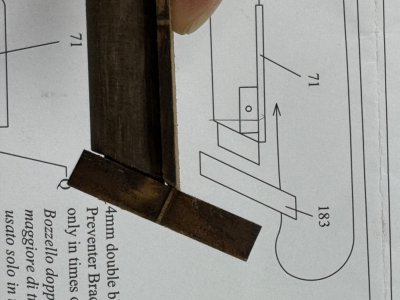
Anyway, it's a mortise & tenon. Both are cut "square" On the bowsprit that's often done by sawing a shallow cut all around the bowsprit at the base of the tenon at an angle that counters the bowsprits steeve (the angle it sticks out of the ship relative to horizontal). Mark the end face of the bowsprit with the square shape of the tenon, and shave off the round sides to get down to the square tenon.
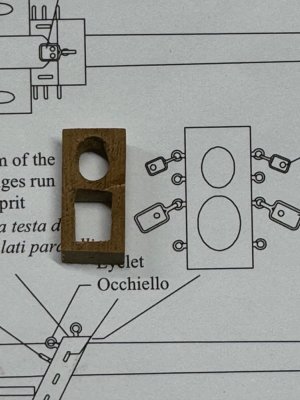
The cap is cut with angles at the top and bottom so those surfaces are basically parallel to the waterline, but the sides are square to the front and rear faces.
The hole for the jib-boom is round (the real one is leather lined) and the mortise for the bowsprit , obviously is square.
It's easiest to drill a round hole at the correct angle, like for the jib-boom, and use small files to work it square. It's best it ends up very snug, but fits without forcing it or it will split. On mine I drilled both holes first, because the first try split drilling the second hole. I was using a piece of red oak and work at a larger scale.
You might even leave off cutting the cap to shape til after the holes are successfully drilled, and hold it in a clamp or vice to keep it from splitting.
con20100822g.jpgcon20100822h.jpgcon20110124a.jpg

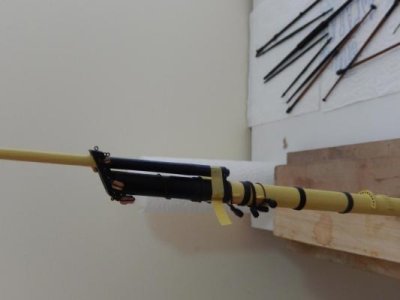
This one's on a schooner and sits at 90% to the bowsprit instead of vertical, but you can see the mortise and tenon a little better
1746995502823.jpegpri20120522c.jpg
I hope that helps you visualize what's going on better :/
 
Last edited:
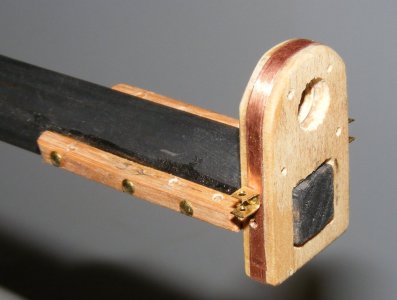
The cap for the bowsprit is a challenging piece to make as is the finished end of the bowsprit that fits into the cap. They are best made together.
My vessel and most of the 18th century vessels show a squared tenon to fit into the cap. The cap also needs to have top and bottom faces sloped to be parallel with the waterline.

The method I used was to cut the end to the correct angle through the round dowel. I then used a micro mill to mill the flats from the four sides, however this could also be easily achieved with considerable accuracy using a file and Xacto knife and sandpaper.

Here are some photos of my efforts.

IMG_5007.jpegIMG_5008.jpegIMG_5009.jpegIMG_5012.jpegIMG_5013.jpegIMG_5014.jpegIMG_0557.jpeg
 
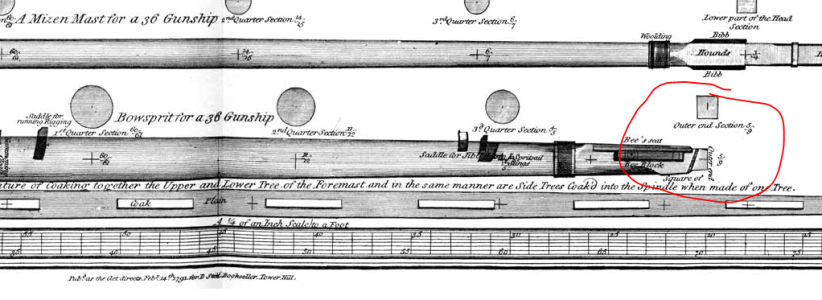
In my experience those are now circular but square. See the bowsprit at the bottom of this page and the square cross section just above the right (fwd) end. Making it square is generally much easier than trying to make it round.

View attachment 519057
Thank you. The plans shows it round but it might be easier to remake the part 30 with a square hole than trying to make a slanted round tip.
This presents a real challenge but I have plenty of materials to make up another part if I screw it up.
 
Last edited:
The cap for the bowsprit is a challenging piece to make as is the finished end of the bowsprit that fits into the cap. They are best made together.
My vessel and most of the 18th century vessels show a squared tenon to fit into the cap. The cap also needs to have top and bottom faces sloped to be parallel with the waterline.

The method I used was to cut the end to the correct angle through the round dowel. I then used a micro mill to mill the flats from the four sides, however this could also be easily achieved with considerable accuracy using a file and Xacto knife and sandpaper.

Here are some photos of my efforts.

View attachment 519126View attachment 519127View attachment 519128View attachment 519129View attachment 519130View attachment 519131View attachment 519132
This gives me a game plan on approaching this challenging part.
Thank you.
 
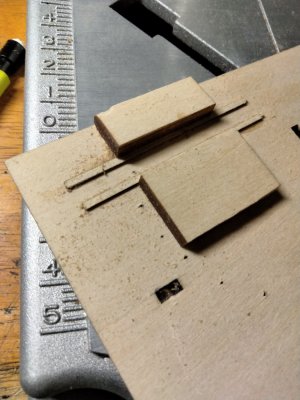
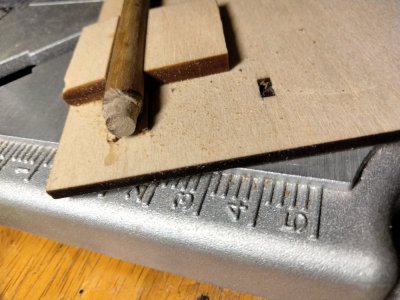
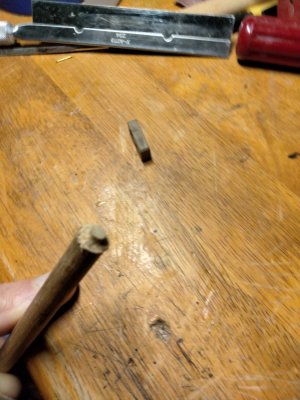
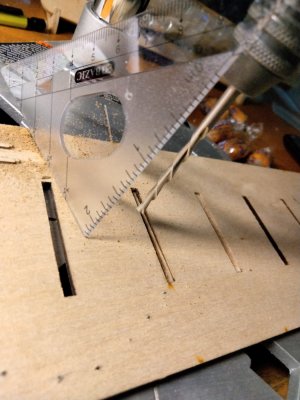
I want to thank everyone who responded to my dilemma. The suggestion of milling the dowel square led me to making a fixture to hold the dowel securely and milling by sliding the fixture for and back.
It was a simple step to twisting the dowel to get it rounded.
I believe I can also mill in a rounded slope.
First I need to secure the Dremel in a lowered position so I can manipulate the fixture without it jerking. The Dremel doesn't have a way to lock itself in the down position. (That I can figure out.)
I'm going to get some more rubber bands to hold the lever on the down position.
Yeah!
17469781767748262622507709253082.jpg17469782070822848877678113851437.jpg17469782412324648247620654112163.jpg
 
Form follows function! If the lower hole in the cap were round, side forces would cause the cap and the jib boom that it’s holding to twist.

If the cap was made by the kit MFGR, it’s easier to drill two holes than one round and one square.

Roger
 
Form follows function! If the lower hole in the cap were round, side forces would cause the cap and the jib boom that it’s holding to twist.

If the cap was made by the kit MFGR, it’s easier to drill two holes than one round and one square.

Roger
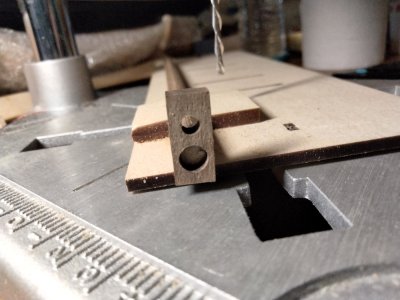
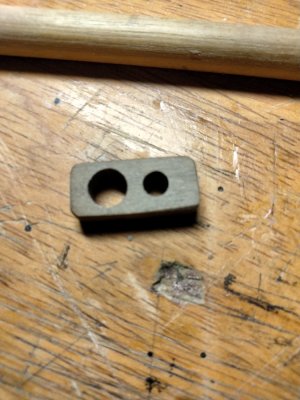
The cap provided has two round holes.
I'm having a problem being able to duplicate my mill depths.
The cut comes out pretty good but my Dremel doesn't have a screw adjustment and I have to loosen the stop and readjust using the depth plunger handle the retighten the stop.
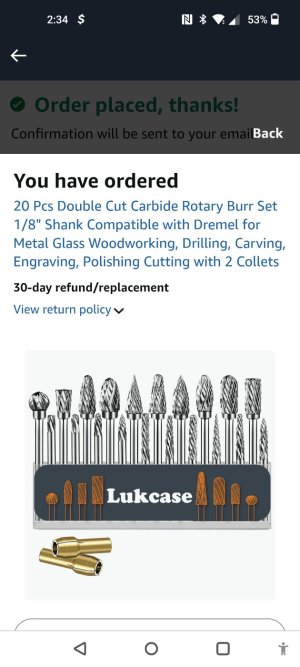
The only bit I have to mill with is too long and flexible.
Could someone suggest a low cost set of milling bits that work with a Dremel 1746998631022380124720662121508.jpg17469986539767557658626732506380.jpg17469987322267853261798107527411.jpg
 
Last edited:
If my memory is correct Dremel collets will accept tools with 1/8” and 3/32” shanks. Look on Amazon for milling cutters with these shanks. I just bought some 3/32” spiral end mills with 1/8” shanks. Try to avoid carbide! Dremel does not offer a true spiral end mill, but look through their accessories some of their multi groove cutters might work.

Roger
 
Back
Top