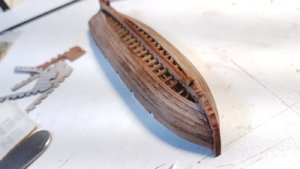
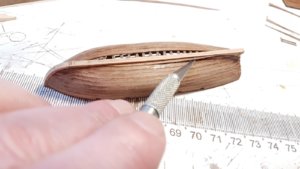
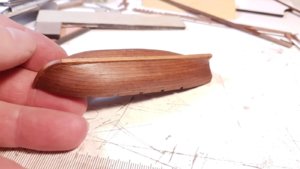
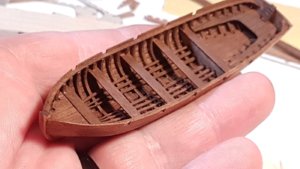
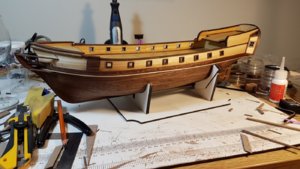
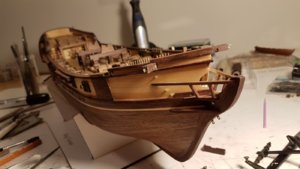
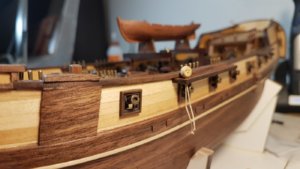
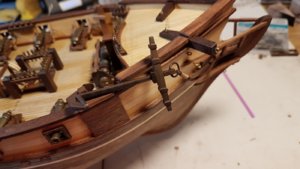
Brig Corsair by OcCre - heavily reworked

Joined
Oct 19, 2017
Messages
16
Points
48

Hi All!
Back in November 2017 I started building the Brig Corsair kit by OcCre. I've been documenting the progress on my Facebook page, but I thought I'd add it here too. I have been enjoying this forum for a while and thought I would contribute to.

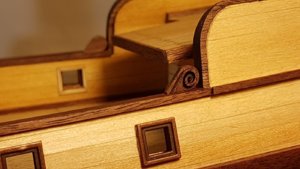
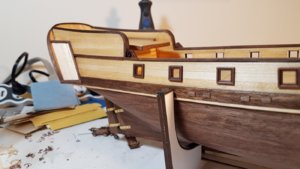
This has been a long ongoing project. Most of the kit has been reworked extensively as I was not particularly happy with the quality of the included wood. Having access to a sawmill designed to specifically cut miniature wood, it was easy to replace it. The material used is basswood and black walnut. I also replaced a lot of the plywood laser cut parts with new parts laser cut from black walnut. Having laser cutters at my disposal has been a benefit (and a bit of a curse as well..) All the rigging and blocks in the kit have been replaced with high quality items from Syren Ship Company. Enjoy!
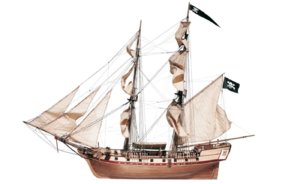
01 (Large).jpg
Product shot of the kit. This is the second wood ship kit I've built, the last being The Bluenose, about 35 years ago, so it's been a while... I chose this as it seemed manageable and was not built on any specific ship, so I'd have some flexibility to learn without worrying about not maintaining accuracy to an original ship.
1 (Large).jpg
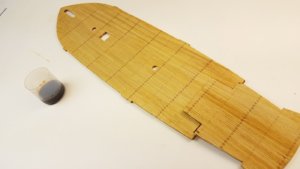
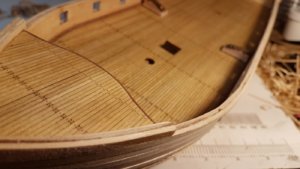
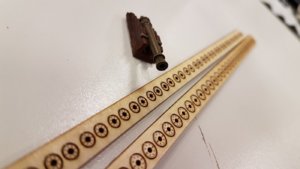
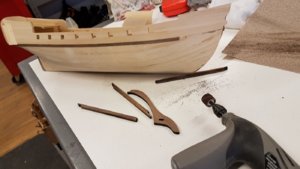
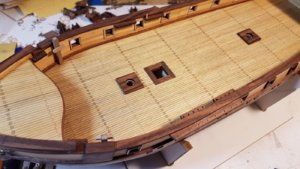
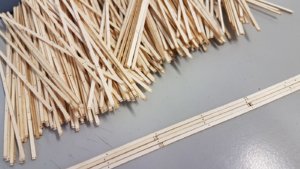
Not happy with the odd species of wood included in the kit for decking, I laser cut my own using 1/32" basswood. Added treenailing holes with the laser.
02 (Large).jpg
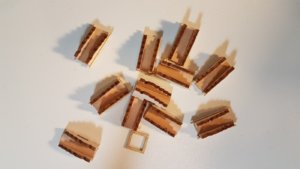
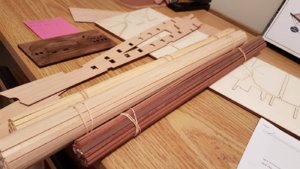
Wood included with the kit. It wasn't too bad, but since I can easily make my own I decided to replace it. Mostly from Black Walnut and Basswood.

A short video showing how the Black Walnut strips were cut. (I own a company that produces scale lumber for model railroaders, the tools are ideal for a project like this...)
2 (Large).jpg
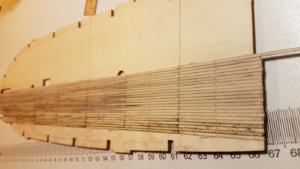
Starting the decking. Edges of the planks were blackened with a charcoal pencil to simulate caulking. Messy going in, but the results looked pretty good.
3 (Large).jpg
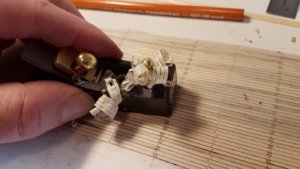
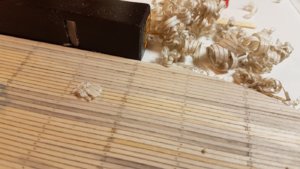
Planing the deck level with a micro plane from Lee Valley Tools.
4 (Large).jpg5 (Large).jpg
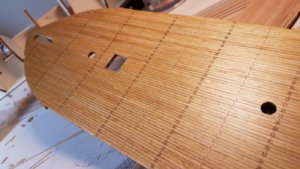
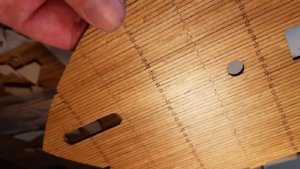
Sanded and stained. It really isn't this yellow. The phone image is over-saturated
6 (Large).jpg
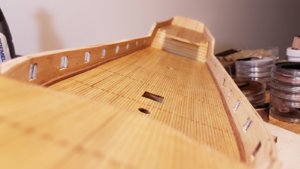
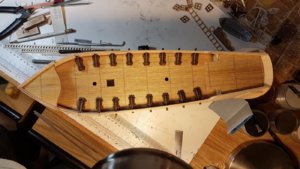
Varnished deck.


7 (Large).jpg
Pretty happy with the results.

8 (Large).jpg
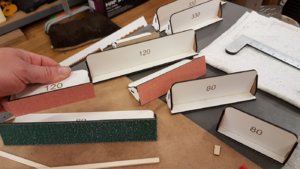
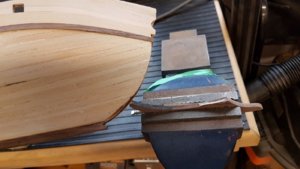
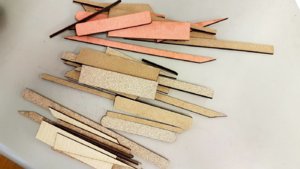
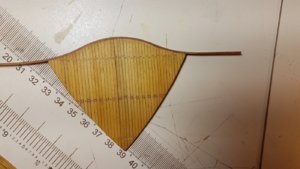
In preparation for fairing the hull I made up a bunch of laser cut sanding blocks with different grits of paper.
9 (Large).jpg10 (Large).jpg
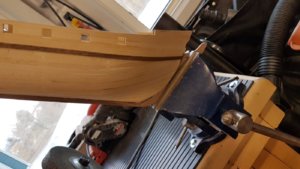
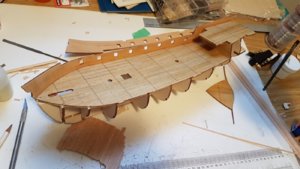
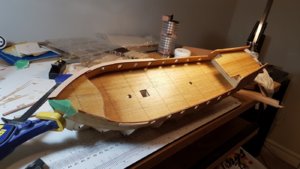
Getting those gunwales added was VERY difficult. From researching other peoples work with this kit I noticed that everyone had the problem of the sides splitting when formed around the deck. I took lots of care there and reinforced it so it wouldn't crack.
11 (Large).jpg
Success! You can see I glued on a piece of material to keep it from cracking while being glued in place.
12 (Large).jpg
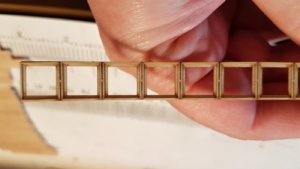
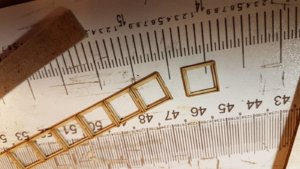
I made some laser cut frames for the gunwales
13 (Large).jpg14 (Large).jpg
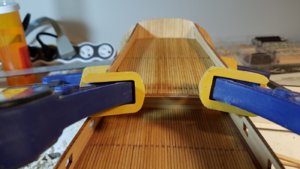
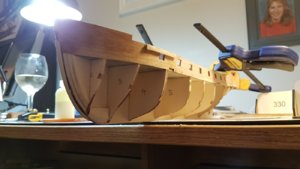
Glueing and clamping the stern in place
15 (Large).jpg
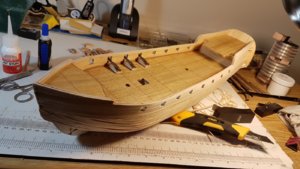
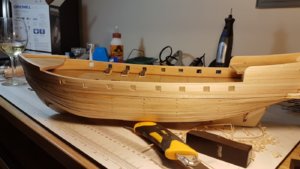
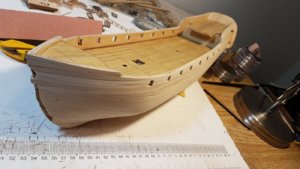
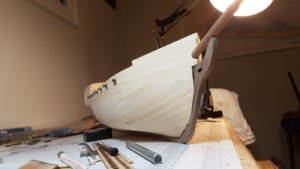
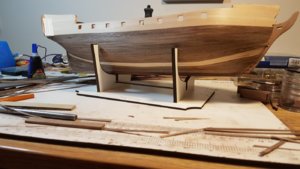
Hull assembled with decks in place. Starting to "fair" the strakes.
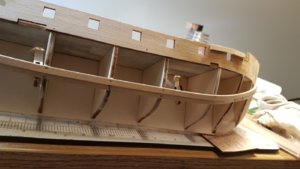
16 (Large).jpg
First few basswood planks nailed and glued in place. This is the first layer of planking, to be covered with black walnut later. Basswood seems ideal for this, soft and pliable.
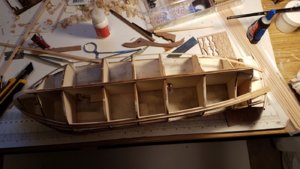
17 (Large).jpg
Installing the first critical planks...
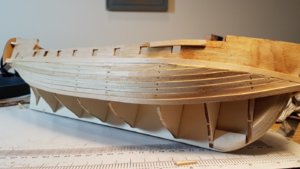
18 (Large).jpg
Fitting and filling in the planks.

19 (Large).jpg
I used lots of heat to warp the planks in place.
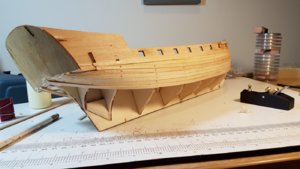
20 (Large).jpg21 (Large).jpg
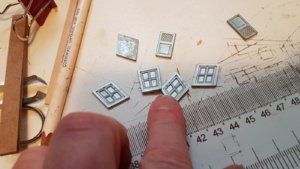
Crude cast windows and doors included with the kit. These will be replaced with higher quality laser cut versions.
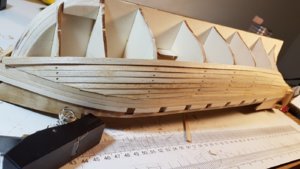
22 (Large).jpg
Once the first planking is complete, the brass nails will be removed. Considering trying to do this using wood toothpicks on my next build. Then they can be easily sanded off.
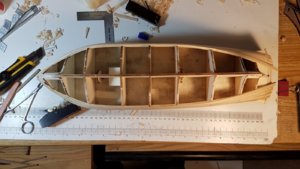
23 (Large).jpg
Working my way down...
 
Last edited:
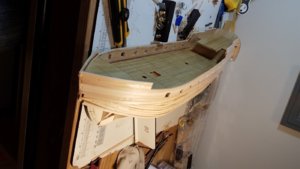
24 (Large).jpg

25 (Large).jpg
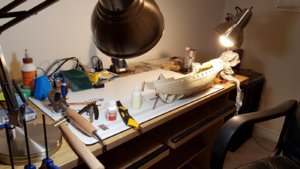
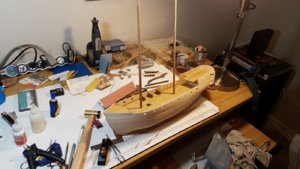
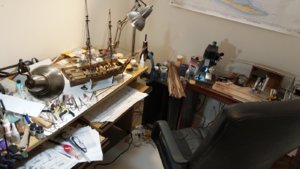
The work area is quite clean at this point. As the build progresses it gets significantly more cluttered!

26 (Large).jpg
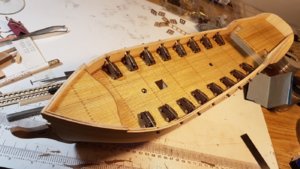
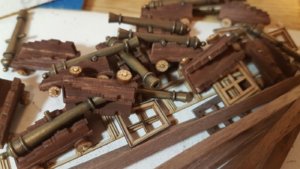
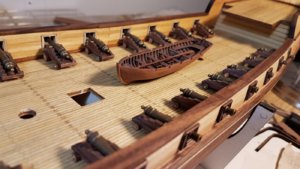
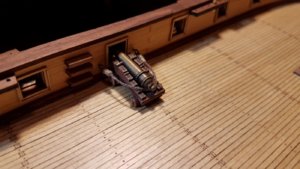
Taking a break from planking and test fitting a few cannons.


27 (Large).jpg

28 (Large).jpg29 (Large).jpg
Love the nice flowing lines of a ship!

30 (Large).jpg31 (Large).jpg
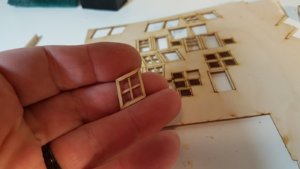
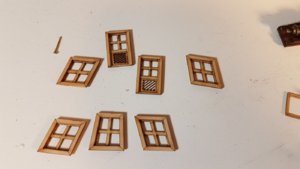
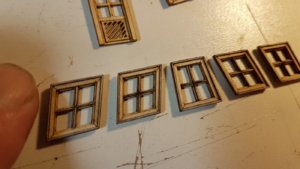
The new laser cut windows for the stern.

32 (Large).jpg
Windows and a couple doors.

33 (Large).jpg
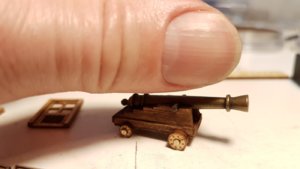
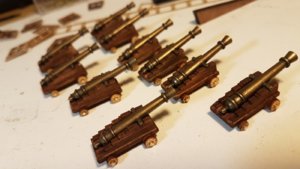
The kit included shiney brass wheels for the cannon, which I didn't like. I replaced them with laser cut ones. More detail is possible this way.

34 (Large).jpg
Really happy with how these turned out.

36 (Large).jpg
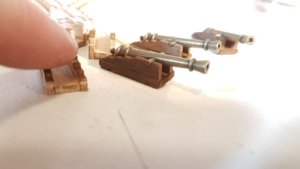
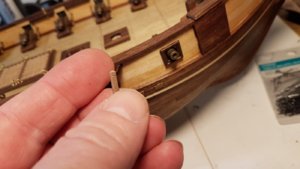
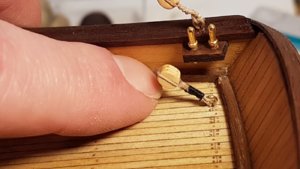
Finished cannon and thumb.

37 (Large).jpg
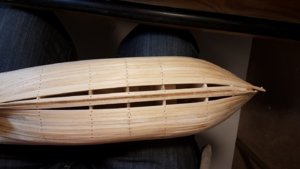
Down to the last plank on the hull!

38 (Large).jpg39 (Large).jpg
Last strips fit in place. Ready to remove the nails and sand.

40 (Large).jpg
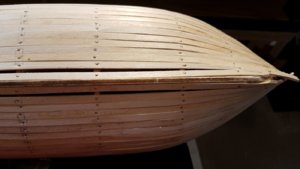
It looks quite crude at this point, but the second planking will change that.

41 (Large).jpg
I sneezed my way though this...

42 (Large).jpg43 (Large).jpg
Starting to take shape.

44 (Large).jpg45 (Large).jpg
Test fitting the masts

46 (Large).jpg47 (Large).jpg
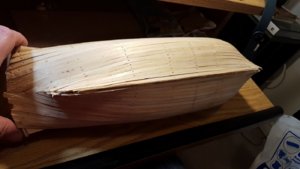
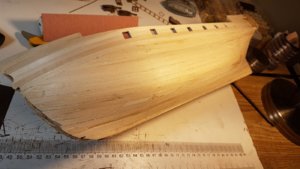
All sanded!

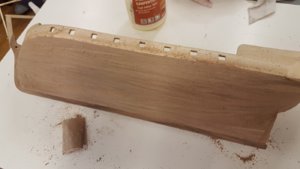
48 (Large).jpg
Adding a bit of filler to ensure the second planking is nice and smooth.

49 (Large).jpg
 
50 (Large).jpg

51 (Large).jpg
Most of the cannons assembled.

52 (Large).jpg
16 guns.

53 (Large).jpg54 (Large).jpg
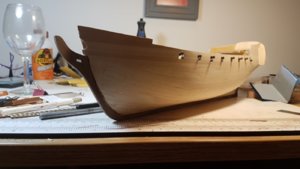
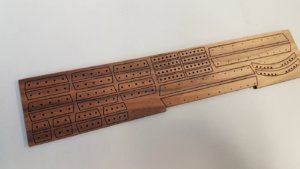
Laser cut black walnut keel added. The kit included a plywood laser cut version and the plys looked horrible. Replacing it with black walnut was a major improvement.

55 (Large).jpg56 (Large).jpg

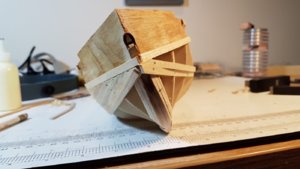
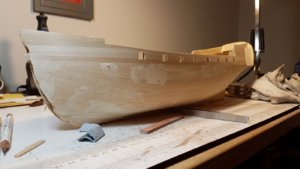
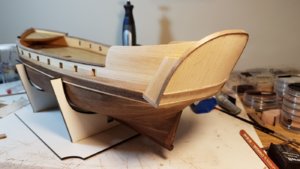
On closer inspection it seems I got the bow glued on very crooked!

58 (Large).jpg
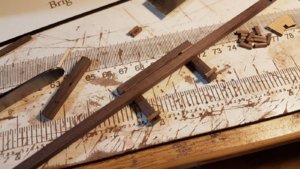
1/4" black walnut material I prepared to cut the keel from.

59 (Large).jpg
Cracking off the crooked keep to prepare for a new one.

60 (Large).jpg61 (Large).jpg
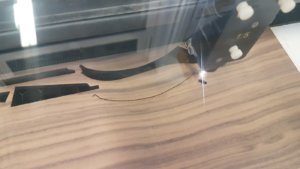
Laser cutting black walnut.

62 (Large).jpg63 (Large).jpg
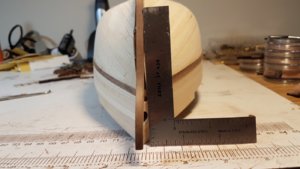
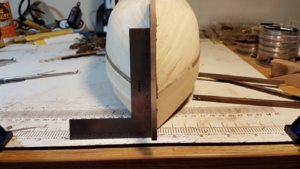
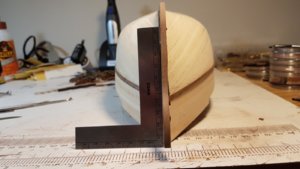
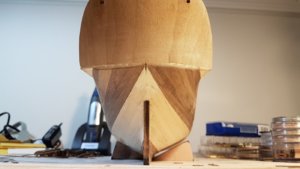
Replacement keel glued in place. Nice and square! Glad I decided to fix it, that would have caused a lot of issues later on in the build...

64 (Large).jpg
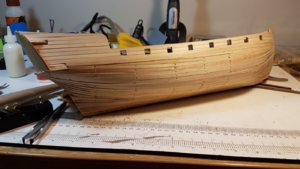
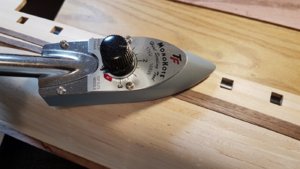
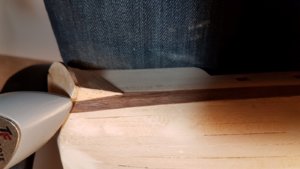
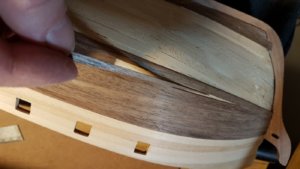
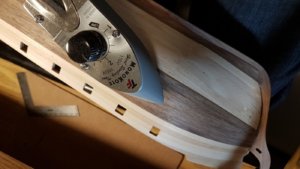
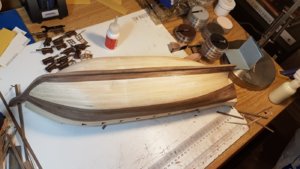
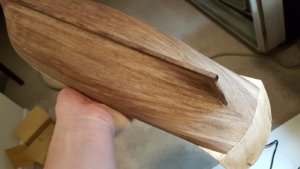
Starting the second planking with 1/32" thick black walnut strips. I use a small iron to quickly cure the glue. Works great!

65 (Large).jpg
Applying heat to form the planks in shape. The heat from the iron causes the moisture in the wood glue to steam, both warping the wood and curing the glue.

66 (Large).jpg
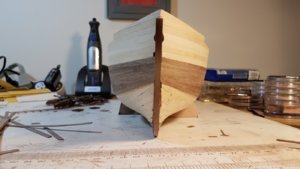
First couple of planks in place. These are the easy ones...

67 (Large).jpg
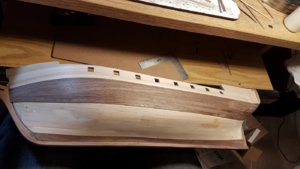
Working symmetrically down the hull.

68 (Large).jpg69 (Large).jpg
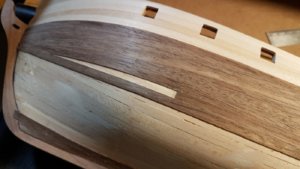
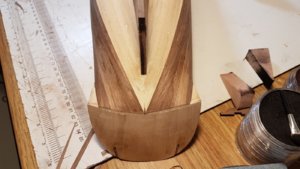
Fitting in the tapered planks.

70 (Large).jpg71 (Large).jpg
Ironed in place!

72 (Large).jpg73 (Large).jpg
Coming along nicely.

74 (Large).jpg
 

Attachments

  • 57 (Large).jpg
    57 (Large).jpg
    152.7 KB · Views: 2
75 (Large).jpg
Keeping everything symmetrical at the stern was very challenging.

76 (Large).jpg77 (Large).jpg78 (Large).jpg79 (Large).jpg
Getting closer.

80 (Large).jpg81 (Large).jpg
Two left!

82 (Large).jpg
Pile-o-parts waiting their turn.

83 (Large).jpg
The final little strip of tapered plank ready to go in place!

84 (Large).jpg85 (Large).jpg
Ironed in place.

86 (Large).jpg
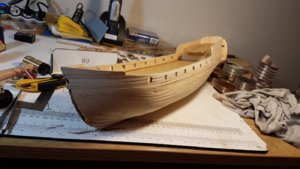
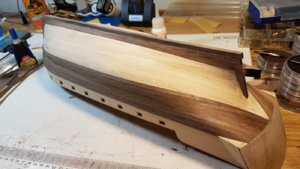
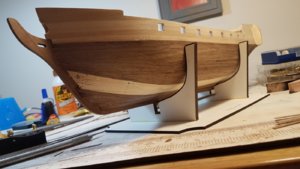
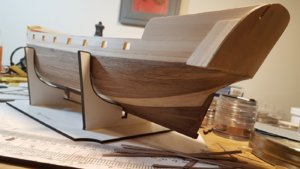
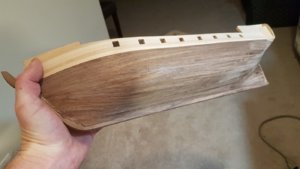
All done! Still needs final sanding and shaping.

87 (Large).jpg88 (Large).jpg89 (Large).jpg
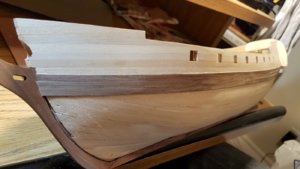
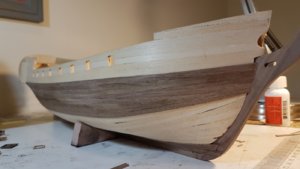
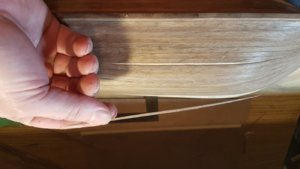
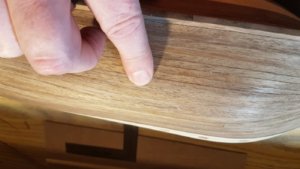
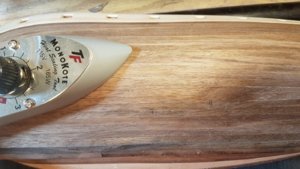
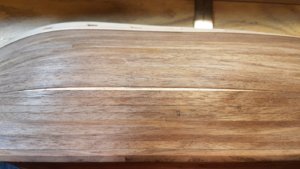
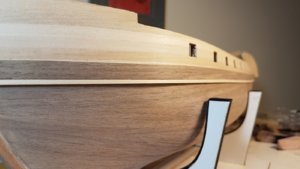
Really happy with the look of the black walnut over the exotic species included with the kit.

90 (Large).jpg
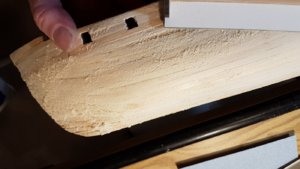
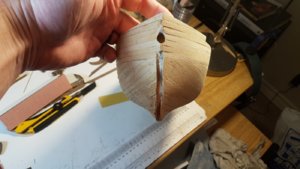
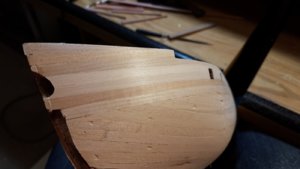
Planks trimmed to the keel and bow

91 (Large).jpg92 (Large).jpg
Time for more sneezing. I'm quite allergic to wood dust...
93 (Large).jpg
94 (Large).jpg
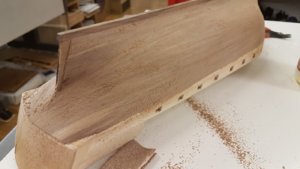
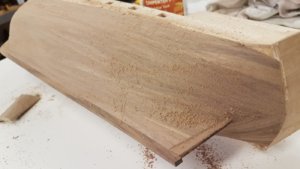
Several hours of final sanding....

95 (Large).jpg96 (Large).jpg
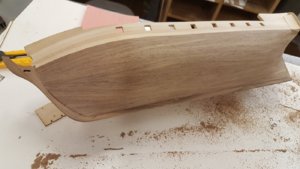
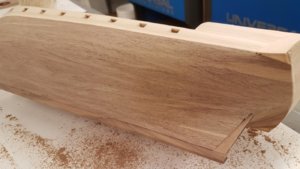
Final sanding done!

97 (Large).jpg
Not flawless, but still pretty good looking.

98 (Large).jpg
Additional trim added and sanded.

99 (Large).jpg
 
100 (Large).jpg
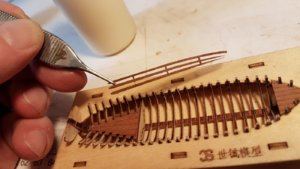
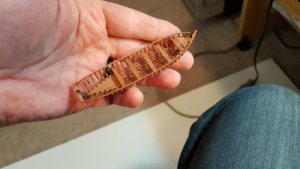
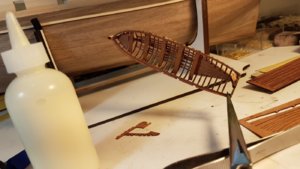
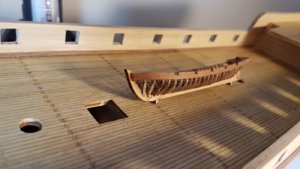
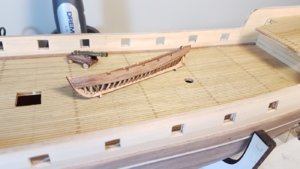
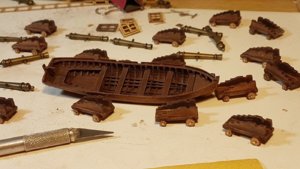
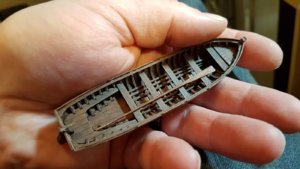
The kit included a crude metal cast launch. I sourced out an appropriate sized replacement kit to use. This was very challenging to build, but turned out great!

101 (Large).jpg
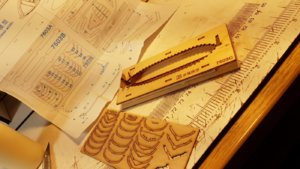
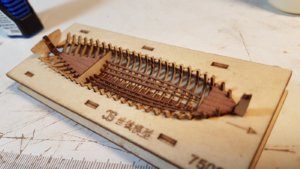
Laser cut from some very brittle type of wood.

102 (Large).jpg
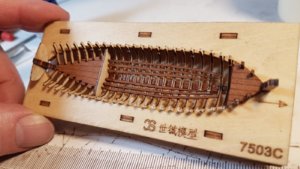
The assembly jig included in the kit made it buildable...
103 (Large).jpg104 (Large).jpg
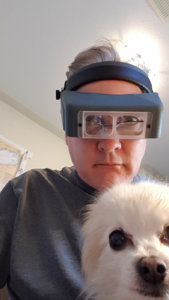
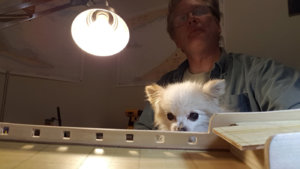
My little dog Bryn helping out...

105 (Large).jpg
Removed from the jig and ready for planking.

106 (Large).jpg
Extremely fragile!

107 (Large).jpg

108 (Large).jpg
The planks were laser cut to fit, and fit quite well. I was impressed with that bit of design work, must have been complex.

109 (Large).jpg
The planks were VERY fragile. I broke several during assembly.

110 (Large).jpg111 (Large).jpg
Planked and sanded. It turned out way better than I had expected! A coat of oil rubbed into the wood.

112 (Large).jpg113 (Large).jpg
Launch added to the pile-o-parts waiting to be installed.

114 (Large).jpg
Wood colored with Pan Pastels, a bit of white drybrushing added to highlight the details.

115 (Large).jpg
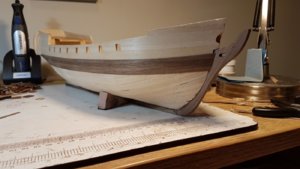
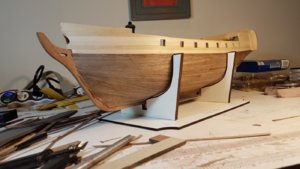
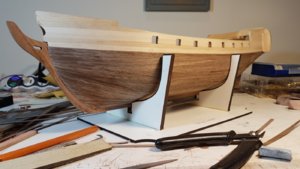
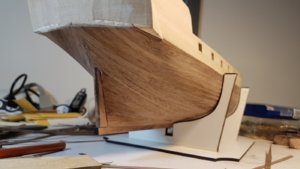
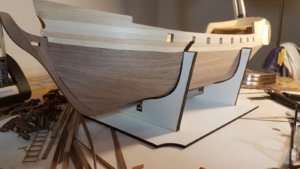
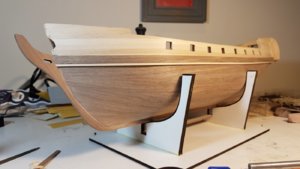
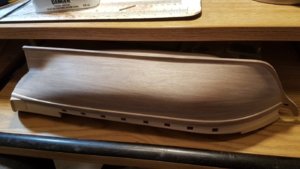
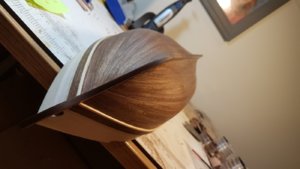
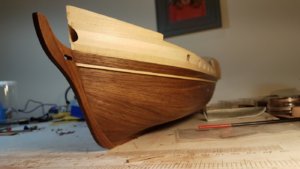
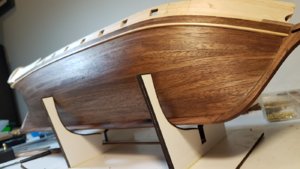
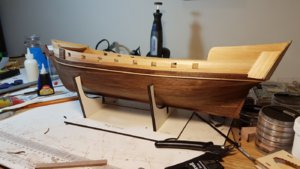
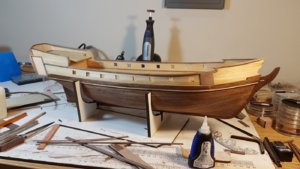
Sanded hull waiting for a coat of Danish Oil to be rubbed into it. This is my favorite picture of the project!

116 (Large).jpg117 (Large).jpg
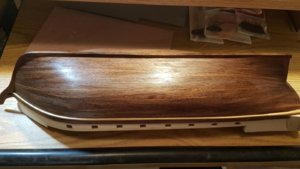
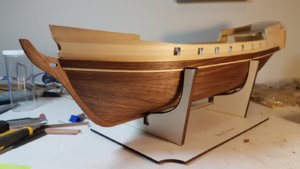
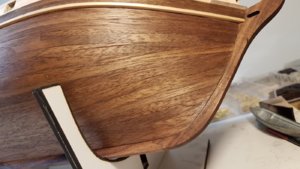
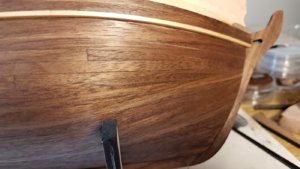
Oil rubbed finish. Looks great!

118 (Large).jpg
119 (Large).jpg
Turned out much better than I had anticipated!

120 (Large).jpg121 (Large).jpg122 (Large).jpg123 (Large).jpg
Dog inspecting the work for quality. He barked his approval.

124 (Large).jpg
 
Last edited:
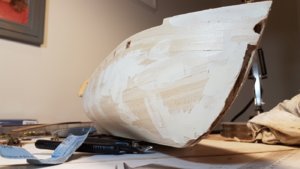
125 (Large).jpg
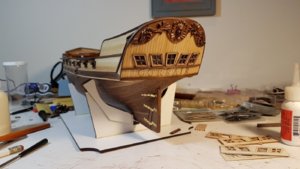
Adding stern details.

126 (Large).jpg
127 (Large).jpg
Laser cut frames added. A light coat of varnish added.

128 (Large).jpg
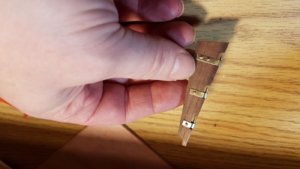
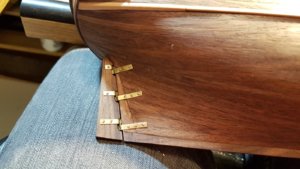
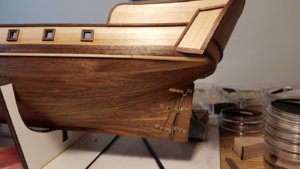
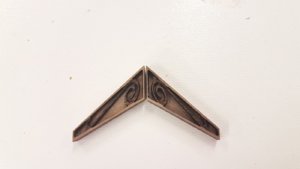
The kit included cast bronze frames, which I decided were good enough to use.

129 (Large).jpg130 (Large).jpg
Rudder completed. I should blacken that shiny brass...
131 (Large).jpg132 (Large).jpg
This job wasn't as difficult as I expected it to be.

133 (Large).jpg
I replaced the crude brass casting included in the kit for embellishment wit a laser cut black walnut version.

134 (Large).jpg
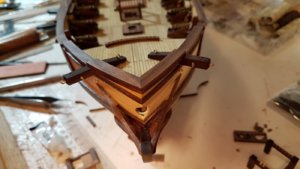
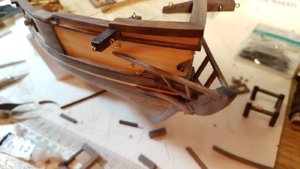
Starting the bow

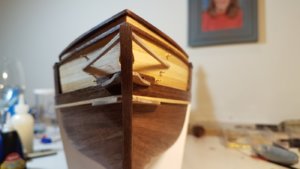
135 (Large).jpg136 (Large).jpg
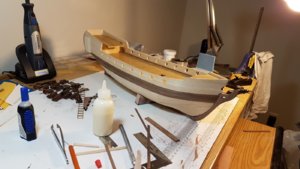
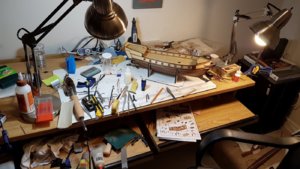
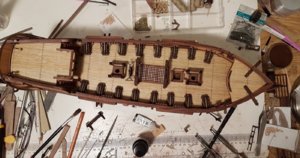
The bench is getting progressively messier.

137 (Large).jpg
I made up a bunch of laser cut sanding sticks of varying shapes and grits. Turned out to all be very handy.

138 (Large).jpg
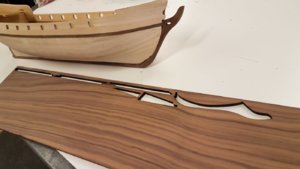
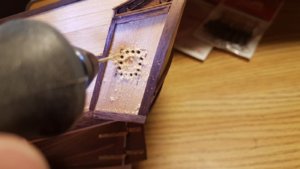
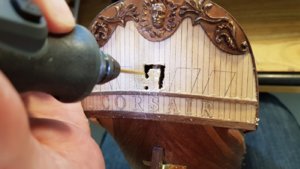
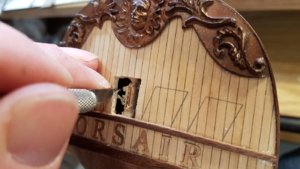
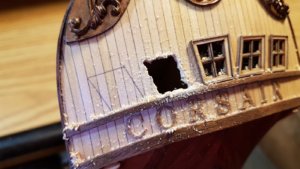
Cutting the opening for the windows in the stern.

139 (Large).jpg
140 (Large).jpg
Laser cut window fit in place. I painted the back of the plastic "glass" black.

141 (Large).jpg
Starting to look nice.

142 (Large).jpg
More laser cut black walnut embellishments made.

143 (Large).jpg
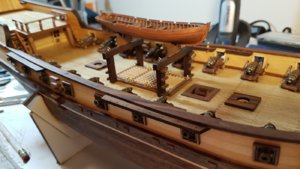
Made laser cut black walnut belaying pin decks to replace the crude plywood version included in the kit.

144 (Large).jpg
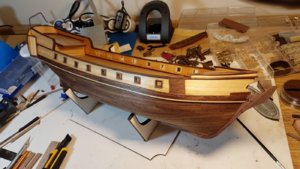
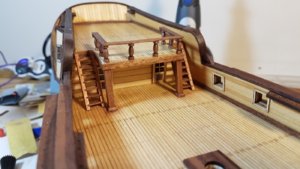
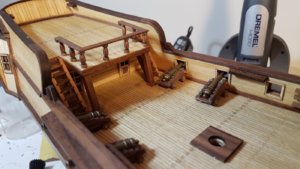
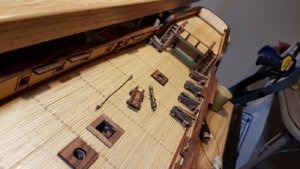
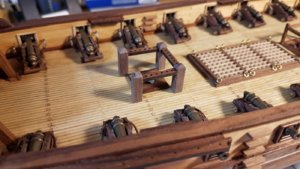
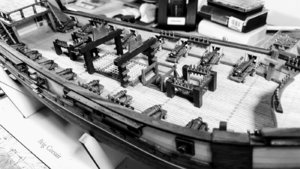
Starting to add in the deck fittings.

145 (Large).jpg146 (Large).jpg148 (Large).jpg
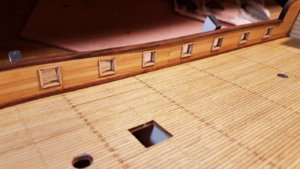
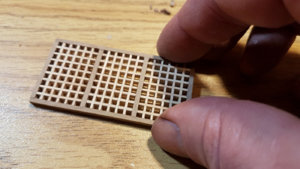
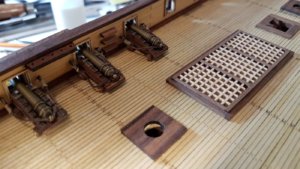
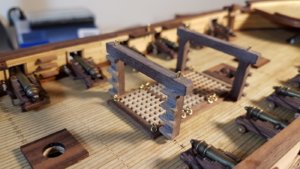
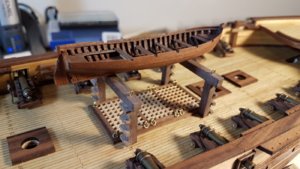
The grating included with the kit was very good, so was able to use it.
 
149 (Large).jpg
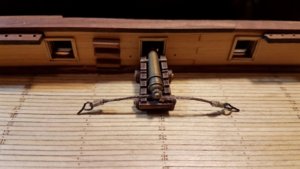
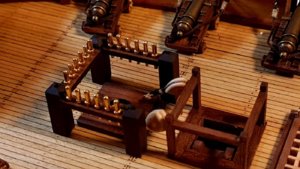
I decided to add some basic rigging to the cannons that the kit didn't include.

151 (Large).jpg

150 (Large).jpg
I didn't add the blocks. Probably should have...


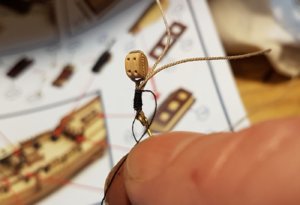
Stropping the ropes

152 (Large).jpg
This was a long tedious job...

153 (Large).jpg
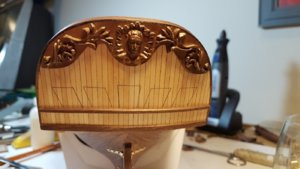
Laying out the windows in the stern. The model included 3 windows, but I decided to add 2 more, looks more plausible. A lead casting was included in the kit for stern embellishment. I simply painted it to look like bronze.

154 (Large).jpg
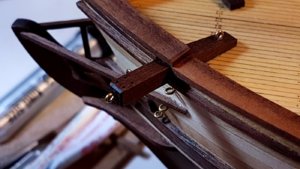
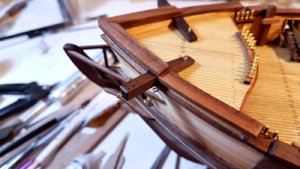
Cat Davitts ready to go in place. (that is the name of the part, not a 1930's stripper)

155 (Large).jpg
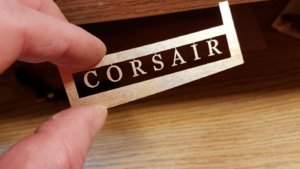
Carefully cutting open the stern. I laser cut some letters for the CORSAIR name on the stern. Painted gold.

156 (Large).jpg157 (Large).jpg158 (Large).jpg159 (Large).jpg
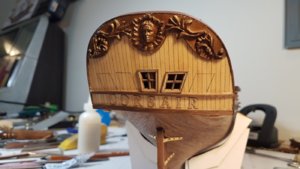
5 windows in place. I like the way they turned out.

160 (Large).jpg
To ensure accurate spacing they were glued in place from this piece and trimmed off after.

161 (Large).jpg
162 (Large).jpg
163 (Large).jpg
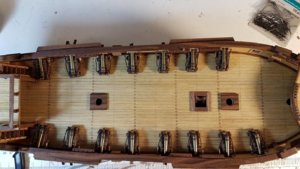
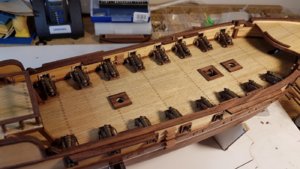
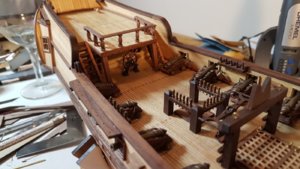
15 cannons in place...

164 (Large).jpg
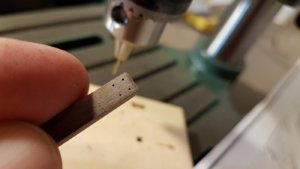
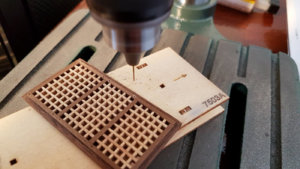
This inexpensive benchtop drill press is very handy for jobs like this...

165 (Large).jpg
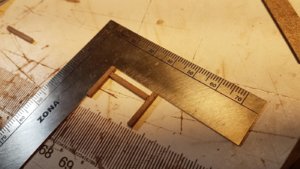
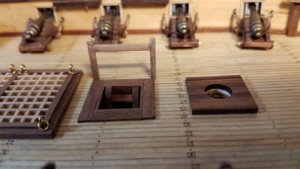
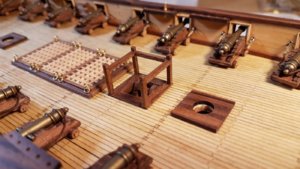
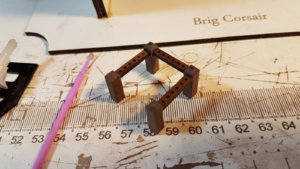
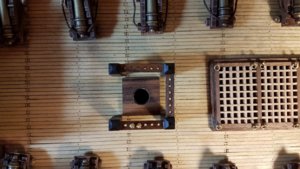
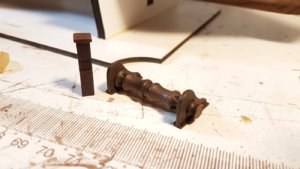
Making up some deck features.

166 (Large).jpg167 (Large).jpg168 (Large).jpg169 (Large).jpg170 (Large).jpg171 (Large).jpg172 (Large).jpg
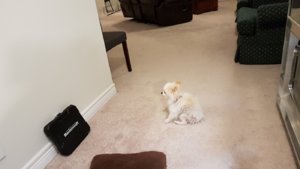
My dog Bryn staring at the wall for some reason...

173 (Large).jpg
 
175 (Large).jpg
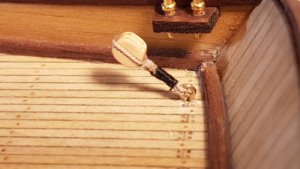
I'm sure there is a name for this piece.

176 (Large).jpg
Whatever it's called installed in place.

177 (Large).jpg179 (Large).jpg180 (Large).jpg181 (Large).jpg182 (Large).jpg183 (Large).jpg184 (Large).jpg185 (Large).jpg186 (Large).jpg
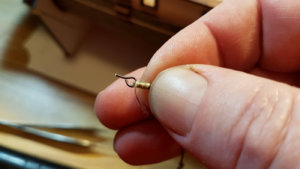
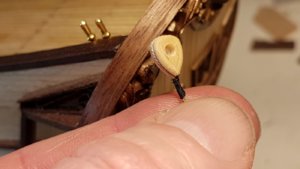
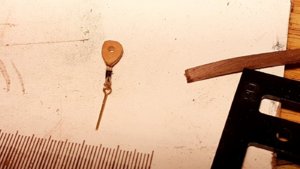
Getting ready to start on the rigging by lashing this double block to an eyebolt. Many, many hundreds of knots will need to be tied...

187 (Large).jpg
188 (Large).jpg
In place at the stern of the ship.

189 (Large).jpg190 (Large).jpg
Capstan included was a bright shiny brass casting. I simply painted it. Looks much better.

191 (Large).jpg
I plan on replacing that wheel with a better looking wood version.

194 (Large).jpg
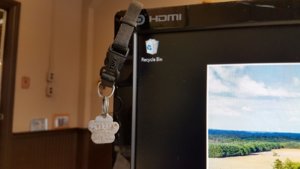
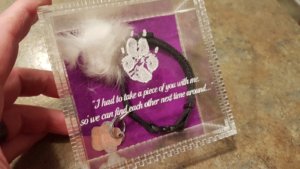
In a real punch to the gut, I had to say goodbye to my building companion Bryn. Our last cuddle. Wherever you are off to my little friend, I hope you have a good time...

197 (Large).jpg199 (Large).jpg201 (Large).jpg
After a several week break I decided that perhaps returning to the project would make me feel better...

202 (Large).jpg
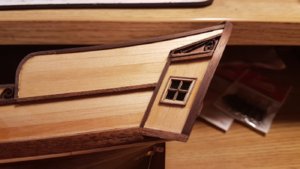
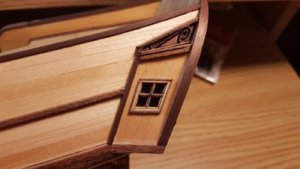
A few eyebolts in place on the bow

203 (Large).jpg
204 (Large).jpg
Anchors in place. At this point I took about a year off from the project. Was pretty hard to look over and not see my little dog next to me while I worked...
 
Your build is a true head turner. Ever give any thought to offering a laser cut kit parts up-grade for this kit from OcCer. Your laser cut improvements have turned this into a wonderful display piece for what I take as a low end kit. Look forward to more of this project.
Rick
It's unlikely as I have my hands pretty full as it is. Thank you for your kind comments!
 
this is great work TWarris. a lot of care you put into the kit.
Thinking of, if the kit deserves this care.. but imagine what could you build with a better quality starting point.
I'm sorry for your loss. your pictures tell a thousand words about your relationship.
 
Dog or cat it do not make difference we love them, and if you love them they love you back.
Loosing a friend like that is always hard. All my cat over the last 65y are still in my memory.
 
this is great work TWarris. a lot of care you put into the kit.
Thinking of, if the kit deserves this care.. but imagine what could you build with a better quality starting point.
I'm sorry for your loss. your pictures tell a thousand words about your relationship.
Hi,

From what I have seen, most of the kits really lack in a lot of areas, so I would expect regardless of the kit, I'd end up doing a lot of modifications. My next kit, which is patiently waiting is DeAgostini's Sovereign of the Seas. I expect to likely do a lot of upgrading to it as well. Really looking forward to getting started on it. This build is actually quite a bit further along that the latest post and I am well into the standing rigging, I have been playing catch up with the posts...
 
Back
Top