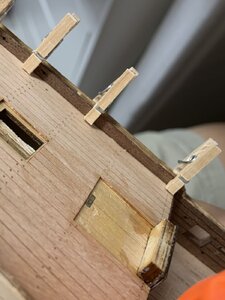
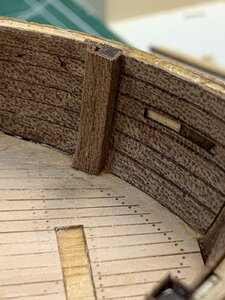
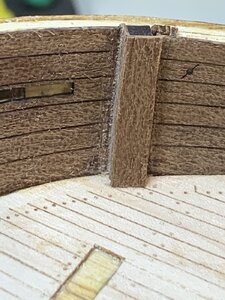
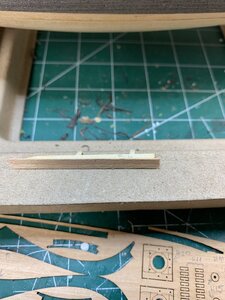
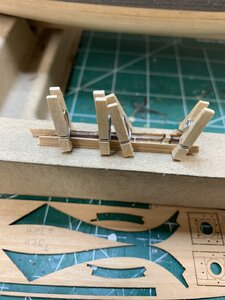
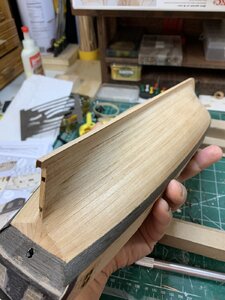
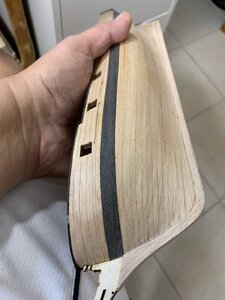
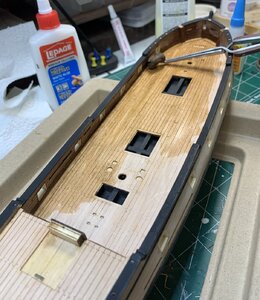
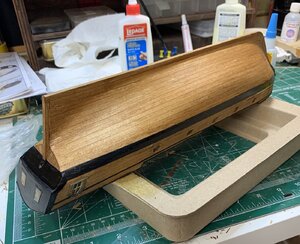
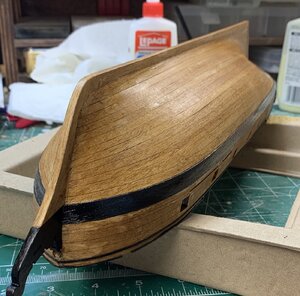
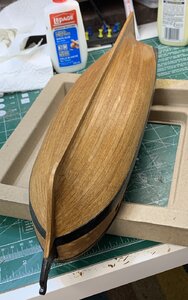
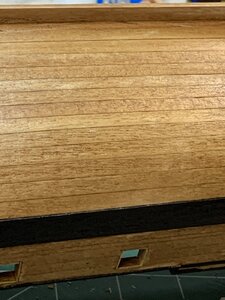
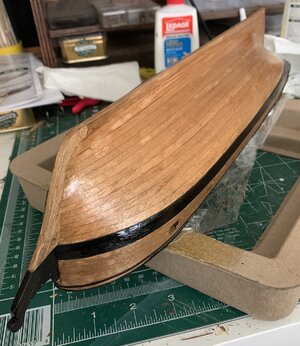
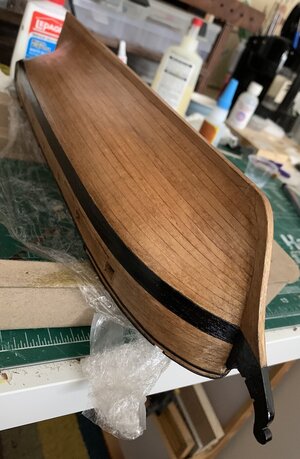
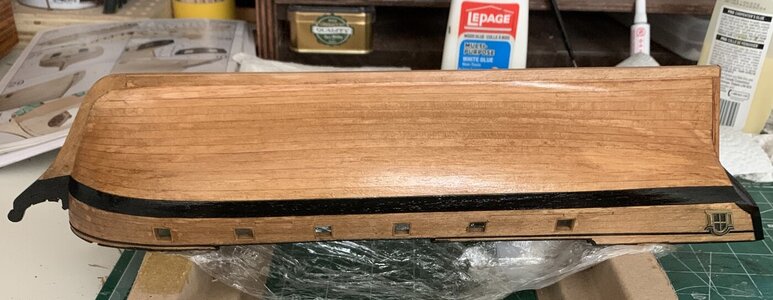
What I find really fascinating is that the pictures don't really convey the scale of the details! This door is super tiny
You are using an out of date browser. It may not display this or other websites correctly.
You should upgrade or use an alternative browser.
You should upgrade or use an alternative browser.
Brigantine Phoenix, by Master Korabel [COMPLETED BUILD]
- Thread starter moreplovac
- Start date
- Watchers 46
Level of details is extremely high.. Imagine how it would be on a bigger scale models...What I find really fascinating is that the pictures don't really convey the scale of the details! This door is super tiny
Looks great! I like your idea to add veneer to the timbers, you'll have to add veneer as well to catheads that go on top of those timbers because they need to have same thickness.
Yes, that is my plan.Looks great! I like your idea to add veneer to the timbers, you'll have to add veneer as well to catheads that go on top of those timbers because they need to have same thickness.
Once you start covering them you have to go all the way
Cheers
Now the waterways have to be adjusted to fit new stanchion size, no problem there...
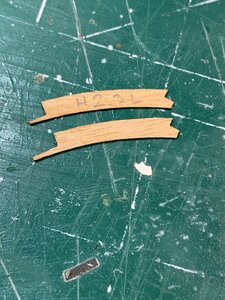
Continue with waterways on stern... For some reason one waterway plank is not fitting correctly on one side...
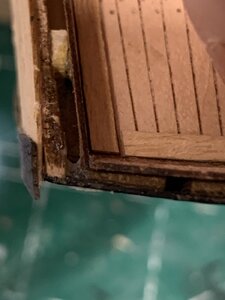
The other side is fine...
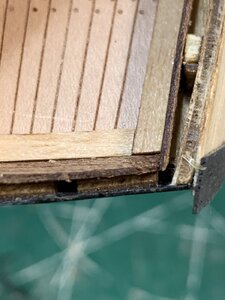
So, little bit of surgery will be needed. The new part was made out of the spare wood laying around. There are plenty of left over wood which can be used for various replacement tasks. Really like that 'feature'. It will be very difficult to find correct veneer size/shape if all parts are cut very tight to save some cost, like with some other manufacturers...
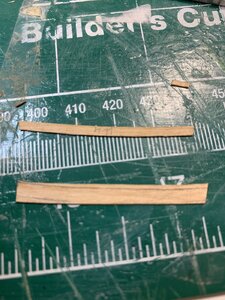
Traced, cut, shaped, glued...
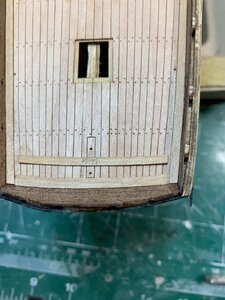
and installed... All good.
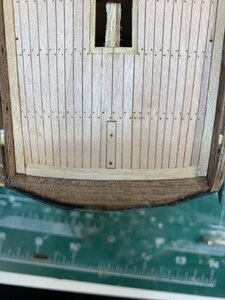
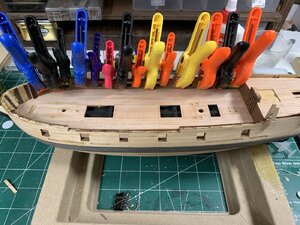
Then started to work on cap rails... one at a time. Some fitting is required but not a problem... Very good kit so far...
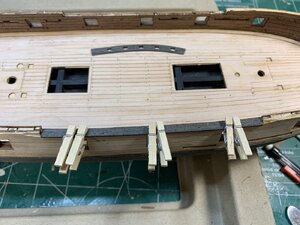
Happy modelling.

Continue with waterways on stern... For some reason one waterway plank is not fitting correctly on one side...

The other side is fine...

So, little bit of surgery will be needed. The new part was made out of the spare wood laying around. There are plenty of left over wood which can be used for various replacement tasks. Really like that 'feature'. It will be very difficult to find correct veneer size/shape if all parts are cut very tight to save some cost, like with some other manufacturers...

Traced, cut, shaped, glued...

and installed... All good.

Then started to work on cap rails... one at a time. Some fitting is required but not a problem... Very good kit so far...

Happy modelling.
During the process of removing cap rails from the frame, i accidentally broke one... and realized that thickness of them was made by gluing two layers of veneers together...
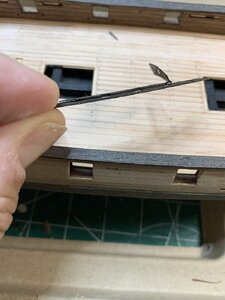
In all these, a good news was that only one layer was broken so i carefully removed remittance of the broken layer which gives me a an option to glue a good layer to another piece of the veneer of the same size (two layers) ending up with a cap rail in three layers thickness.
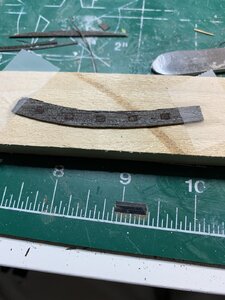
After gluing there was just a mater of removing one extra veneer layer which was done with assistance of few drops of acetone..
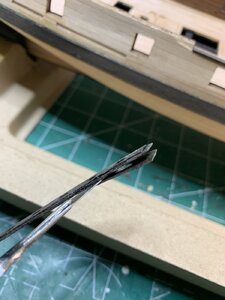
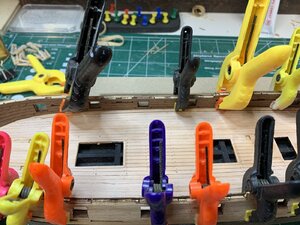
Then cap rails were glued in the position and fixed with rubber bands..
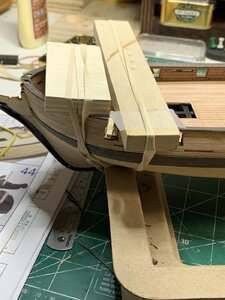
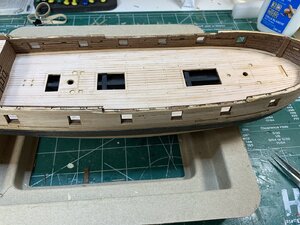
The rest of the cap rails on main deck were installed...
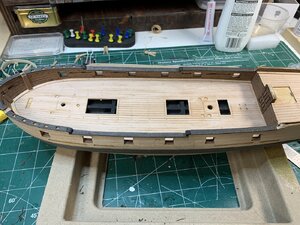
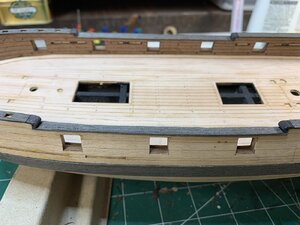
Sanding and fitting of all cap rails will be next...
Happy modelling..

In all these, a good news was that only one layer was broken so i carefully removed remittance of the broken layer which gives me a an option to glue a good layer to another piece of the veneer of the same size (two layers) ending up with a cap rail in three layers thickness.

After gluing there was just a mater of removing one extra veneer layer which was done with assistance of few drops of acetone..

Then cap rails were glued in the position and fixed with rubber bands..

The rest of the cap rails on main deck were installed...


Sanding and fitting of all cap rails will be next...
Happy modelling..
Last edited:
Nice recovery of the broken piece! That's what I like about this veneer - it is relatively easy to fix mistakes 
Continue with work on the hull..
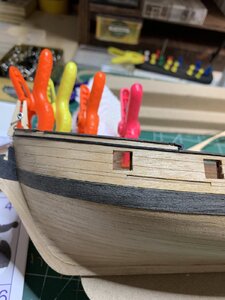
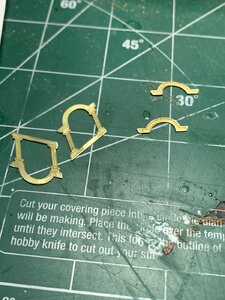
Blackening of the window decoration is next. Cut, sanded, and a quick bath in blackening solution..
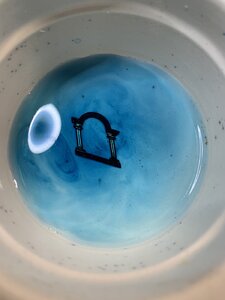
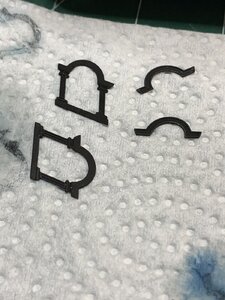
The blackening solution was sanded ..
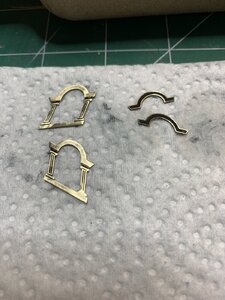
Mounted around windows.
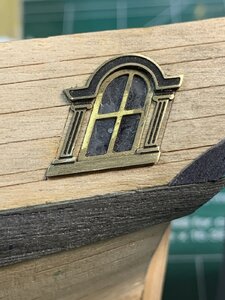
Then more decorating...
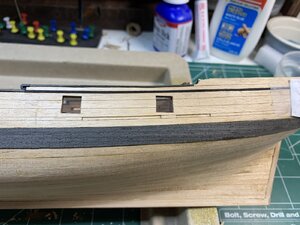
I am protecting window and frames with a piece of bounty and a transparent tape. Then i thought about it and replaced scotch tape with painter's yellow tape for delicate surfaces. It looks that scotch tape can pull up veneer parts..
At this moment not quite happy with veneer in layers, mixed feelings....
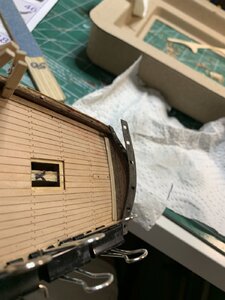
Managed to get it done, the cap rails are completed.
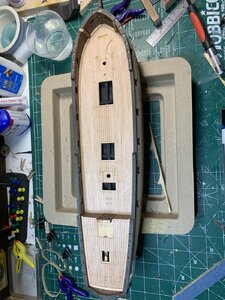
If this work from home due to Covid continues i am going to finish this build fairly quickly.
Happy modelling...

Blackening of the window decoration is next. Cut, sanded, and a quick bath in blackening solution..


The blackening solution was sanded ..

Mounted around windows.

Then more decorating...

I am protecting window and frames with a piece of bounty and a transparent tape. Then i thought about it and replaced scotch tape with painter's yellow tape for delicate surfaces. It looks that scotch tape can pull up veneer parts..
At this moment not quite happy with veneer in layers, mixed feelings....

Managed to get it done, the cap rails are completed.

If this work from home due to Covid continues i am going to finish this build fairly quickly.
Happy modelling...
I've had same problem with 2-ply veneer delaminating. The easiest way to fix it is to add some PVA or carpenters glue between layers, let it dry and then apply heat and pressure using a household iron.
I've had same problem with 2-ply veneer delaminating. The easiest way to fix it is to add some PVA or carpenters glue between layers, let it dry and then apply heat and pressure using a household iron.
Yes, i have done the same way but in the case of rails one layer was glued and another delaminated after..
A little bit of a filling is required to make sure all edge lines are as smooth as possible. Here is a need that gap between veneer and wood is filled with a putty and sanded..
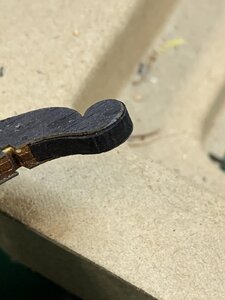
Completed. I use wood putty, Elmer's brand but any will do the trick.
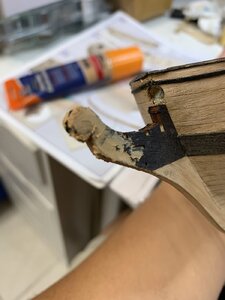
A bit of the same corrective surgery is needed around windows as well..
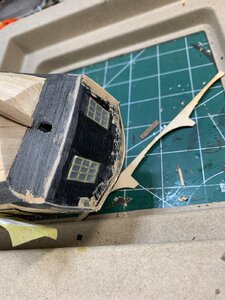
The wale veneer has a bit of a light black shade and it is different than the shade of the rest of black veneer so i decided to paint them in flat black.. Still researching for a decent airbrush-compressor combo (would appreciate feedback from you guys about good airbrush combo), the painting is done by hand..
There are few spots to correct after but overall satisfied with result. The cap rails were also painted in the same matching colour.
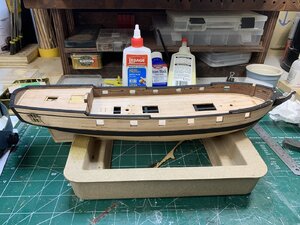
Happy modelling.

Completed. I use wood putty, Elmer's brand but any will do the trick.

A bit of the same corrective surgery is needed around windows as well..

The wale veneer has a bit of a light black shade and it is different than the shade of the rest of black veneer so i decided to paint them in flat black.. Still researching for a decent airbrush-compressor combo (would appreciate feedback from you guys about good airbrush combo), the painting is done by hand..
There are few spots to correct after but overall satisfied with result. The cap rails were also painted in the same matching colour.

Happy modelling.
Work continues by installing jumbs around gun ports.. There are three wood pieces in the kit for this purpose but i would use a different one that is a bit more wider so it allow more precise sanding and fitting...
Lets start then...
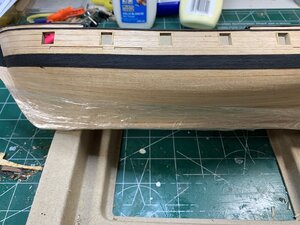
Measuring, cutting with a guillotine, glue, sand...
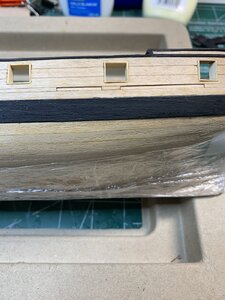
A bit of a sanding after all...
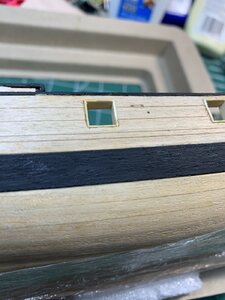
Happy modelling...
Lets start then...

Measuring, cutting with a guillotine, glue, sand...

A bit of a sanding after all...

Happy modelling...


