You are using an out of date browser. It may not display this or other websites correctly.
You should upgrade or use an alternative browser.
You should upgrade or use an alternative browser.
Build Log Artesania Latina "La Pinta" - [COMPLETED BUILD]
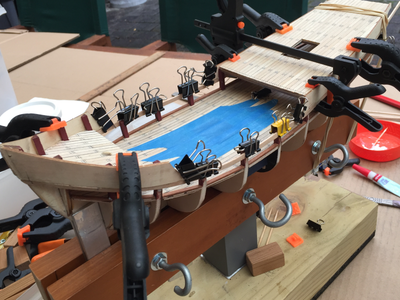
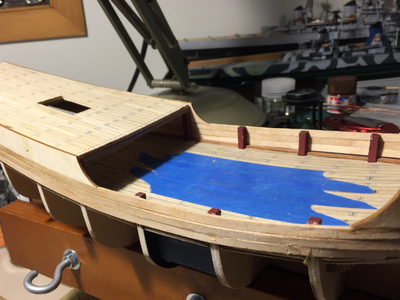
Next step hand paint the visible uprights. Instructions state; use a mixture made from Dark Matt Brown and Ashphalt reduced by 30% thinner. These colours I presume are from the Artesania model paint range not currently available here in NZ (as are most other things for ship model making) I used my own mix from leftover Mr Hobby acrylic model paints a brand I much prefer to Tamiya. Resulting colour looked close to Antifouling Red/Brown. My apologies to the 1400's Spanish navy.
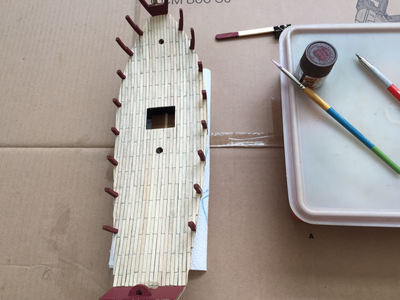

Last edited:
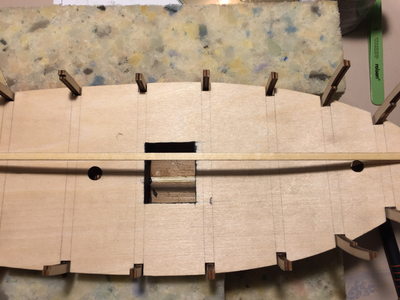
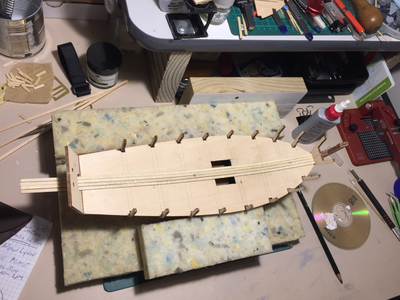
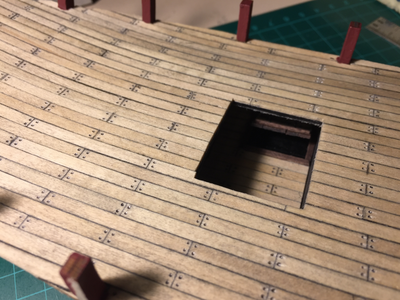
For a bit of fun I made up a small deck with a hatch to fit under the main deck below where I took upon myself to cut out a square in the place the instructions say to paint matt black in order to give the appearance of depth if one hatch door is displayed partially open. Better to have an opening that leads down into the hull and to the Captains wine cellar I thought. Then I heard "Brindaré por eso"
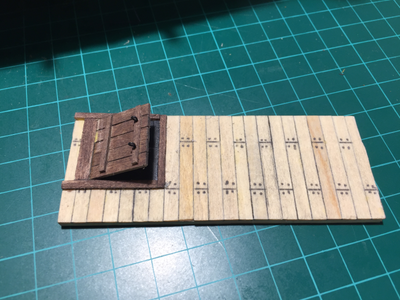

- Joined
- Dec 7, 2021
- Messages
- 43
- Points
- 58

Your doing an excelleny job. I will watch your build with much interest.
Thank you for the compliment. Hope I don't let anyone down. Cheers.Your doing an excelleny job. I will watch your build with much interest.
Thank you trust your enjoying the build as much as I'm putting it together. Cheers.following your build and enjoying it.
fairing could have been much better and the end result didn't inspire at all but what is done is done so they say. Some gaps the odd hollow but at least no plank went "Ping" and sprung open so that in itself was a positive.
Right/Wrong, correctly or incorrectly when planking the hull I didn't bother with wetting or soaking the 1.5x4mm basswood battens.. My electric plank bending tool was fixed at a 35% angle and left on. Prior to fixing the batten it was placed on the heated tool and slowly moved side to side until the desired bend was achieved. This worked well for me and I think it's a method to be used in my future modelling. A better job would've been achieved had more patience and thought been used and the trouble taken to bevel edges where necessary. Live and learn, guess there's still time left.
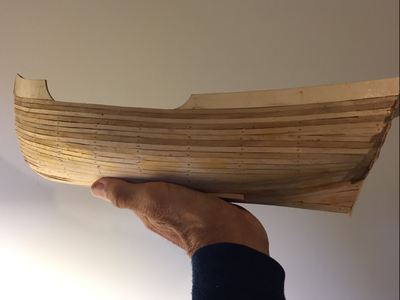
Right/Wrong, correctly or incorrectly when planking the hull I didn't bother with wetting or soaking the 1.5x4mm basswood battens.. My electric plank bending tool was fixed at a 35% angle and left on. Prior to fixing the batten it was placed on the heated tool and slowly moved side to side until the desired bend was achieved. This worked well for me and I think it's a method to be used in my future modelling. A better job would've been achieved had more patience and thought been used and the trouble taken to bevel edges where necessary. Live and learn, guess there's still time left.

Last edited:
At this stage lesson learnt; 1/the odd hollow is not much of a hollow after hull sanding. 2/Those canyons and crevasses seen prior to sanding now appear minimal almost non existent. 3/The nail holes make up the greater percentage of perceived flaws. 4/Always remember to check and double check that all nails have been extracted from the hull before starting to sand the planking(s) unless you enjoy the "ouch! that hurt". 5/Never allow 6yo grandson to sit next to you and play with the glue when your focusing on what to do next.
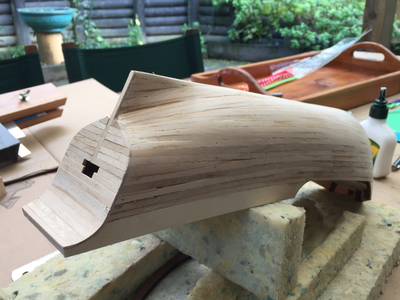

Oh Heinrich great encouragement thank you. I started second planking and to my horror the mahogany battens kept breaking. Very disappointing quality veneer. Almost to scared to look at some pieces in case they crumble before my eyes. Sadly there are no NZ outlets from which to resupply these discarded batten strips. I remain perplexed sitting here chewing glue off my fingers wondering how this journey is to proceed apart from with extreme patience and perseverance.That hull looks shipshape ! Now on to that second layer.
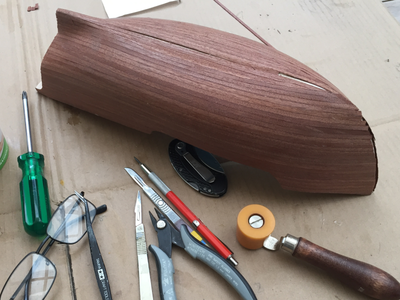
Second layer started. Up to this point everything went fine or hunky dory as we say here. Both sides of hull to this level Sapelli veneered successfully. Then the strips started to fall apart or shatter when handled or during application. Of the remaining strips approximately a third rendered themselves unusable. Worse there are no avenues here for resupply. Fortunately There were left overs from my previous model attempt "La Nina" Over-all I made one big mess.
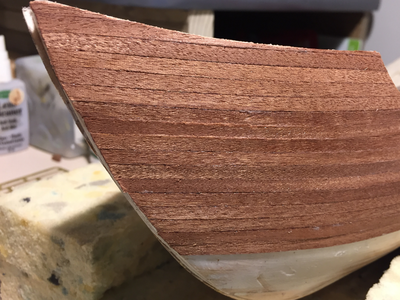
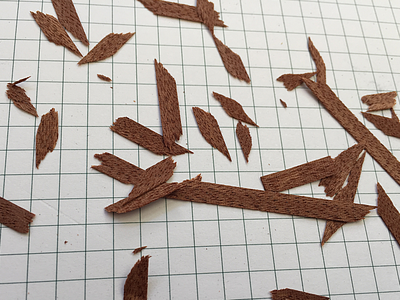


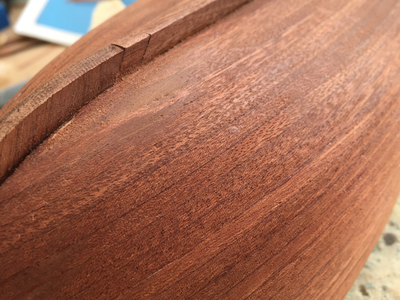
Hi Cons. This result is a beautiful hull with a nice shape. I live the dark colored wood.At last after many frustrations, jointed bits and restarts. Hull was finished and ready for the next build stage. Had I had a proper camera with macro lense the roughly joined broken bit would be very and embarrassingly visible. We say thanks for wood filler
View attachment 305691
Regards, Peter


