Build Log: ENDURANCE by OcCre [COMPLETED BUILD]

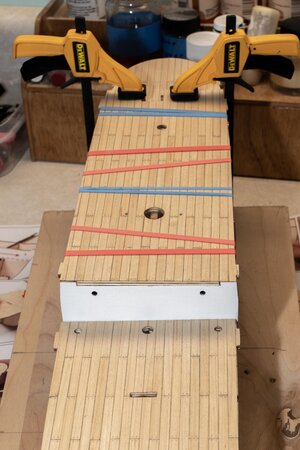
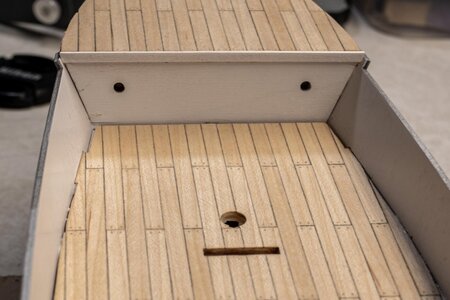
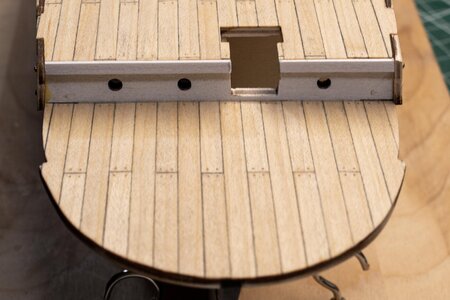
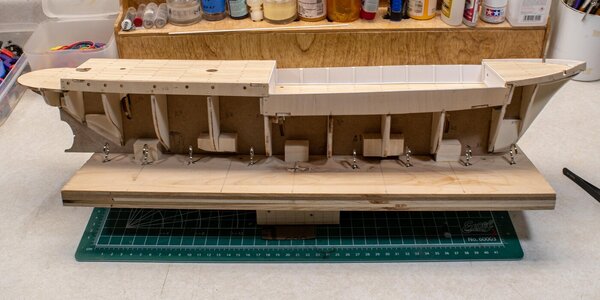
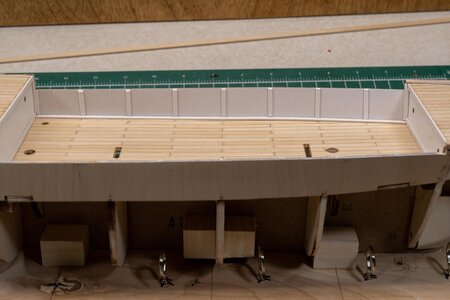
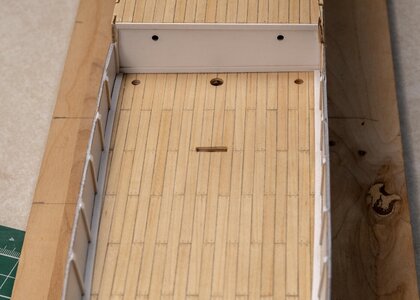
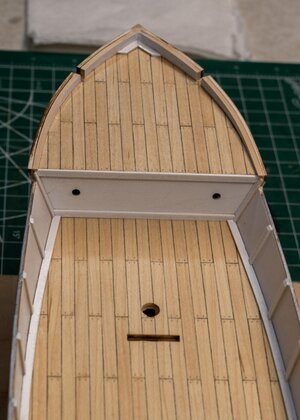
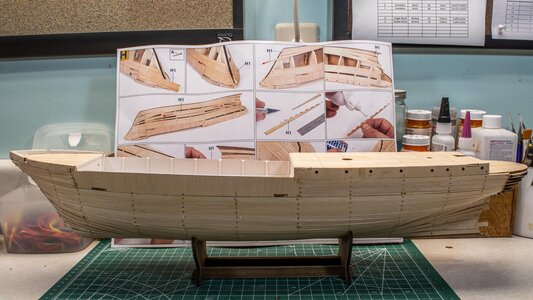
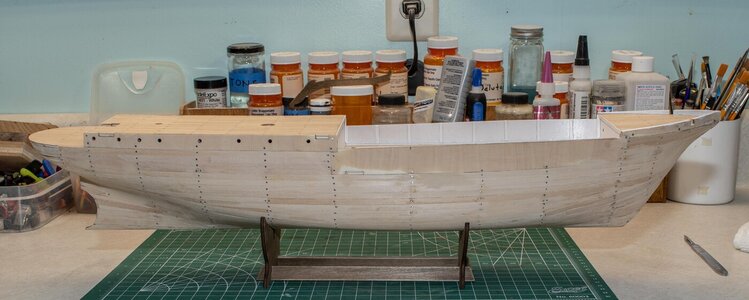
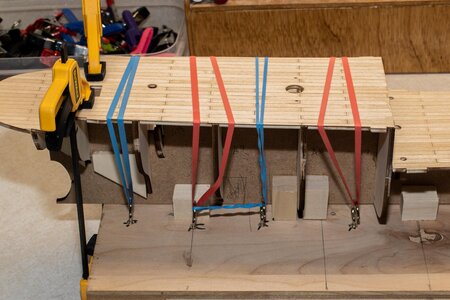
All four decks have been planked and are in the process of being installed. Cup hooks screwed into the base help when holding the deck in place while the glue dries. A couple of reenforcing pieces left to install and then on to fairing the frames. Not my favorite evolution but I got a new Proxxon bandfile and that should help a lot.
Endurance 017.jpgEndurance 018.jpgEndurance 019.jpg
 
Just be careful with any mechanical sanding device.
 
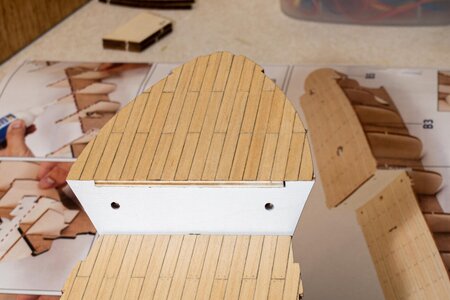
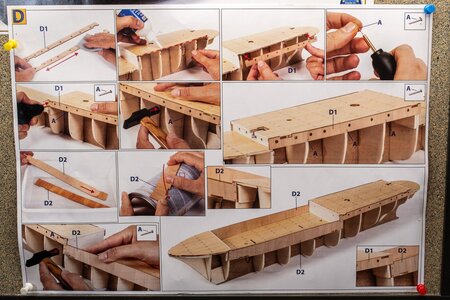
Completed sheet "D". A couple of nails came through where they were not supposed to but fixable after the glue is completely dry. I'll do a thorough check and touch-up before I start sheet "E". One feature I like is the way parts are numbered. All the parts for a sheet begin with the sheet letter, like part D1 is found on sheet "D". I also sprayed the inside of the bulkhead before I installed it. Your errors really show up when you shoot a macro photo.
Endurance 020.jpgEndurance 021.jpg
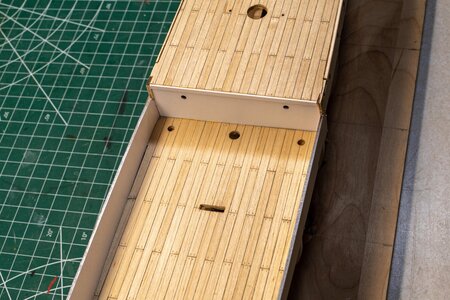
You can see where the nail splintered the bulkhead in the lower left. I think most of it will be covered by the trim pieces.
Endurance 022.jpgEndurance 023.jpg
 
Completed sheet "D". A couple of nails came through where they were not supposed to but fixable after the glue is completely dry. I'll do a thorough check and touch-up before I start sheet "E". One feature I like is the way parts are numbered. All the parts for a sheet begin with the sheet letter, like part D1 is found on sheet "D". I also sprayed the inside of the bulkhead before I installed it. Your errors really show up when you shoot a macro photo.
View attachment 256177View attachment 256178
You can see where the nail splintered the bulkhead in the lower left. I think most of it will be covered by the trim pieces.
View attachment 256179View attachment 256180
The real thing looks better than the version in the instructions. You have upped your game on this one! I sense you are going for a greater level of refinement on this build Charlie.
 
The real thing looks better than the version in the instructions. You have upped your game on this one! I sense you are going for a greater level of refinement on this build Charlie.
Trying to put all I've learned to good use on this one. Happy with everything so far. Hull planking next. Should one interesting.
 
Coming along very nicely. Just remember, there is no rush.
 
I did half a dozen sample deck planking mockups and finally got one I like. This is my process.

First I give each plank a coat of sanding sealer (Alcohol based Shellack). Very fast dry time.
View attachment 254786

After that dries I sand the flats and the edges with 320 grit. I made a small jig for the edges as the planks are only .5mm.

View attachment 254788

I set up another jig and cut each plank to size. 6mm in this case.

View attachment 254789

Jig #3 is setup with a very small bit in my drill press and I drill treenail hole number one, flip the plank and drill hole 2. Then turn the plank around and repeat for the other end. It takes a while but it's the only way I can get equally spaced holes.

View attachment 254790

Clamp a bundle of planks together and darken the edges with a # 6B pencil. I used to use a felt tip marker but the ink bled into wood way to much which is why I now seal the wood before I do the edges. Also wipe the lead dust off before you release the bundle. Keeps the planks from getting smudged during handling. You don't need much lead.

View attachment 254791

Glue the planks down with what ever pattern you choose.

View attachment 254792

Trim the edges and sand. This is the first time I have tried scraping the planks down with a blade. It gets rid of the excess glue and stains from the pencil lead. A quick sand with 320 grit followed by a pass with 600 grit. Ready to paint.

View attachment 254793

Finally a coat of Teak oil. I tried Teak oil, Tongue oil and matte poly but prefer the Teak. Next step is to repeat for two more decks and I'll be ready to install.

View attachment 254794
So far I only made one mistake and that was easy to fix. A very good kit and I like the picture instructions. The english written instructions are a little tough but the photographs and the CcCre build videos on YouTube and a great asset. A separate parts list booklet would be nice also. Hope this helps another beginner with planking a deck.
Good looking deck planking. I especially appreciate your nail drilling jig. I have not simulated nails in my deckings to date because I can't seem to get them even enough. I might have to give your method a try. I also like the use of short planks instead of long ones with pencil marks for individual planks.

I'll be following your build fairly closely as this is my next build (sitting on my shelf for the last couple of months).
Hey Jeff - Ya I tried a lot of stuff for the planking before I got something I liked. Drilling a hole in the jig worked well. I tried toothpicks and other things in the holes but didn't like that either. Now when I scrap the deck it forces bits of the scrapings into the holes so they stand out nicely when the deck is oiled. One thing I'll add to the procedure will be to sand each plank in a jig so they are the exact same length. Just cutting them, even in a jig leaves them just a hair off so the last planks might not lineup exactly. Looking forward to your build of Endurance. If you haven't read Alfred Lansing book "Endurance" you should check it out. Unbelievable story. Thanks for watching.
Charlie
 
Not that I'm an expert Charlie - but I used PVA (like Weld Bond) as the primary adhesive. But since I lack the maturity to wait for glue to tack up I also used tiny dots of CA in the places of curvature to hold the strip in place while the PVA dried. If you use a medium or thick CA you do have a bit of repositioning time (and will need to hold the piece in place for 15-20 seconds because it does not set on contact like thin CA does)...

I found the combination worked well for me.
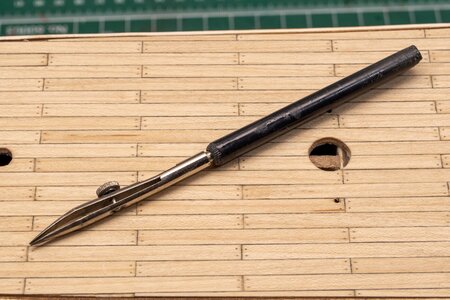
Thanks Paul. Sounds like the way to go. I like the Weld Bond because it dries clear. My favorite method of applying thin CA is a drafting pen. Works well and is adjustable.
Endurance 030.jpg
 
Back
Top