Build Log For H.M.S. Bounty AL Kit But Different

Joined
Apr 7, 2020
Messages
126
Points
113

Location
Perth Australia
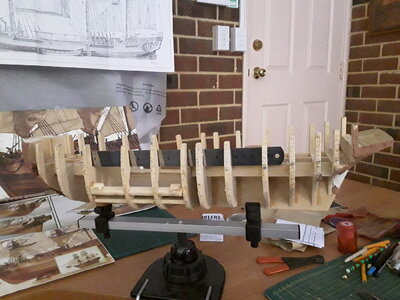
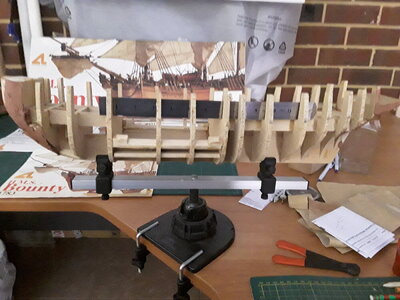
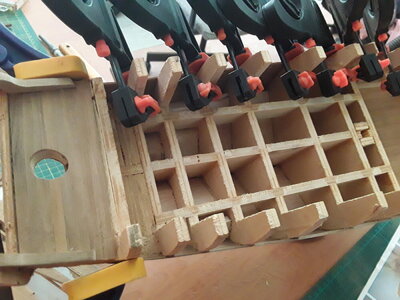
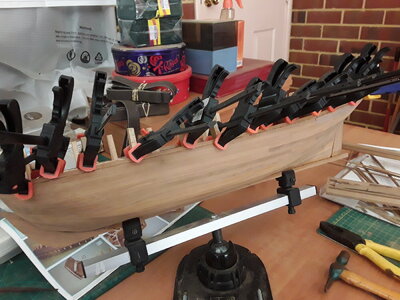
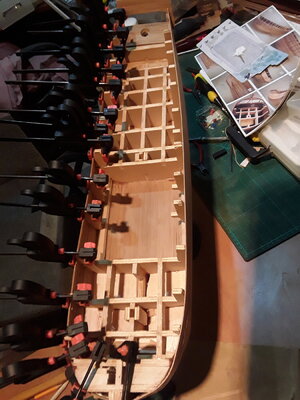
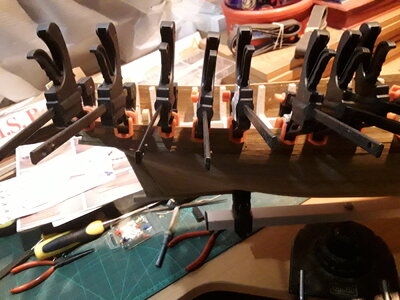
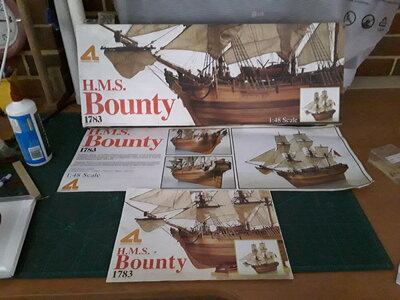
This the start of my build log for the HMS Bounty. Purchased this kit in the mid 90s and just getting around to really do it.
It is a single plank kit with 2 exposed decks and I have never seen this kit anywhere or seen a build log of it so I hope this helps.
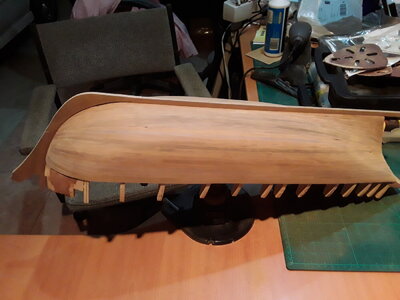
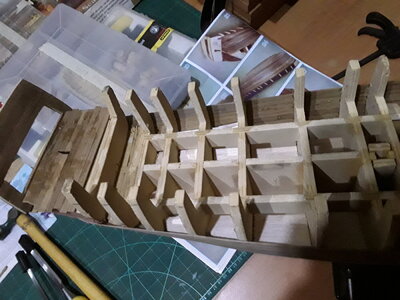
I have partly built the hull and started to plank...I found the walnut supplied was told and split to easily so stripped it off and obtained some more.
As Usual will be bashing it and putting on a copper hull and few other bits missing from the AL Kit.20201123_091108.jpg20201123_091118.jpg20201123_091813.jpg20201123_091937.jpg
 
Beginning my Bounty build here, will follow yours with interest, thank you sir.
 
ok sorry to have been away for a while
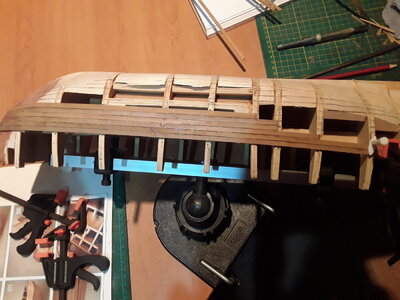
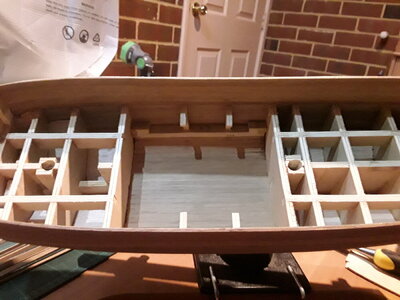
Now I filled in the lower sections of the hull with balsa to make it stable and easier to glue to and stated to plank the lower sections of the hull
With the 2 decks the hull is planked in 2 sections , 1 being below where the supports are broken off and the other above.
20210613_141942.jpg20210613_141957.jpg20210613_142014.jpg
As above you can see the balsa and the first few planks laid on the lower section of the hull.
This is a single planked hull so lots of fun getting it right
 
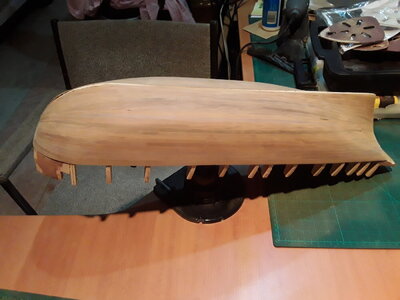
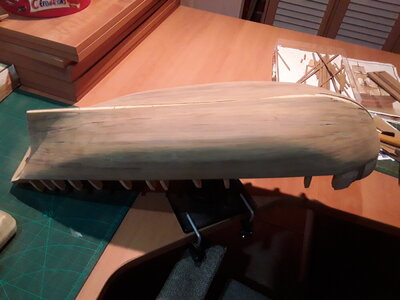
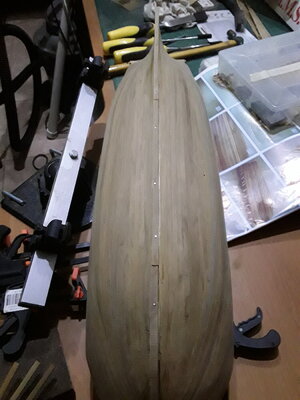
Now have finished planking the lower section and have given it the first sanding down.
Also dry fitting the keel and fore-sections. Next step is to fit the stern post and then the keel properly and then start on the top section of the hull.
I plan to copper the bottom of the hull and will be painted black till the rubbing whales so will be done after the top section is planked and the first deck is in.20210708_111526.jpg20210708_111546.jpg20210708_111724.jpg
 
Been doing a little more since it is raining a lot.
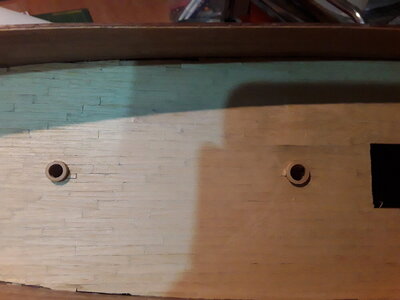
Have fitted the false keel and as I always do pre-drill and nail as well as glue. Found that the keel sometimes will not take the strain from the keel clamp so now nail all my keels.
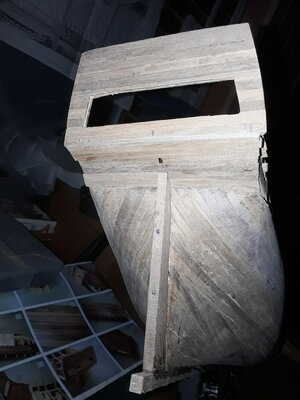
Have started the transom just need to clean it up and drill the hole for the rudder then can start on the top section of the hull.20210710_105857.jpg20210710_110016.jpg20210710_110056.jpg
 
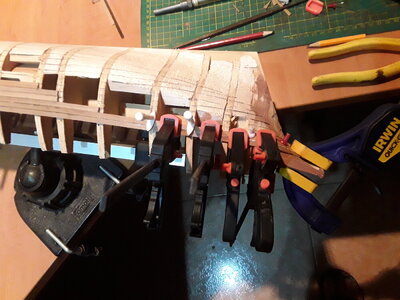
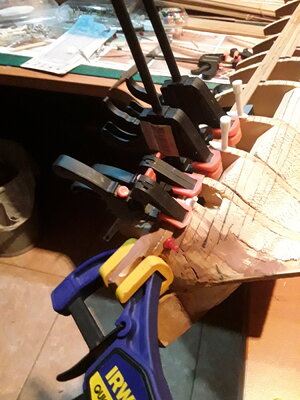
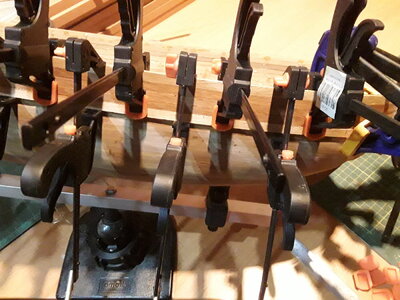
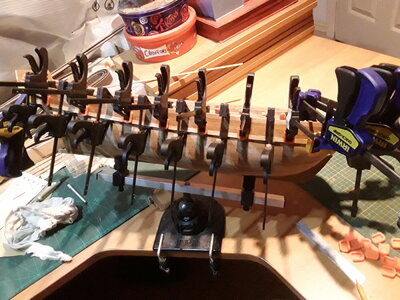
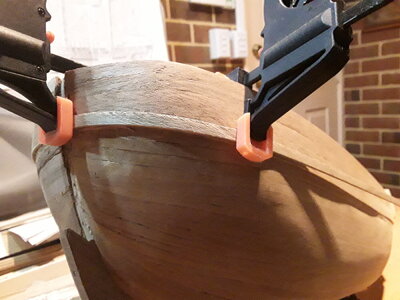
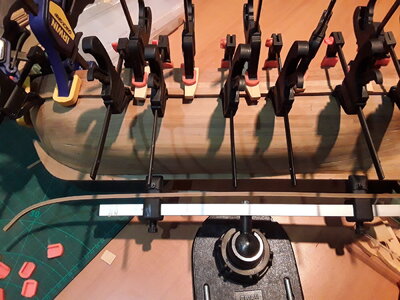
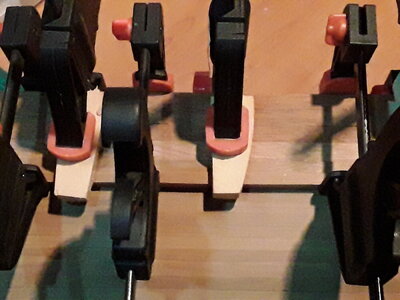
Ok now finished the top section and just finishing the second layer on the top section.20210718_153314.jpgAs they say you can never have enough clamps


20210718_153324.jpg
Now have run into a slight problem with the rubbing whales
IT was also with the top layer as well.
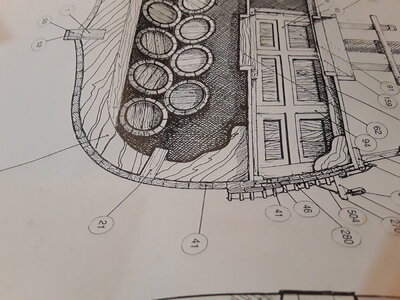
As the drawing shows that the hull and the top inside planking are the same number for material but not the same thickness.
So now I have the dilemma of doing the rubbing whales with not the correct timbers.
So Have decided to use some of the hull planking sizes to do the rubbing Whales
So will be using a single plank for the top of the whales and then 2 stacks of 3 planks glued together for the bottom 2 sections as they have to sit proud of the top section. This matches the photos of the completed ship on the box
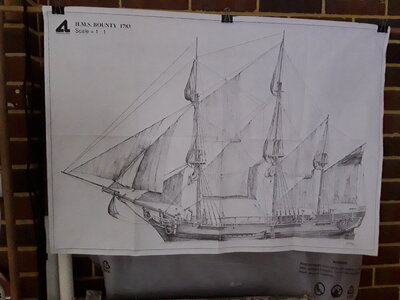
Have attached the plans for you to see and look for 2 areas of the number 41 planks
I dry fitted the solution and with the sides slightly rounded will look OK on the ship. Will send a pic when completed.
20210718_153438.jpg
 
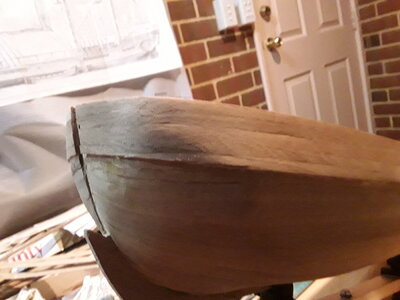
been doing some more lately and have made the cut for the upper rubbing whales.
To this I used the section that was being used for the front up curve and transferred it to the planking on the bow
I then placed the top whale timber and marked below it and then cut out the timber that was below the marked line.
20210727_103618.jpg
20210727_103902.jpg
20210727_103041.jpg
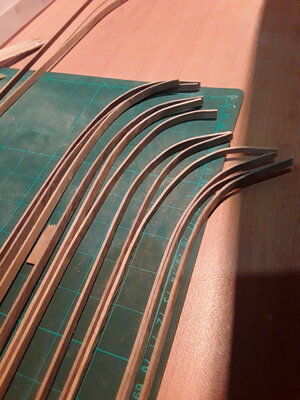
I then bent the front section of the timbers so they would curve to the bow easily.
I also bent sets of three so the can be glued and after glued fit easy to the bow
20210727_103421.jpg
these 3 timbers will be glued and then glued under the first plank. There are 2 sets of these for both sides. After gluing they will be slightly rounded off on the top edges. I have dry fitted them to see how the look.
20210727_105031.jpg

I have also been doing some work for the lower deck
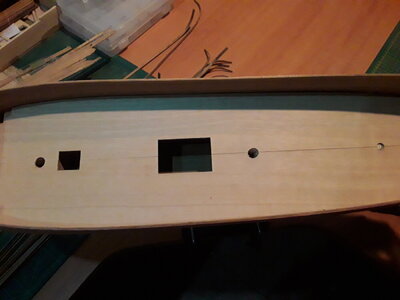
The deck had to have the former supports for the top of the hull removed and then dry fitting the deck before being planked.
I also inserted the masts blanks so as to make sure the top and bottom decks lined up and the masts were straight and in line.20210727_105200.jpg20210727_105357.jpg
 
been doing some more lately and have made the cut for the upper rubbing whales.
To this I used the section that was being used for the front up curve and transferred it to the planking on the bow
I then placed the top whale timber and marked below it and then cut out the timber that was below the marked line.
View attachment 246341
View attachment 246342
View attachment 246336
I then bent the front section of the timbers so they would curve to the bow easily.
I also bent sets of three so the can be glued and after glued fit easy to the bow
View attachment 246339
these 3 timbers will be glued and then glued under the first plank. There are 2 sets of these for both sides. After gluing they will be slightly rounded off on the top edges. I have dry fitted them to see how the look.
View attachment 246343

I have also been doing some work for the lower deck
The deck had to have the former supports for the top of the hull removed and then dry fitting the deck before being planked.
I also inserted the masts blanks so as to make sure the top and bottom decks lined up and the masts were straight and in line.View attachment 246344View attachment 246345
great progress and work, looks beautifu
 
Nice to see you following a methodical approach. This will pay dividends.
 
Thanks Heinrich
I try to be as methodical as I can with this hobby or should I say more planning and less haste
Wood is not very forgiving if making mistakes.
 
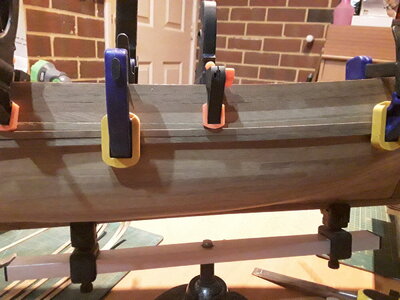
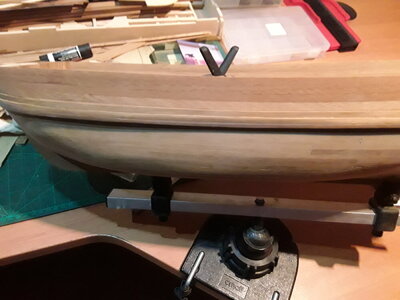
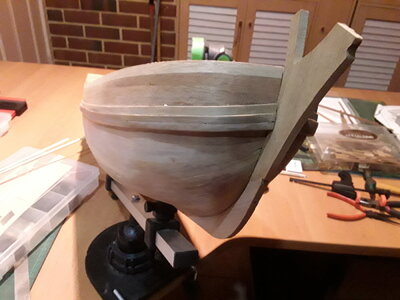
Well been back at it again and have glued the first of the rubbing whales on and you can never have enough clamps
To the bottom is the second one ready to be glued It is the 3 timbers laminated after bending
20210801_115031.jpg
some more shots of the whales being glued on
20210801_115138.jpg
The finished rubbing whales
20210810_130653.jpg20210810_130824.jpg
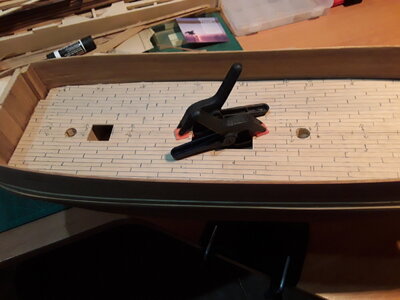
The first deck glued on with the planking pattern marked out
20210810_130709.jpg
 
Good job on the planking that's an unusual way of doing the whales never seen it done like that before. I like the way you've marked out the deck planking first, must make laying the planks easier.
 
Thanks Tony

Yes it does make planking the deck easier and with the planks all cut before hand it is even easier to do.
The wales were done that way as the plans showed 2 different thicknesses of hull planking but only supplied one thickness.
So when the second layer of planking was done to the top section it was proud by 1 thickness then the upper whale planked gave it a 2 plank thickness and has the whales had to be at least 1 plank thickness proud from the upper whale then the whales were done with 3 planks thick.
With that Then all pf the planks were bent to fit the bow and then laminated together and glued on the hull to give the desired result.
 
well the deck is now planked20210817_121120.jpg
A little tidying up to do and will be ready for the fittings
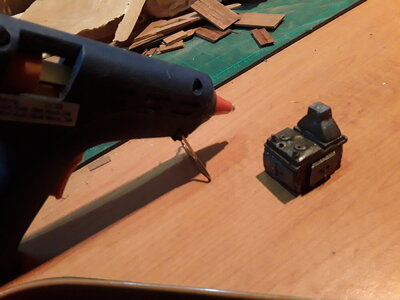
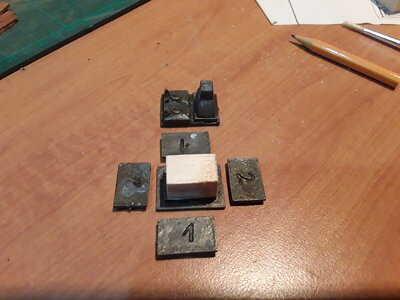
Started building the stove used a block of balsa on the inside to hold the pieces and then hot glued them on
20210817_121133.jpg
20210817_133136.jpg
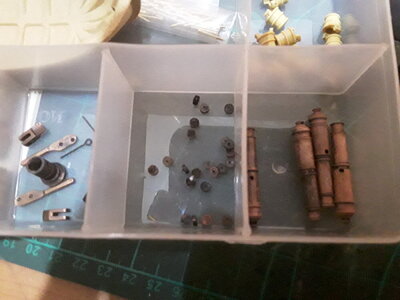
also blackened the bright brass cannons, wheels and pump sections ready for construction
20210817_121150.jpg

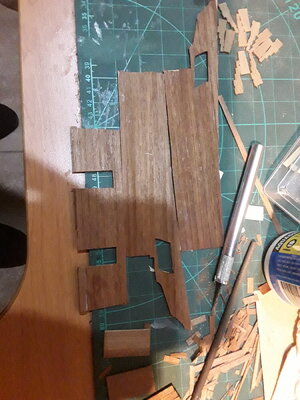
And now starting on the main cabin sections the first two side walls and front wall
20210817_121227.jpg
Will send another update after I have done the hatches and stairs and possibly the first section of the main cabin
 
Back
Top