You are using an out of date browser. It may not display this or other websites correctly.
You should upgrade or use an alternative browser.
You should upgrade or use an alternative browser.
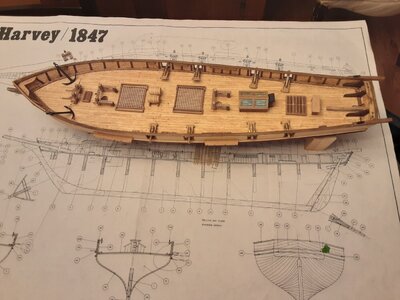
Hello Snowy. This is called the Harvey 1847. Its a kit from Artesania Latina. I purchased it in 1990 and have been carrying it around for a long time.Cheers mate
Could you tell us what ship it is.
Thanks snowy
Good morning. That is a long wait to open a kitAfter carrying this thing around for the past 33 years, I've decided that I'm old enough (and patient enough!) to put this thing together. I purchased this while in Spain on a Med Cruise courtesy of Uncle Sam. All parts are present and accounted for. I'm looking forward to the finished product.
View attachment 362575
View attachment 362576
I wish you fun and luck with this kit - when ever you have problems or questions with this model, post it here in your log
What's fun about a hobby such as this is the fact that I can take my time on each step. Unlike life, and my job, where I don't always have the benefit of time, I am able to consider each step. I find great enjoyment in this!
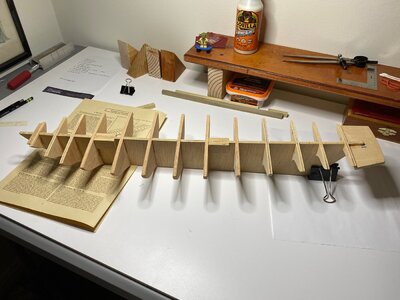
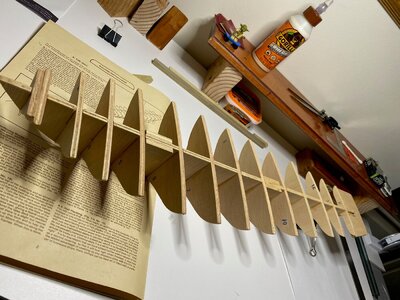
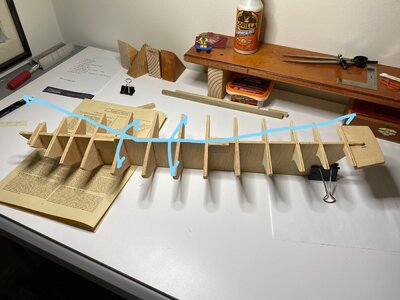
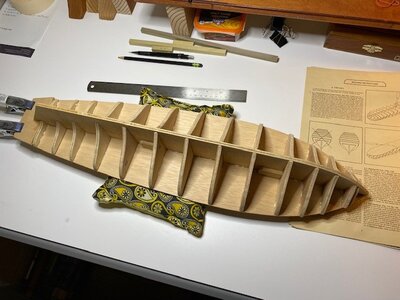
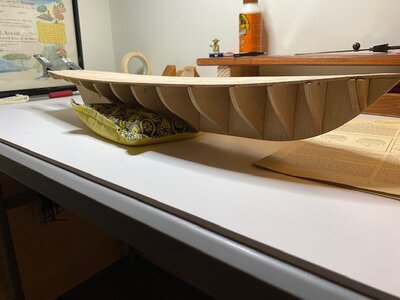
That being said, I am posing a question for you smart people. I am getting ready to attach the top deck piece. As I study the model I notice that I have compound angles to deal with. I've marked the picture to show what I'm talking about. The first angle is the dip curve of the false keel from bow to stern. The second angle is the rise curve across the athwartship rib members from port to starboard.
It seems like I should attach one side of the top piece first (either port or starboard), and then once it dries attach the opposite side.
What say you?

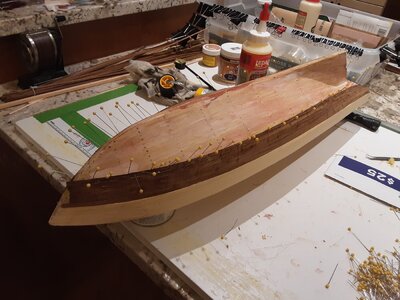
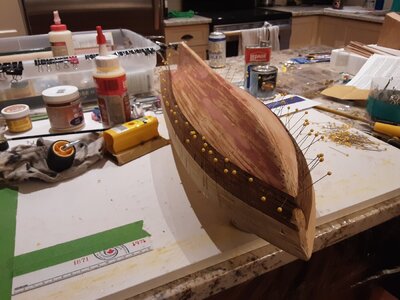
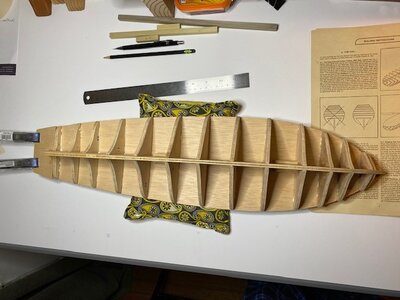
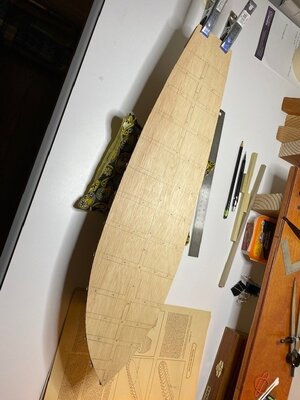
After considering the situation for a few days, I decided to move forward and attach the top piece in one fell swoop - gluing and pin nailing the whole top at once. After walking through how that would happen (e.g. practice run without glue), I proceeded to apply glue to the top of the false keep and ribs, then turned them upside down and placed them on the top. I used a large cloth bag filled with rice (pictured) that will allow for the curvature of the false keel and ribs. I clamped the stern, carefully flipped it right side up, and proceeded to install pin nails every 30 mm across the top. All things considered, it looks pretty good. Some clean up working in front of me as some of the ribs are a bit wider than the top plate. That is to be expected.


I built this kit about 30 years ago modified from plans purchased from Taubman Plans Service. It was my second all wood model there are lots of errors but I’m still proud to display it with my antique spyglass. I wrote a series of articles for Ships in Scale Magazine about the construction. If you can find reprints they might help you in construction. My copies are long gone. Enjoy and send photos. 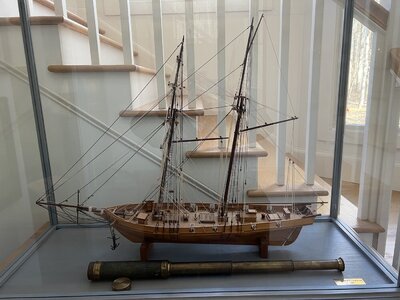

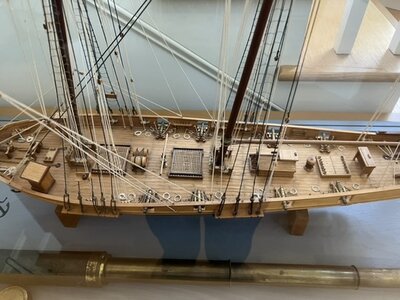
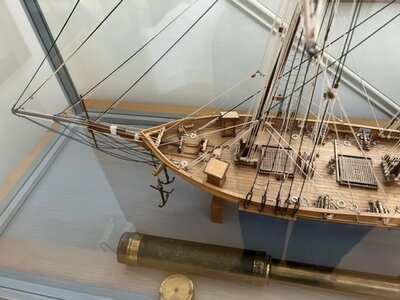


Dr. Lou - thanks for the pictures. Your ship looks great! I like that you didn't rig the sails. I'm not sure I'll rig the sails; I think the ship looks cleaner and more dignified without sails. I'll keep posting progress photos. I know that I will have questions when it comes to painting the ship. That will be a complete learning experience for me.I built this kit about 30 years ago modified from plans purchased from Taubman Plans Service. It was my second all wood model there are lots of errors but I’m still proud to display it with my antique spyglass. I wrote a series of articles for Ships in Scale Magazine about the construction. If you can find reprints they might help you in construction. My copies are long gone. Enjoy and send photos. View attachment 363526View attachment 363526View attachment 363527View attachment 363528View attachment 363526View attachment 363527View attachment 363528
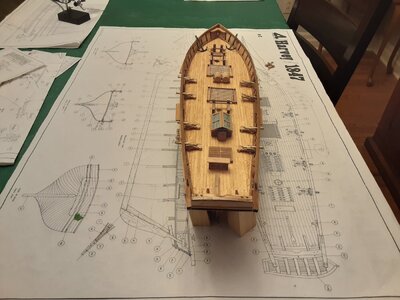
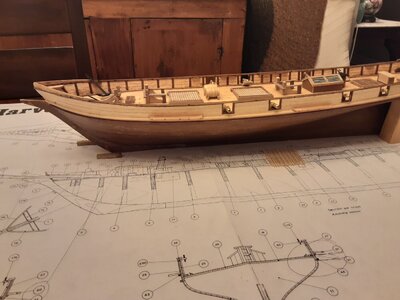
Any tips for running the hull planking before I get started? What about the fairing process - what should I look out for there?Congratulations. The Harvey is a fun build. I am at the stage of tapering the masts and spars, then constructing the masts befor installing the deck furniture.
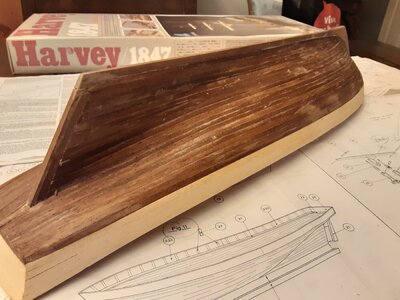
View attachment 363573
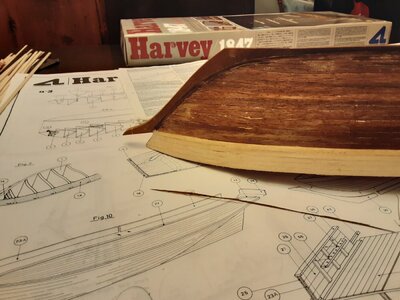
View attachment 363574
View attachment 363575
Good evening. I’m no expert here however patience and planning goes a long way. I found researching methods on You tube and here looking at the experienced guys builds. Also in the tips and help section there is solid assistance.If you can get “Colour Planking” by Allan Tyler it is really concise and cover everything. Cheers GrantAny tips for running the hull planking before I get started? What about the fairing process - what should I look out for there?
Thanks for the note. Is "Color Planking" a book?Good evening. I’m no expert here however patience and planning goes a long way. I found researching methods on You tube and here looking at the experienced guys builds. Also in the tips and help section there is solid assistance.If you can get “Colour Planking” by Allan Tyler it is really concise and cover everything. Cheers Grant
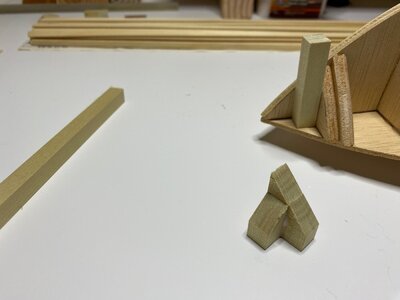
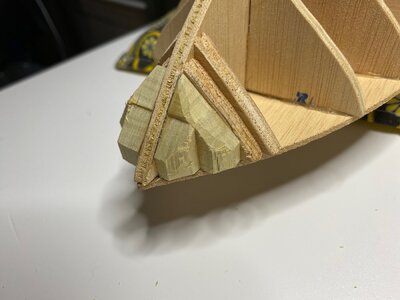
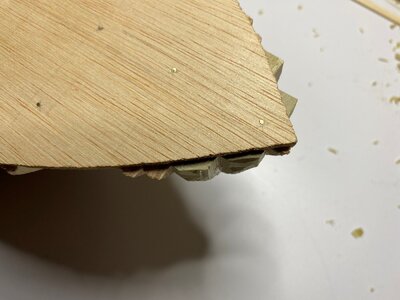
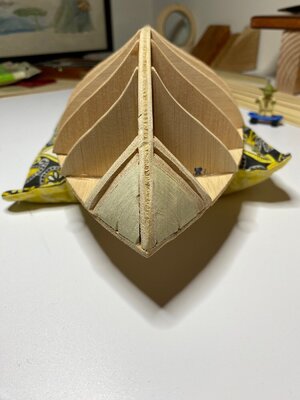
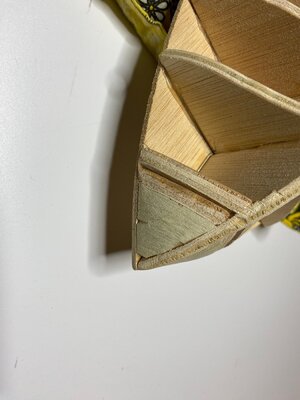
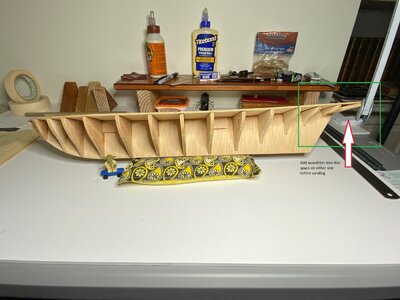
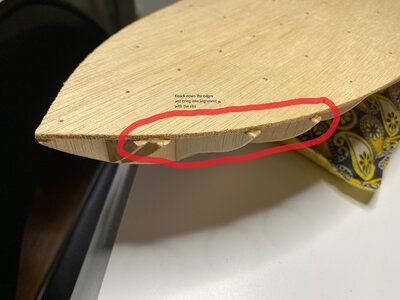
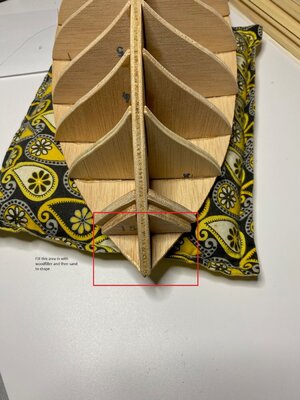
Time to begin shaping the false keel and ribs. I intend to spend extra time on this step after reading the account of others. I'm going to add some wood filler into a few voids at the bow and stern (see pictures for locations), and spend a bit of time fairing the points were the ribs meet the keel, and where the ribs meet the false top.
I began sorting through all the planking last night. I have three bags and two of them are numbered with a helpful identification sheet inside the bag. The third bag is unmarked and has no identification sheet inside. I am going to assume that the third bag contains extra pieces.
I began sorting through all the planking last night. I have three bags and two of them are numbered with a helpful identification sheet inside the bag. The third bag is unmarked and has no identification sheet inside. I am going to assume that the third bag contains extra pieces.


Good morning. I have a PDF. It is on my laptop at the office. If I can find it I will send it to you. I really enjoy it. Cheers GrantThanks for the note. Is "Color Planking" a book?
Good afternoon. I sent you a PM. Cheers GrantTime to begin shaping the false keel and ribs. I intend to spend extra time on this step after reading the account of others. I'm going to add some wood filler into a few voids at the bow and stern (see pictures for locations), and spend a bit of time fairing the points were the ribs meet the keel, and where the ribs meet the false top.
I began sorting through all the planking last night. I have three bags and two of them are numbered with a helpful identification sheet inside the bag. The third bag is unmarked and has no identification sheet inside. I am going to assume that the third bag contains extra pieces.
View attachment 363801
View attachment 363802
View attachment 363803


