A bit of a rewind!
8/8 3 Hours during the week
Hey there!
Yeah well not quite as good as I was hoping it would be

So I've realised that in the planking manuals and texts that when they say you need to reduce the width of the planks down by an appropriate amount to suit the measurement on each bulkhead - in this particular case they don't mean the first or second bulkhead where the restriction is simply too much. The plans say reduce by 1mm only from the 6th bulkhead to the bow and so I'm going to do exactly that. I originally posted that it would have required cutting the planks down from 5mm to 1.3mm at the first bulkhead and as this broke the "not more than half a plank" rule I decided to just reduce to 2.5mm and then work it out later with stealers etc. What ended up happening was that the planks needed to be bent up towards the false deck and away from the keel to get them to fit snugly. This worked for a bit but ended up twisting the planks and creating a horrible effect. So I took them all off again
and started again!!
You can see below what was starting to happen. Annoying as I got reasonably far along with around a quarter of the planks installed. Still these things are as much about learning as anything else and it's my first model.
View attachment 171438
You can see the planks simply twisted as they were pushed up towards each other and left completely the wrong effect. If you look between the pin on the left bulkhead and the pin on the right you can see the bottom face of the plank is being forced out.
View attachment 171439
As below, once I'd pulled the planks off you can really see how offset they were.
View attachment 171440
And here it is with the first plank fitted and glued and the second one just settling in and taking shape!
View attachment 171444
Feels like two weeks work lost but at least it will look the way I want it to as opposed to always bugging me!
I am going to paint it in the end and copper below the waterline anyway so I'm probably being a little bit too pedantic but I'd really like to get the principles right as they will undoubtedly help me with the next one!
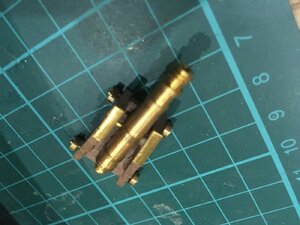
Need to do some work on the deck furniture and the deck planking too! As I have such thin deck planks I'm considering using cotton thread for caulking - anybody else done that before? Deck planks are only 0.5mm thick and paper is going to be a real pain and I wanted something more permanent than pencil.


 Happy birthday Stu!