Who thought writing about building a ship would be harder than actually building one. But here goes.
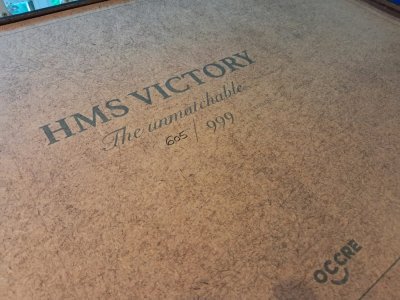
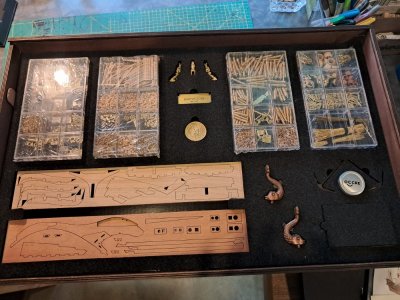
First up was opening my kit. WOW, beautiful, enticing, intimidating, awe-inspiring, nerve-racking. (Pics 1 and 2))
I then captured all the kit's instructions, part lists, step by photos, precut layouts etc. into excel in order to combine the instructions into one document. Much easier than for each step looking up the details in 3 or 4 different documents. I also created a Gantt chart so I can track my progress. It is linked to my instruction worksheet so that when I tick a step completed it updates my Gantt chart. Talk about a double shot of endorphins!
Also, in honour of this build I rearranged my workspace...always fun.
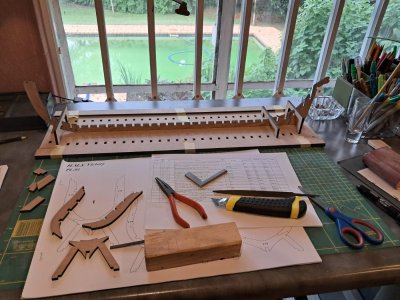
Now with no further excuses available I had to undertake the most daunting part of any project THE DREADED FIRST STEP. In this case an easy one, once actually started but still nerve racking. The making of the keel and frame jig base and the installing the keel. Easy peasy. (Pic 3)
Then the gluing on of the bow and stern supports.
One thing I learned early on in ship building, is that for every 3 steps taken forward, something unexpected happens, which results in needing to take 1 step back and 2 steps sideways. (Good thing I love dancing and problem solving). In this case whilst clamping the bow supports to the keel, unbeknown to me, the clamps shifted the supports and they glued skew!. Whilst trying to get the now very fast supports off I snapped off a piece of the keel. AAAAGH. re-glued the keel back together and filed the supports into the correct shape.
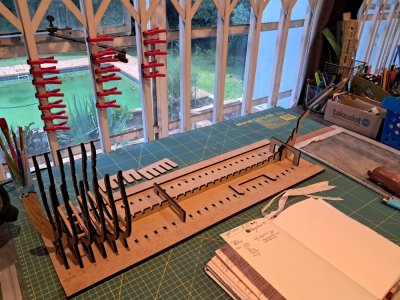
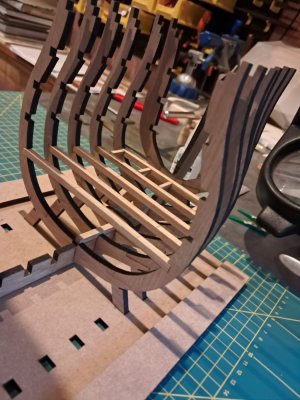
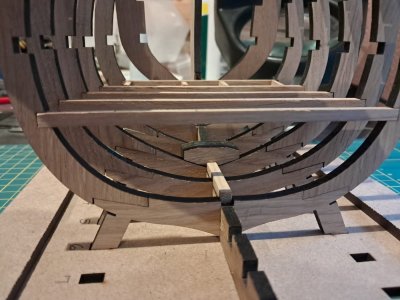
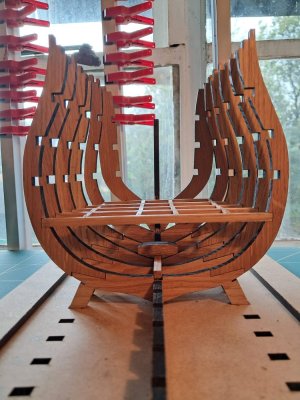
Then started making the frames 1-6. I am not sure why but I had to re-glue a few of the futtock scarf joints as they just did not FIX. It may be the cool damp weather we have been having? Frames were inserted, the keelson and foremast step assembled and glued in place, the orlop deck beams and joists cut and glued in place (Pics 4-6) and the whole existing structure varnished. (Pic 7). I am using a clear sued matt varnish as I prefer a natural look.
Next steps The building pf Frames 7-18 with their accompanying orlop deck beams and joist.
jen


