Lowell Grand Banks Dory - Model Shipways 1:24 (JohnR - 3rd build) [COMPLETED BUILD]

Joined
Aug 1, 2020
Messages
727
Points
298

20201209

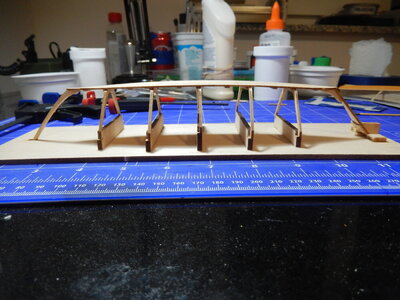
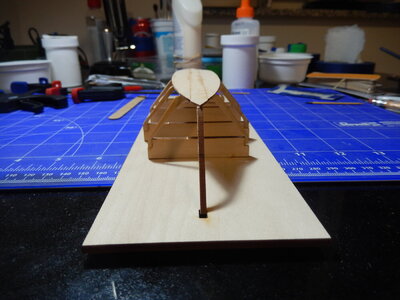
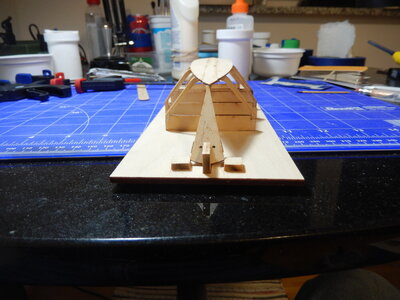
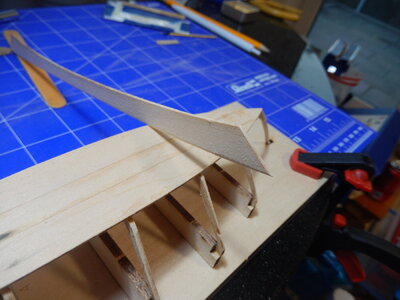
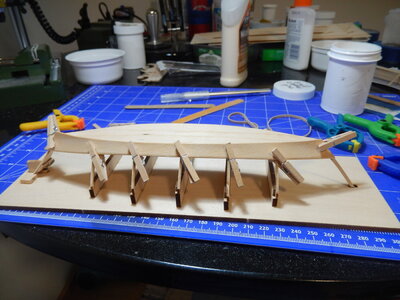
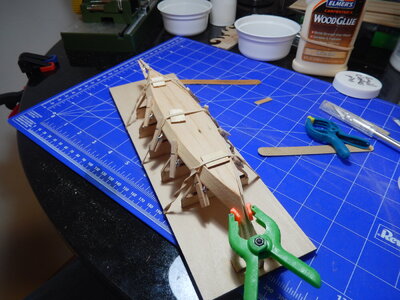
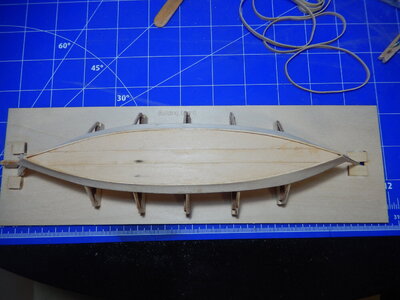
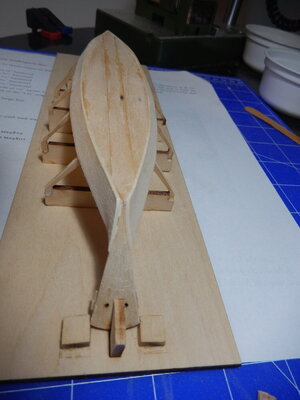
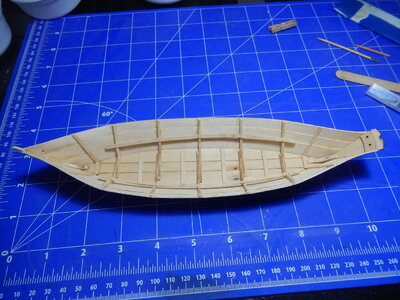
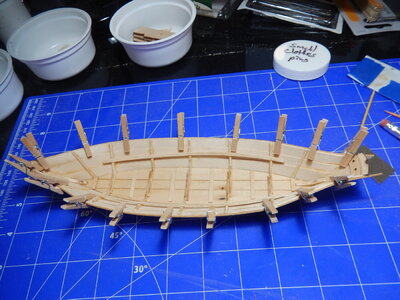
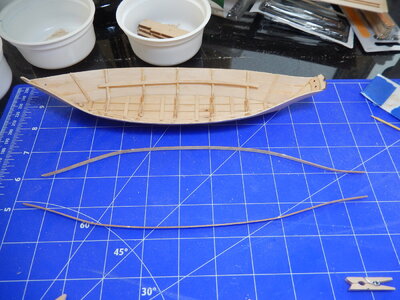
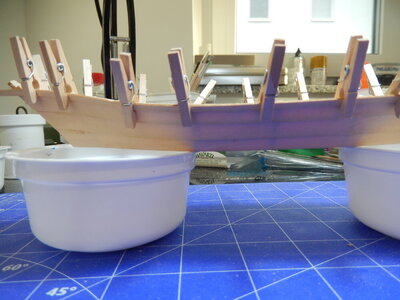
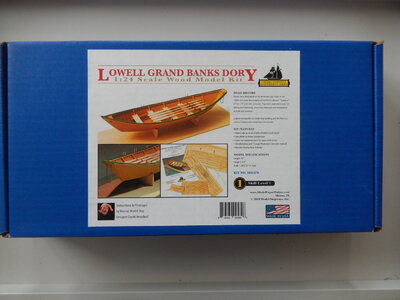
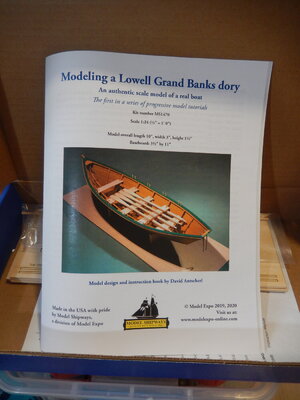
Started work on the Lowell Grand Banks Dory. This is billed as a starter kit but no matter; I decided to try my hand on an open boat that is bigger in scale than the two sailing ships I've finished over the past several months. I like the look of this boat; think it might look good in one of the grandkid’s rooms.

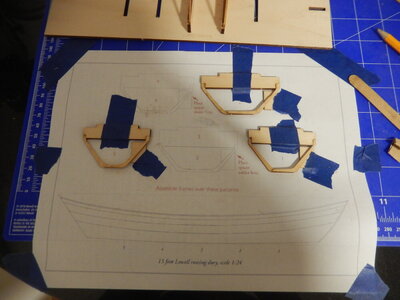
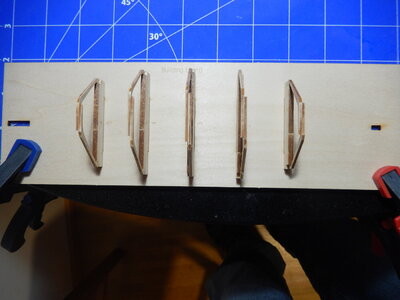
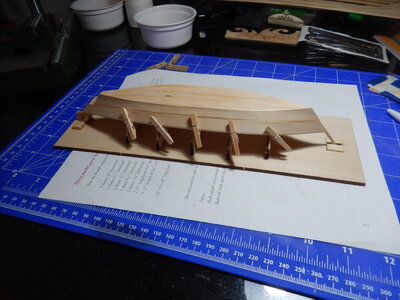
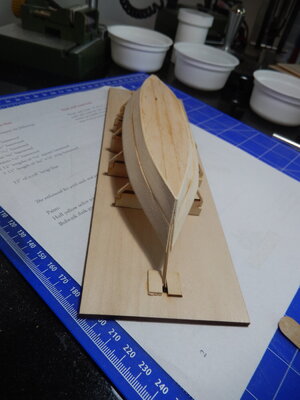
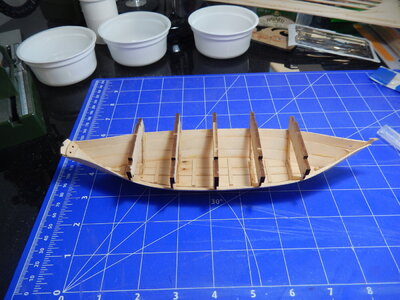
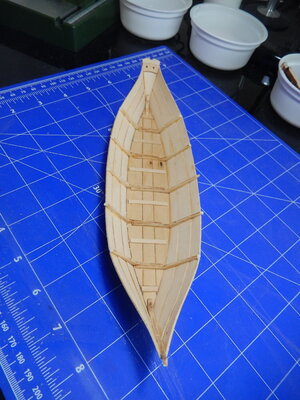
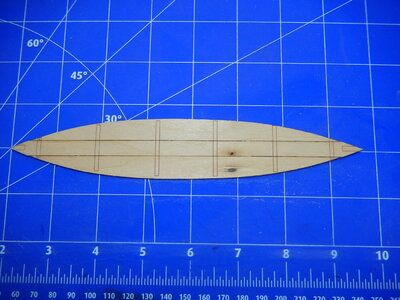
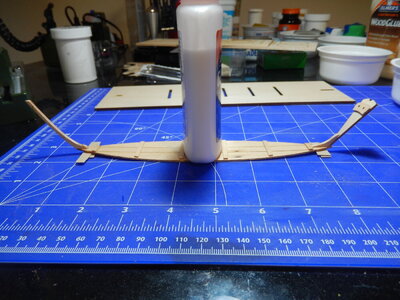
Anyways, so far all I’ve accomplished is to inventory the parts and assemble the bottom of the boat. Have the frame pieces laid out and ready to glue up; will get that done in the remaining evenings this week and then start work on the hull this weekend.
DSCN7349.JPGDSCN7351.JPGDSCN7352.JPGDSCN7354.JPG
 
Last edited:
John, if you go to edit and click on "full image" for photos, they become much easier to see.

I have several kits from this company, all smaller boats in larger scale, as I like to stay with simpler kits for now till I build my skills and knowledge of work being done.
 
20201212

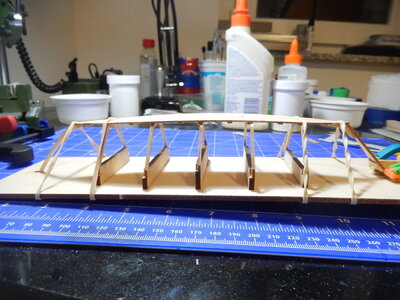
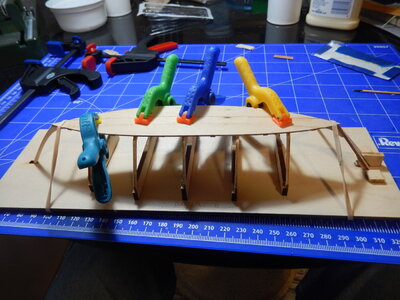
Have the frames assembled, set up on the building board and the boat’s bottom (to include stem & transom) glued to the frames. The instruction book is really quite detailed and easy to follow so every has been straight forward so far.

The frames are assembled on top of a page in the instruction book. I xeroxed the page, taped it to the cutting board and assembled the frames. The wood is quite thin so it requires a light touch while sanding. Same once the frames are on the building board and a bit more sanding has to be done to bevel them so the bottom fits properly.

There are a couple of small blocks that are glued to the build board to help keep the transom from moving side to side. They didn’t seem to be doing the trick when initially installed so I pried them up, and moved them just a bit forwards so they could keep the transom from moving. Taking the time to dry fit before gluing sounds trite, but I needed to fight the tendency to ‘glue then adjust’ and make sure I had things setup properly first.

The result to this point is a frame structure and bottom ready to have the first planks installed. More sanding ahead….

DSCN7357.JPGDSCN7360.JPGDSCN7364.JPGDSCN7367.JPGDSCN7368.JPGDSCN7369.JPGDSCN7370.JPG
 
20201220

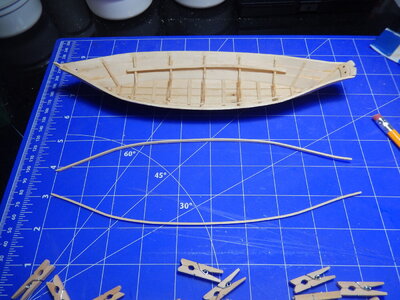
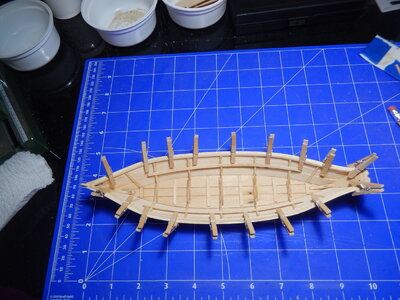
Worked an hour or so after work during the week and a few hours yesterday (beautiful day out; too nice to spend all day inside so hit the trails on the bike). All progressing slowly & steadily: sand plank, bevel plank edge, taper ends, soak, bend, sand, glue, sand ends even with stem & stern, repeat with next plank.

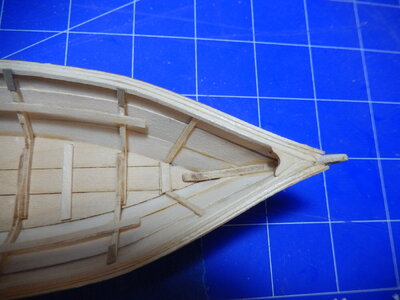
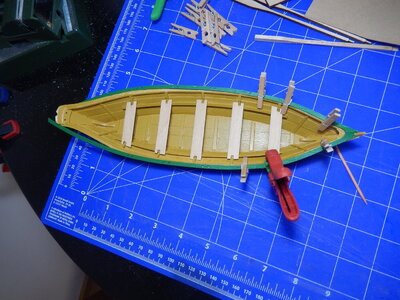
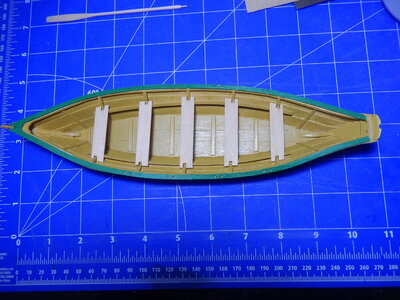
Installing the risers was interesting only because I tried to figure it out from the plans (if there were marks on the frames as mentioned in the instructions, I sanded them off somewhere along the line). Once I had the risers glued in something just didn’t look quite right so I fit a couple of the thwarts; yep, risers were too low in the boat (2nd to last pic). Pried risers off, set bow thwart so it sat evenly on the bow frame, marked frame, used that as a guide to re-install risers. Test fit the thwarts afterwards and all good.

Today working on the bands (last pic shows them drying after soaking in hot water), gunwales, etc. Painting and final assembly during the week.

DSCN7373.JPGDSCN7374.JPGDSCN7375.JPGDSCN7378.JPGDSCN7382.JPGDSCN7384.JPGDSCN7386.JPGDSCN7387.JPGDSCN7389.JPGDSCN7393.JPGDSCN7394.JPG
 
20201224

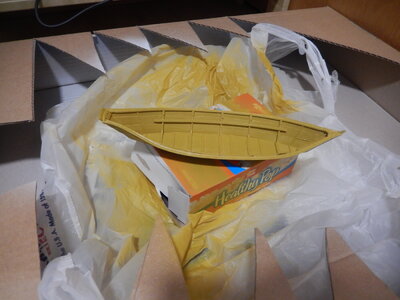
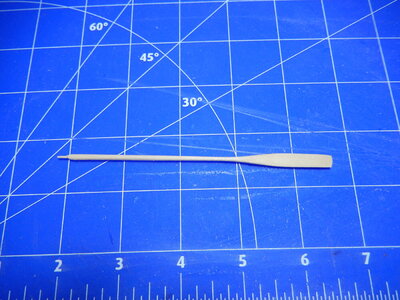
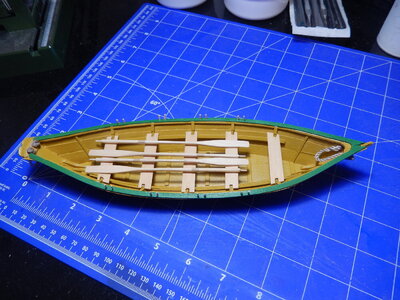
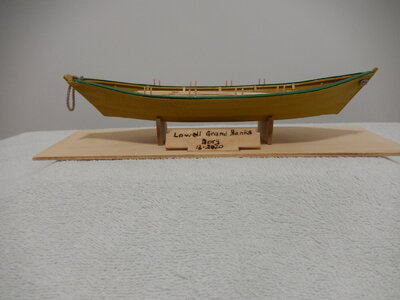
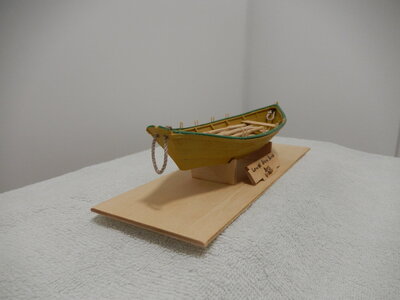
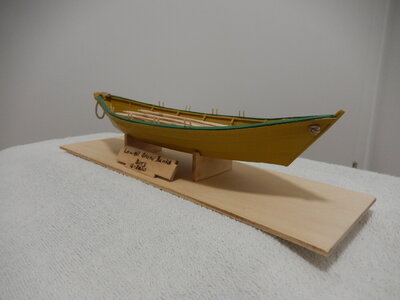
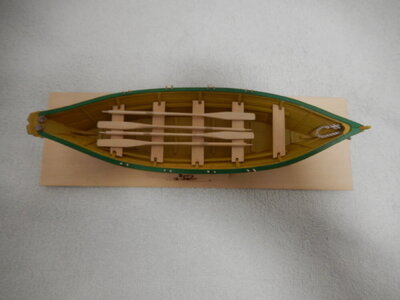
Reached the point this past Monday evening where I just knew that I would get the dory finished before Christmas. Things just started clicking once I had the bands glued on and the gunwales bent. I had decided a couple of weeks ago, before the non-essential stores were closed, that I would spray paint the hull. I located a can of mustard yellow for the hull (cap color closely matched the color chip on the pot of ochre brown that I also bought just in case). Sprayed on a universal white primer once all the hull pieces (except the caps) were installed and while that was drying started on the oars. Some whittling and lots of sanding but nothing tedious. Just being careful and taking time to get it done. Felt like the tortoise in the fable. Painting the caps with the green I had from another project then glued them on. I finished the thwarts and oars with a spray-on clear coat and then glued them in place. The rope supplied for the beckets was a bit too large a diameter for the holes in the stem and tern so I enlarged the holes a bit then pulled the rope through with a lop of thread and knotted the ends. The stand was also finished with a spray-on clear coat. The instructions mentioned a plaque that could be glued on the display stand but one was not in the kit. I decided to make one using the piece that held the middle frame to the assembly board and trying my hand at wood burning. I think the result fits the model.

This was a good change from the sailing ships and a fun little model. Am considering building a couple of more of these (or something similar) this coming year for the grandkids' birthdays.

Have Corel’s Yacht America (1:155 solid hull) standing by and a couple of models somewhere in the mail (an 18th century French shipboard cannon and a Sopwith Camel engine). Also have a few hundred piece 3D wooden mechanical puzzle that I was sent for Christmas. Plenty to keep me busy over the next few months.
DSCN7395.JPGDSCN7397.JPGDSCN7400.JPGDSCN7401.JPGDSCN7404.JPGDSCN7405.JPGDSCN7406.JPGDSCN7409.JPGDSCN7411.JPGDSCN7412.JPGDSCN7414.JPGDSCN7415.JPGDSCN7416.JPGDSCN7417.JPG
 
Looks great. I see that you sprayed the hull. Did you use an airbrush and ModelExpo paint? If so what did you use to think the paint. I usually use alcohol for acrylics but have not sprayed ModelExpo paint and wondered if I should use water instead and what ratio to use.
 
Looks great. I see that you sprayed the hull. Did you use an airbrush and ModelExpo paint? If so what did you use to think the paint. I usually use alcohol for acrylics but have not sprayed ModelExpo paint and wondered if I should use water instead and what ratio to use.
I've never done any airbrushing so the paint was a small can of Tamiya I picked up at the hobby shop here before Germany went back into lockdown. It's made for plastics not wood but as I was using a regular spray on white primer (good for wood, plastic, metal) I figured it would work out. Tested it on some scrap before using it on the boat; no apparent issues. Also the acrylics I get over here are all Revell; no experience with ModelExpo paints.

I've thought about learning airbrushing but haven't gotten far down that path yet. Lots to learn before taking that step.

Good luck!
 
20201209

Started work on the Lowell Grand Banks Dory. This is billed as a starter kit but no matter; I decided to try my hand on an open boat that is bigger in scale than the two sailing ships I've finished over the past several months. I like the look of this boat; think it might look good in one of the grandkid’s rooms.

Anyways, so far all I’ve accomplished is to inventory the parts and assemble the bottom of the boat. Have the frame pieces laid out and ready to glue up; will get that done in the remaining evenings this week and then start work on the hull this weekend.
View attachment 197890View attachment 197891View attachment 197892View attachment 197893
Hi John
20201209

Started work on the Lowell Grand Banks Dory. This is billed as a starter kit but no matter; I decided to try my hand on an open boat that is bigger in scale than the two sailing ships I've finished over the past several months. I like the look of this boat; think it might look good in one of the grandkid’s rooms.

Anyways, so far all I’ve accomplished is to inventory the parts and assemble the bottom of the boat. Have the frame pieces laid out and ready to glue up; will get that done in the remaining evenings this week and then start work on the hull this weekend.
View attachment 197890View attachment 197891View attachment 197892View attachment 197893
Hi John, I am working on this kit right now. My very first build. Having fun but confused about the "false stem". Instructions are very vague and I and hesitant to "ad lib". Any suggestions on how it is done? Would appreciate any input. Thanks, Greg
 
Hi John

Hi John, I am working on this kit right now. My very first build. Having fun but confused about the "false stem". Instructions are very vague and I and hesitant to "ad lib". Any suggestions on how it is done? Would appreciate any input. Thanks, Greg
Hi Greg,

My apologies for not answering sooner; have been so involved with my current build that I missed this.

Hopefully you figured out that the false stem is just a separate piece of wood glued over the stem so it covers the end of the planking. I just used a thin piece of wood that was wide enough to cover the plank ends, glued it on and then sanded it to fit.

Regards,

--John
Thanks, John, for your reply! I did figure it out!
 
Finally finished! Being the first build, I made many mistakes but am not unhappy with the results. Had a lot of fun and will soon be starting the second of the Model Shipyard beginner's series. Thanks for your help!
 
Back
Top