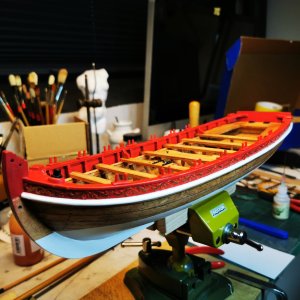
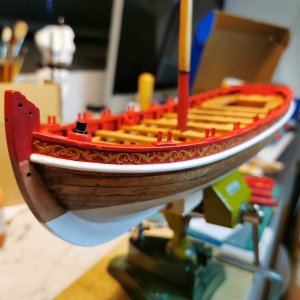
• LUCZORAMA SHIPWRECK SCAVENGER HUNT GIVEAWAY. 4 Weeks of Fun • 1 Legendary Prize ((OcCre’s Fram Ship)) • Global Crew Welcome!
    **VIEW THREAD HERE**

Build Log - Model Shipways 1:24 scale Armed Longboat

  • Thread starter Thread starter Jonken
  • Start date Start date
  • Watchers Watchers 3
Joined
Nov 4, 2024
Messages
18
Points
48

Location
Denmark
I got to this stage of the build before deciding to document it.
As you can see, the hull is finish planked, painted below the waterline, caulked and stained above with sudo tree nails in place.
I had a lot of trouble edge bending planks so I decided to buy extra wood and spil all the planks below the third plank from the shear. It doesn't take more effort and in fact I find it easier than edge bending planks. This is also the way the actual boats would have been made.
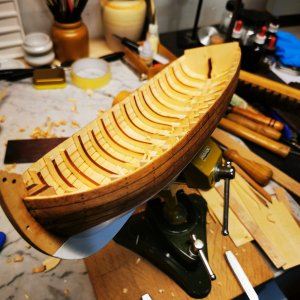
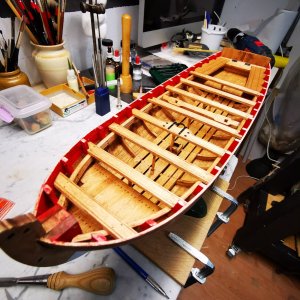
IMG_20241020_174537.jpg

Ribs and keel are cut back and sanded. Everything is stained to mimic aged oak. The stain is actually an oil glaze using a blend of artists oil paint, stand oil and spike of lavender oil as a thinning medium.
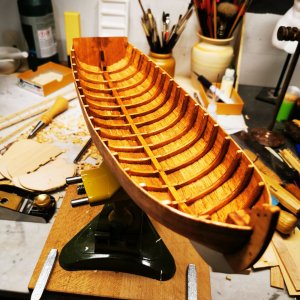
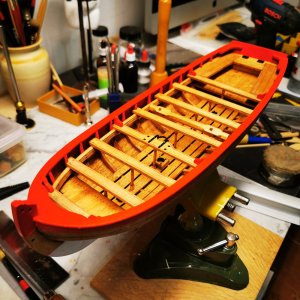
IMG_20241022_105521.jpg


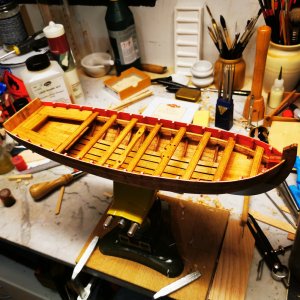
Floorboards, Platforms, Risers and Thwarts added and stained. The Windlass is also added at this stage
IMG_20241102_144800.jpg
I think the Oil glaze gives a realistic aged oak look.
My method is to seal the wood with a coat of thin shellac lacquer before applying the oil glaze. The glaze takes about 24 hours to dry. Because an oil glaze is transparent, I can darken the affect by adding more layers.
 
Build Update.
Managed to get some more done today. Thwart center pillars are installed together with the mast foot and some iron work.


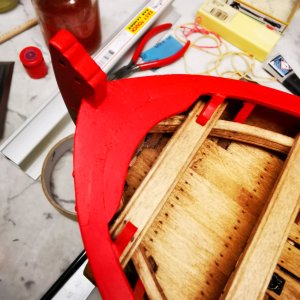
IMG_20241106_162240.jpg


Detail of one of the thwart pillars, mast foot and mast strap.

IMG_20241106_162311.jpg


Detail of one of the lifting rings. Added some detail with bolt heads. I am pleased with the look of the iron work.

IMG_20241106_162101.jpg
 
Build Update

Well it's been a while since my last post. I have had a challenge with the paint. I wanted to use artists oil paints, because that's what I had and I like working with oils as well as the effects I can achieve, but I had an issue with the Red. It took forever to dry. When it eventually did dry, the pigment would still rub off which caused handling issues. So I experimented with various paint formulas incorporating the red oil colour, but to no avail.
To cut a long story short I am now using casein paints which I make my self. They are based on milk protein, can be thinned with water and dry to a silky matt finish. I seal the paint after with a coat of shellac to protect it in it's tender first month or so until it polymerizes and becomes water resistent.
So this is where I am in the build:

IMG_20250212_170748.jpg
The rub rails are fitted. I found it easier to fit them first and paint them afterwards.
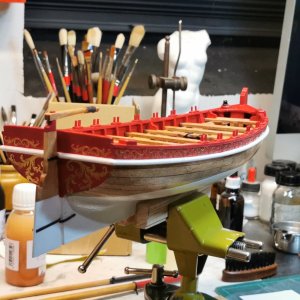
Rowlocks fitted, cannon mounts fitted, rudder and tiller painted and fitted as well as carved details on the stern and shear plank.

IMG_20250212_170347.jpg
A bow view of the carved detail and the forward cannon mount with clamps in place some extra detail.
 
Last edited:
Hi Namabiiru,
I'm glad you like it.
Yes it's photo etch which I have glued using thick cyanoacrylate. After applying the photo etch and using a thick acrylic varnish, I painted the shear plank and photo etch and let dry. Once dry, I mixed some of the red paint previously used for the sear plank and cap rail together with the acrylic varnish and gave it another coat wiping off the excess paint on the photo etch with my finger. I feel this gives the illusion of carved scrollwork and not just something glued on. My intention is to paint the scrolls with a yellow ochre.
 
I am very impressed with your workmanship. There are details that are impressive such as the small separation between the floors and solid platforms instead of gratings. Well done.
Allan
 
Build Update

Hello everybody,
Just a small update on the build. I have finished the "carved" shear plank for those who are interested.
The photo etch was painted with metal primer and finished with yellow ochre. A final coat of satin varnish was applied to seal everything.

IMG_20250214_140302.jpg

Yes, you can see the mast in the background. That is now finished, as is the bowsprit. More on that later.
I am in the process of making iron hooks for the rigging blocks. I'll show you all the results when I am finished.
Still lots to do :D
 
Back
Top