Build Log NCC (Navy-Curtis Craft) Lobster Smack

BMT

Joined
Sep 27, 2022
Messages
173
Points
113

From the previous form "Completed Models Showcase"

Sorry about that...

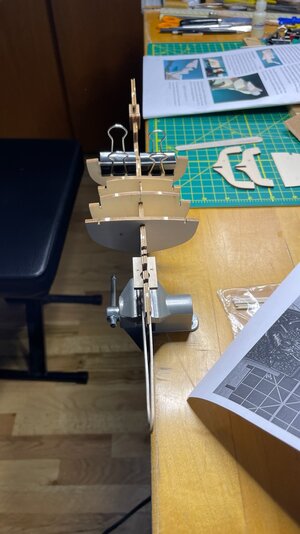
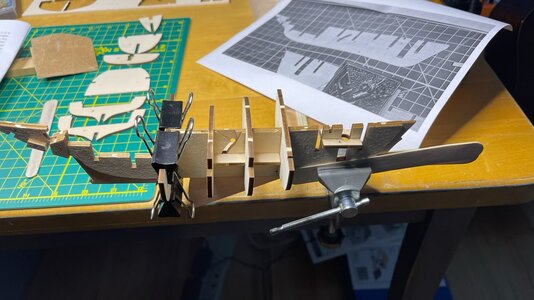
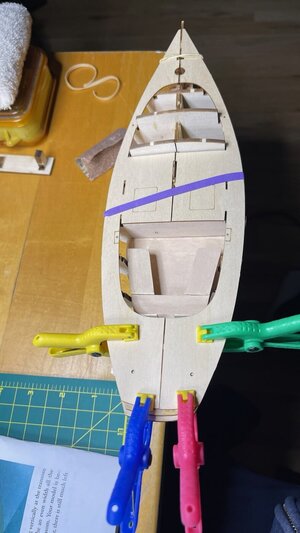
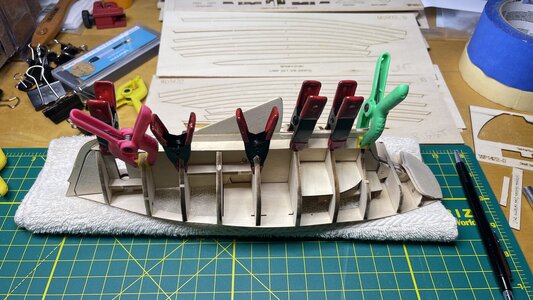
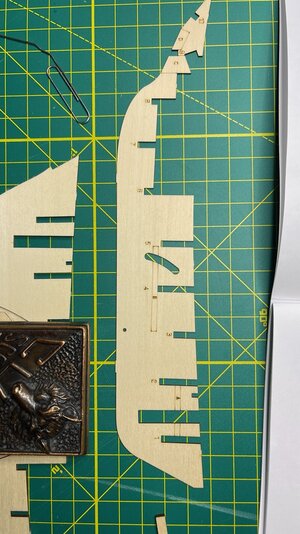
The central spine is done (I did not make the centerboard able to raise or lower, and I think it is backward), and reinforcing pieces and bulkheads are now in the works. I would have liked a little more in the instructions book on this, but thanks to several of you on Ships of Scale, I was able to get it right (I think).

I had a few issues cutting out the pieces as the laser cutting was not clean. However, my Eagle Scout knife skills came in handy.

Things are underway!
IMG_3336.jpg

IMG_3339.jpg

IMG_3338.jpg
 
Well, we have moved forward. Bulkhead frames are done with some issues, but nothing that 99% alcohol and an "X-Acto" knife could not fix.

Frame 10, transom, cockpit seat, and the deck went together simply enough; however, a few more photos would have helped.

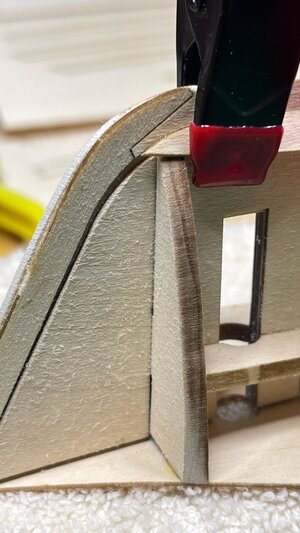
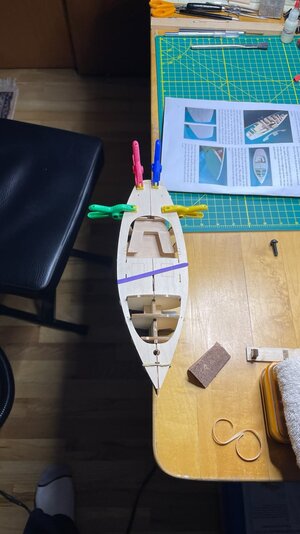
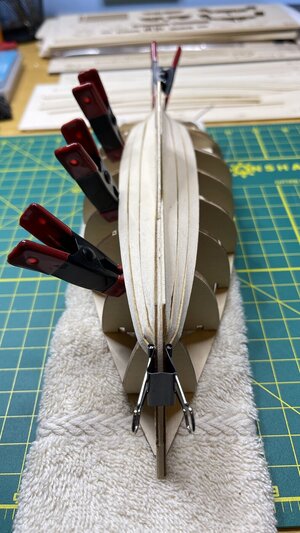
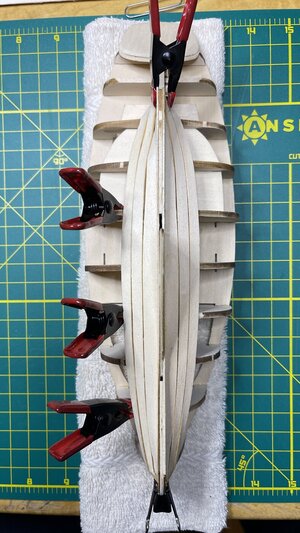
I just placed the first garboard in place, waiting for it to dry; it will need some sanding before I glue it. Thank you, John, for your 2021 thread and photo and for getting a much better understanding of what this should look like.

Let's see how my third planking goes on this one.

IMG_3364.jpg

FullSizeR.jpg

FullSizeR 2.jpg

IMG_3363.JPG
 
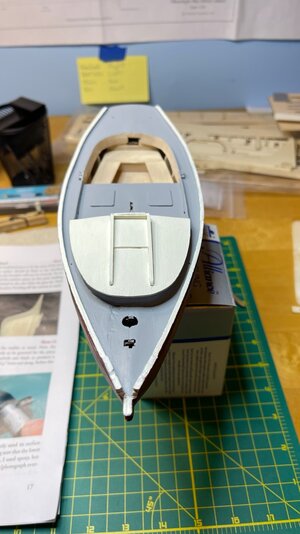
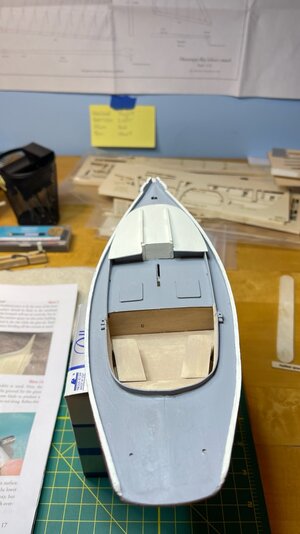
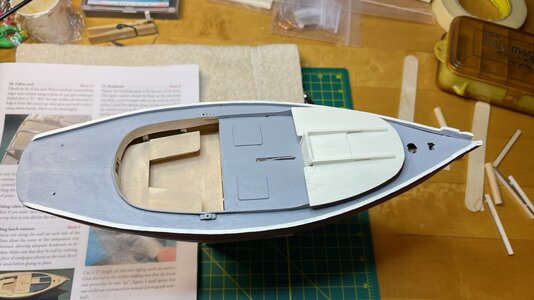
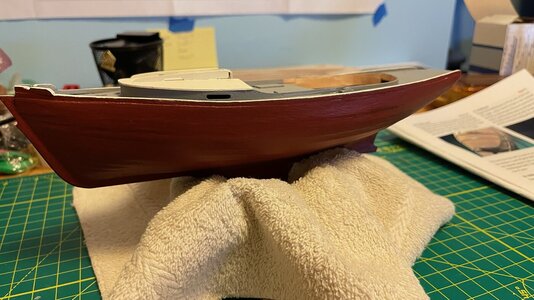
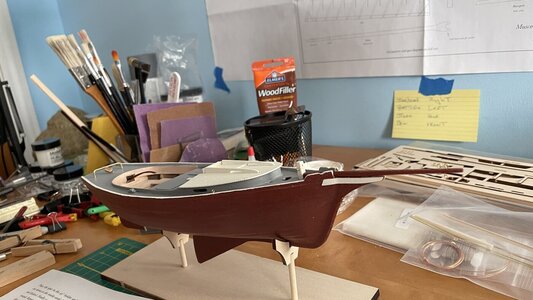
Well....planking is moving forward. Will need some filler and a few sheets of sandpaper. I think doing the Dory, and the Norwegian Sailing Pram did help, but the real help was you all here, Ships of Scale. Thank you!

I will need to pay more attention to the stem, keel, and sternpost on my next build. I would also like to have seen a few more photos in the instruction book as it would help in rather than trying to visualize what something looks like.

Hopefully, I will have the planking done Wednesday or Thursday, putty and sand it all up, and get ready to go to the top of the hull.

IMG_3365.JPG

IMG_3366.JPG

IMG_3368.JPG
 
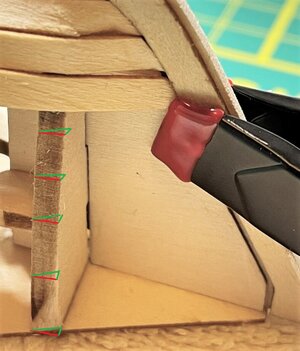
May I give you a small fast tip
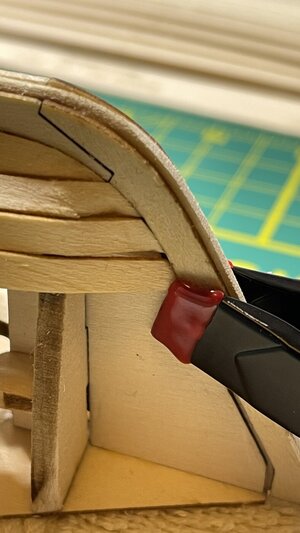
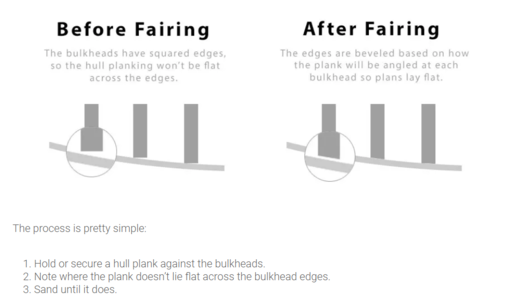
You should fair the bukheads more to get a smooth basis for the planks

IMG_3368.JPG
the red lines are the bulkhead anfaired like it is now and you should sand the bulkhead following the green lines

Screenshot 2022-11-15 144858.png


Take also a look at these posts and downloads


Or page 9 in this doc which is often used
 

Attachments

  • Planking Project.pdf
    1.9 MB · Views: 11
May I give you a small fast tip
You should fair the bukheads more to get a smooth basis for the planks

View attachment 340795
the red lines are the bulkhead anfaired like it is now and you should sand the bulkhead following the green lines

View attachment 340797


Take also a look at these posts and downloads


Or page 9 in this doc which is often used
Uwek, Thank you so much for this! I will look a the material and apply as I move forward. I will keep you posted on how I do. Thank you again. PS. Anytime you have information, please pass it on. This is how I will only get better.
 
Well....planking went much better with the tip on fairing the bulkhead. Thank you, Uwek. However, filling the gaps and then sanding was a
nightmare (for me). I used Elmer's Wood filler, which was like using spackle, and I was unhappy with the product. Thus, I was not secure enough to sand it because I was afraid to go through the planks, so the hull was a little bumpy.

It was a good improvement over the last two ships, and I believe the Shipwright Learning Series has helped me better understand.

A few more things for the hull ( then some touch-ups) and head to the sails and rigging.

IMG_3383.jpgIMG_3382.jpgFullSizeR 3.jpgFullSizeR 4.jpgIMG_3384.jpg.jpeg
 
Moving forward.

I have found that the instruction book needs a few more photos, as I have noted before, to help those like myself. Seeing how to link up the rudder to the tiller with a photo could have helped. As they noted, this is the third in a series of progressive model tutorials, I don't think it's enough of a learning experience. Again I thank the blog for its help in steering me in the correct direction.

Today is the chainplate for the backstays day. I can appreciate the concept of understanding annealing metal. However, they could have offered to send a few remade chainplates along with the model and the option to make them. I am sure it would not have increased the cost. I am just not ready to heat up the metal to cherry red, let it cool, and work with the soft brass (I also did not make the centerboard moveable). I am sure many of you may not agree, and I understand that.

Anyway, I head to the anvils awaiting...

IMG_3385.JPG
As I keep noting
 
Merry and Happy Holidays.

I have not worked on the chainplate for the backstay. Friday will be the day I do so. As this is my first time, I am looking for some guidance.

I appreciate any help you can provide. BMT
 
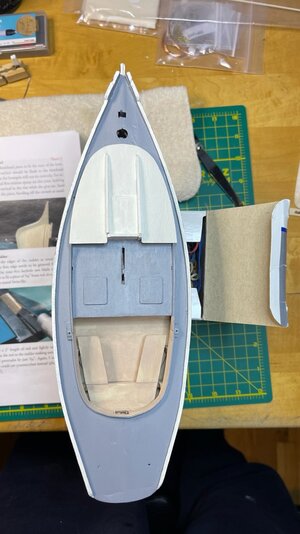
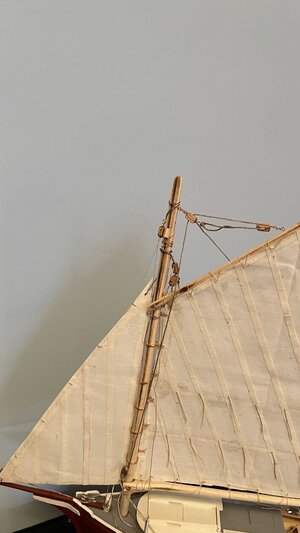
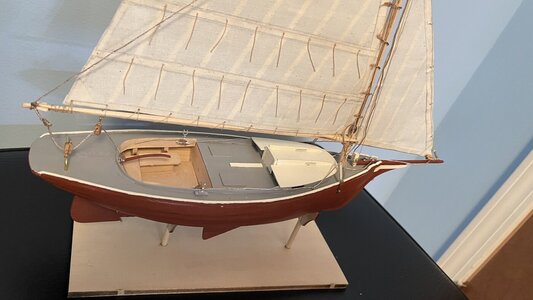
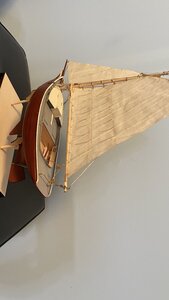
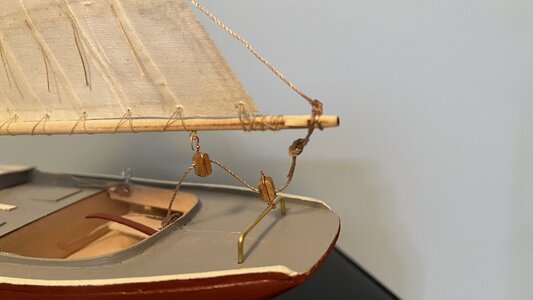
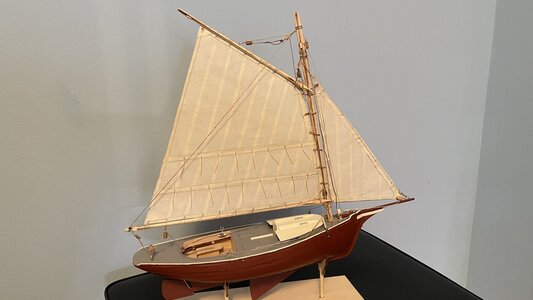
It is done and dusted—quite a learning experience. I would have liked more technical instruction on the rigging in the instructional manual. Still working my way through understanding how to use rope; even being an Eagle Scout, I found it challenging most of the time.

Planking has gotten a little better, and the information from Uwek will make the following project cleaner.

Also need to do a better job sanding after puttying—here too learning experience.

Thanks for allowing me to share my experience.

Happy New Year

BMT

IMG_3440.jpg

IMG_3437.jpg

IMG_3438.jpg

IMG_3439.jpg

IMG_3436.JPG
 
Back
Top