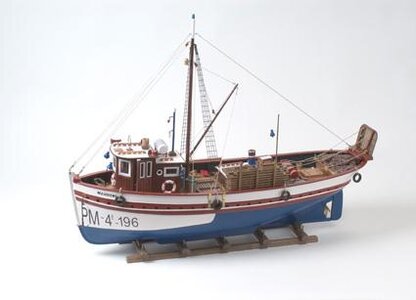
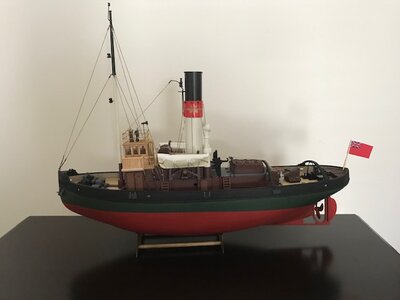
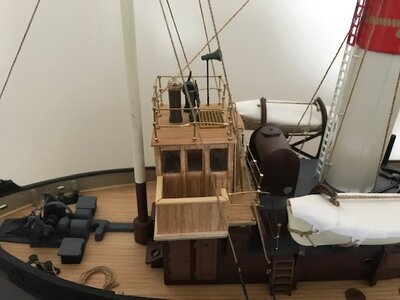
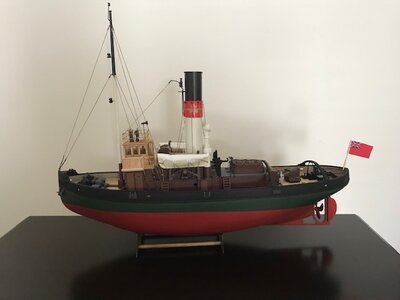
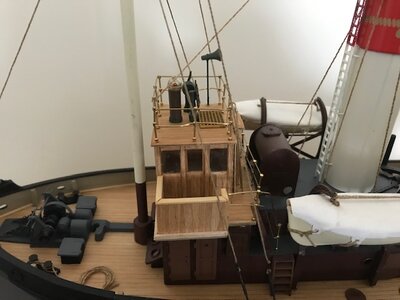
Build Log NCC (Navy-Curtis Craft) OcCre Palamos 1:45 Scale [COMPLETED BUILD]

BMT

Joined
Sep 27, 2022
Messages
173
Points
113

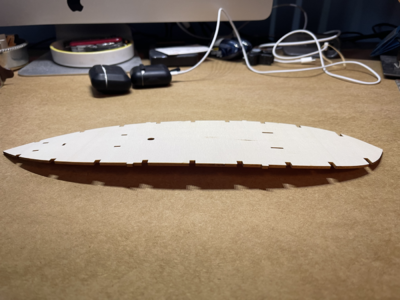
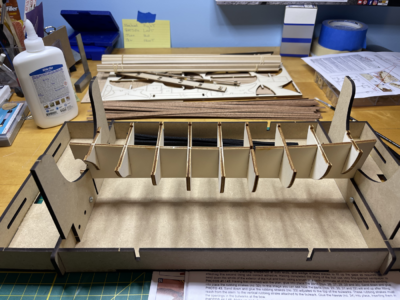
After a few days of recovering from the disar model Junco Chino (Chinese Junk) disaster, it's time to move forward.

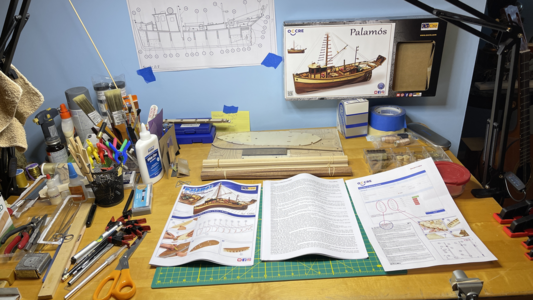
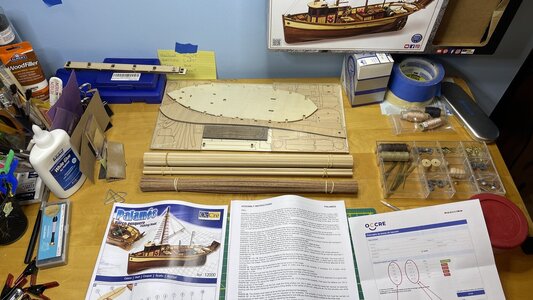
I received this kit as a holiday gift. Opening the kit, I was happy to see much better-written assembly instructions along with colour photos supporting the written instructions.

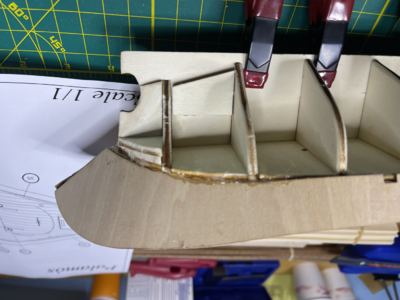
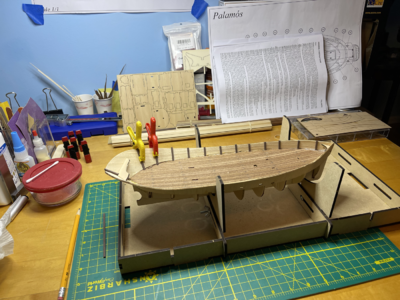
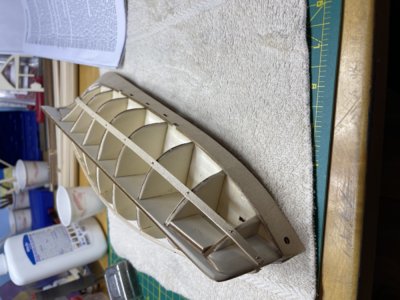
Assembly of the hull structure was straightforward, and some spring clips helped keep the frames 90% to the false keel.

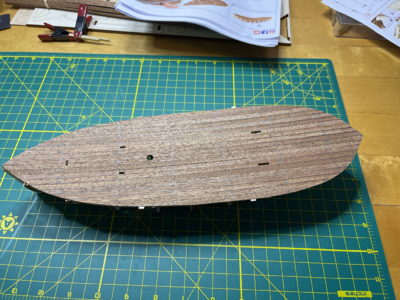
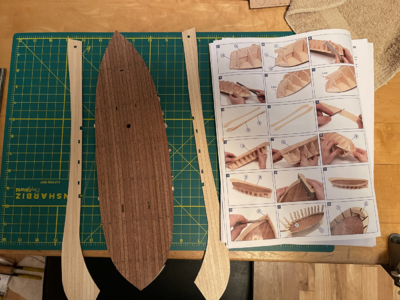
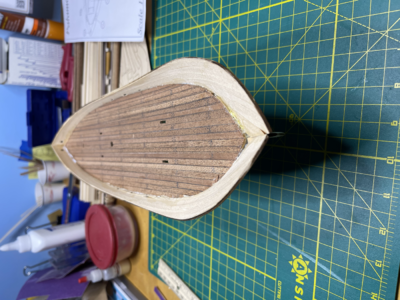
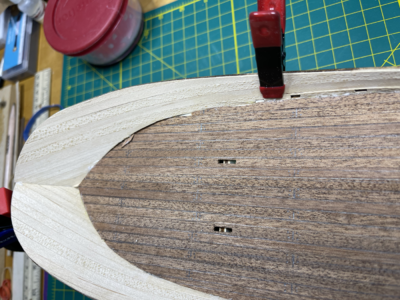
Planking the deck was rather enjoyable. It called for contact glue, but I used white glue as I am unsure if it will make a difference here.

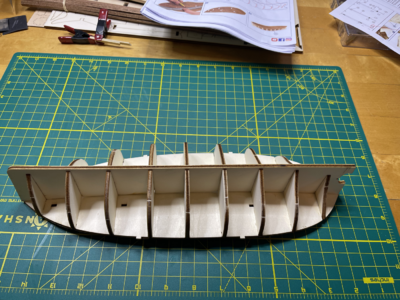
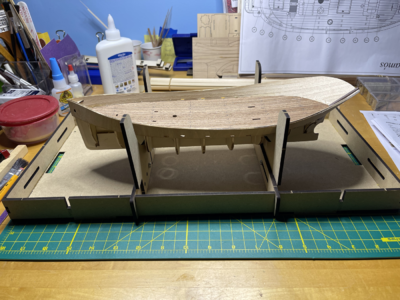
After planking, I glued the deck to the hull structure, started fair the hull, and checked the lie of the hull planks along the hull bulkheads. They look okay.

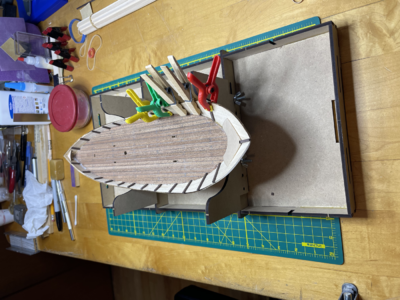
I planked the bulwarks (it called for contact glue, but I used white glue here as well), and now it's time to glue them to the hull's structure.

I will report on how that goes in the next day.

BMT
tempImageH8mGbY.pngIMG_3532.jpgtempImageLeJMzP.pngtempImages2ojGU.pngtempImageAua113.pngtempImagepMTmVm.pngtempImageY0Pngo.pngtempImageaQhCcM.pngtempImageVhdpYd.pngtempImageziE0xb.png
 
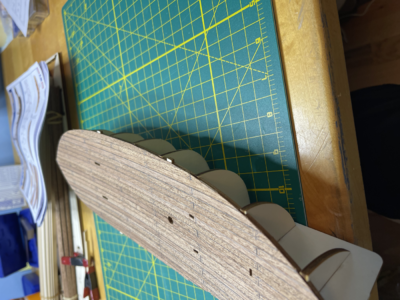
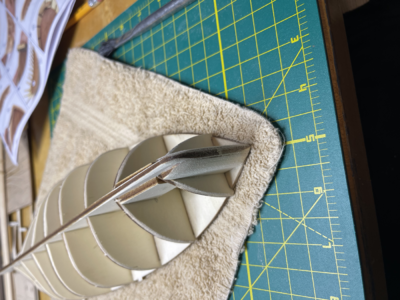
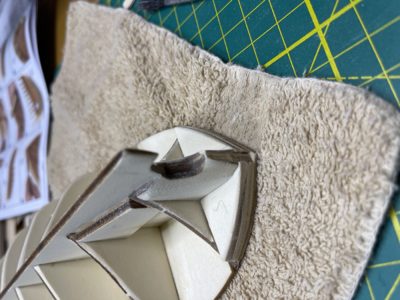
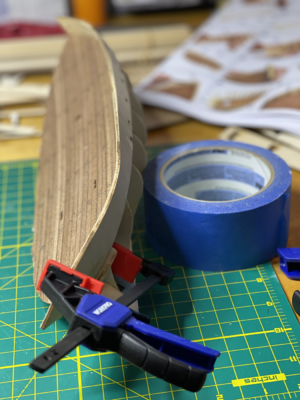
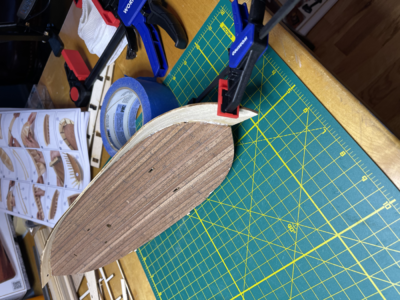
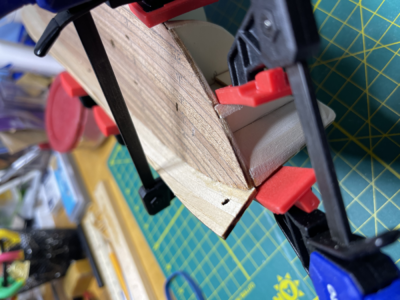
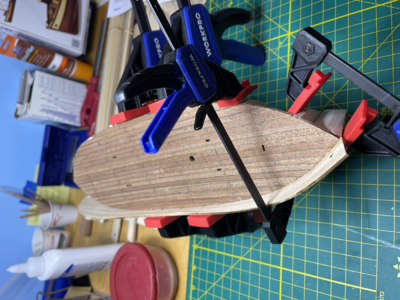
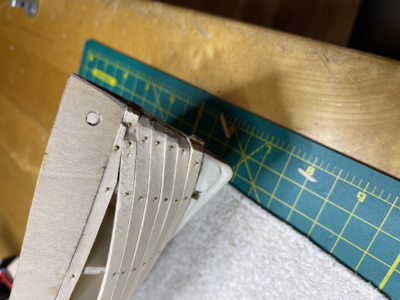
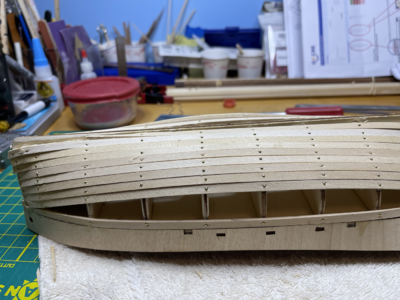
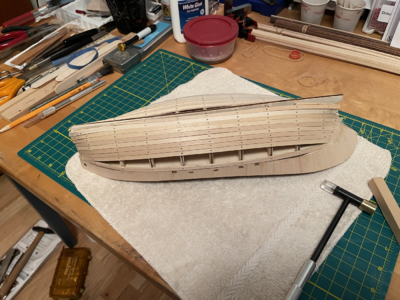
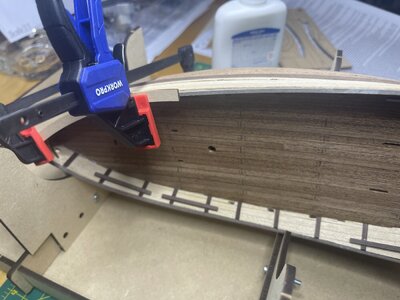
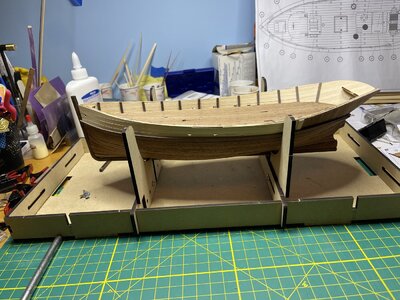
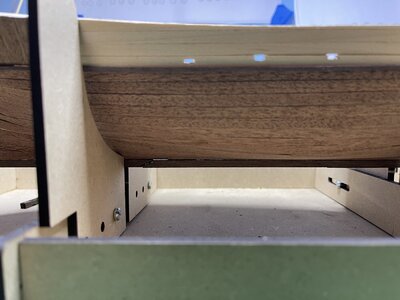
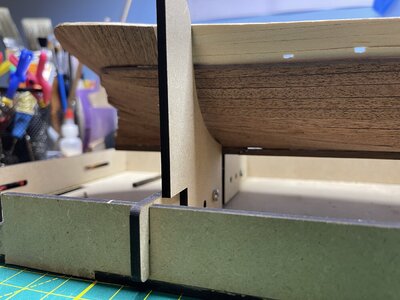
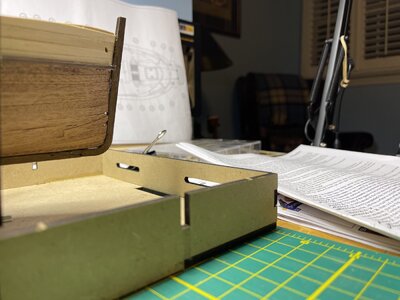
Starboard bulwark was installed, and it was quite an ordeal.

Clamping was a nightmare! The bend and angle are something to be desired. The assembly instructions and photo are funny as they make it sound and look like Legos. I think I have a better handle on that to do on the port side. I will, however, need to get some better CA glue as the Gorilla glue I'm using is terrible.

There will be some cleanup on the deck and the inside of the bulwark.

Anyway, moving forward..

BMT

tempImageAM3wi6.png

tempImageOZ1IVg.png

tempImage1zAJJo.png

tempImagenVjKmI.png
 
After a few days of recovering from the disar model Junco Chino (Chinese Junk) disaster, it's time to move forward.

I received this kit as a holiday gift. Opening the kit, I was happy to see much better-written assembly instructions along with colour photos supporting the written instructions.

Assembly of the hull structure was straightforward, and some spring clips helped keep the frames 90% to the false keel.

Planking the deck was rather enjoyable. It called for contact glue, but I used white glue as I am unsure if it will make a difference here.

After planking, I glued the deck to the hull structure, started fair the hull, and checked the lie of the hull planks along the hull bulkheads. They look okay.

I planked the bulwarks (it called for contact glue, but I used white glue here as well), and now it's time to glue them to the hull's structure.

I will report on how that goes in the next day.

BMT
View attachment 353151View attachment 353152View attachment 353153View attachment 353154View attachment 353155View attachment 353156View attachment 353157View attachment 353158View attachment 353159View attachment 353160
Great looking start, one other little tip to help keep bulkhead square to center keel is use large blocks of Lego, as several have shown in other build logs.

In Lego terms they are called 2x4, as two dots wide and 4 dots long. My be the kids have some to borrow.
 
Oh Ja - to keep such an element in placeuntil the glue hardened can be a nightmare
But be sure - this will never end - you get only more experience from model to model how you could do it - often it is try and error
 
It is definitely trial and error... Today I over soaked the bulwark, so the planking came off... Frustrating, but enjoying it ( kind of scary).

Thanks for the support will keep going...
 
Starboard bulwark was installed, and it was quite an ordeal.

Clamping was a nightmare! The bend and angle are something to be desired. The assembly instructions and photo are funny as they make it sound and look like Legos. I think I have a better handle on that to do on the port side. I will, however, need to get some better CA glue as the Gorilla glue I'm using is terrible.

There will be some cleanup on the deck and the inside of the bulwark.

Anyway, moving forward..

BMT
View attachment 353408

View attachment 353409

View attachment 353410

View attachment 353411
This was my first build. I struggled with this step. The glue would not hold, and I used clamps similar to what you did. I finally had to nail the stern portion to the frame to get it to hold. Little did I know that the angle of the bulwarks effected the build later and I had to adapt. Overall great build, just this one step was an issue for me.
 
As noted, bulwark was a nightmare!

The concept shown in the assembly instructions photos is more complex than pushing and holding.

I oversoaked the bulwark( yes, my issue), so the planking lifted, and the bulwark had nothing for the glue to hold on to. I use white glue for this, and I think using contact glue may have been a better choice than white glue.

Needed a “Rube Goldberg“ clamping system as it was impossible to place rubber bands strategically. A few tongue depressors, a gum eraser, and a clamp could hold the bulwark.

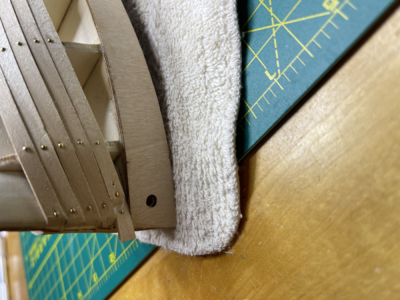
After some CA and white glue, wet towel wrapping, push pins, and much patience, the Bulwark is in place (well, kind of).

Some cleaning up was necessary as some of the deckings did come off, and some sanding was needed as the glue clumped in places I know will be planked.

Next were the stanchions. Higher math and a caliper were used to ensure they were even on both sides.

Sanding is done now for the planking.

I did drill a pilot hole with the pin-vises to help with the nail in the plank, and it worked wonders.

Bow and stern will need some work. Cut one of the first planks short, so I needed to add a piece. The bend is too severe on the bulkheads—more prep with the fairing. I can see that the more, the better I will get with this.

The first planking is done (maybe) now, sand and cleaning up. I covered the false keel and realized I had to uncover it, so I removed some planking. We'll see how that works out.

Nailheads look to sand off relatively clean, and the hull is coming together.

Per the assembly instructions note, I am using contact adhesive, not white glue, for the Second planking.

Chat soon,

BMT
tempImageAzVLag.pngtempImageWmyfll.pngtempImageW4XbmX.pngtempImagecBX2oh.pngtempImagekPDu8J.pngtempImageyg89Vn.pngtempImageW1SKFj.pngtempImagemA953w.pngtempImageGjd52N.pngtempImage4HsACz.pngtempImage5f1J3m.pngtempImageysDL2c.png
 
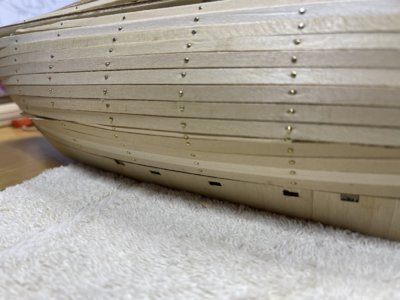
The second planking is now done.

Not happy with the outcome. I keep telling myself it's only my 4th boat….still.

The sanding of the nail heads and the first planking did not affect the second. However, I did not have them meet at the central area of the center keel. So, of course, the second plank did not meet either. So now I have a gap on both the bow and the stern.

Also, a few of the second planing needed piecing to fill the gaps, and it could look better.

I understand how important it is to have good-fitting planking and ribs for the boat.

I am finishing the hull section before it's time for the structures. Then time to varnish the hull….

BMT
IMG_3611.jpeg

IMG_3612.jpeg

IMG_3613.jpeg

IMG_3614.jpeg

IMG_3623.jpeg
 
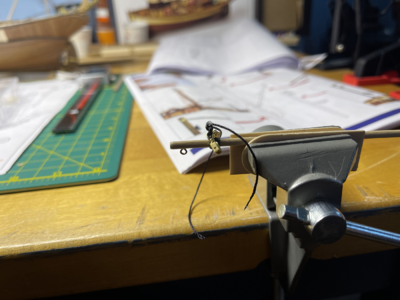
As I look ahead and wait for things to dry. I noticed that I have to make a Jacobs ladder.

I understand the concept. What are the tips and tricks for making this?

Thanks,

BMT
palamos-4.jpg
 
It has been a few weeks since I have been traveling.


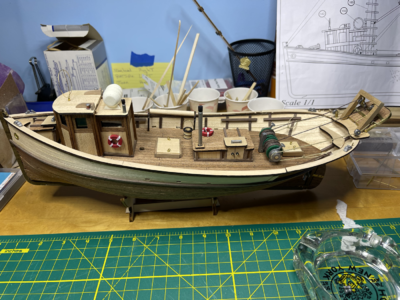
The hull is done, and now moving on to the deck structures.

I did not stain, but I did use a clear Satin Protective Finish by Model Expo. It was effective, but it could've been slightly darker. Tung Oil would have been the best solution.


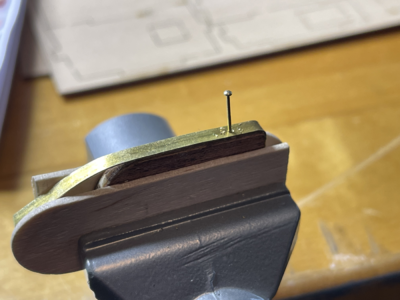
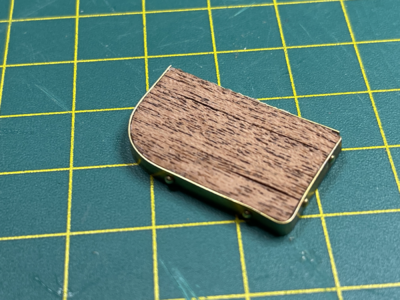
Fortunately, the Model Shipways Shipwright Series discussed annealing and how to soften brass. So working with it was easier yet tedious. I'm also having trouble with the CA glue, as it's too thick, and I need to get a medium or thin grade.

Thin-grade CA glue works well/

As noted above, the bulwarks were installed a little off, so the pulleys bridge fits a little off the back end.


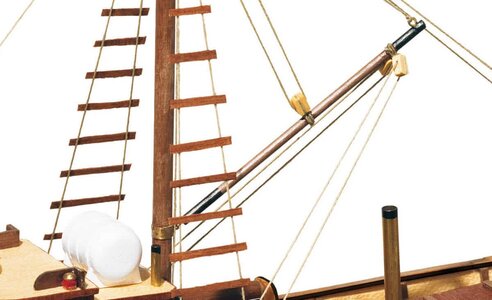
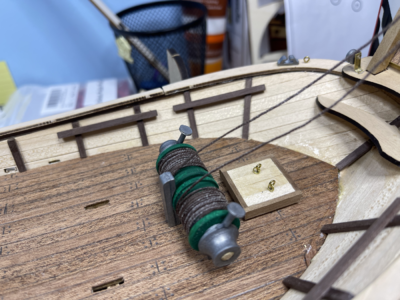
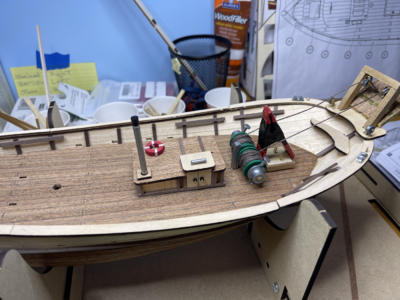
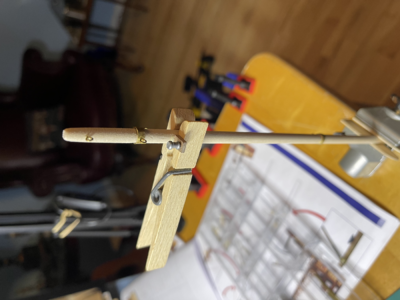
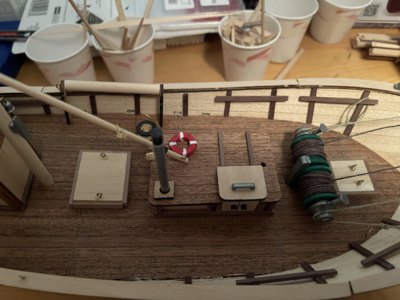
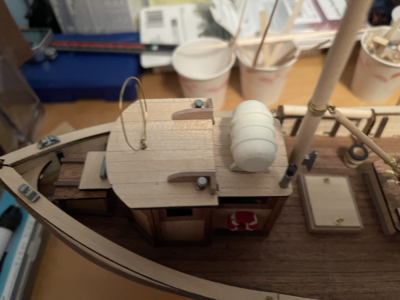
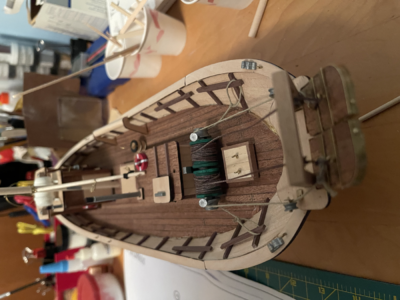
I finished the trawling blades, attached them to the pulley bridge, winch in place, and all ropes tied.


I did not paint any of the hardware, as I felt the pewter look was better looking than painting them black or gold.

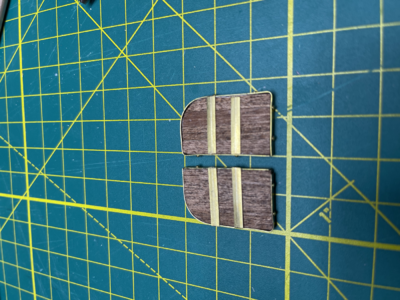
There are not enough bras to line the roofs, so I will look to do someone different.

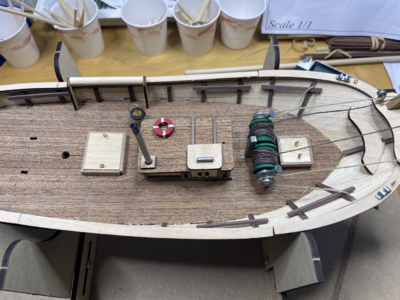
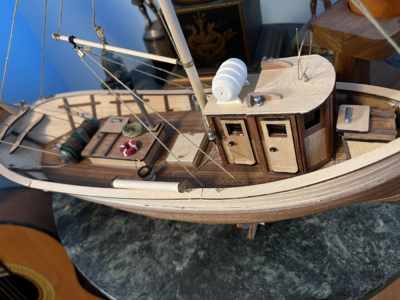
Deck structures moved at a good pace. Everything looks cramped on the deck. I'm using the schematic to follow the build.


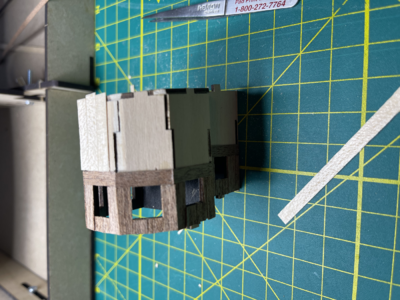
Rounding the corners of the pilothouse will make when the planking much smoother.


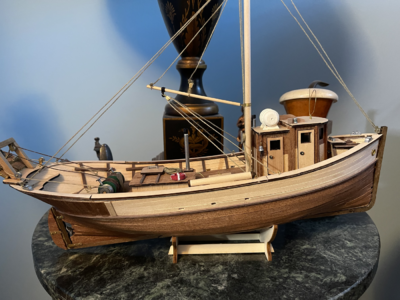
The structures and ship itself are done!


Rigging and the masts on next.

The rigging went okay. I need to understand knot-tying better. Jacobs ladder has yet to be added at this time.

On to the next ship...

BT
tempImagePEGftp.png

tempImagegTFzlb.png

tempImage7RMvk5.png

tempImageQJeGS2.png

tempImageQDb5rI.png

tempImagetfJGuc.png

tempImagehV8ntQ.png

tempImagetp4tg8.png

tempImagezvZk82.png

tempImageVvYIjj.png

tempImageBT05ra.png

tempImageb4NnLF.png

tempImagezozmRa.png

tempImageQhGhyS.png

tempImagepOguqV.png
 
Congratulations for finishing this interesting model
and what is coming next?
 

Model Shipways HMS Bounty Launch 1:16 Scale Plank-on-Frame Kit.

Looking at the material now..

BMT
 
My hat's off to you. I pretty much destroyed the bulwarks trying to get them to conform to shape. Mine ended up looking like yours except broken. I finally decided to remove the wreckage and promptly destroyed the deck, its planking and the frames. When I had originally written Occre they said to do what I could, and they would try to send me replacements if I needed them. I am kind of embarrassed because there is pretty much everything from the keel to the bulwarks that will need to be reordered.
I don't mind trying but it just seems like a lot to ask Occre for. I was considering redesigning the frames to include extensions (ribs) as supports where the bulwarks would have fit and then, instead, just using planks to make the bulwarks as I did with other ships. Seems the bends might be a tad easier.
I finally just set the whole thing aside and began on the next boat for some relief. The Occre Albatross has been a lot more fun.
Just to let you know, I can do this below are two pictures from my last boat, the Billings St. Canute.

Richard

canute 1.jpg

canute 2.jpg

canute 1.jpg

canute 2.jpg
 
Keep me posted as to how things go. Occre sounds like they are customer orientated….thats a good thing…

BMT
 
Back
Top