You are using an out of date browser. It may not display this or other websites correctly.
You should upgrade or use an alternative browser.
You should upgrade or use an alternative browser.
Removed
Last edited:
Removed
Last edited:
Hi Phil,
The first time I looked at this post it was on the tiny screen on my phone and all I saw was a blue and then a green painted hull. I'm relieved to now see it was just tape .
.
The first time I looked at this post it was on the tiny screen on my phone and all I saw was a blue and then a green painted hull. I'm relieved to now see it was just tape
 .
.When he put the blue tape over the yellow paint…it turned green!Hi Phil,
The first time I looked at this post it was on the tiny screen on my phone and all I saw was a blue and then a green painted hull. I'm relieved to now see it was just tape.
Removed
Last edited:
Removed
Last edited:
Only PaulHi Phil,
The first time I looked at this post it was on the tiny screen on my phone and all I saw was a blue and then a green painted hull. I'm relieved to now see it was just tape.

Good morning Phil. Lovely work. Said it before but worth repeating- your paint colors and what you achieved here is magic. Cheers GrantBuild Log: Nuestra Senora del Pilar (OcCre)
Continuing along - although not very quickly....
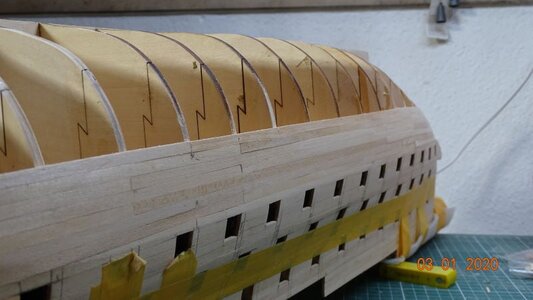
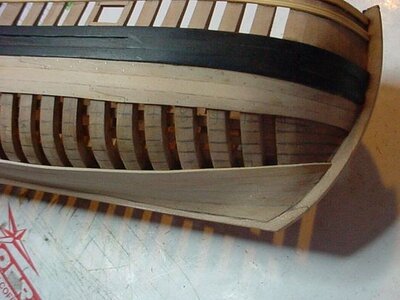
I finished painting the railings and masked off the rub strakes for painting also. The port side strakes didn't finish to my liking so I sanded off the paint and then instead of using the blue masking tape, I went with green frog tape. Much better results.
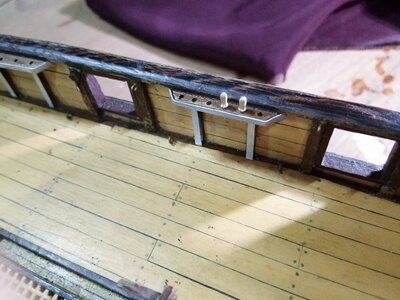
I manufactured 19 little bullocks (or whatever they're called) and added them onto the forward railing after painting them a rust-colored finish. They are made of Basswood stock and also added pins beneath (w/toothpick wood) for placing on the railing. Thinking it will hold a lot better than just surface gluing.
Then.... I started on the stern building the stern castle. The brass windows are stripped with acetone, sanded, then spray painted flat black. I am still working on the stern castle and think I have some serious fittings to do. Not all the pieces match up dimensionally....
Images attached for your review...View attachment 298116View attachment 298118View attachment 298119View attachment 298120View attachment 298122View attachment 298123View attachment 298126View attachment 298127
Removed
Last edited:
- Joined
- Jan 9, 2020
- Messages
- 10,377
- Points
- 938

That part certainly looks tricky Phil with many different angles and gaps to be considered at once. Taking a look at your exemplary build so far, I have no doubt that you are more than up to the task. Your windows look perfect!
Good morning Phil. Those windows look great. The clear plastic backing makes a huge difference to the kit etchings- I must say the etchings looks rather good- nice when a kit gives you good detail. All round very well done on the stern cabins/castle. Cheers GrantBuild Log Nuestra Senora del Pilar (OcCre):
Continuing the build as I find the time. Starting on the stern castle, adding brass window sheets (etched) after they were painted black. Fitting the windows to look correct in their orientation. I am having to wing it here as the instructions aren't all that great. I will be adding moldings and pieces to add detail. In the pics I post with this entry, I have added small wooden pieces between window frames and then back-filled with wood filler to close the tiny gaps. It will take careful sanding to finish. Used E6000 adhesive to adhere the clear plastic sheets to the inside of the brass windows. It seems to hold very well. Its a lot like a super rubber cement and very very sticky. And a little goes a long way. Today, I will continue the castle windows (upper). I still need to do the starboard side too.
View attachment 300729View attachment 300730View attachment 300731View attachment 300732View attachment 300733View attachment 300734View attachment 300735
Not that deficit. Only work with your mind on it. How enough squares and only do or max two at the time. do something else, when drying. in many local stores, you can find squares to be glued on the false keel and bulkheadsIt's amazing how what appears to be such a simple step of installing bulkheads can impact the complete build of the hull. I am always nervous after I have that part finished... did I sand enough, are the bulkheads properly aligned etc etc etc
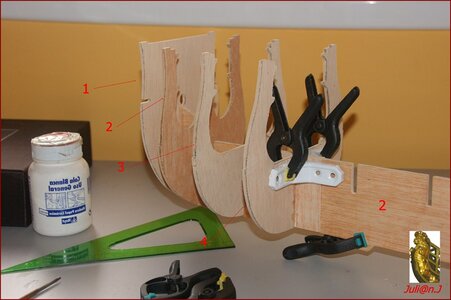
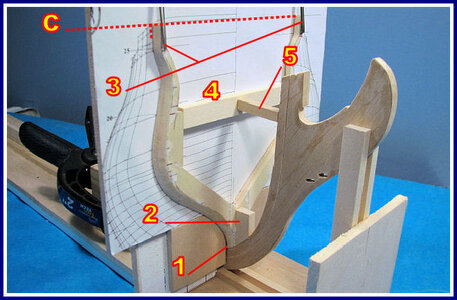
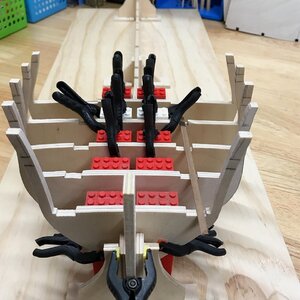
Here in Spain this Week 500,00 € SO THE HIGH PRICE MOST BE DUTY TAX OR THE SUPPLIER IS TAKING A MUCH HIGHER PERICEIt was $899.00. I believe it is less expensive other places.
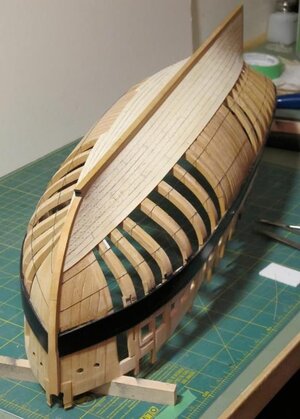
COMPLETELY CORRECT, but many builders from kit do NOT make the burning line..I learned from an OLD SAILER back in 1960 that there3Very important planks to be set fast,Yes, with Single Planking - definitely alternate sides. Some people start at Wales and go to the Keel and some do it the other way from Keel to Wales. Some swear by the fact that you should start with the Garboard Plank (which is located right next to the Keel) and start there. Either way is fine.
The first one is about 2mm below the main deck
nº 2 to be inserted in the garboard line vertically from Bow to Stern
nº 3 a helping plank to be inserted in the hardboard on the bow approx in the middle of the hull -a completes lenge 120 mm -and now let it run to the steam-
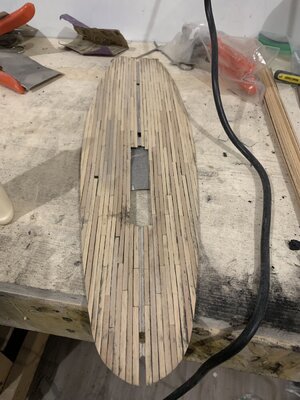
DO NOT INSERT THE DECK until they are needed. make the keek and kell and bow part first, then the bulkheads and finally the planking. inserting take deck at first you will have problems with Riggen guns and other riggen, which are below the decks and walkwayMain deck, first half planked in Sapele. Used Zap-A-Gap medium CA. Next up, the other half which is a mirror image of this section.View attachment 271865
I SPEAK OF BAD EXPERIENCES FROM THE PAST
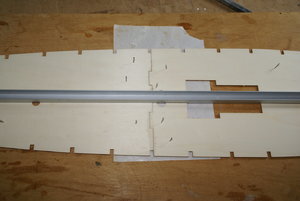
I made always a copy on a cardboard of the half deck-fully -generally two parts, which does not always fit.The deck looks good Phil. I agree with you - if there are any fitments that need to be glued to the deck hold off with the oil for a while.
when fitting well the two half parts, I take them out and fix the deck to the table with double side tape. now you can work according to your choice. I did always full-length planks, others want to follow a surten schema. when all planks are glued, you can now make a mix of white glue and black paint. pain the whole area with this mix-it will seal all tine tiny holes in the wood. before it gets to fasten, take a wooden close and clean most away. to clean it up totally you take RAZOR o piece of GLASS AND SCRAP NOW. after then sandpaper medium a finally fine
Remover
Last edited:


