You are using an out of date browser. It may not display this or other websites correctly.
You should upgrade or use an alternative browser.
You should upgrade or use an alternative browser.
Hi Phil, congratulations, you’re doing a good job, and this ship deserves it.
Please let me put a couple of links that could help you.
TODO A BABOR
CUERVAS MONS
Greetings
Jaime
Please let me put a couple of links that could help you.
TODO A BABOR
CUERVAS MONS
Greetings
Jaime
Last edited:
Documentation. Consists of an illustrated instruction booklet, a step-by-step procedures booklet, a parts list of over 370 parts, and a series of plates (drawings) for the masts, yards, and rigging. I was able to find a full digital copy of the instructions on the Modeler's Central website and from that, I reprinted the entire thing on copy paper and B-sized prints to include in a three-ring binder to use during this build to keep the original documentation clean. I can write and make notes on the pages as needed.
View attachment 270526View attachment 270527View attachment 270528View attachment 270529View attachment 270530View attachment 270531
View attachment 270526View attachment 270527View attachment 270528View attachment 270529View attachment 270530View attachment 270531The box contents for the Nuestra Senora del Pilar from OcCre
View attachment 270501View attachment 270502View attachment 270503View attachment 270504View attachment 270505View attachment 270506View attachment 270507View attachment 270508View attachment 270509View attachment 270510View attachment 270511View attachment 270512View attachment 270513View attachment 270514View attachment 270515View attachment 270516View attachment 270517View attachment 270518View attachment 270519View attachment 270520View attachment 270521View attachment 270522View attachment 270523View attachment 270524View attachment 270525
spain 460,,€-halt the price of admirals models.It was $899.00. I believe it is less expensive other places.
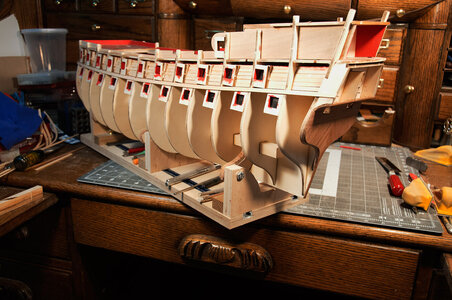
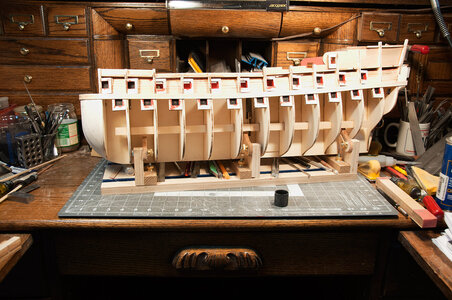
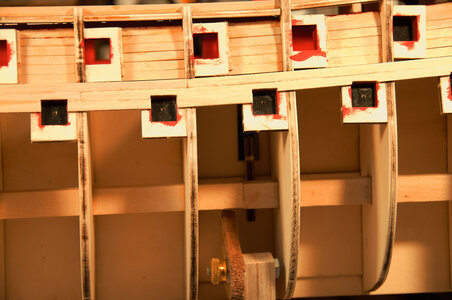
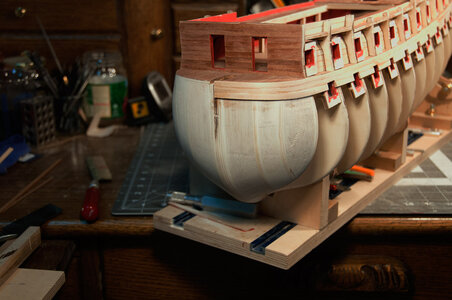
That is good fitment of the deck- says something how you set up your bulkheads.Continued work on the NS del Pilar. Today installed main deck. Both halves. Glued in place with CA. Had to do some sanding once the deck was mounted. I did not add a finish such as Danish Oil. I am contemplating it and the instruction call for oil but I'd rather not if it is going to interfere with later installation of parts,.View attachment 272278
First half installed.View attachment 272279
2nd Half of the deck installed.View attachment 272281
view below deckView attachment 272282
Main deck sanded. Very thin veneer so I didn't go crazy with the sanding.View attachment 272284
Close up of decking. Sapele veneer. No nails added at this point.

have you taken custom duty into accout. here in Spain the price is about 460,00,€This, being my first ever build log, will be an interesting endeavor for me. I will post images as I complete the many many stages of the build. Each image will be processed in Photoshop (Ver CS6 Extended) and "Saved for the Web" to help with file size.
I ordered this model from Amazon for reasons I'll keep to myself but suffice to say, it was expensive. But not to worry. I'm sure I'll spend even more along the way.
The box arrived undamaged and was over 2 feet long, 4 inches deep and pretty heavy. I'll show pictures of the contents next posting.
View attachment 270499
looks good!
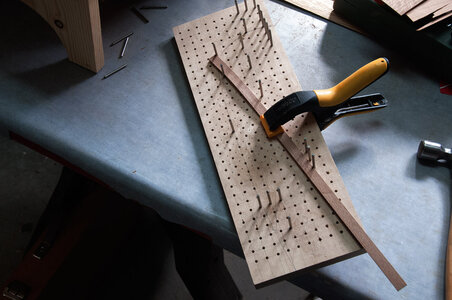
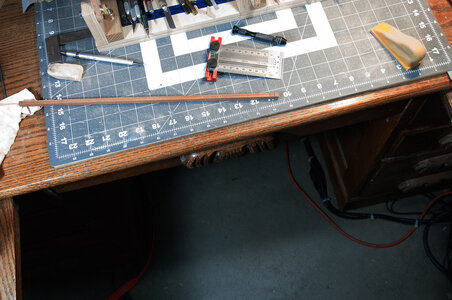
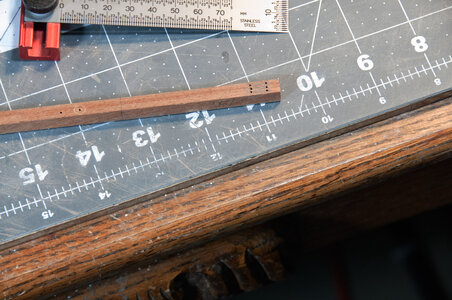
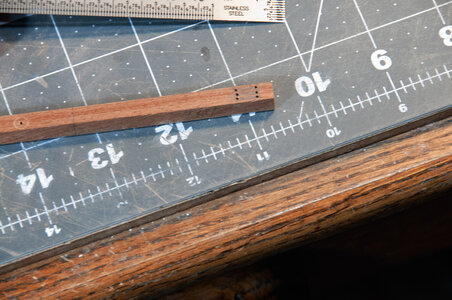
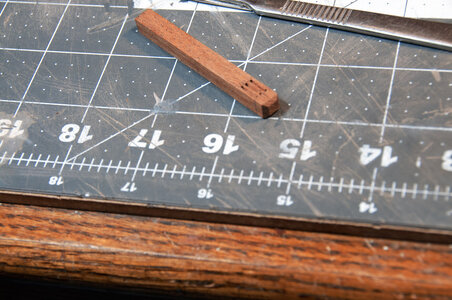
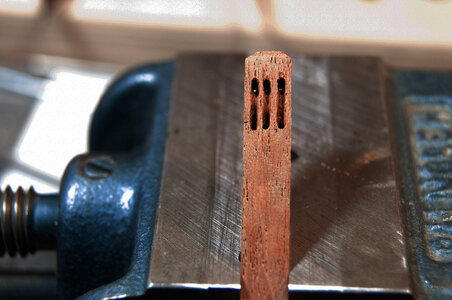
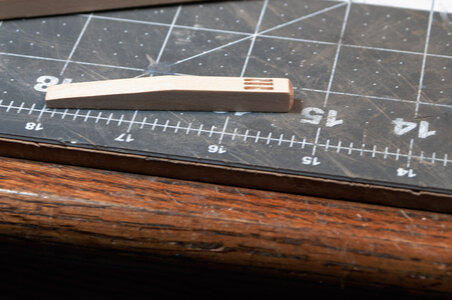
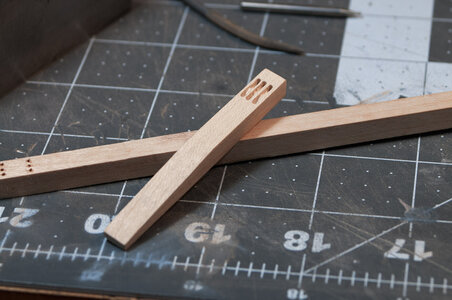
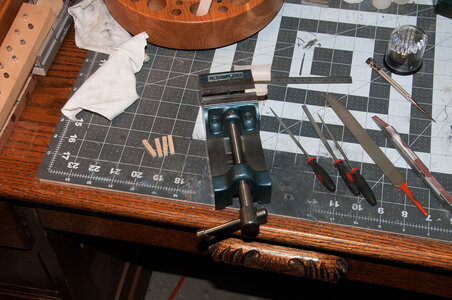
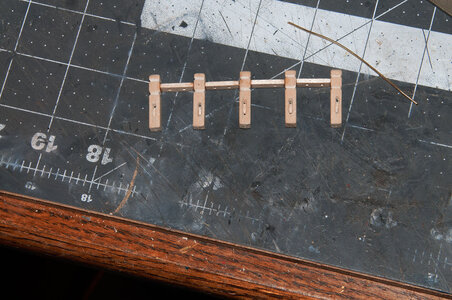
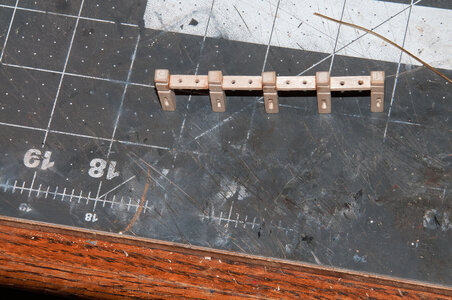
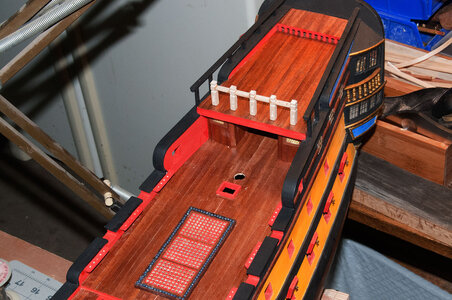
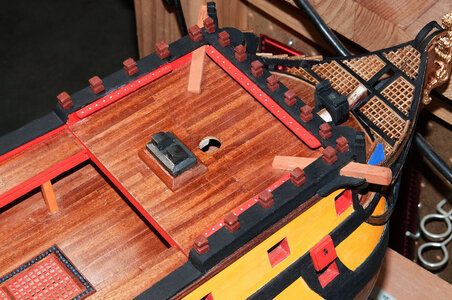
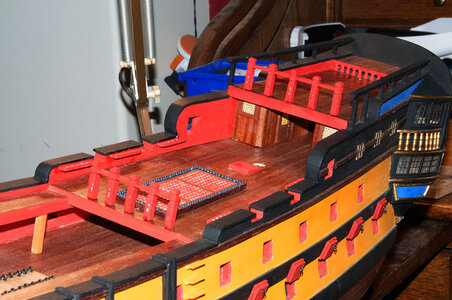
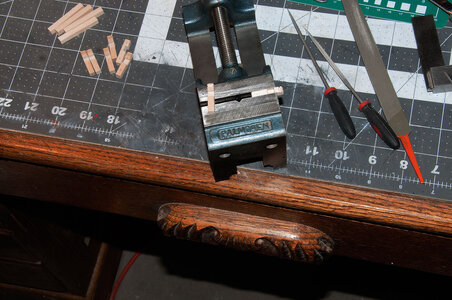
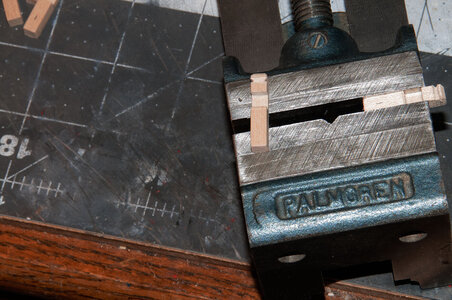
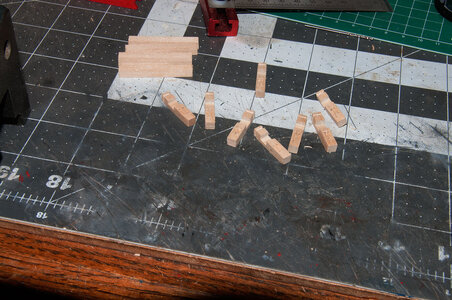
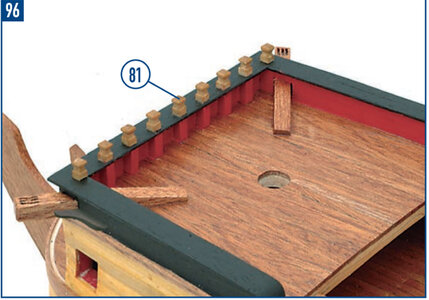
Bitts - note this image is from the instructional manual. Bitts are created using square stock and a small round file. Support stanchions are cut to length and glued in under the railing. I added small brass pins to the base of the bitts to help with placement and stability. Drilled appropriate sized holes to accept the pins.

Last edited:


