- Joined
- Jul 15, 2021
- Messages
- 113
- Points
- 103

Hi. My name is Alan and I welcome you to my build log of the Santisima Trinidad.
I live in Portchester, Hampshire, United Kingdom. We are on Portsmouth Harbour and enjoy several views across the harbour towards Portsmouth of HMS Victory and HMS Warrior.
I do have the 1/72 Jotika Caldercraft HMS Victory which I commenced on the 1st January 2017 but burnt myself out on the 1st April that same year having worked on it every day. Just stopped .... can't explain why! I had completed the first planking and was working on the Quarter Galleries. I have kept 615 photos of the build so when I get back to that build I can create another build log.
My interest flared up again a month ago to return to the build. But after watching several videos online I decided I wanted to build up more practice and techniques before returning to the Victory. So I decided to try something less intimidating and chose Occre's Santisima Trinidad.
Now that I have started I'm finding it just as challenging as the Victory. But I have the guidance of many build videos and build logs on this forum done by others on this ship. These videos and text logs are so much better than the instructions that come with these kits.
So my confidence is running high.
I started this build on the 23rd July 2021. The following year to '2020 The Year of the Pandemic.'
So here we go and thanks for following on:
Day 1
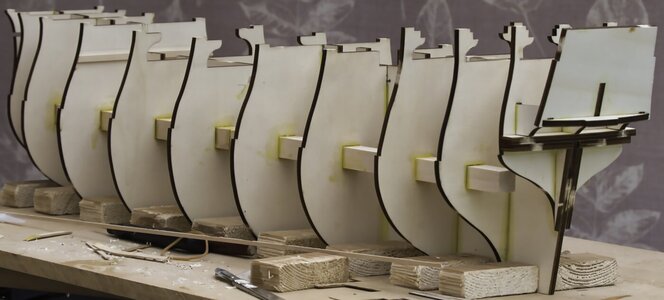
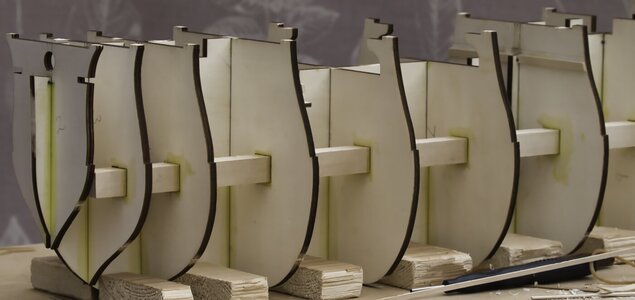
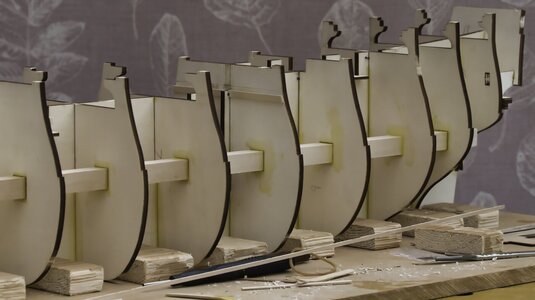
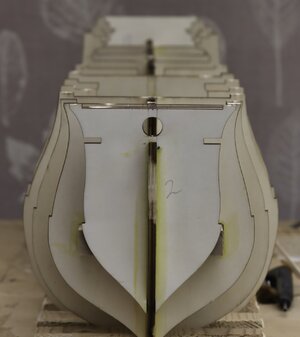
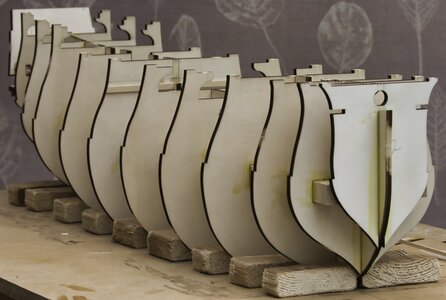
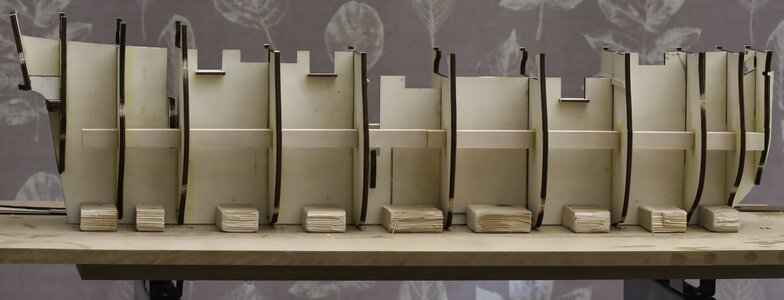
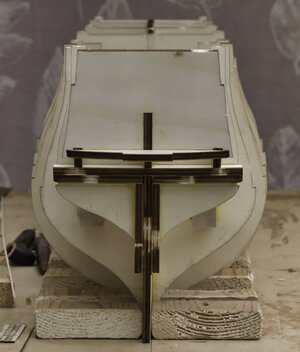
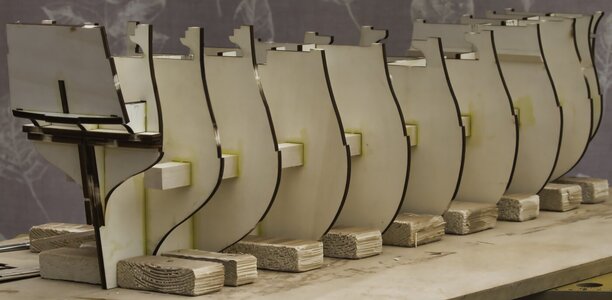
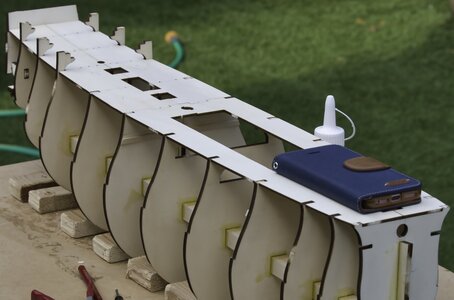
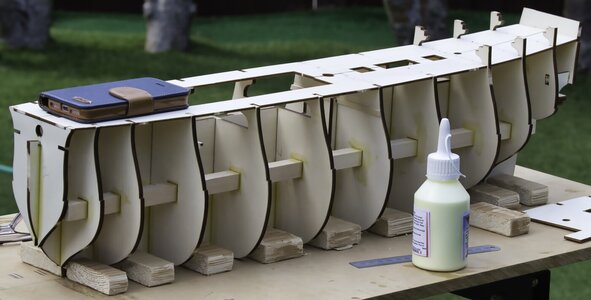
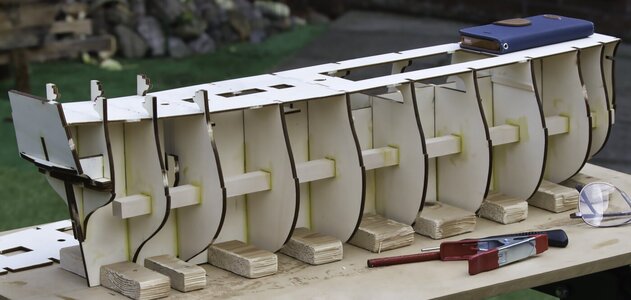
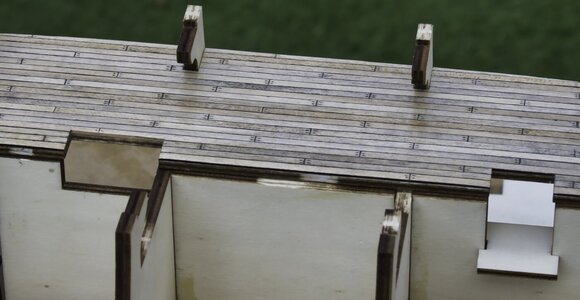
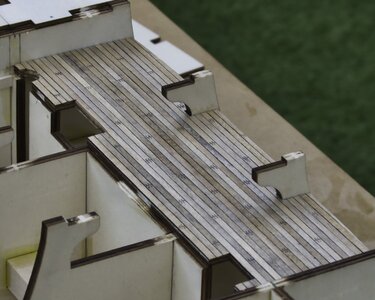
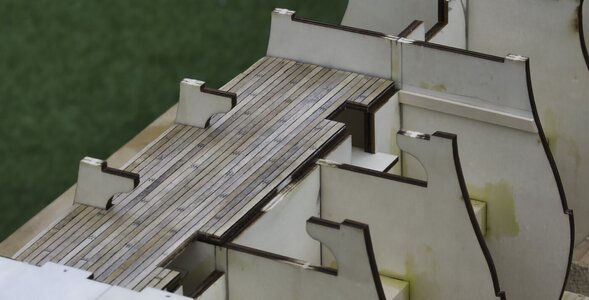
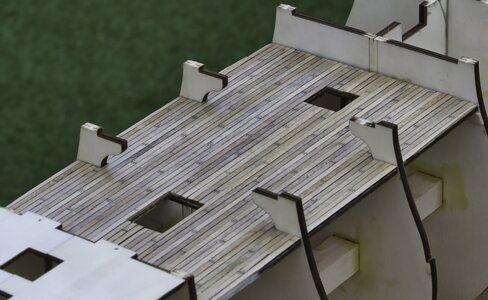
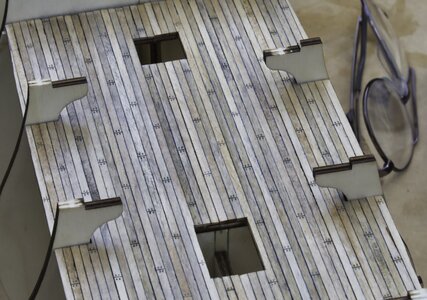
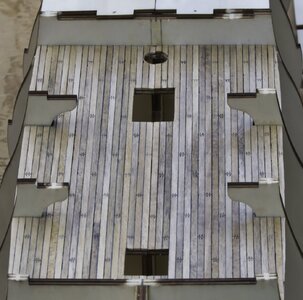
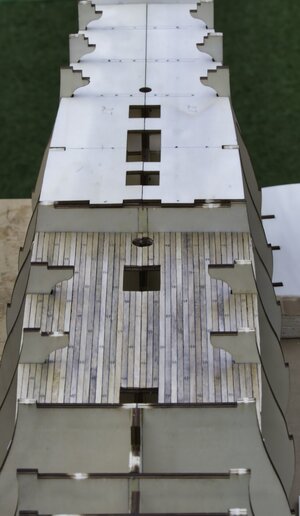
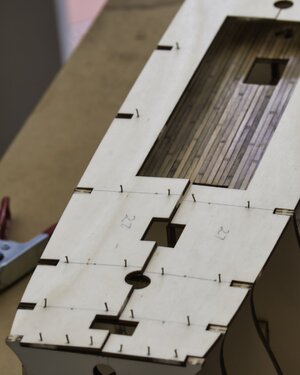
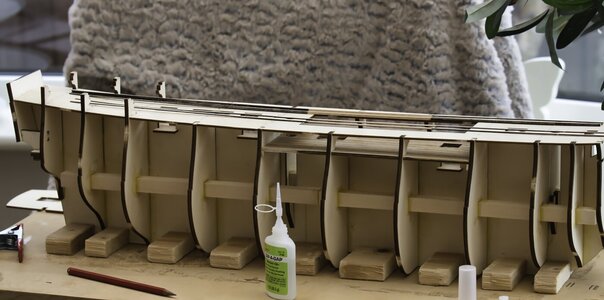
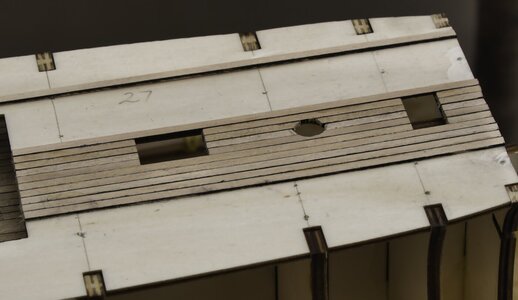
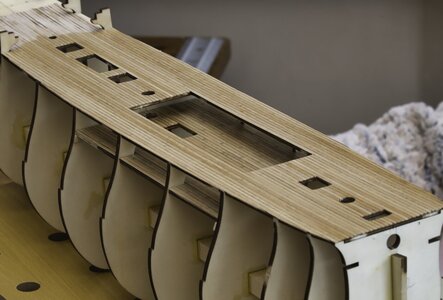
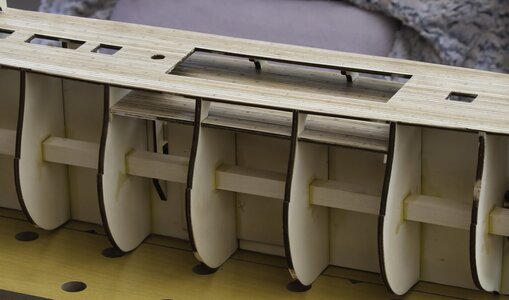
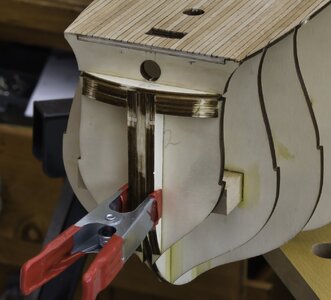
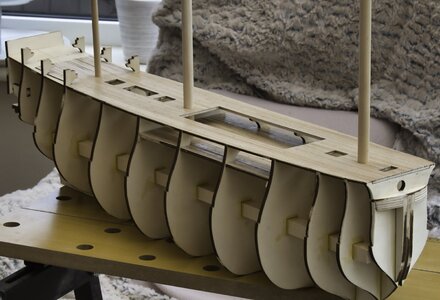
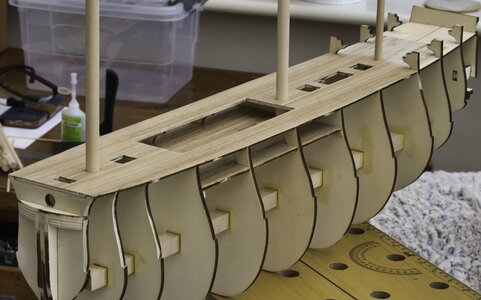
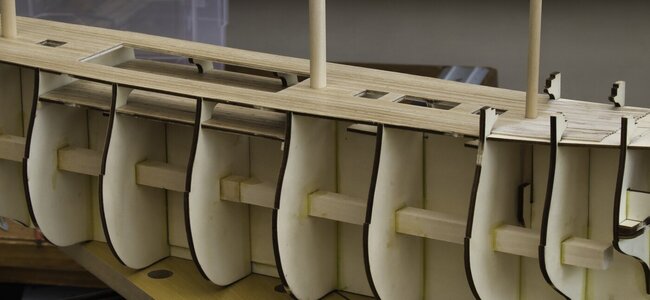
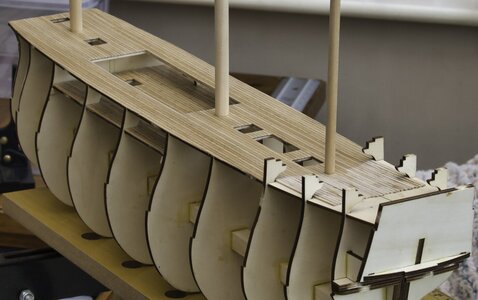
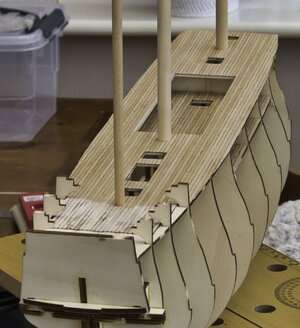
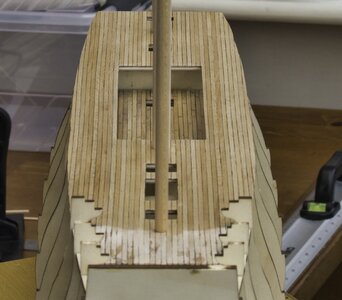
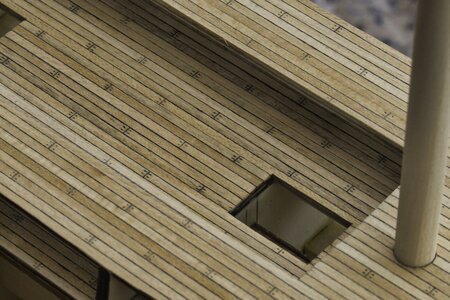
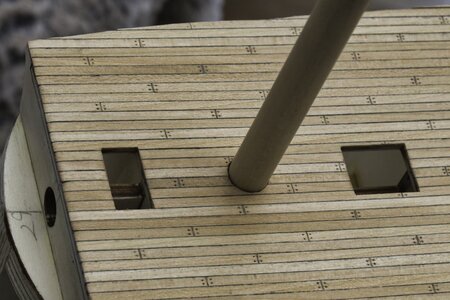
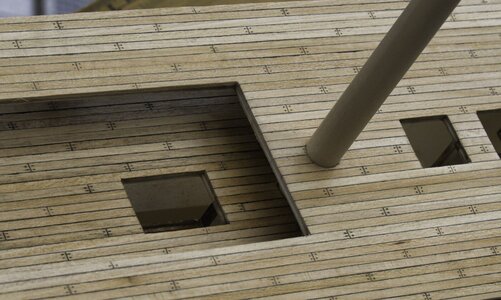
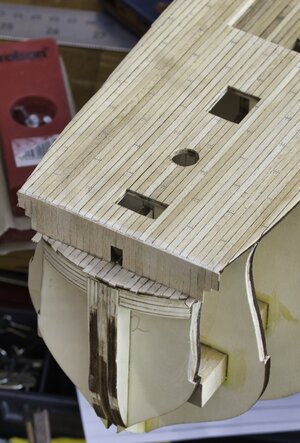
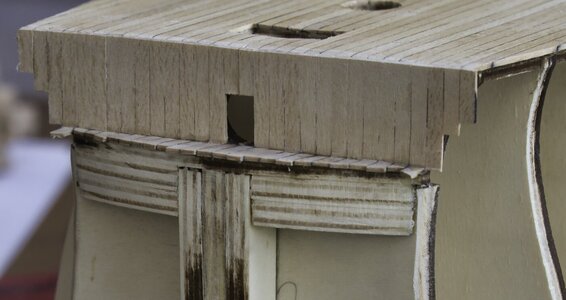
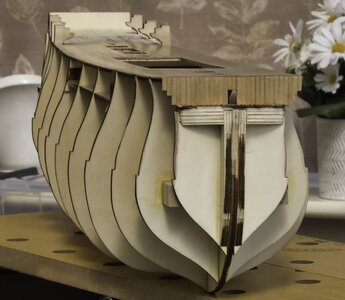
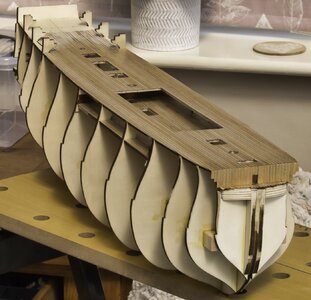
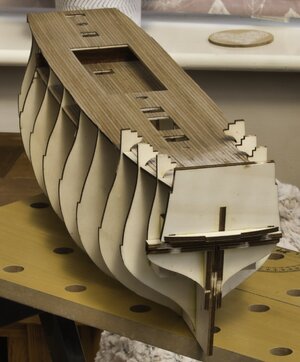
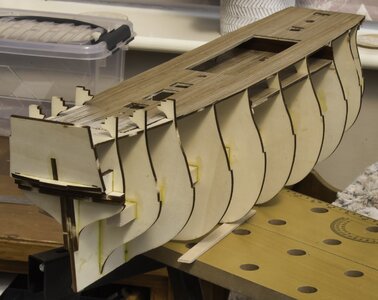
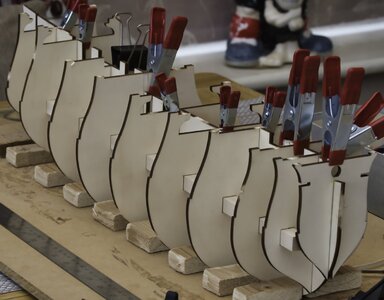
Dry fitting the hull structure. Click on the images to see a larger image.
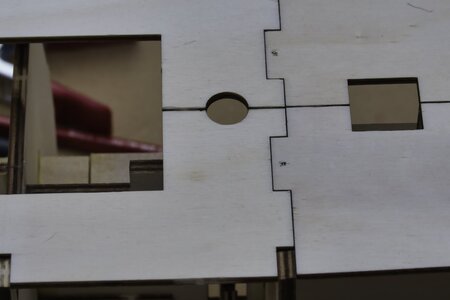
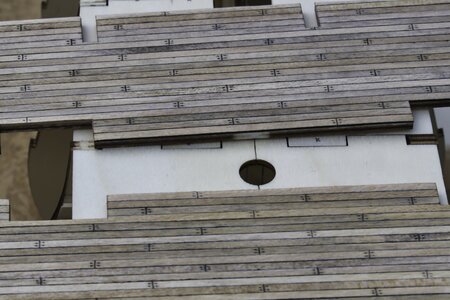
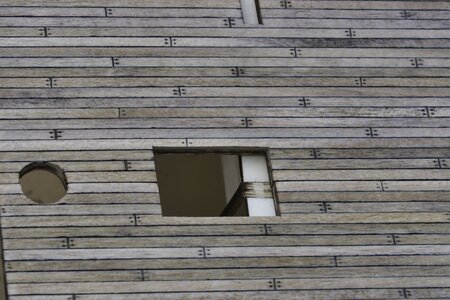
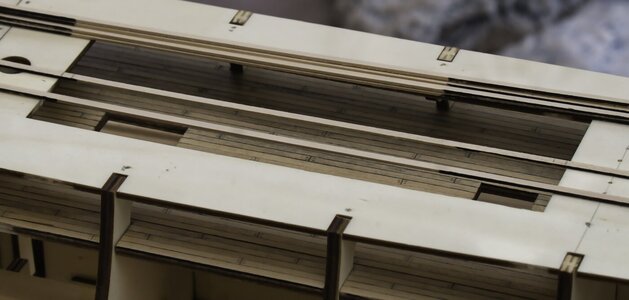
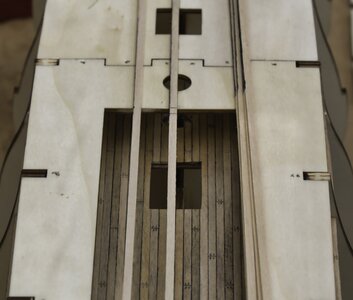
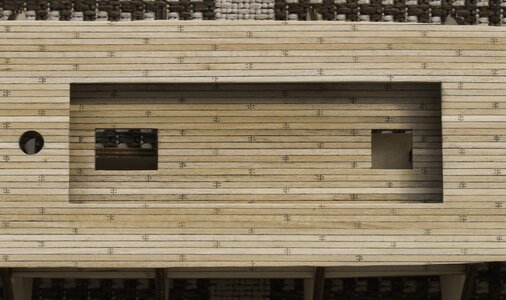
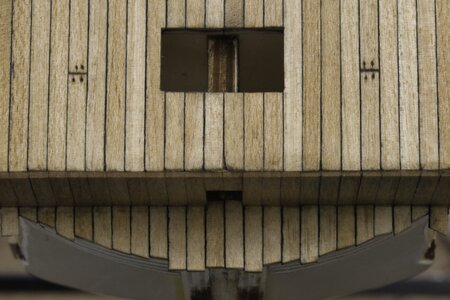
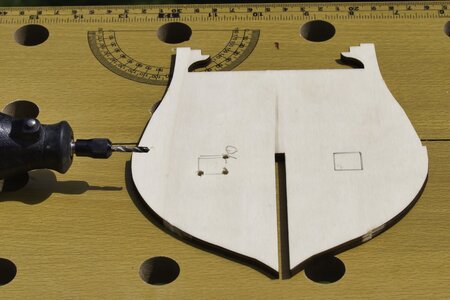
Encountered an early problem with the kit. Part 10 was missing two cutouts.
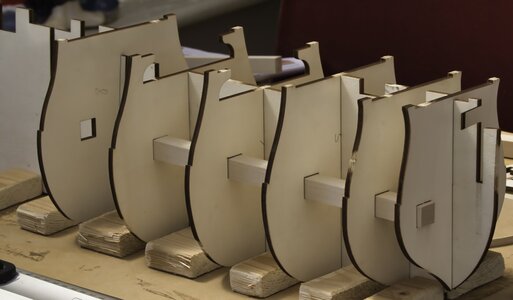
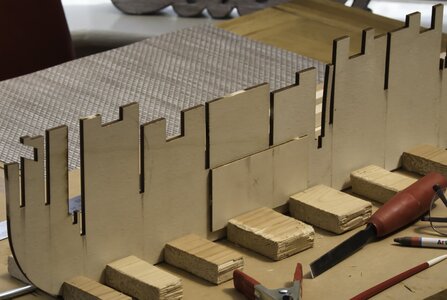
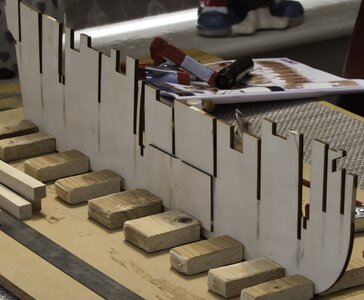
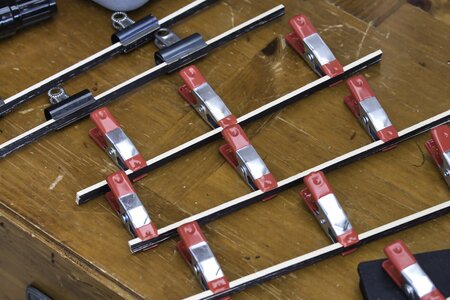
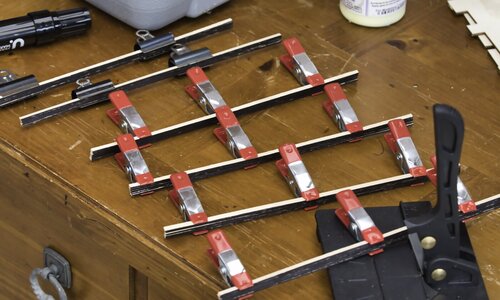
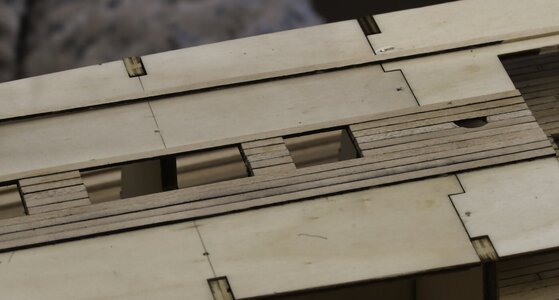
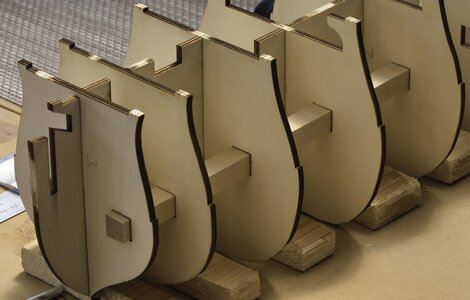
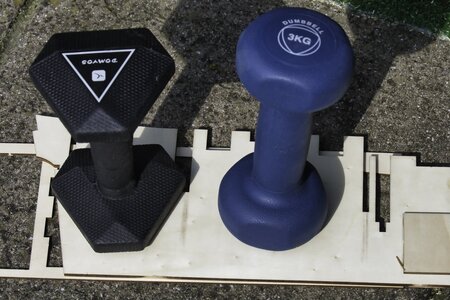
If you look carefully you'll see some warping in the wood. I found that after cutting the hull parts from the the wood sheets they soon started to warp. So some hot water and heavy weights were used to flatten them!
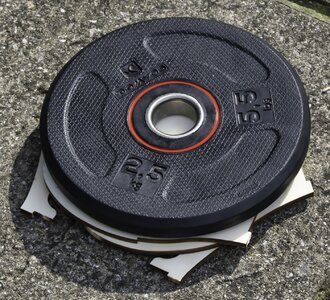
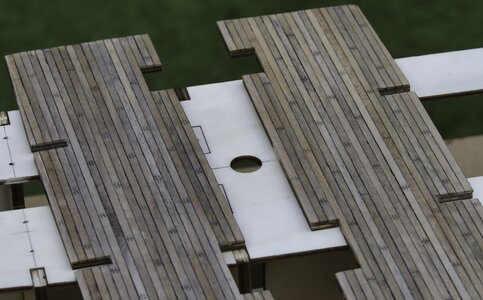
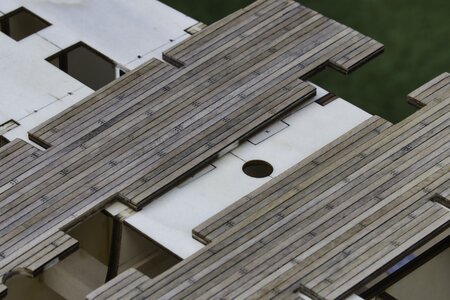
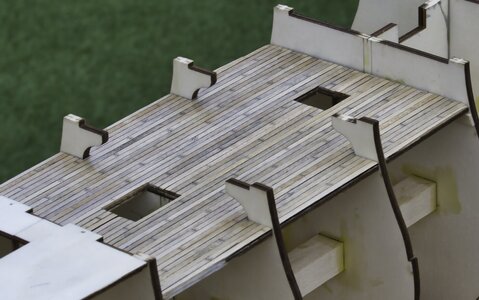
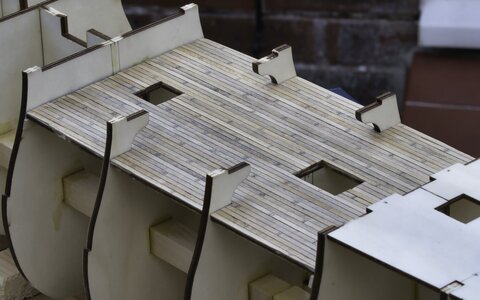
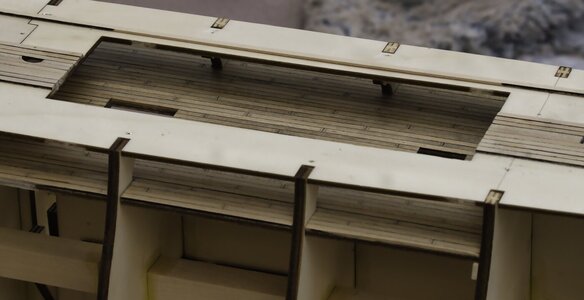
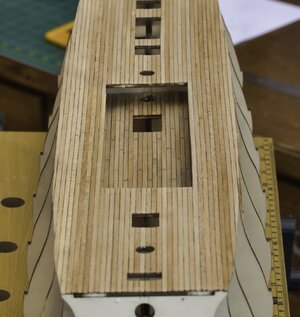
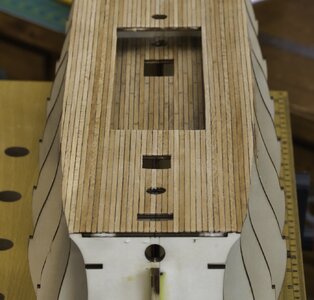
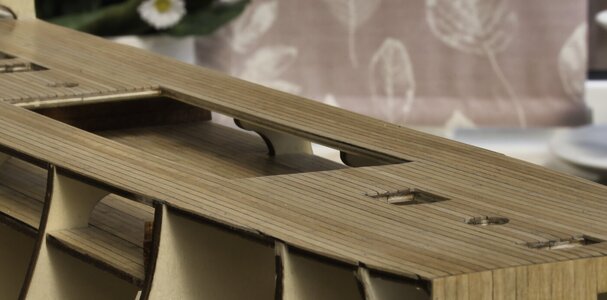
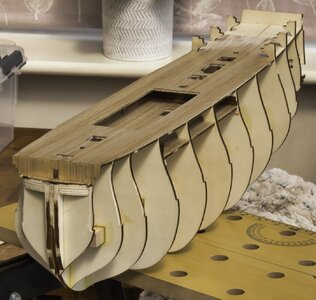
Dry fitting again.
It's late here now I'll continue tomorrow......
I live in Portchester, Hampshire, United Kingdom. We are on Portsmouth Harbour and enjoy several views across the harbour towards Portsmouth of HMS Victory and HMS Warrior.
I do have the 1/72 Jotika Caldercraft HMS Victory which I commenced on the 1st January 2017 but burnt myself out on the 1st April that same year having worked on it every day. Just stopped .... can't explain why! I had completed the first planking and was working on the Quarter Galleries. I have kept 615 photos of the build so when I get back to that build I can create another build log.
My interest flared up again a month ago to return to the build. But after watching several videos online I decided I wanted to build up more practice and techniques before returning to the Victory. So I decided to try something less intimidating and chose Occre's Santisima Trinidad.
Now that I have started I'm finding it just as challenging as the Victory. But I have the guidance of many build videos and build logs on this forum done by others on this ship. These videos and text logs are so much better than the instructions that come with these kits.
So my confidence is running high.
I started this build on the 23rd July 2021. The following year to '2020 The Year of the Pandemic.'
So here we go and thanks for following on:
Day 1
Dry fitting the hull structure. Click on the images to see a larger image.

Encountered an early problem with the kit. Part 10 was missing two cutouts.


If you look carefully you'll see some warping in the wood. I found that after cutting the hull parts from the the wood sheets they soon started to warp. So some hot water and heavy weights were used to flatten them!


Dry fitting again.

It's late here now I'll continue tomorrow......
Last edited:


