• Beginning at 5:00AM PST (13:00 UTC) on Friday February 14th, all services in the Los Angeles, California, USA Data Center will be offline to perform a Data Center Migration. Due to the nature of this migration, we anticipate up to 24 hours of downtime to safely complete this work. Please be patient during this time and thank you for being a valuable member of our community.

Building a small sailing ship

Joined
Jun 30, 2012
Messages
1,198
Points
433

Scratchbuilding a small sailing ship.
Not much was needed in the way of material, just a couple of sheets of obechewood (a medium hard wood obtained from Ebay).
Balsa wood will work just as well, and can be cut with a scalpel.

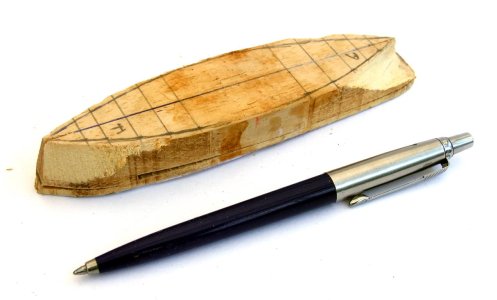
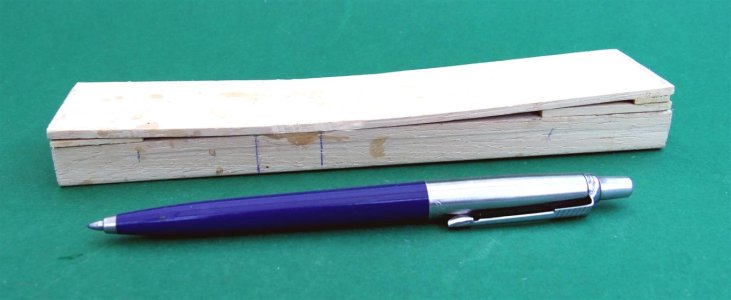
I formed the sheer (curve of the deck) very simply. The gaps were filled in with wood filler. -

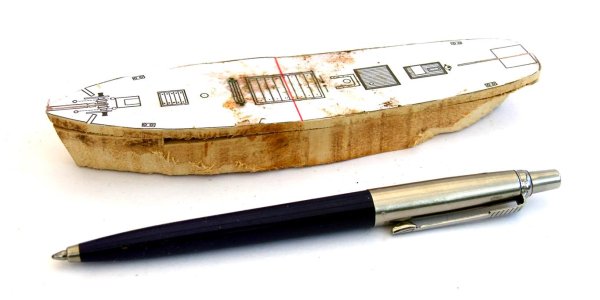
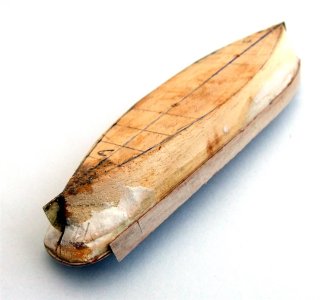
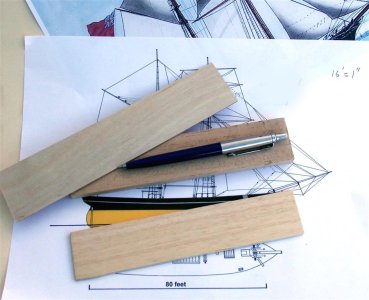
Next, I pasted a profile to the side of the block using a glue stick, and adeck plan on top, correctly lined up.
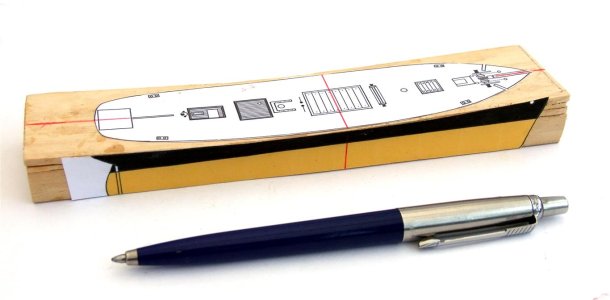
1 (Medium).JPG2 (Medium).JPG3 (Medium).JPG
 
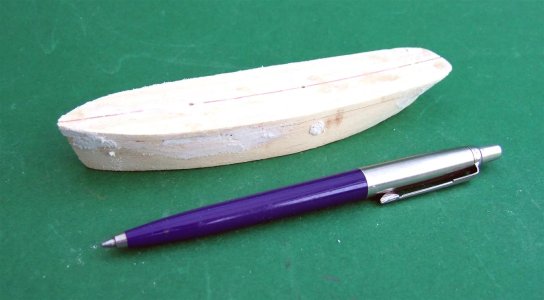
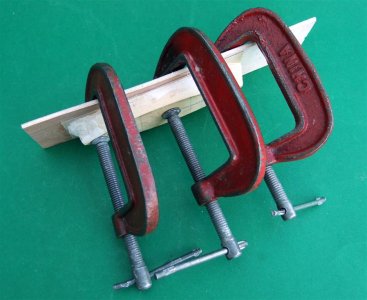
After more shaping, smoothing and filling, the deck was fitted next. This was1/32nd inch marine plywood, scored to represent the planking at 16 feet to 1 inch. The deck was glued on with white wood glue, with a piece of plain standard plywood clamped over it whilst the glue dried. The extra plywood was to stop the clamps damaging the scored deck.

5a  (Medium).JPG5b  (Medium).JPG5c  (Medium).JPG
 
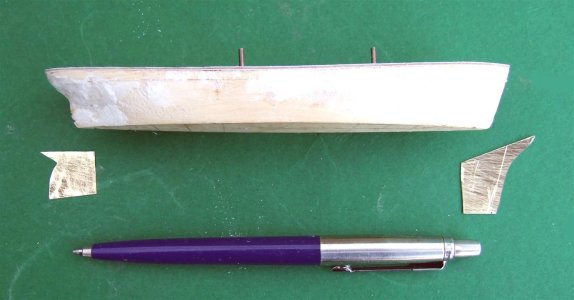
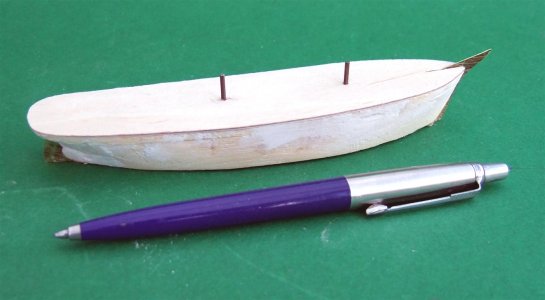
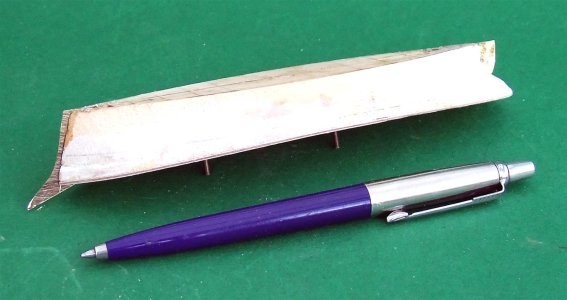
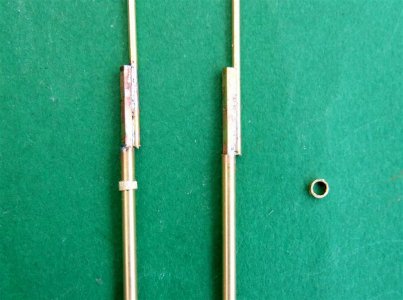
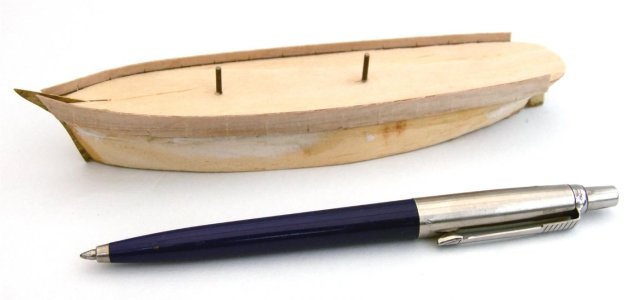
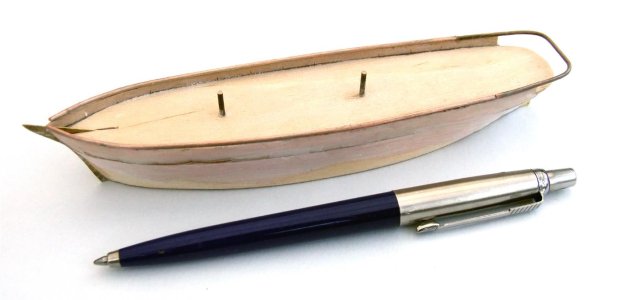
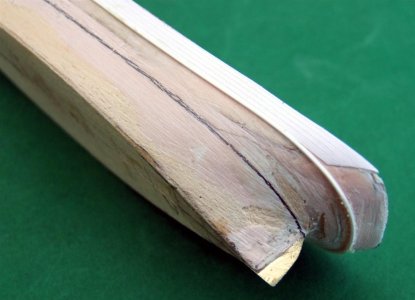
Brass inserts for bow and stern were cut and fitted, followed by more smoothing, and the hull is now taking shape very well. Holes were drilled for the mast stubs that are brass. The lower masts themselves will be thin-walled brass tube that slides over the stubs.

6a.JPG6b.JPG6c.JPG
 
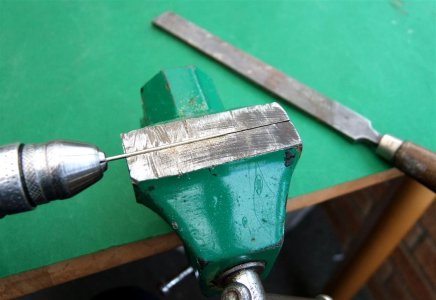
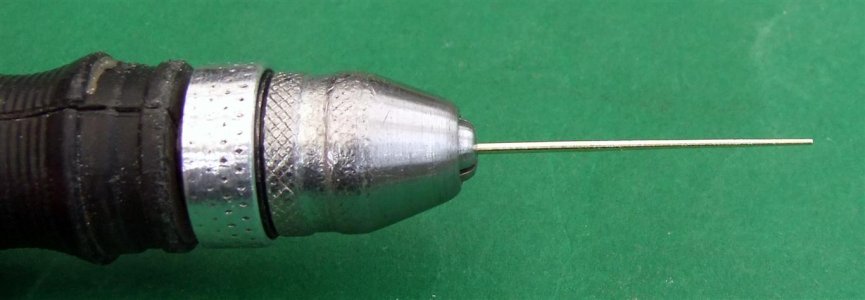
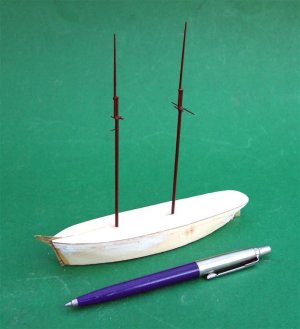
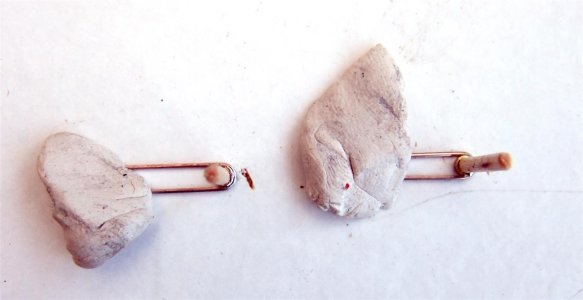
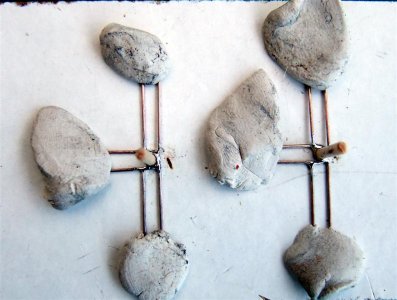
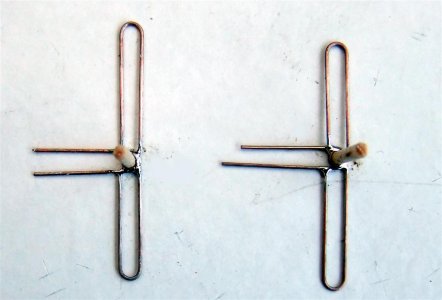
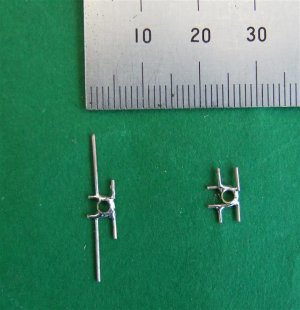
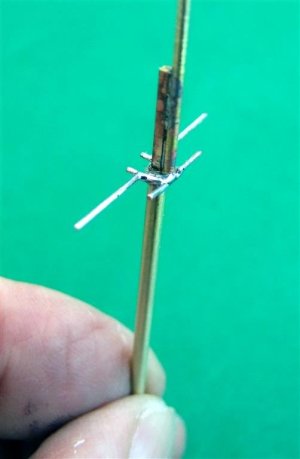
The masts were brass, the lower ones being tube. I tapered the topmasts by turning them in a 12 Volt drill running on 6 Volts, so it didn't fly out of the chuck. Soldered them together and made and fitted thecrosstrees by soldering tinned copper wire held on a piece of scrapwood with Blu Tack, then trimmed down to size and glued onto the masts. Spray painted them, and when dry, slid them over the stubs in the hull and bent them to the correct angle of rake. The masts were then put aside as work on the hull continu7a.JPG7b.JPG7c.JPG7d.JPG7e.JPGed.
 
Soldering the crosstrees. This is the sort of thing that most have problems with, often declaring "I can't solder!" without even trying. The main points are, use a small 25 Watt soldering iron. Have all the parts clean. Apply a liquid flux to the parts to be soldered, and use 60/40 tin/lead solder. I can't solder with modern lead free solder, but 60/40 tin/lead is available on Ebay.
8a.JPG8b.JPG8c.JPG8d.JPG8e.JPG
 
Few modelers seem to realize that brass is a much better material for small parts than wood. There’s no overscale grain to deal with. Your system for soldering; electric soldering iron, clean parts, liquid flux also works for me every time. I have found some 1/32 in diameter lead free solder that works. I don’t have luck with the paste solders.

Roger
 
Really enjoying learning about your process. Please tell me this finished up inside a bottle! :D
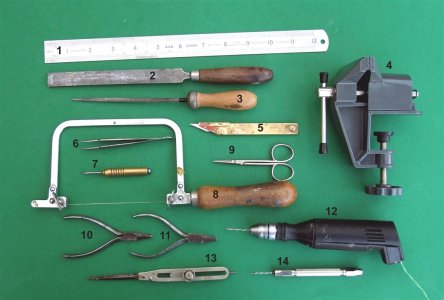
Ships in bottles are beyond my capabilities (and patience). :D The one illustrated is a simple build, suitable for beginners, and not to be compared with the cost, skill, patience and effort required to build a kit. But on the other hand, very few tools are required, and material costs very low, plus the fact they are more sought-after by collectors on account of their rarity value.
Hand tools copy (Medium).jpg
 
Thanks for your invaluable and motivating post. It takes a lot of the most daunting aspects of building a model ship and puts them within easy reach for minimal cost and reasonable effort for the beginner, or even those of us who must scale down our ambition to match our diminishing physical and logistical circumstances.
Plus, the methods you present are scalable for either larger or smaller projects, simple enough to achieve satisfying results for the most efficient cost and work effectiveness. Thumbsup
 
Thanks for comments.
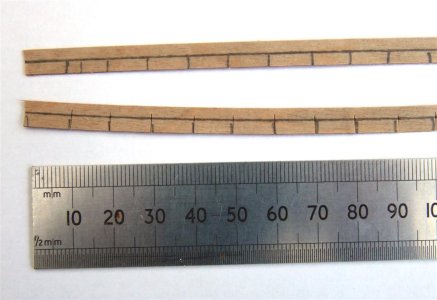
Next to be made and fitted are the bulwarks. These were made from 1/64th marine plywood. Cut the strips deeper than the bulwarks as they are to be glued to the sides of the hull with contact adhesive. Rulethe deck line, and top of the bulwarks onto the wood, and rule verticals every 5mm or so. With a scalpel make vertical slits along the length, not quite going to the top. These slits allow the bulwarks to bend in two dimensions – round the hull, and upwards to match the curve of the hull (Sheer).
Glue them on with contact adhesive, falling just short of the stern. Cut alenth of copper wire and straighten it be stretching slightly with two small pairs of pliers, and bend it to the shape of the stern bulwarks forming the overhang. Beat it flat with a smooth-faced hammer on a piece of scrap steel, and glue on top of the bulwarks. Fit in the sloping stern bulwarks using a piece of thin card, shaped so it fill the gap between wire and deck. Fill any gaps such as between the lower part of the bulwarks and the hull with wood filler,and smooth off. I scored a sheet of thick writing paper to represent the bulwark planking, and stuck it on. Below this, I glued a thin, square section polystyrene rod round the hull to form the rubbing strake. More scored paper planks were glued below the rubbing strake down to the level of the copper hull sheathing. Leave the planking off if you do not want to go to the trouble of fitting it. On this scale, it is hardly notieable anyway!

9a.JPG

9c (Large).JPG

9d (Large).JPG

9d.JPG

9e (Large).JPG

9f (Large).JPG

9g (Large).JPG
 
I was a member of the wood workers club of Pensacola and learned to my horror that some woods like oak are carcinogenic.
Some woods are indeed carcinogenic, but from memory the first evidence for oak being one came from a study of sawyers at Ercol UK, a comparatively small group with heavy exposure to both oak and elm. From my knowledge of the furniture industry in many places during the 1920's dust extraction would be token at best, and even in the 1970's I visited furniture factories in London where the sawdust was calf deep, with paths cleared through it just wide enough for moving parts around. Considering the levels of exposure that were common in many places some problems are not surprising - oak dust always makes me sneeze. But similar problems have been found in other dusty occupations. My own thought is that wood dust is not actively carcinogenic, but that it can be an irritant that causes mild to moderate inflammation - and inflammatory conditions are known to be a source of cancers. For those who want to know more, the paper below is both readable and interesting, though the data is not clearly presented in some cases. Worth also noting that leather workers also show similar problems.

--- this study of nasal cancer in
France provides detailed evidence of a relation between exposure to hardwood dust and adenocarcinoma. These results indicate that the implementation of preventive measures to reduce the amount of wood dust to which workers are exposed remains an important objective in France. With regard to squamous cell carcinoma, which is foundmore frequently in most countries, the results suggest that workers exposed to dust from softwood or hardwood could have an
increased risk after a long period of time, which is consistent with results from other recent studies.

 
Try burning nice cozy oak fires in the wintertime for 20 years and then let me know if you are still alive and healthy. It's the cumulative effect, not the quick eating of a tree, that kills you. If you don't believe me, it's your early demise. BTW, Cancer is a lousy way to exit. But I'm not just saying Oak, but lots of other exotic hardwoods like beautiful purple heart, and other woods. The point I was getting at was that YOU SHOULD KNOW WHAT YOU ARE DOING! As Davy Crockett said: "Be sure you are RIGHT, then go ahead."
 
Back
Top