• Win a Free Custom Engraved Brass Coin!!!
    As a way to introduce our brass coins to the community, we will raffle off a free coin during the month of August. Follow link ABOVE for instructions for entering.

Catalan- Woody Joe Build log

Joined
Jan 21, 2022
Messages
467
Points
278

This will be my first Woody Joe Build I chose the Catalan for its history as one of the oldest sailing vessels! I reviewed the parts in the kit and the instruction manual and the and parts are very well marked and correspond to the instructions manuals although written in Japanese are not needed as the step-by-step pictures are easy to follow and understand. the quality of the parts is excellent and the frame that I am working on all parts fit correctly! The rigging line is of good quality, the only part that I see that is questionable is the rigging blocks as they are made of plastic. For the Language barrier I purchased a translator for my cell phone, and it works great! 1000000583.jpg1000000584.jpg1000000585.jpg1000000586.jpg1000000587.jpg
 
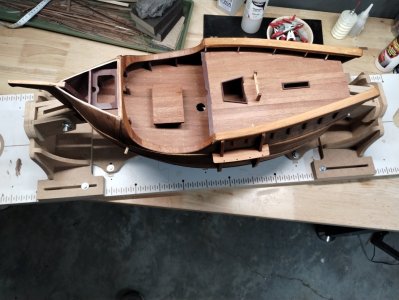
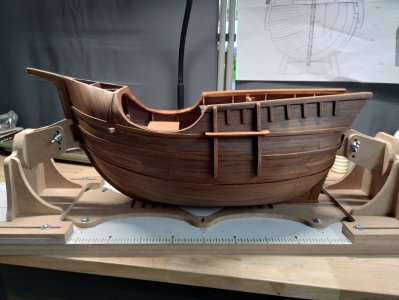
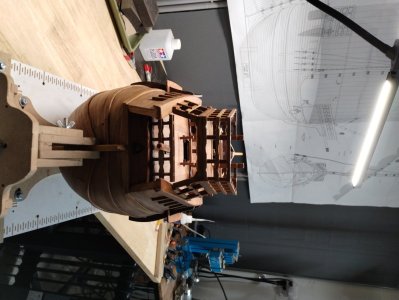
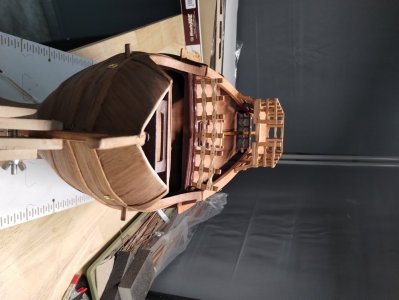
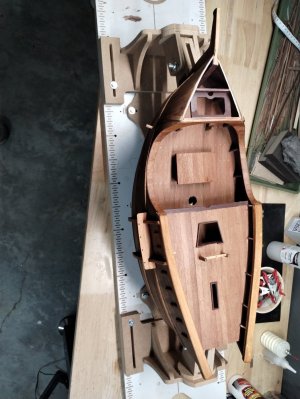
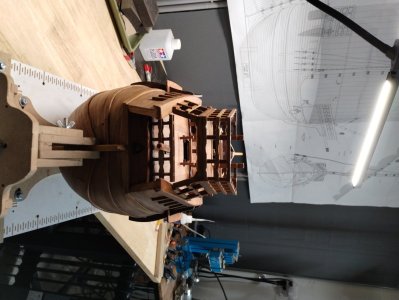
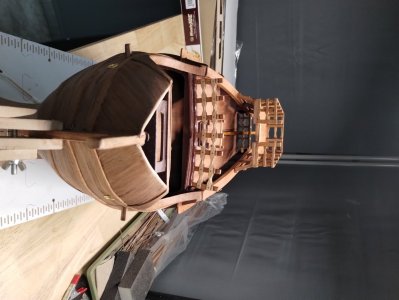
working on the decks and first hull planking. The kit uses wide boards to assemble the bow and stern hull sections, making it easier for the install of the base hull planking. I also decided to use toothpicks as tree nails for the decks. My first time looks good!! The hull is still in a rough state, as you can see in the pictures; block sanding will prepare that for the final finish planking.
1000000591.jpg1000000592.jpg1000000593.jpg1000000594.jpg
 
Woody Joe products are great. Glad you're having a good experience with yours. looking forward to following your build.
 
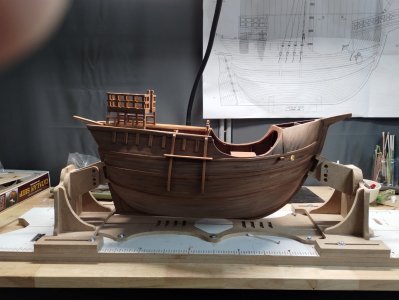
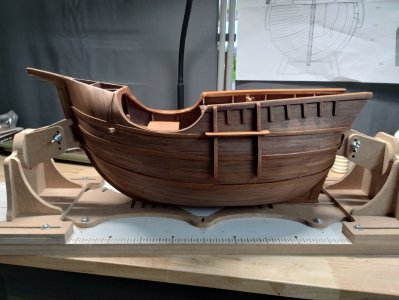
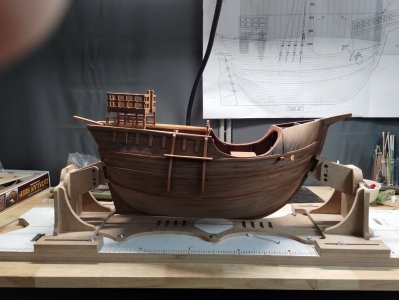
Still working on the first planking. I have been waiting for a building slip I ordered from HobbyZone, took 2 weeks to get it and a couple of days to assemble. It works great, and it will accommodate all sizes of hull lengths.Up tp 40" costs $75, but it is worth the cost. making my assembly much easier!!1000000596.jpg1000000597.jpg
 
Well, it's been a while, but I'm still plunking along. I have finished the first plank, which went fairly well, using standard planking techniques. So far, all the wood used is of good quality, the keel covering is supplied and pre-cut to size, covering the keel from stem to stern. again, all parts are fitting great! 1000000601.jpg1000000602.jpg1000000603.jpg1000000605.jpg
 
The second finish planking provided in the kit is .5mm. I have no experience using this thin stuff; other kits I purchased 1mm to replace the .5mm, but for this kit, I will use the planking provided? Hopefully, I will not experience adhesion issues with it lying flat, not warping as reported by other people on this site??
 
You can easily 'iron' these thin planks over the first layer. First paint the hull entirely with thinned white glue, 2/3 times, adjust and water your planks for maybe 2-3 minutes, dry with a paper towel. Then give them a thin layer of white glue and put them in place, using something like this:
and

(Sorry, it's all in German) The heat will dry the wood and set the glue in a few seconds. Some glue will squeeze out, let it dry a bit and scrape it off. That's it. And, try first with some spare material. This does not work so good with thicker wood; the heat doesn't get so easily through to the glue.
I will try this. I looked for the tools you showed, but I could not find any available in the U.S.
 
Back
Top