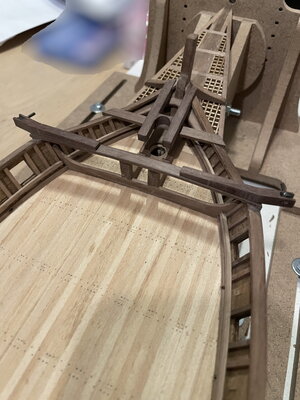
Cazador Xebec 1750 - OcCre - scale 1:60 [COMPLETED BUILD]

Hello guys,

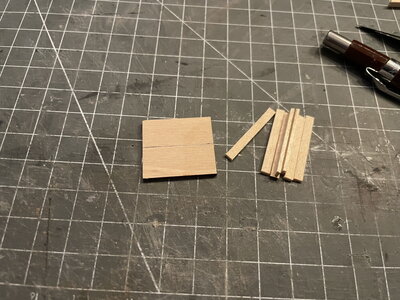
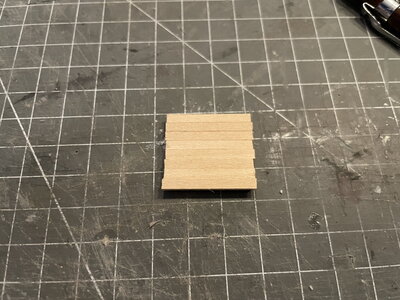
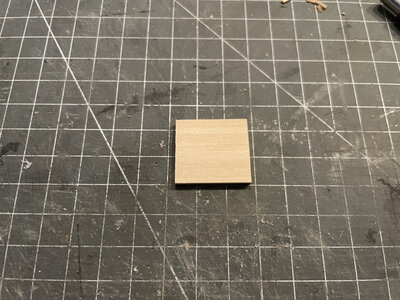
As promised I'll show you the process of making the carriages. I know that there are many ways to do this. I've seen some pretty innovative ways, using a table saw and CNC routers, however I have to do this by hand. Every single piece of wood is handcrafted with some files and sandpaper and is made individually.

So here are the pictures, hope it makes sense...

View attachment 280545View attachment 280546View attachment 280547View attachment 280548View attachment 280549View attachment 280550View attachment 280551View attachment 280552View attachment 280553

Thanks for all the likes and comments. See you soon!
Pter
This is what is called "monnikenwerk" or monks work. You really must have patience in spades. Top job!
 
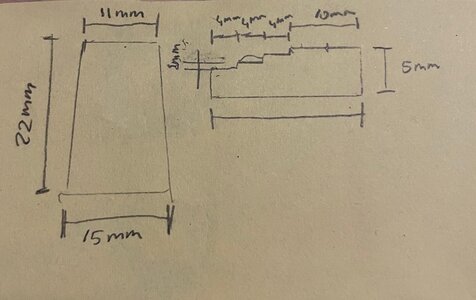
Thank you for sharing the construction of the gun carriages, Ptèr. If possible could you please put the measurements, since I will also have to do them one by one manually.
Thanks again for sharing.
 
Looking good Pter! I remember going through a few iterations on the cannon carriages before I settled with what I used. I also changed to red, because I wanted to add some color. ;)
I see no one is using the metal castings! :p
 
Looking good Pter! I remember going through a few iterations on the cannon carriages before I settled with what I used. I also changed to red, because I wanted to add some color. ;)
I see no one is using the metal castings! :p
The metal castings are not to bad, I've seen worse in kits, but I think it's nice to stretch my skills a bit and make these carriages myself. It's not an easy task, but I love to scratch and make the model I want to make. Not what the kitmaker had in mind nor what is supposedly "historical correct". I'll try to keep the "reality" in mind tho, but most and foremost having fun upgrading the basic model. :)
 
Hello guys and galls,

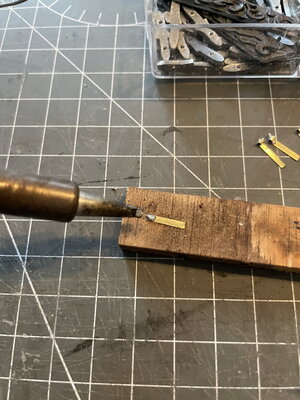
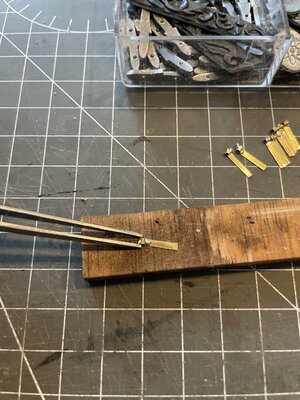
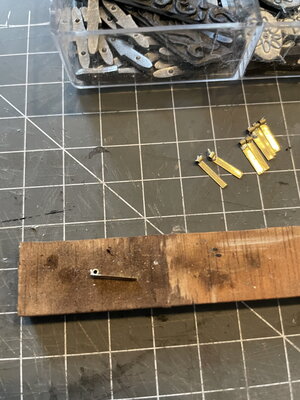
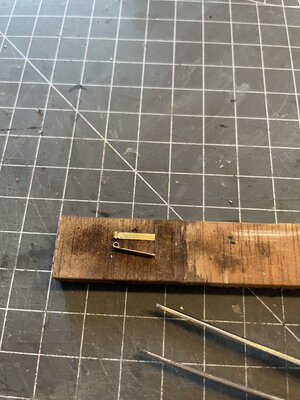
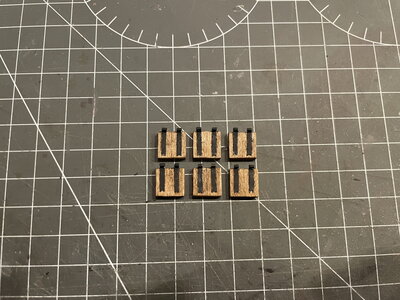
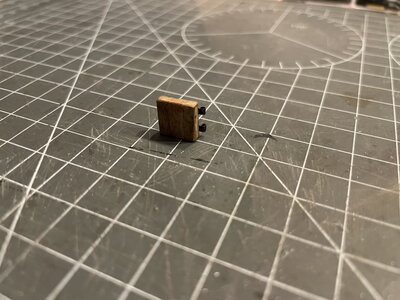
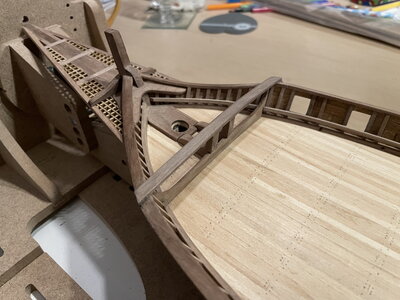
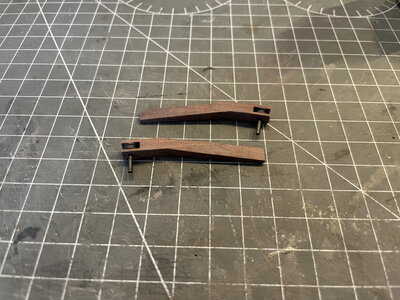
Some progress on the shipyard. I'll continue with the hinges of the lids. Some soldering has to be done.

Cazador_201.jpgCazador_202.jpgCazador_203.jpgCazador_204.jpgCazador_205.jpgCazador_206.jpg

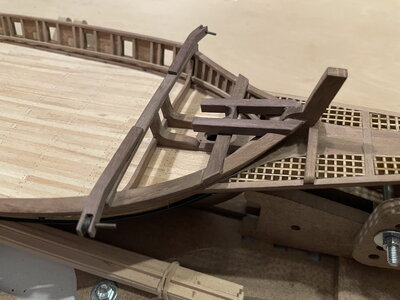
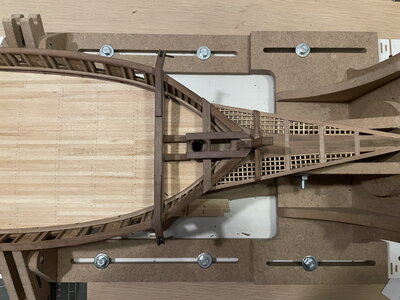
All lids are done. I'll place these guys on the ship in a later stadium of the build. First I want to add some parts on the deck.
Mostly all parts are done by hand, without any machinery. The admiral is very strict on machines on her dining table...Speechless

Cazador_207.jpg
Cazador_208.jpg
Cazador_209.jpg

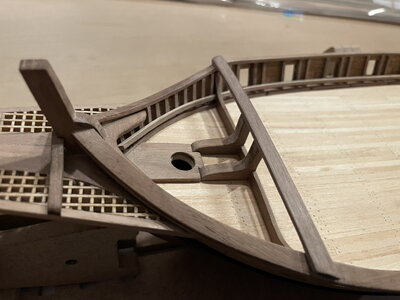
With some of the parts, I had to notch out a part of the upper railings. There is no way back when you put a file into it. I closed my eyes, trust my calculations and just went for it.....:rolleyes:

Cazador_210.jpg

Cazador_211.jpg

Cazador_212.jpg

Well, that's it for now. Thanks for all the likes and comments so far. You guys rock! Thumbsup

See you later!
Pter
 
Superb soldering work on the hinges, Peter - installed on the gunport lids, they look brilliant. Your catheads though, are simply wonderful. In fcat, the whole bow construction looks integrated and almost as it has been formed out of one piece of wood! Just great!
 
Hi folks,

A new update from the shipyard. However I must confess, I forgot to take pictures of the fabrication process. I'll guess it was a busy weekend....
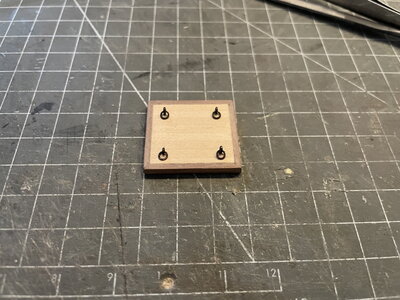
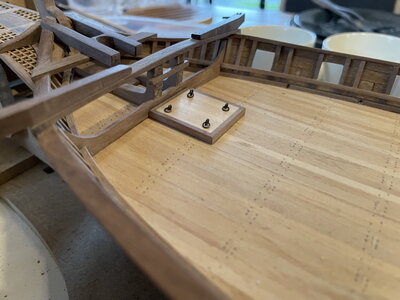
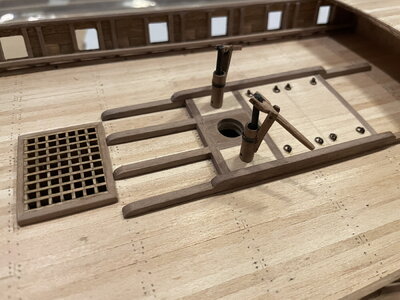
I'll start with a hatch.

Cazador_213.jpgCazador_214.jpgCazador_215.jpgCazador_216.jpgCazador_217.jpg

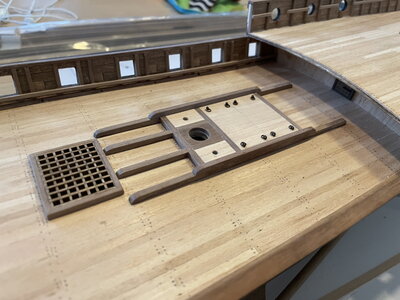
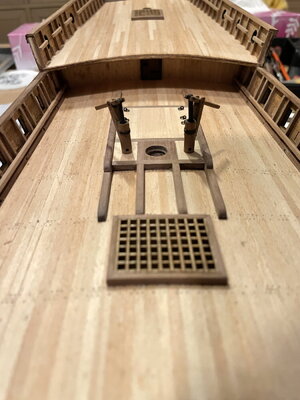
Second the hatch at the main mast, it looks simple but is was a bit challenging.

Cazador_218.jpg

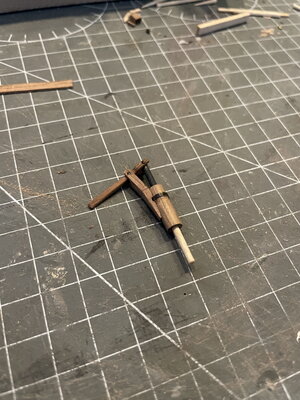
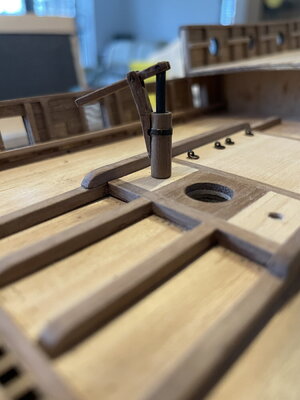
Then I wanted to assemble the pumps however, the metal parts included with the kit were in poor condition, that I discarded the parts. So I had to make my own pumps. Looking at some pictures of pumps, consisting out of multiple pieces I decided to use a piece of round dowel. I made all the parts of scrap walnut and assemble the first pump.

Cazador_219.jpg

Due to the pin I constructed on the bottem of the pump, it's standing very firmly on the deck.

Cazador_220.jpg

The other one also constructed and placed on the deck. The two brothers side to side.... I also made the outlet holes on the bottom of the pumps.

Cazador_221.jpg

Cazador_222.jpg

And that's it for today.

Until next time, thank you for your likes and replies! :)
Pter
 
Hi folks,

A new update from the shipyard. However I must confess, I forgot to take pictures of the fabrication process. I'll guess it was a busy weekend....
I'll start with a hatch.

View attachment 285358View attachment 285359View attachment 285360View attachment 285361View attachment 285362

Second the hatch at the main mast, it looks simple but is was a bit challenging.

View attachment 285363

Then I wanted to assemble the pumps however, the metal parts included with the kit were in poor condition, that I discarded the parts. So I had to make my own pumps. Looking at some pictures of pumps, consisting out of multiple pieces I decided to use a piece of round dowel. I made all the parts of scrap walnut and assemble the first pump.

View attachment 285364

Due to the pin I constructed on the bottem of the pump, it's standing very firmly on the deck.

View attachment 285365

The other one also constructed and placed on the deck. The two brothers side to side.... I also made the outlet holes on the bottom of the pumps.

View attachment 285366

View attachment 285367

And that's it for today.

Until next time, thank you for your likes and replies! :)
Pter
Very nice custom fabrication Pter.
 
Hi folks,

A new update from the shipyard. However I must confess, I forgot to take pictures of the fabrication process. I'll guess it was a busy weekend....
I'll start with a hatch.

View attachment 285358View attachment 285359View attachment 285360View attachment 285361View attachment 285362

Second the hatch at the main mast, it looks simple but is was a bit challenging.

View attachment 285363

Then I wanted to assemble the pumps however, the metal parts included with the kit were in poor condition, that I discarded the parts. So I had to make my own pumps. Looking at some pictures of pumps, consisting out of multiple pieces I decided to use a piece of round dowel. I made all the parts of scrap walnut and assemble the first pump.

View attachment 285364

Due to the pin I constructed on the bottem of the pump, it's standing very firmly on the deck.

View attachment 285365

The other one also constructed and placed on the deck. The two brothers side to side.... I also made the outlet holes on the bottom of the pumps.

View attachment 285366

View attachment 285367

And that's it for today.

Until next time, thank you for your likes and replies! :)
Pter
Good evening Pter.......those pumps you made are first class.... in fact the whole Cazador is outstanding.
 
Hi Peter! Those are two handsome brothers (pumps) that you have made while that large hatch is first-class work. I have to tell you though - your build of the Santa Maria is my favorite - I just love what you have done with her - that is really, really exquisite work! Okay
 
Hi Peter! Those are two handsome brothers (pumps) that you have made while that large hatch is first-class work. I have to tell you though - your build of the Santa Maria is my favorite - I just love what you have done with her - that is really, really exquisite work! Okay
Hi Heinrich, Santa Maria has a special place in my heart as well. It was a fun build and enjoyed the time! Thank you for your kind words. Thumbsup
But I really love Cazador in another way, it's just another type of ship and build. I have some fun childhood memories on Mediterranean Xebecs.

I'll guess the process of creating is what really makes a bond between the builder and the model. :)
 
Back
Top