Construction U-552 Type VIIc Trumpeter 1:48 [ COMPLETED BUILD ]

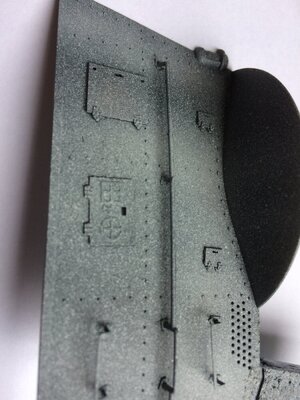
A small improvement, because I am changing the sail floor to Swiss cheese. Again, RCSubs fantastic PE kit is perfectly designed and provides a very nice fit
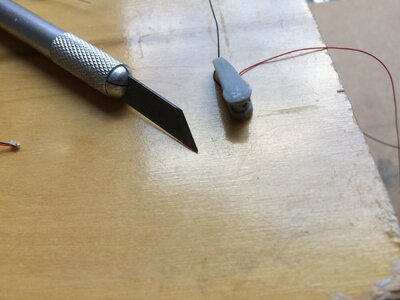
I didn't use the mold, put the PE over the plastic and sprayed it with a black primer to position the marks

zeilvloer2.jpg
 
Last edited by a moderator:
The back is sprayed for the colors as experiments.The

underside will be painted darker later because it is still being worked on

The colors do not come into its own on the photo (I Phone 4), but the hull becomes the same colors
IMG_4754.JPGIMG_4756.JPG
 
These photo etched parts are really improve the model by 200%.
We can see no rests of glue - which type of supercement are you using and how do you apply it to the parts (needle or something else)?
Only one small problem I realized looking at your close up photos:
maybe you can remove it (green arrow) - it is slightly out of the correct place
lights2.jpg
 
Hi Uwek,

Thank you for your attention, I had also noticed it myself when taking the photo, and it has also been corrected, typical case of not degreasing enough and the parts shifting

I am now in phase 2 of 4 with airbrusch work for the tower, and is now more visible

The glue:
I use Zap Z poxy 5 minutes


This is a two component glue with good results, the parts can still be corrected in time, and the adhesion is very strong.

First sand both parts lightly, I do this with grit 1000

Degrease both parts with 95% alcohol.

Little glue is then needed for a strong bond

Any glue residues can be easily removed after drying with 95% alcohol with a cotton swab or a toothpick.

I hope that the last translation is good, pictures say more than words ..
 

Attachments

  • IMG_4817.JPG
    IMG_4817.JPG
    245 KB · Views: 22
  • IMG_4815.JPG
    IMG_4815.JPG
    246.8 KB · Views: 23
Started with airbrushing for the Tower

Phase 1 applying Primer (Panzer Gray)
Phase 2 White gray (71.119), a light layer (the current photo)
Phase 3 the shadows with Blue-Gray (71.304) and black
Phase 4 Redo2 White gray (71.119) ) (more covering)
Phase 5 Weathering

The steps have now been added
IMG_4819.JPG
 
Back
Top