Corel - Berlin 1:48 Scale - Rigging Help

Joined
Apr 15, 2021
Messages
10
Points
48

Hi all,

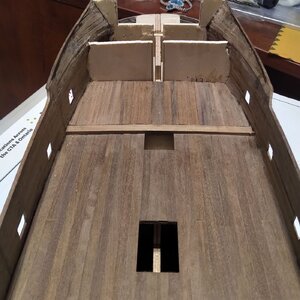
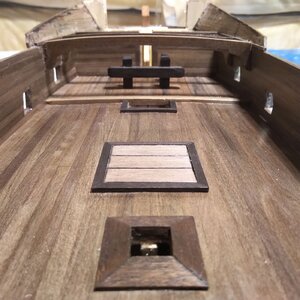
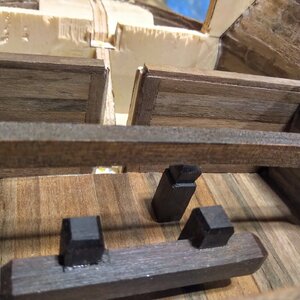
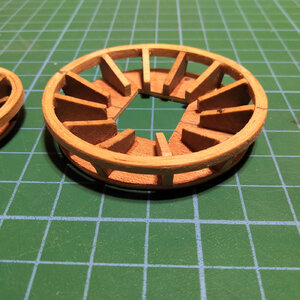
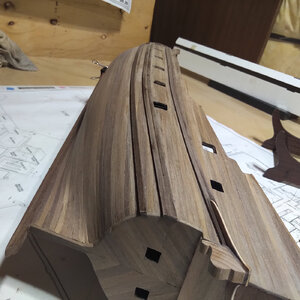
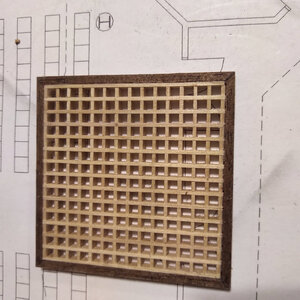
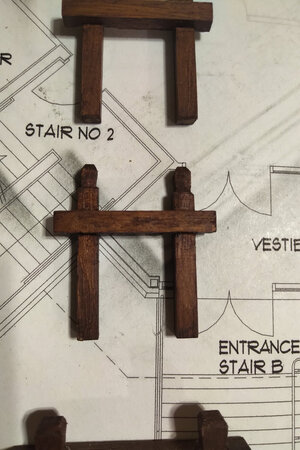
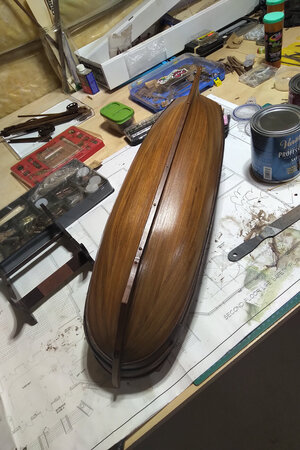
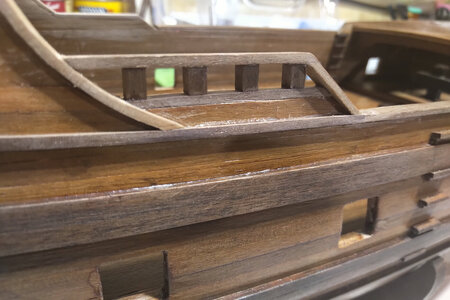
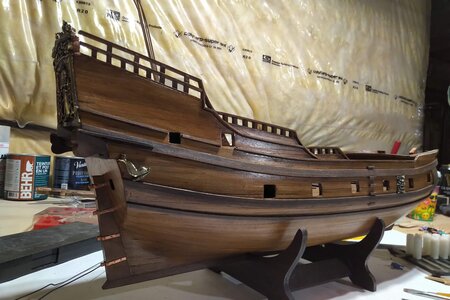
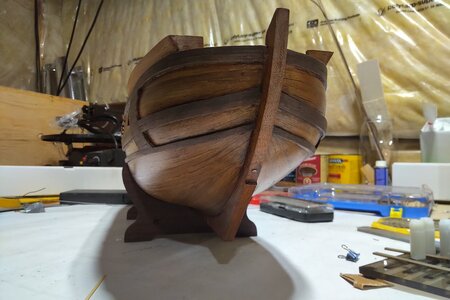
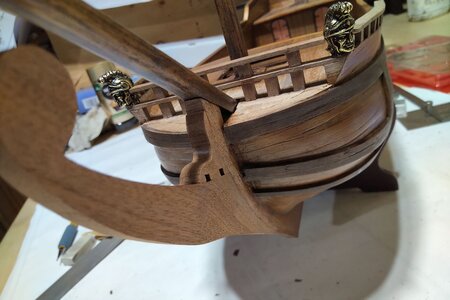
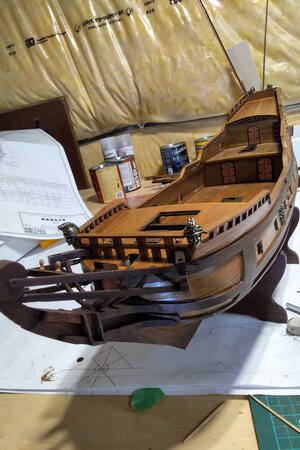
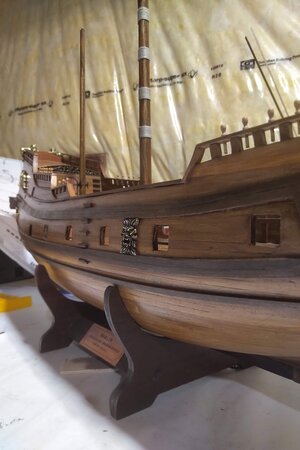
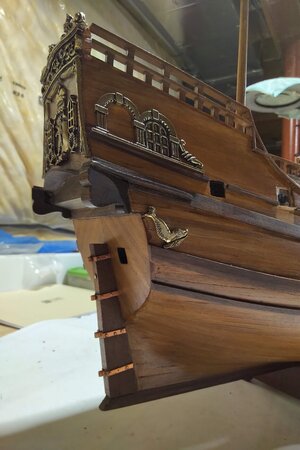
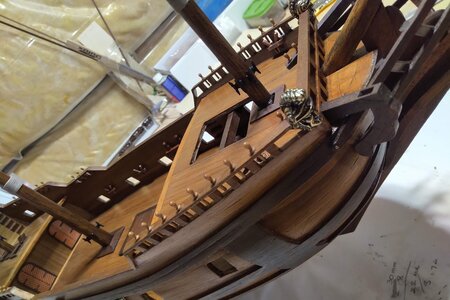
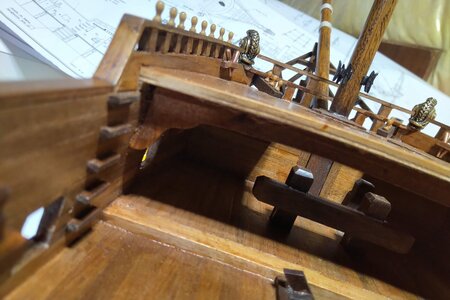
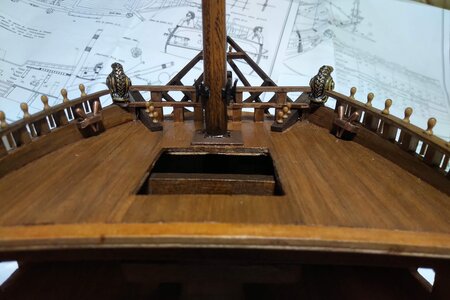
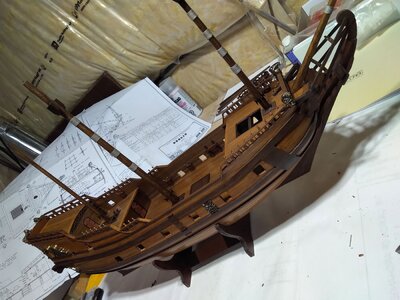
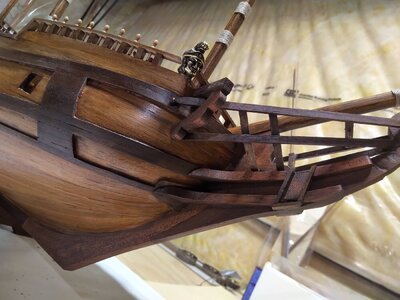
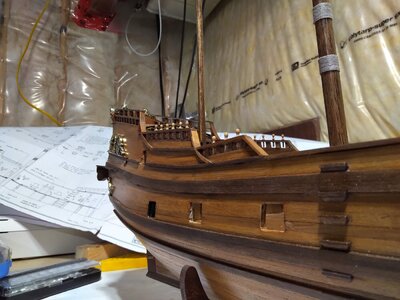
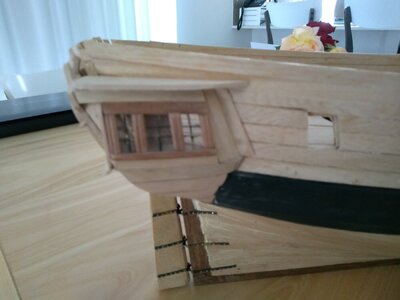
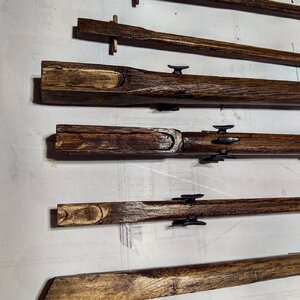
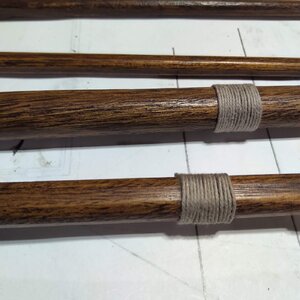
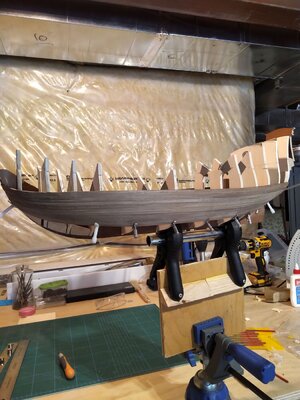
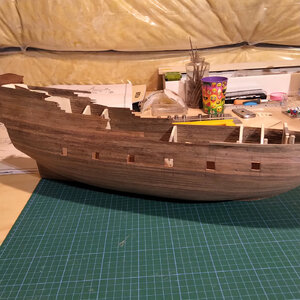
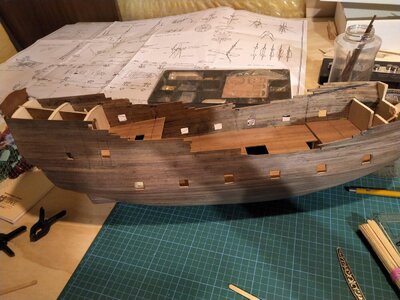
I'm a first time modeler but a decent handyman with a passion for wood works. I received the Berlin Kit as a gift in January of 2021. After many long hours of researching articles and reading posts I started the build in February 2021. Below I`ve included some pictures taken during the progress and I'm almost ready for rigging. The plans from Corel are very poor in information, inaccurate if relied upon entirely and the guide isn't of much help either but again I`m a first timer. Many mistakes but I think overall I`ve done a reasonable work.
After 3 weeks of chasing lines on the plans to make sense of how rigging works so I can put a sequence for installation, I failed to understand and don`t know where to start.
Any help is greatly appreciated
IMG_20210213_1449364.jpgIMG_20210314_0134468.jpgIMG_20210401_180501_01.jpgIMG_20210411_0108094.jpgIMG_20210523_0301020.jpgIMG_20210523_0303261.jpgIMG_20210717_1740387.jpgIMG_20210829_1908156.jpgIMG_20210906_2139182.jpgIMG_20210906_2142481.jpgIMG_20210925_1942449.jpgIMG_20211003_0014405.jpgIMG_20211115_1918433.jpgIMG_20211115_1920289.jpgIMG_20211128_2254492.jpgIMG_20211212_1755536.jpgIMG_20211219_2141290.jpgIMG_20211219_2150106.jpgIMG_20211219_2151292.jpgIMG_20211219_2154556.jpgIMG_20211219_2155149.jpgIMG_20211219_2225191.jpgIMG_20211219_2225484.jpgIMG_20211219_2226184.jpg
 
Hi all,

I'm a first time modeler but a decent handyman with a passion for wood works. I received the Berlin Kit as a gift in January of 2021. After many long hours of researching articles and reading posts I started the build in February 2021. Below I`ve included some pictures taken during the progress and I'm almost ready for rigging. The plans from Corel are very poor in information, inaccurate if relied upon entirely and the guide isn't of much help either but again I`m a first timer. Many mistakes but I think overall I`ve done a reasonable work.
After 3 weeks of chasing lines on the plans to make sense of how rigging works so I can put a sequence for installation, I failed to understand and don`t know where to start.
Any help is greatly appreciated
View attachment 286481View attachment 286482View attachment 286483View attachment 286484View attachment 286485View attachment 286486View attachment 286488View attachment 286489View attachment 286490View attachment 286491View attachment 286492View attachment 286493View attachment 286494View attachment 286495View attachment 286496View attachment 286497View attachment 286498View attachment 286499View attachment 286500View attachment 286501View attachment 286502View attachment 286503View attachment 286505View attachment 286506
Very nice workmanship.

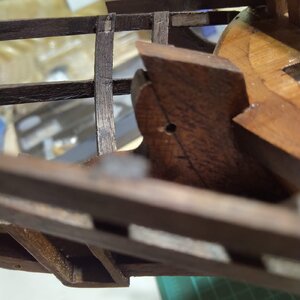
However, the rudder looks to me to be back to front. The gudgeons should face towards the ship and overlap with pintles attached to the stern post, like the image below.

IMG_20220104_160555372.jpg

Great progress in just one year. Congratulations.
 
Hi
With reference to the Corel rigging instructions. I have just completed the Corel Vasa and the rigging was a bit of a nightmare.
Assuming your instruction sheets were similar to mine the instruction booklet included pages of line sequences such as:
*519+520+519+621* (Fig3)
This is usually an alternating sequence of thread numbers and block numbers. '*' indicates an attached end.
If you follow these sequences while looking at the appropriate sheet plan it gradually makes sense. 'fig n' will refer to one of the detailed thumbnail sketches dotted at random on the current plan.
I hope this might help.
You have made a beautiful hull so I hope you achieve similar finesse with the rigging
I think Corel made some progress in their instruction booklet for the Vasa ( Such a beautiful boat) because the booklet for Berlin is a puzzle.
After 3 weeks of studying the plans and tracing line, I'm going to rig the boat in the following sequence and hope for the best
1) Rat lines and mast stays go up as I stack the masts
2) Sails attached to yards
3) Rig yards followed by rigging sails
 
Hello Mattio

Nice work so far looks nice and tidy and neat hope my efforts are as clean.
I am in the process of building this one as well between doing my Bounty. I am at the hull planking stage still and will take my time doing it as a little difficult. Yes the rigging description is a bit thin in description but a good study of the diagram of the sails of the ship gives an idea of it all.
I did the transom the other way around where I planked it first and then did the hull planks to the transom so the edge is seen from the back of the ship not the sides. Are they the original Masts as the ones in my kit are a pale yellow and fully square.
My personal preference for rigging is doing all the standing rigging first then the rat lines lower stays first then the upper stays and then do the yards and sails from the back of the ship moving forward. I find it helps to keep the tension on the lines . I attach the sails to the yards and then mount the yards as well. Sometimes I rig from the belaying pin up and sometimes the other way depending on where the ropes run through.
 
I agree with Robert B about the rigging sequence. When fixing thinner threads to belaying pins I found it useful to 'cheat'.
I put the thread through the belaying pin hole, pull to the required tension and then push in the belaying pin - maybe glued.
The free end can then be trimmed off or manipulated into a more convincing looking belay without having to maintain the tension at the same time.
 
Hi all,

I'm a first time modeler but a decent handyman with a passion for wood works. I received the Berlin Kit as a gift in January of 2021. After many long hours of researching articles and reading posts I started the build in February 2021. Below I`ve included some pictures taken during the progress and I'm almost ready for rigging.
I can't help you, I'm afraid, but might I say you're doing an excellent job with the kit. Hard to believe you're a first time modeler.

I bought the Corel Berlin myself well over 30 years ago. I loved the lines of it, and the fact that it was in a larger scale than most similarly sized models, so details would be larger. And this kit is abundant with details and great castings. After admiring the plans and parts for all those years, I realized in working on my HMS Victory cross section that I would never complete the Berlin, if I did start it, and sold it on eBay in November of 2020. Hopefully the buyer has done as good a job as you. Heck, maybe my kit found its way to you, in which case I am ecstatic it has found such a good home and build.
 
I greatly appreciate your complements Signet.

This is truly my first time to build model structure but I'm very passionate about designing and building structures in general and I always wanted to own a fine furniture shop since I was 13 years old and had some training in a shop but my parents shut the door because i almost lost a limb.
Over a year ago I saw the Berlin boat in an office in a construction company and I just fell in love with it so I asked from where do I buy a boat like this. I was told "you build it"!
4 weeks later I got called for another meeting and was handed the kit and was told the internet is full of resources ENJOY. Took me few days and many hours of looking at the parts to understand the contents. I got shocked to know and see how big is the modeling industry then my journey began and joined many forums and spent many hours of reading articles and shared experience on model boats.
What can I say, I just fell in love with boat modeling :)
 
I agree with Robert B about the rigging sequence. When fixing thinner threads to belaying pins I found it useful to 'cheat'.
I put the thread through the belaying pin hole, pull to the required tension and then push in the belaying pin - maybe glued.
The free end can then be trimmed off or manipulated into a more convincing looking belay without having to maintain the tension at the same time.
Humm, that's something I'll keep in mind for the future.
 
Hello Mattio

Nice work so far looks nice and tidy and neat hope my efforts are as clean.
I am in the process of building this one as well between doing my Bounty. I am at the hull planking stage still and will take my time doing it as a little difficult. Yes the rigging description is a bit thin in description but a good study of the diagram of the sails of the ship gives an idea of it all.
I did the transom the other way around where I planked it first and then did the hull planks to the transom so the edge is seen from the back of the ship not the sides. Are they the original Masts as the ones in my kit are a pale yellow and fully square.
My personal preference for rigging is doing all the standing rigging first then the rat lines lower stays first then the upper stays and then do the yards and sails from the back of the ship moving forward. I find it helps to keep the tension on the lines . I attach the sails to the yards and then mount the yards as well. Sometimes I rig from the belaying pin up and sometimes the other way depending on where the ropes run through.
Hi Robert,

The masts are the original supplied square wood and I rounded them from the deck level up but make sure the rasp is fine toothed otherwise the wood chips pretty bad. For some reason, the masts material doesn't stain well so I used acrylic canvass paint then varnished.
To avoid some of the frustration I had, I would recommend the following:
1) The "mascette " part # 85 should be fitted on flat face so don't round this location on the mast.
2) Order 15-20 strips of the 2x6 ahead of time because definitely the kit is short supplied.
3) Drill the hole for the main mast stay (in part # 26 ) before assembling the bow. Very hard to reach after.
4) Shape and dry fit the masts before placing the deck.
5) the 6x6 for the cat head should be cut 2.5 cm longer than the measure from the plans. I had to splice mine after the fact and was nightmare.
6) Rigging for the cannons isn't included in the kit so if you plan on rigging them get more supplies.
7) When trimming the top of the hull, don't use the longitudinal section on Plate #3 but use Plate # 1 ( Big difference between the 2)

Good luck

Image (1).jpeg

IMG_20220129_1234597.jpg

IMG_20220129_1235120.jpg

IMG_20220129_1237043.jpg

IMG_20220129_1237181.jpg
 
in my opinion, you have to start with the fixed maneuvers and then the moving maneuvers
I will often start with the belaying pins before doing all the other rigging because it's difficult to reach the belaying pins after all the other stuff is built. Then I can run the lines up to the yards and fasten them to the yards and sails later and keep the tension up at the same time. Except for the stays, I build rigging up instead of down.
 
I will often start with the belaying pins before doing all the other rigging because it's difficult to reach the belaying pins after all the other stuff is built. Then I can run the lines up to the yards and fasten them to the yards and sails later and keep the tension up at the same time. Except for the stays, I build rigging up instead of down.
Thank you
 
Hello Mattio

Thanks for the tips and will keep them in mind when I get to that stage
I actually measured the sails on the drawings and made them from the drawing sizes lot of tracing but they seemed to work out well.
I am also looking at painting my model as it looks nice to me with the colors all done.
Will start a build log when I get a little further into it.
 
Back
Top