Cutter Speedy 1/300

Joined
Jun 10, 2020
Messages
245
Points
218

Years ago I bought the cutter kit from Langton Miniatures. I read the Philip Reed books and wanted to give the small scale a try.
The plan is to convert it to represent the cutter Speedy of 1828 (more or less):)

Until now I only did plastic kits of aircraft in 1/72 an and 1/144 and modern ships in 1/700, so the rigging part of this build will be something completely new for me.
If this turns out well I might do their brigg as well.

Let's start with some pics of the kit contents. The box comes with a photograph of a finished build. This and the pics on their webpage are the only ones I could find.
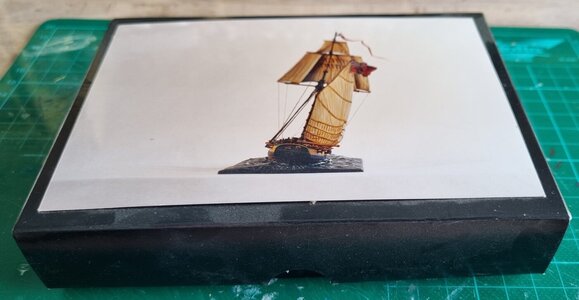
20220815_144615.jpg

The contents of the box. I opted for a full sail set, sea base and figurines (I'm not sure if I will include those)
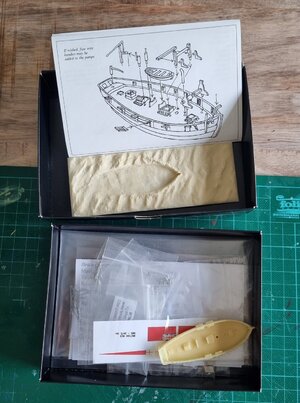
20220815_144636.jpg

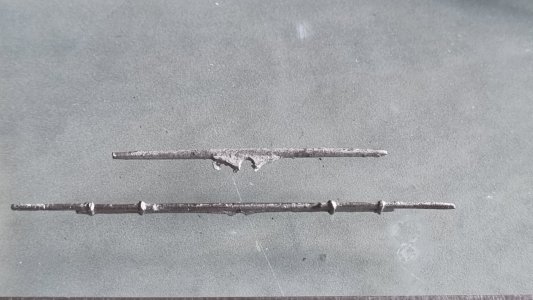
The hull is one piece of resin, fittings and masts are in pewter, which is a bit difficult to handle since it is so soft it bends easily. Once the standing rigging is in place it should be rigid enough though.

20220815_144736.jpg

Shrouds and ratlines, sails and gunports are photo etched brass. The sails do look good and are to be bend to have details on both sides.
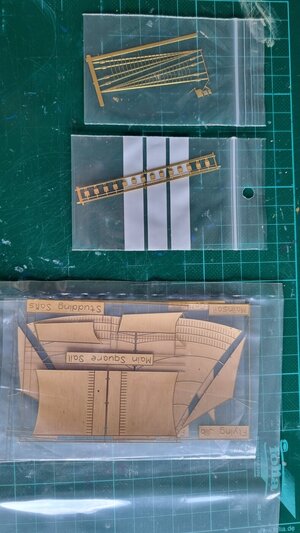
20220815_144816.jpg

The cast of the hull is quite good, with only a few air bubbles, one of the channels had a corner broken off. This is easy to repair since I have to fill the empty space in between the two to form a one-piece channel.

20220815_145037.jpg

In this pic one can see the small air bubbles on the shots/cannonballs.

20220815_145054.jpg

20220815_145105.jpg

Some cannonballs came out flat so i need to build them up with white glue or something.

20220815_145108.jpg
 
Last edited:
I started the build installing some of the fittings.

20220815_190908.jpg

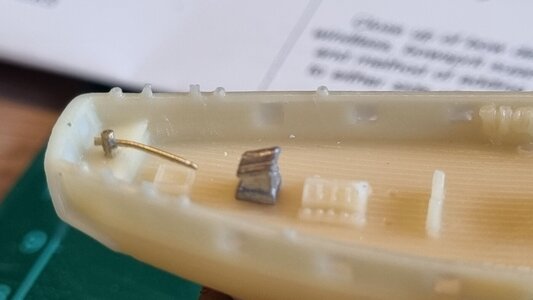
After installing the tiller I realised that it is way too big so I will make a new one from wire.

20220815_200111.jpg

Some more fittings cleaned:

20220815_202021.jpg

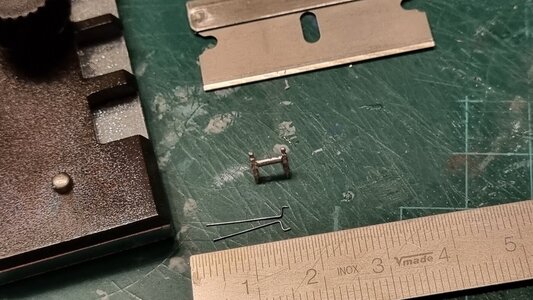
Making handles for the winch:

20220815_222331.jpg

20220815_223509.jpg

I broke off a knee of the mast bitts and had to replace it with one cut from a polystyrene sheet. I have to be extra careful on those masts :oops:

20220816_172226.jpg

I added handles to the elmtree pumps:

20220816_174338.jpg

Some mouldings on the stern made from wire and build up with artist gesso.

20220820_114733.jpg

I decided to take off the two-part channel and fit an new one:

20220820_115210.jpg

The resin cuts easily with a scalpel blade. After cleaning up with a fine sanding stick and a fiberglass brush:

20220820_115942.jpg

And the new one in place

20220820_130508.jpg

I have to clean up the hull some more before final painting. Macros are brutal on those small parts :rolleyes:

20220820_130537.jpg
 
Last edited:
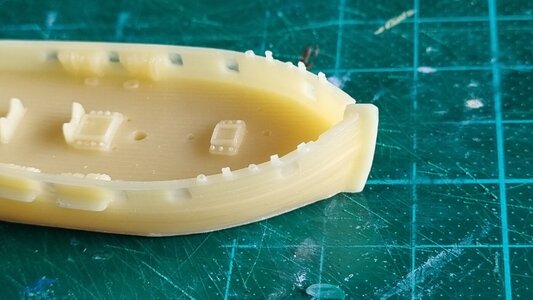
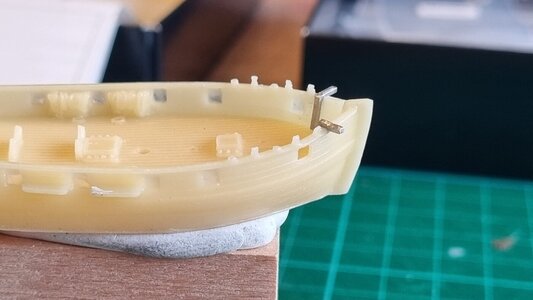
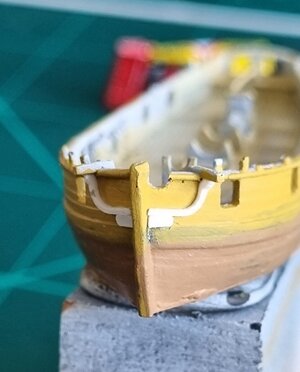
The bow is next. Hawse hole timbers were cut from styrene sheet and installed:

20220820_140044.jpg

Cathead knees:

20220820_143510.jpg

And the moulding under the gunports made from 0,25mm wire

20220820_151725.jpg

Cutting and filing the transom knees for the stern:

20220820_160350.jpg

Once the two parts were cut they were glued together with PVA glue to file them simultaneously while being held in the tweezers. Still a little rough in the Photograph. They were sanded with a very fine sanding stick before installing...

20220820_160705.jpg

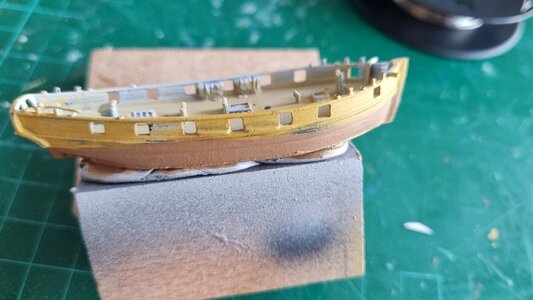
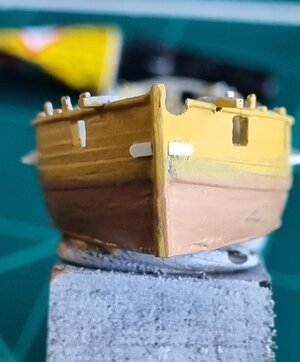
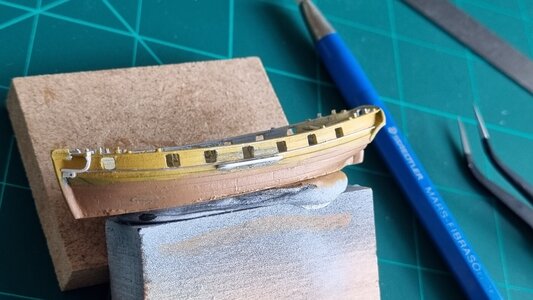
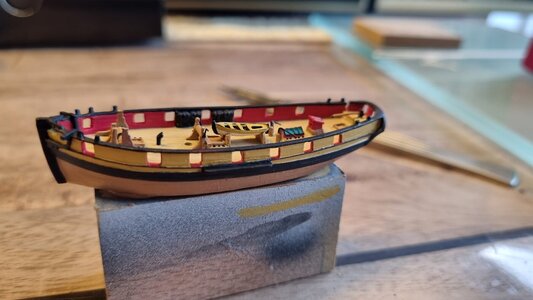
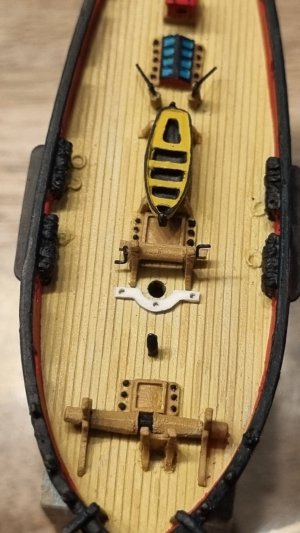
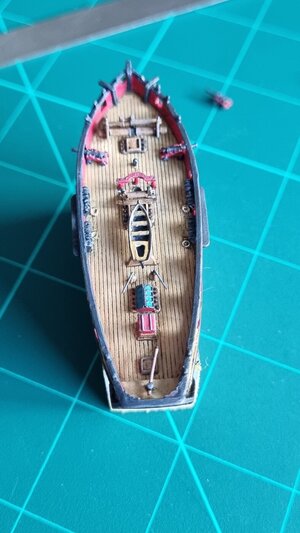
All kit supplied deck fittings are installed and base color applied to the model.

20220821_195904.jpg

Some more details are missing, like the "half round" pin rail in front of the mast, pinrails between the bowsprit bitts and windlass bitts and the two deckhouses at the stern. Since I do not have plans for the ship I have to "guess" the dimensions from Photographs. Still have to figure out how to do these

20220821_195924.jpg
 
Building a pin rail from scratch. As I have no plans for exact measurements I have to eyeball proportions and dimensions. It doesn't really matter too much at that scale as long as it looks somewhat believeable from a certain distance. Nobody will look at those small models with a magnifying glass, this would only ruin the appearance. These models are meant to be admired as a whole.

Or as Philip Reed described in his introduction to the Period ship modelmaking book: ..."
The distinguished ship modeller Donald McNarry believed that
miniature models should never be portrayed at a larger size than the models
themselves, and I tend to agree with him. Doing so rarely shows off to
advantage any virtues the model may possess but magnifies the tiniest of
blemishes and faults. ..."

Anyway, here is the cutout pin rail:

20220821_204503.jpg

After drilliing the holes for the stanchions I positioned it with some rubber cement to mark the holes in the deck.

20220821_210605.jpg

This was done with a sewing pin:

20220821_211002.jpg

And the holes drilled in the deck:

20220821_211038.jpg

Brass wire added serving as a base to mould the stanchions and test fit with the mast in place...

20220821_214247.jpg

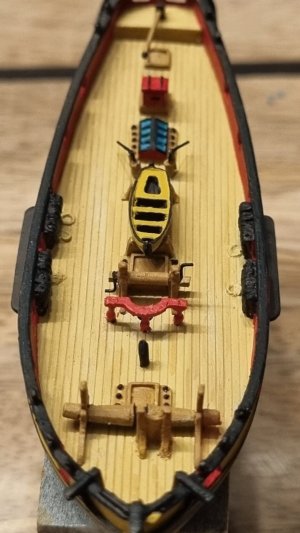
Stanchions formed with artist gesso and a coat of red paint:

20220821_215321.jpg
 
On to the masts...
Detailing the main mast head. I rounded off the mast cap, squared the mast head / topgallant mast heel and build up the tressletrees and crosstrees from styrene strips:

20220821_224815.jpg

Mast cheeks and a sort of iron band thingy to attach the gaff throat halliard (still have to look up all these nautical terms :D)
The iron bands around the boom and gaff jaws are made from paper strips:

20220822_194039.jpg

The spars have these oversized reinforcement pieces cast to grip around the mast. This looks horrible when istalled like this so I decided to file them down to an absolute minimum:

20220822_200211.jpg

To attach the yard to the mast I will use wire pins:

20220822_200646.jpg

Dryfitting the yard. Yes, it is upside down in the picture Cautious

20220822_201008.jpg

And finally added the spreader bar for the topgallant shrouds

20220823_181148.jpg

Painted:

20220824_194651.jpg

And an Über-macro of the mast head. It's a pity that most of the details will be hidden by the shrouds and stay...

20220824_194748.jpg

Thanks for Your interest and the likes
 
Thank You all...

Small progress on a small model :D
To bring out the details the model got a wash with dark brown heavily diluted oil paint. After this has dried completely a drybrushing of grey acrilic was applied. This is result. It looks kind of dirty in the macro pics, when viewed from a "normal" distance it looks fine :D

20220824_194017.jpg

20220824_194131.jpg

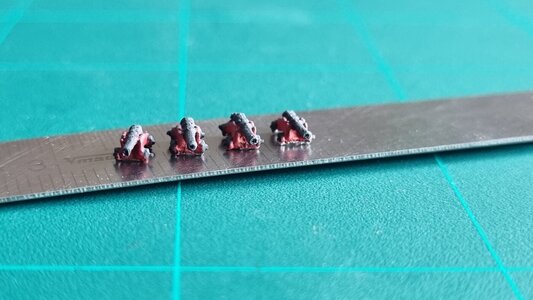
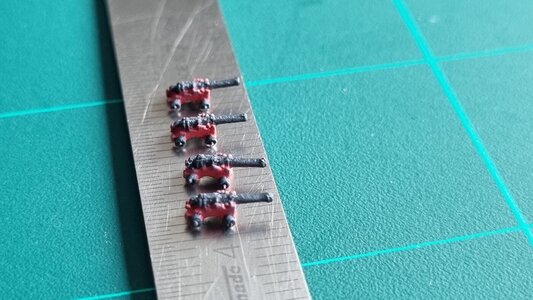
Then on to preparing the long 4 Pounders. Again, macro pics are somewhat ruining it...

20220824_194430.jpg

20220824_194453.jpg

20220824_194608.jpg
 
Hi,

this is where I am at the moment. I am still building, but at a real slow rate :-)


Painting the carronades and anchors is done

20220921_072710.jpg

Installing cannons and caronades:

20220922_122239.jpg

The breeching rope for the cannon is installed. In the backgroung is my wire bending jig to form the breeching rope

20220922_135856.jpg

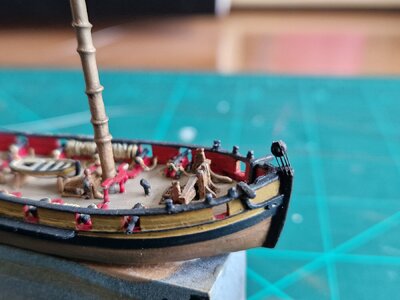
Doesn't look too bad, maybe I have to tweak the color a bit as they are too "yellow"...

20220922_195248.jpg20220922_195313.jpg
 
hello Miniature Fan,

just found your wonderful article about building 1:300 Cutter. I wonder if you have any pictures of the ongoing construction or even the finished model. If so, it would be very kind of you to post some of it.
Thanks
francisbav
 
At the moment I have very little time for modelling, in fact I have about 15min in the morning before leaving for work to build the frames for my Trident Alert. One day I cut and clean the parts for one frame, the other day I glue it. So I get a frame done every two days. o_O

The actual state of this model is still the same as in the above pics except for the breeching ropes on the cannons and carronades. They are all done.
Several months ago I tried to find a solution to represent the running rigging of the cannons and this is where I stopped. But I will continue as soon as I find the time and post the progress.

Thank You for Your interest
 
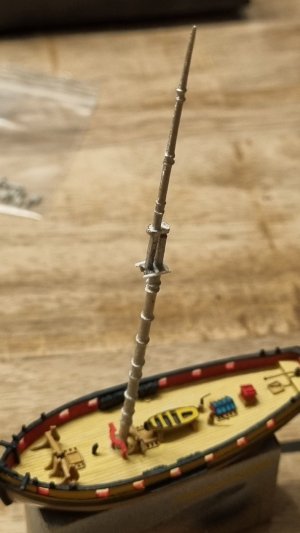
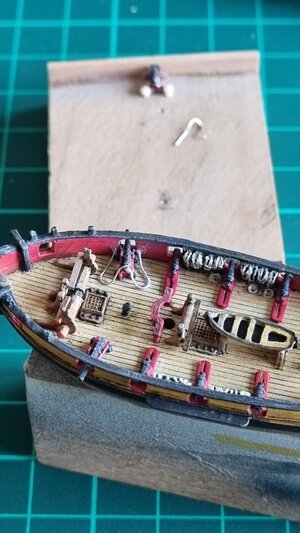
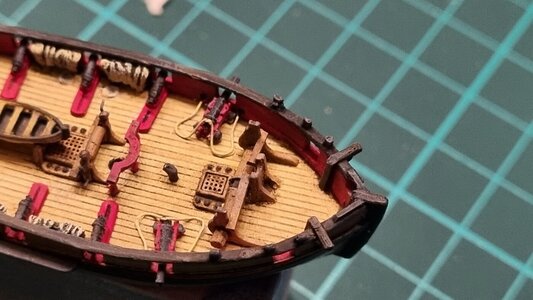
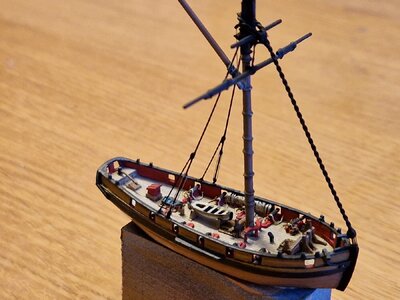
Yesterday I took the model out and was surprised to see that I already installed the mast and started with the standing rigging, just forgot where I stopped last time :eek:
I forgot to update my build log and I can´t find the fotos I took during construction. So here is the actual state:

20240604_214119.jpg

The breeching ropes are made from 3 really thin copper wires twisted together. Maybe not ideal as they unfurled slightly during installation, which by the way was a real pain. Tweezers and Magnifying glass and a lot of swearing... this I can remember though

20240604_214129.jpg

Macros have a devastating effect as always, but can show errors and flaws, too.
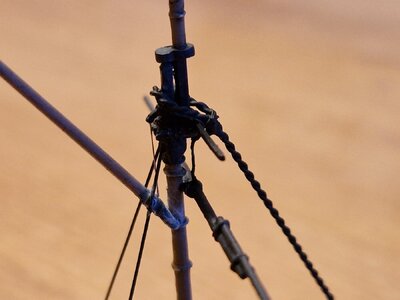
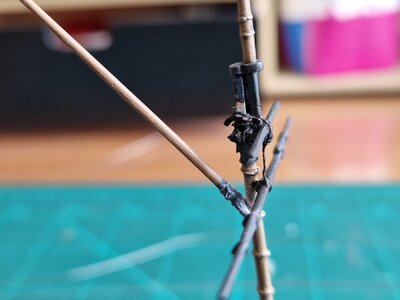
To start, the mainstay, made from 2 twisted brass wires, is way too thick. I chose brass because of the stiffness to help stabilising the mast (which is soft pewter), but it is simply too stiff to wrap around the crosstrees in a somewhat realistic manner. I will try to redo it by twisting 3 thin copper wires and without damaging the mast and the deadeye.
Second, the backstays should be made the same way, with 3 strands of copper or nickel chromium wire. For the lanyards (is that the correct translation for "Talje" in german?) will be made with NiCr wires.

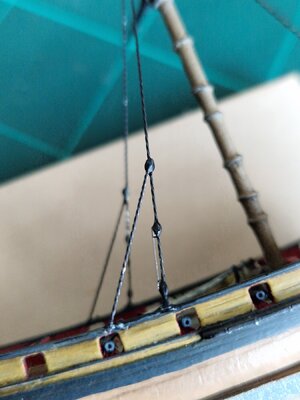
The pulleys are drops of white glue (PVA) apllied to the wire with a sewing needle. I used quick setting PVA (Ponal express) and after about 3 minutes apllied a second drop (depending on the size maybe a third drop). A few minutes later the drop was pressed flat with tweezers or needle nose pliers. The lanyards are then cut to length and glued on the circumference of the "block".

20240604_214157.jpg

This is the mainstay bent around the crosstrees. It´s almost as thick as the mainyard or the topmast Thumbsdown
And the superglue is leaving a haze which has to be covered with paint...

20240604_214213.jpg

I hope to find time to continue soon, working in such a small scale is somewhat satisfying
 
hello Dan,

thank you for the new pictures of your cutter. For me it is really an outstanding piece of miniature art, especially at 1:300, comparing with other models I have seen in small scales. Very inspiring!!!

A few months ago I discovered Langton Miniatures and bought the cutter and the schooner they offer.
The cutter is my first project in miniature after mainly building in 1:48, but 1:300 seems to be the right thing for me now.
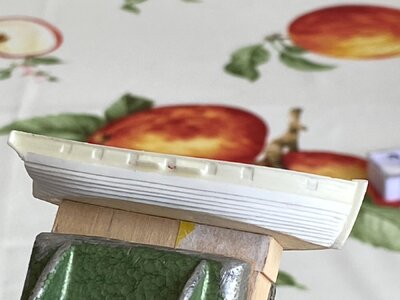
As British cutters were mostly clinker built, I decided to add some clinker planking to my model of the Cutter with Plasticard.

hope I can construct something that comes at least a bit close to your beautiful model.

By the way, I prefer to use the English terms for ship modelling, because I am mainly interested in British ships of the 18th century. All my books are in English language. But Talje for lanyard in German would be ok.

Thanks again for your pictures and building informations.

Franz
IMG_1449.jpeg
 
Sorry, I somehow missed Your post...

Wow, now that is cool! The clinker immediately adds a lot of realism to the lower Hull which is a bit rough I admit.

Do You have a build log for Your cutter?

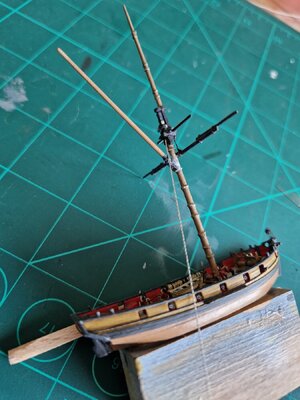
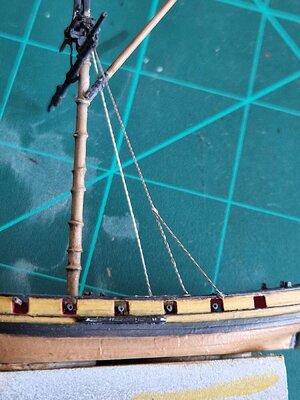
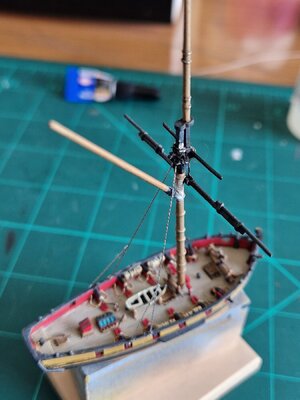
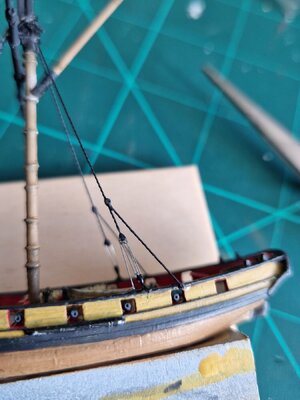
I was displeased with the main- and backstays so I took them off and redid it:

20240605_190441.jpg

20240605_190456.jpg

This time I took 3 NiCr wires and twisted them together. The diameter fits the scale better this time.

20240608_133001.jpg

20240608_135825.jpg

20240608_140439.jpg

20240609_101014.jpg

20240609_104822.jpg

20240609_105936.jpg
 
hello Dan,

thank you for the new pictures with the new nichrome stays.
I have not started a post of my built of the cutter and do not know if I will continue working on it.

I had a serious communication problem with Langton about another kit I bought from them in the meantime which was very disappointing.

But seeing the new, very inspiring progress on your build of the cutter makes me think it over again.

Please continue informing this forum (and me!) about your beautiful cutter!

Franz
 
Back
Top