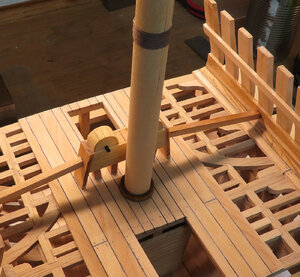
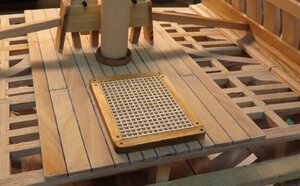
Donnie's HMS Blandford Cross Section Build: 1/32 Scale [COMPLETED BUILD]

I think we all understand why the framing was handled as it was
Also, you are correct Dave in the fact that unless you have some degree of experience of some advanced kit builds, then this would up the level of difficulty.
Yes, Mike's plans are very good and easy to follow. However, I am not sure why the framing was handled as it was. Do you mind expounding on this? I assume for simplicity? Not sure.
 
Sorry to hijack your thread, Donnie! You really are doing a superb job with this build!

I think there were two reasons Mike used the "sistered" frame approach. Harold Hahn was probably the first to use it. First is simplicity. The frames are easy to build. The real Blandford framing was a double frame, followed by two single frames, then another double and two more singles and so on. The double frames themselves started out at the keel looking like a Hahn sistered frame, but the frame then split into two parts, with space between them, almost like a snake's tongue or tuning fork! Very complicated. Also, instead of butt joints, the real Blandford used scarfs and chocks. More complicated still!
The second reason was strength, especially in the single frames. These used chocks and scarfs, with little gluing surface. Unless the chocks fit perfectly, and because of the end grain involved, the single frames could easily break. Using sistered frames throughout made framing much easier and sturdy!
 
Thanks. But apparently you have not seen some other pumps on this group build. This one is pale in comparison. I know that I am not putting my whole soul effort into this as it’s just a basic approach I am using. Therefore I am just neutral about the build. However, I am not minimizing any likes as I am grateful for those too. :)
 
Turning my attention to the Mast. It really needs to be done now before I go any further.

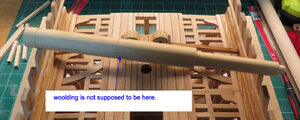
MAJOR MISTAKE: I added a woolding in the wrong place. I have two wooldings. I should only have one. For some stupid reason, my brain was focused on the fact that my lower deck was my main deck. This what happens with too many distractions. I need to learn to stop working on the project when the wife comes home from work and the dog goes stupid nuts and everything turns upside down and I can't concentrate.

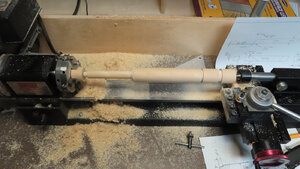
So, the wooldings are like a 1mm depth cut. I stole this idea from Mike41 so that some .80 mm line I have would tie around the mast. I could fix this by remounting the mast back to lathe and turn down the mast smooth again and turn down the mast just enough to get rid of the two wooldings and remake the wooldings in the correct place.

So, I might as well show all the guts and glory of the mistake. The rest of the images showing how I made the Mast Partners. I might score the ring to simulate separate partners.


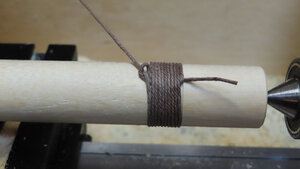
I like to section things off as much as possible as it keeps things in order and keeps from overturning something. (which is very easy to do). The section to the right is practice depth cuts.

mast-01.jpg


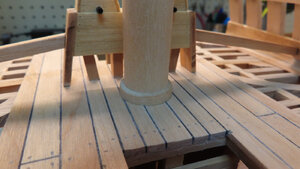
This shows the woolding which when mounted on the build, I will have a woolding that is inside the lower deck. This is NOT correct as I only need one woolding. I will remount the mast in the lathe to turn that down.

mast-02.jpg


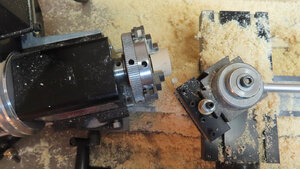
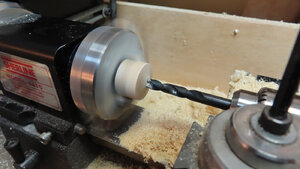
I am turning my attention and thought I would add the detail for a mast partner. So, this is the steps involved. I still have a scrap 1" dowel left in the headstock to do this. I adjusted the angle of the headstock to give the Mast Partner a slight slope downward.

mast-03.jpg


Boring a starting hole so that I can get my boring tool inside hole to make opening a lot wider.

mast-04.jpg


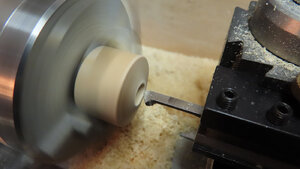
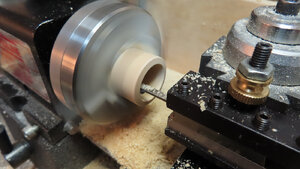
The boring tool will do its job here making a nice hole for the mast to slip into.


mast-05.jpg


Finished with hole.

mast-06.jpg


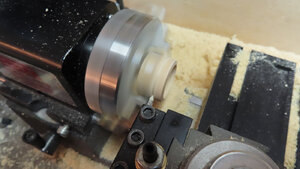
Now, time to part the ring off with parting tool.

mast-07.jpg


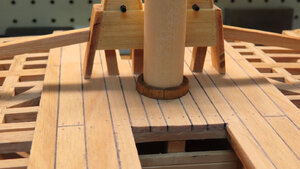
Mast Partner installed - now to remove everything and fix the extra woolding.

mast-08.jpg
 
Do the mast partners go on the lower deck also as well as upper deck to seal the hole and hold the mast steady.

From what I have seen in real life they are a series of wedges jammed into the hole to keep mast from moving around under load.
 
Kurt, you have a good point there and you are probably correct. So, before I glue this in, I need to figure out if I need to keep the partner or get rid of it altogether.

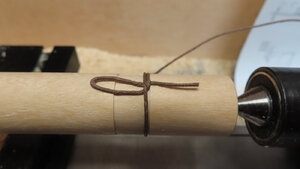
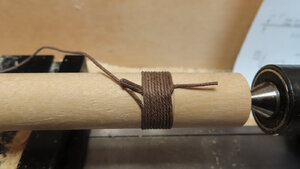
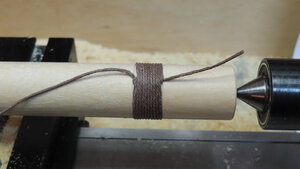
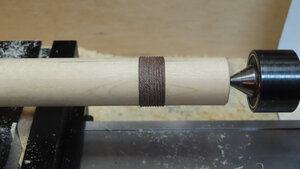
This is just a sequence of events of returning the mast to get rid of mistakes and adding the woolding.


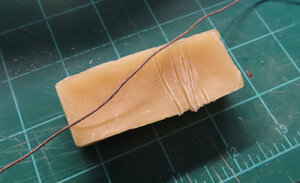
Bees Wax for the line.

mast-09.jpg

mast-10.jpg

mast-11.jpg

mast-12.jpg

mast-13.jpg

mast-14.jpg


I don't think this partner is supposed to be on the lower deck.

mast-15.jpg

mast-16.jpg
 
Maybe Mike or Doc can help us out with this technical stuff.

Your knot for woolding looks like an old Boy Scout trick we used to use to hide and secure ends!

Very well done!
 
Thanks for the reminder Donnie, then I will also look into how to make the mast.
 
Hi Donnie,

Nice work on the mast, removing the wooding below the deck was the right thing to do. The Blandford had wording in six places between the upper deck and the mast top.

Kurt is also correct about the mast partners; they were a ring of wedges driven between the mast and deck then cover ed over with a faring of canvas called the mast coat. This level of detail was not included in this exercise due to time and previous knowledge requirements. As the saying goes your boat your rules, additional can always be added by doing some research.
 
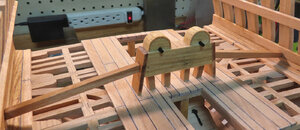
basic things. Hatchways are next. Nails are ends of toothpicks with black sharpie - start getting lazy and impatient and start looking for quick ways of doing things. I need to pick up some india ink to soak toothpicks in.
I am saving up all my energy when I start installing the chain pump cranks.

hatchways-01.jpg
 
Might check local office supply store or art supply store. Office Depot online has bottles from $7 to $40 depending on size. Staples had bottles starting about $23 online. Of course standard warning that in store stock varies!
 
My wife works at Hobby Lobby and they have small bottles of India ink. I can't remember the name brand but supposed to be very high quality.
 
Treenails not necesserally supposed to be black,you can soak wooden tooth picks in wood stain to achieve whatever shade or color you want
 
LOL - I figured the hatchway frame would be bolted down using iron bolts. That's what happens with artistry gets in the way of reality. Same as others using brass where it should not be.
 
Your model, your choices.

Nice to insider at Hobby Lobby to pick up supplies when needed.

I have to travel all of 3 miles to the nearest one to me, lucky the built new one in local area.
 
Back
Top