Dumas PT Boat (PT105) 1:30 scale by MOG [COMPLETED BUILD]

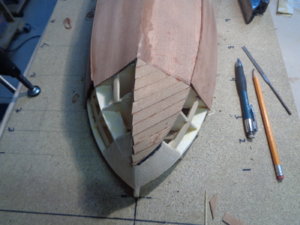
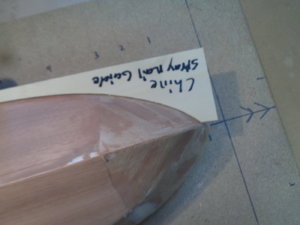
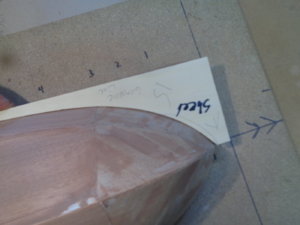
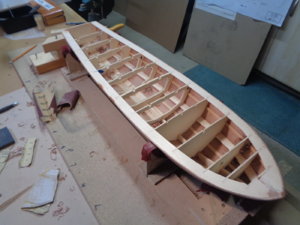
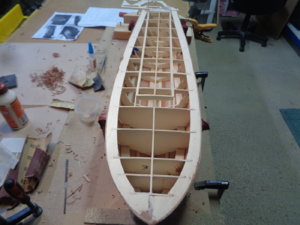
Planking the starboard side bow with 2mmX 5 mm mahogany strips. The Bottom of the bow is at a 45-degree angle with the tops at 30. The PT has sharp lines, the bow forms a fine knife edge First lesson learned here your sides and bottom sheet planking better be dead on straight at the termination point. The starboard side bottom was straight so the fairly even planking However I was slightly off on the port side so will make corrections before planking the port bottom. Given I’m working upside down its easy to misjudge the lines. Nothing a file and sandpaper can’t fix. DSC01328.JPGDSC01329.JPG
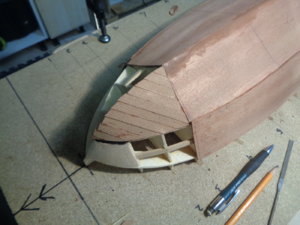
 
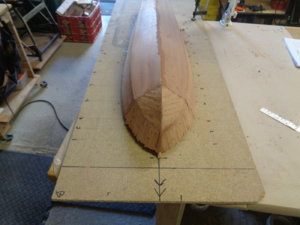
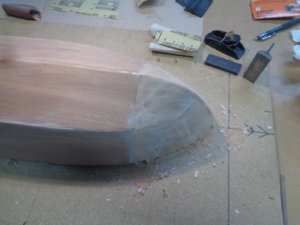
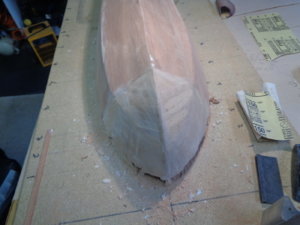
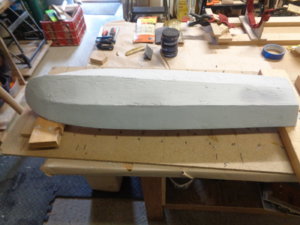
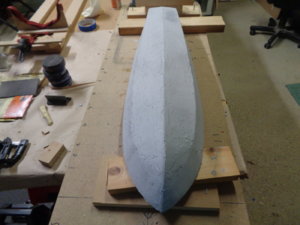
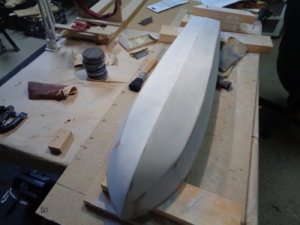
The wood hulls of a PT had to be very smooth as the Bow would bounce and hydroplane over the water at high speed. This build is a single layer hull. Will have to remove many more small flaws than I would normally with a double hull. The bow being the main area I have rough sanded for shape. Then applied a very light layer of wood filler by hand rubbing it into the bow then rubbing in sanding dust, the idea is not to over fill just rub the plank lines and dips in first. Doing this with my hands I can fell the shape. The light rub also brings up the flaws. I will repeat the procedure several times until I get the best surface I can get. DSC01334.JPGDSC01335.JPG
 
Filled and shaped The lines fit the templates I used about as close as I can get, the hull is smooth.
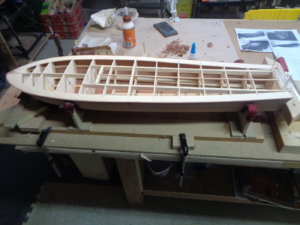
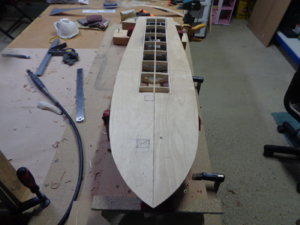
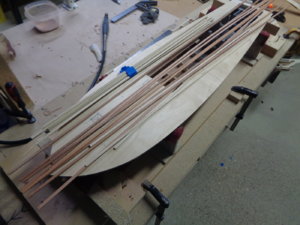
Working my next move. At this stage the plans call for cutting the hull off the board and shape the top for laying the deck, I plan to lay a sub deck then plank. The question is WHAT is the next move?
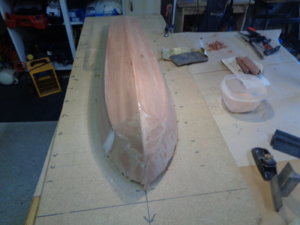
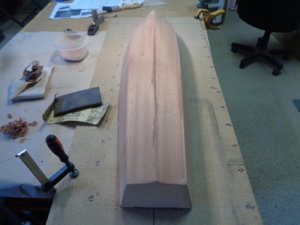
I need to seal the hull so it will be very smooth and take primer and paint I have tossed it out around several sites and gotten some good ideas from excellent builders Resin, bondo, straight primer , spay on a coat of lacquer then prime just to name a few. I think I will cut the hull from the board prep the top and lay the sub deck, then work out best way forward on the hull. Any thoughts on this would be helpfulDSC01336.JPGDSC01338.JPGDSC01339.JPGDSC01340.JPG
 
For something like this I would go for Zap finishing resin
!

This has a long working time and is a thin consistency.One coat is sufficient to seal and stabilize the wood.I would also put a coat inside the hull.This minimises any chance of the paint failing due to timber movement.Paint is less tolerant to movement than traditional wood finishes like varnish.You don't need any cloth or matting as the model is only for static display.After application a very light rubdown with 320 grit abrasive will allow the application of primer.Rattle can automotive filler primer will enable you to build up a thick enough layer to cut back with 400 grit wet and dry used with soapy water.You will get best results sanding both resin and primer after allowing both to cure for a full 7 days.
I have done this many times and this is the process I got the best results with.

Kind Regards

Nigel
 
You will need one 12 oz pack to be on the safe side especially if applying insideThumbsupAny left over can be used to seal the superstructure if you so wish prior to paint;)One more tip is to stand the bottles in a sink of warm water prior to pouring out and mixing.This makes the resin even thinner.

Kind Regards

Nigel.
 
Thanks Nigel & John problem solved
One of the best things about this site is the people, no one builds alone, without the sharing of ideas and experience, the builder does not improve their skills, sooner or later the hobby dies. I learn every day I go into the workshop. Again thanks to all who follow SOS
 
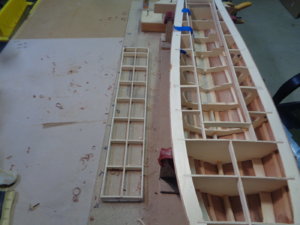
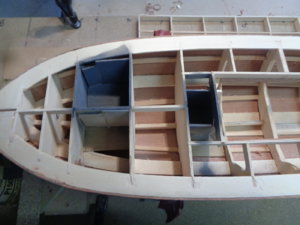
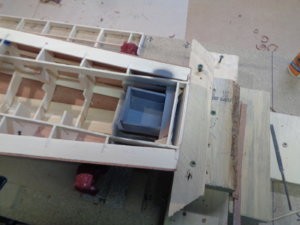
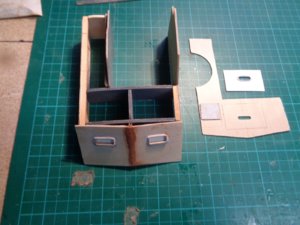
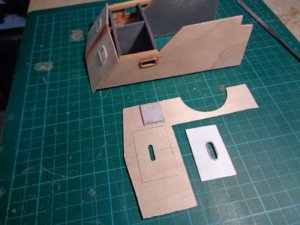
Completed removing the centre hatch frame with a static display I guess it’s not a must to remove, however I think it will be easier to work the superstructure off ship
There are 3 hatches 2 forward 1 aft, built the boxes in case I decide DSC01347.JPGDSC01350.JPGDSC01349.JPG to go open hatches later on. Will work the subdeck next, I have ordered the planking wood.
 
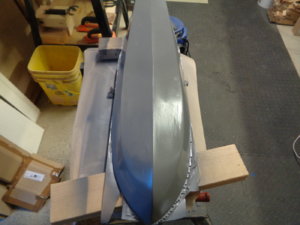
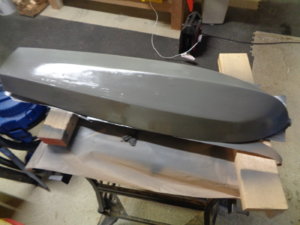
First coat of the filler sealing mix, first time I’ve done this, Last pic is after the first sanding &DSC01353.JPGDSC01354.JPGDSC01355.JPG light recoat and more sanding. Pleased with the early results, will lightly spot fill a few minor irregulates. Then give final sand. Not an expert on this but I think the a few coats of primer should fill in the very minor flaws.
 
Looking good. I remember when I sealed a hull, waterproofing really. I use to use a product called K&B. Do not know if still available, but the stuff was self leveling, sanded smooth as glass and accepted paint w/little problems. I have never used the product you have. I am wondering, are you RCing or is boat for display!
Rick
I remember that stuff, and yes was good. They are still around!
 
the build is static, so waterproof not an issue, to get the bow shape right I to used a fast holding putty filler, I use it allot in woodworking, however it dries bright white, so the natural wood look of the hull was out, so a combo of car and wood sealer filler mix to get it smooth for primer and paint. Still kicking around ideas for the sub deck planking, cover or not.??
 
Back
Top