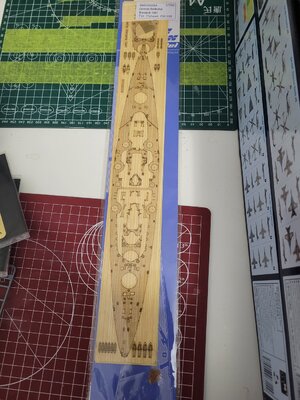
Flyhawk 1/700 Bismarck Deluxe

Joined
Oct 9, 2022
Messages
10
Points
48

Location
Ontario, Canada
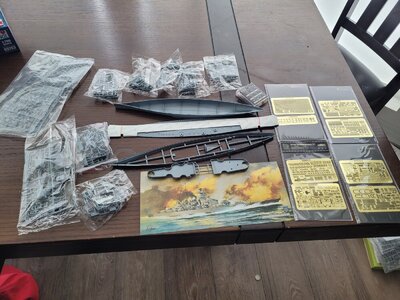
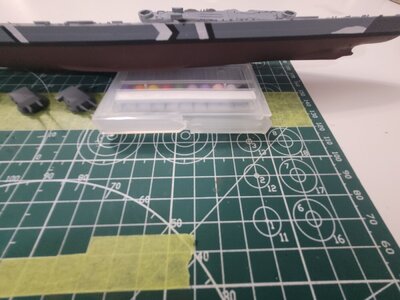
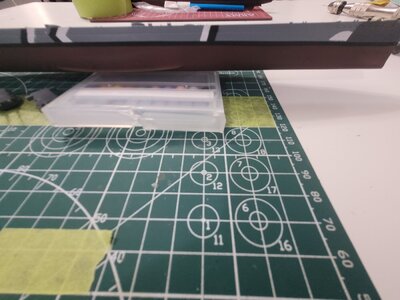
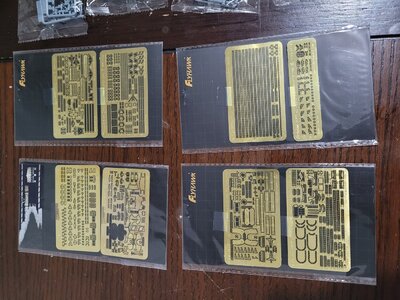
Hi guys and girls! First post here, and relatively new to this so please be gentle. Really quick back story.. I recently got into model ship building, to which my 10 year old son said "Hey I want one too!!". So i got us a couple of 1/700 waterline ships, which we got through pretty easy, with only 2 minor mess ups on his part. He thought it was easy. So I got myself a Flyhawk Bismark deluxe kit, and I got him the I love kit HMS Hood top grade kit. Upon opening the box, I realized the amount of detail in these, and that he may struggle with this. But he is excited to try. I'll post pics as we go along, but forgive us in advance while we try to do these kits justice.
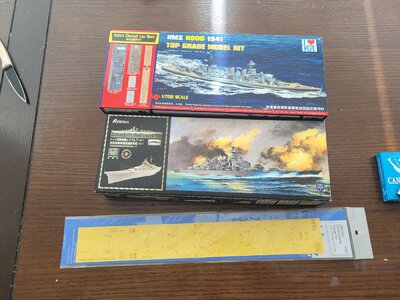
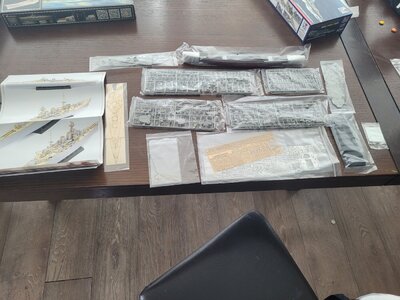
20221008_122442.jpg

20221008_131845.jpg

20221008_151353.jpg
 
Last edited:
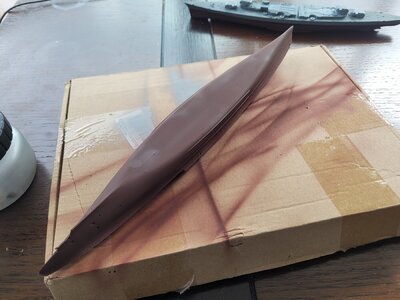
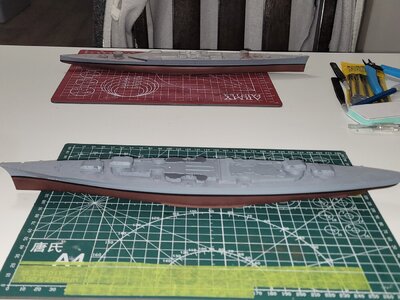
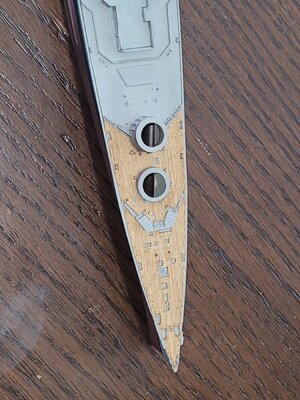
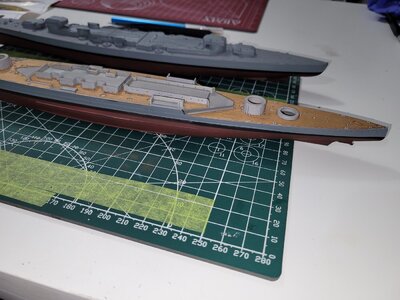
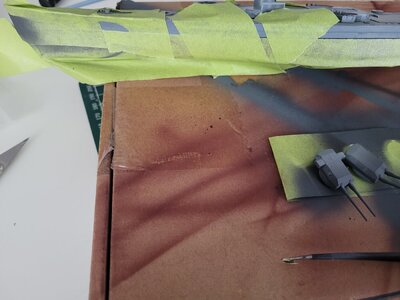
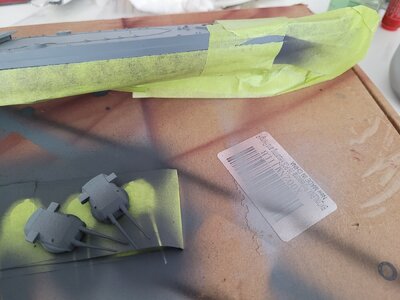
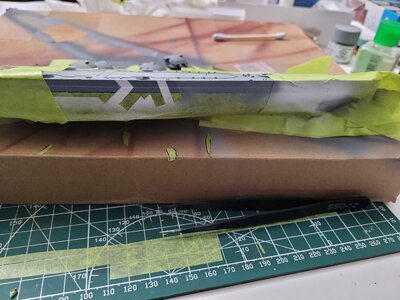
Both hulls have been assembled and painted. Both kits, call for the first upgrade step to be the guns. Sadly my little Amazon drill bits aren't small enough to drill the holes for the new barrels, se we elected to skip that step until I can get to the hobby shop this week and get a good set of bits. We decided to put the wood deck down on the hood so that my son could get started painting and attaching all of the deck details. It was so nice, that I decided to order the wood deck for the Bismarck as well (should be here in a week). He had a minor oopsie while cutting a piece off the sprue that can be seen in the pics. That will be fixed with putty. I also think that with this much photo etch, that it would be wise to invest in a decent bending machine or 2 this week, before trying to jump into all the PE stuff.

20221009_143651.jpg

20221009_231636.jpg

20221010_182128.jpg
 
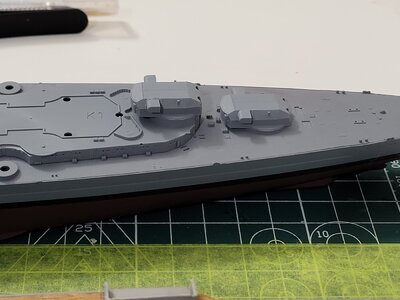
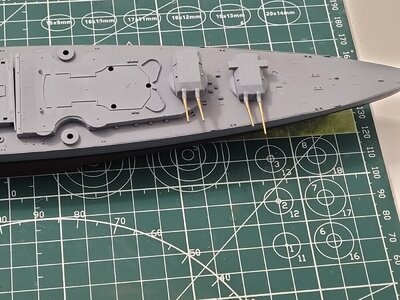
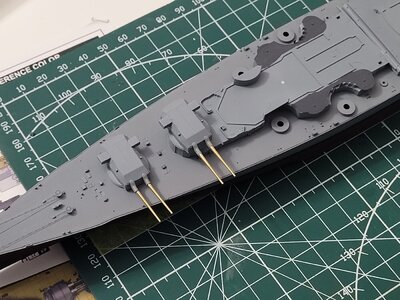
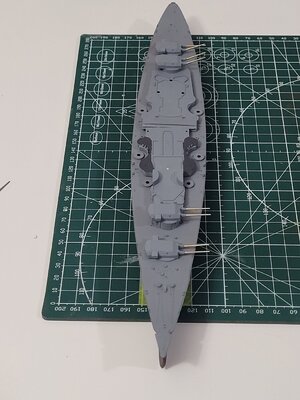
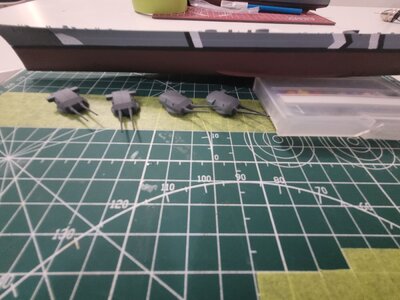
I managed to get some work done on the Bismarck last night and today, as the drillbits I ordered arrived in the mail. I drilled and installed the new guns into the turrets. I also decided to finish up the hull by painting the camouflage. Since I already had the right color in the airbrush, I painted the newly installed gun barrels as well.
I have also started to get work done on the hood as well, since I have more or less taken over that build. My son has lost interest (as I suspected he would), leaving me with 2 very nice models to build. Imagine my disappointment. On that note though, I will be starting a seperate build log for the Hood and will not be updating on it here any more.
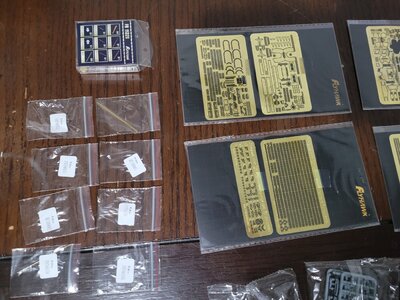
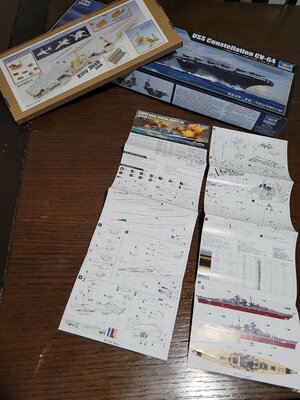
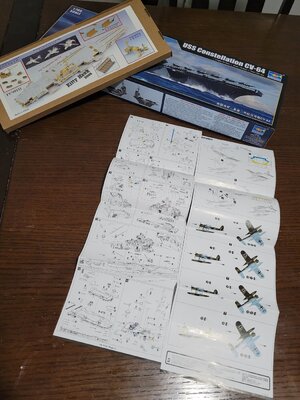
I also snapped a few more up close pictures of all the photo etch parts to give a better perspective of the detail in this kit. But on that note- with all the attention paid to all the smallest details, I feel like they really left a lot to be desired when it comes to the instructions. All those sprues and you get these 2 pages that look like an afterthought.
P.S. forgive the shameless plug on some upcoming projects ;)

20221014_235906.jpg

20221014_235928.jpg

20221015_000025.jpg

20221015_143901.jpg

20221015_143905.jpg

20221015_184314.jpg

20221015_203718.jpg

20221015_203740.jpg

20221015_203809.jpg

20221016_010453.jpg

20221016_010531.jpg

20221016_011022.jpg

20221016_011042.jpg
 
Last edited:
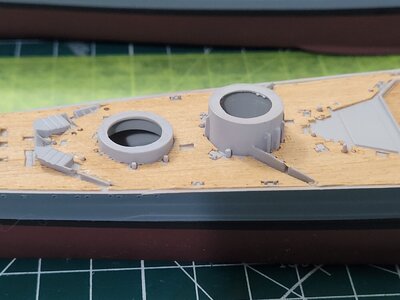
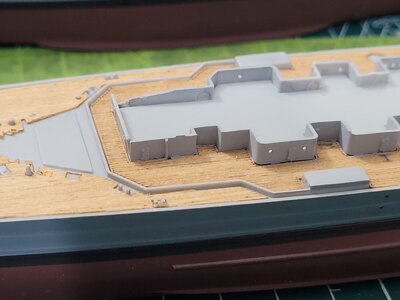
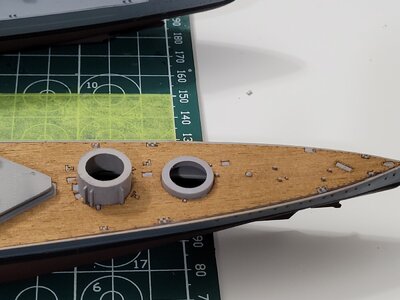
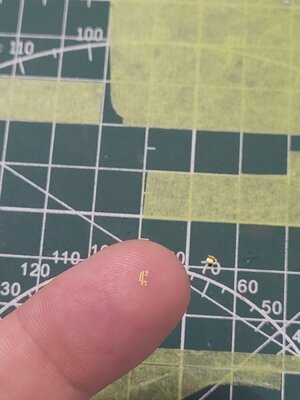
I had been focusing on the Hood a bit more this week, as I was waiting for the wood deck to arrive for this build. I am also waiting for the PE bender tool to arrive- which it has not as of yet. The deck is here however, and I had ordered some anchor chain as well- not realizing that the wood deck kit also came with chain- so now I have lots of chain for future builds. I was going to sit down this week and try to get a start on the PE AA guns. I made it to "component" #2, which called for 5 bends. The picture below is component #2..... I think the plastic AA guns will do just fine for this build..... more to follow.

20221018_212131.jpg

20221020_194334.jpg
 
Last edited:
Back
Top