• Win a Free Custom Engraved Brass Coin!!!
    As a way to introduce our brass coins to the community, we will raffle off a free coin during the month of August. Follow link ABOVE for instructions for entering.

Gallic fishing boat St Gildas [COMPLETED BUILD]

Joined
Nov 4, 2021
Messages
1,446
Points
393

Location
Tokyo, Japan
While I wait for some glue to dry on my New York Pilot Boat Phanton (and screw up my courage for the next step) I thought I would delve into another kit I picked up from my LHS before they went out of business.
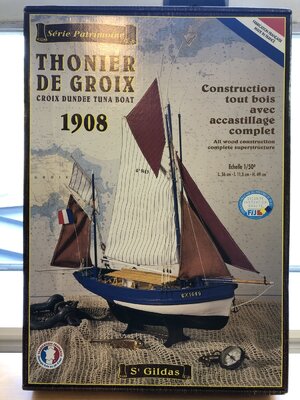
IMG_1761.JPG
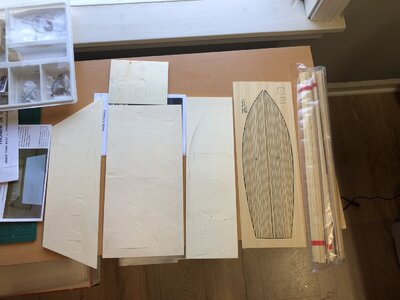
It seems to be a pretty basic kit. The fittings are well made, but as far as the supplied wood I would have expected a bit better quality considering how much the kit cost. Here are some shots of the box contents:
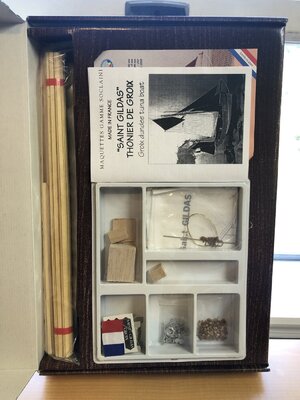
IMG_1762.JPG
IMG_1763.JPG
The deck is pre-printed, but I think I will probably flip it over and do my own planking seams. The sails are also pre-printed so we'll see what becomes of those.

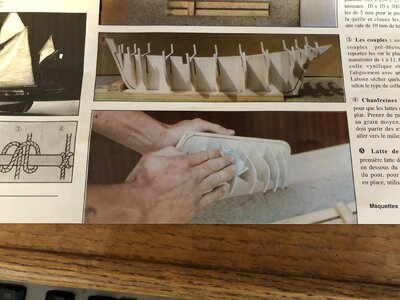
Instructions are, of course, entirely in French so I'm thankful to live in an age of Google Translate....
 
Last edited:
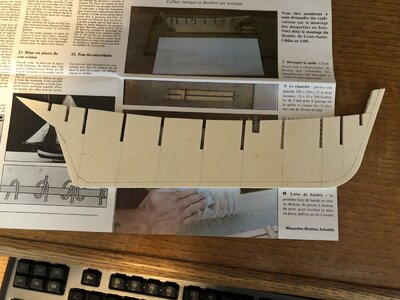
The first step is to prepare the false keel. The photos in the instructions show the outline of the hull planks printed on the keel, but this is not actually present so it must be transferred from the plans and drawn on by hand
IMG_1764.JPGIMG_1765.JPG

This is where I seem to be at a decision point.

The instructions make no mention of a rabbet for the planks, although what little I have learned of POF construction would indicate that the rabbet is nearly always used. The decision I have to make is whether to 1) cut the rabbet into the false keel (which is made of 5-ply veneer) as it is, or 2) remove the stern post, keel and stem entirely and make all new parts from solid hardwood.

Since the entire hull gets doped and painted, I don't think the raw veneer edges will take much away from the finished product, but making all new stem, keel and sternpost would greatly simplify (I think!) the job of cutting the rabbet--really would just be a chamfer using this method--in the false keel.

What do you old salts recommend?

Whichever I choose I think it needs to be done before I start adding the bulkheads. Speaking of bulkheads, there is a diagram in the plans showing the arrangement of the numbered bulkheads on the platten from which they are cut. Unfortunately, the actual platten in the kit is laid out nothing like the diagram so it's a lot of guesswork trying to figure out the numbering of the bulkheads. Nor do the shapes of the bulkheads watch very closely the lay lines for the hull so not much help there.
 
Last edited:
Sorry, guys; have been on vacation in Japan for a couple of weeks. hopefully I'll get back to this and the pilot boat Phantom in the near future. Still puzzling over rabbeting the false keel.
 
Apologies to anyone who might have been paying attention to this thread. The kit went into the closet while I puzzled over the question of the rabbet, and I had lost track of this build log. I recently dredged the kit out and have finally made some progress, withe the first layer of planking done. Will post some photos tomorrow after the liquitex has had a chance to dry.
 
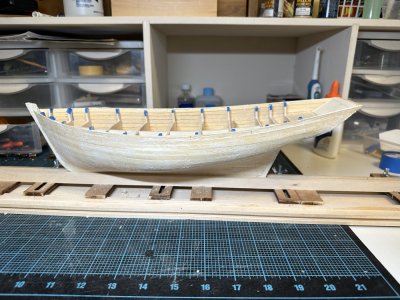
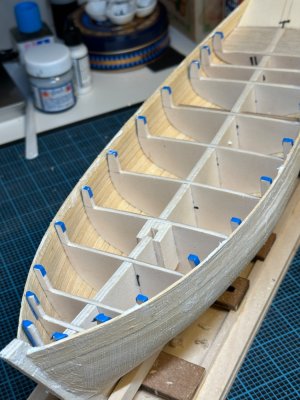
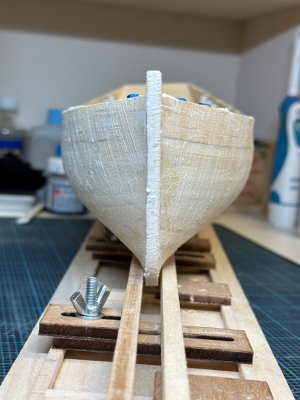
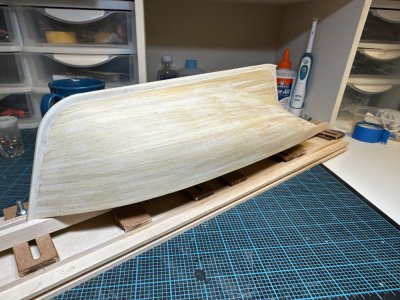
As promised, a few update photos of the planked hull with a thin layer of liquitex:
IMG_5072.jpeg
IMG_5074.jpegIMG_5073.jpeg

My original plan had been to double-plank the hull, but the first layer actually turned out pretty decent (my first attempt at planking without pre-shaped planks) and since it’s going to be painted anyway, I don’t think the second layer will be worth the tedium. We’ll see how things look after sanding. Even pre-bending the planks for the bulwarks I could not achieve the right amount of tumblehome. The bulkhead stanchions were too flimsy and easily broken to hold their shape properly.

So far this kit has been a real dog. Instructions are sparse and mostly in French so there’s been a lot of guesswork. Wood is all garbage, but I don’t have space yet to set up even a small wood shop to make my own so I’m trying to make do as much as possible with what’s in the box and what I already have on hand.
 
Last edited:
I managed to get the starboard side and most of the port side sanded before I ran out of glorious Fall sunshine

IMG_5078.jpeg
There’s a couple spots that need a whisker more liquitex, but all things considered, I’m rather pleased with my first foray into planking. It definitely turned out better than the photos in the instructions and on the box...

The instructions were very confusing on when and how the transom gets added—at some point after the planking is started. It has resisted all efforts to make it come out square and true, but I don’t think it is going to be that noticeable. I’ll just have to use some license when shaping the tafrail.

The instructions don’t call for it, but I do think I’ll double plank the inside of the bulwarks. That’s consistent with Mastini’s Ship Modeling Simplified and I think the extra stiffness will pay dividends later.
 
Last edited:
Lots going one in the 1:1 life, but still managed to make progress on the St Gildas. Bulwark stations added, bulwarks planked and painted, wales and rubrails added.
IMG_5163.jpeg
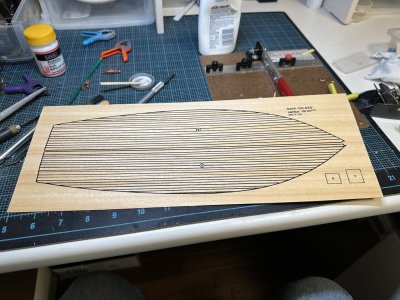
Have also got a start on deck planking. This is the two-piece decking supplied wth the kit:
IMG_5080.jpeg
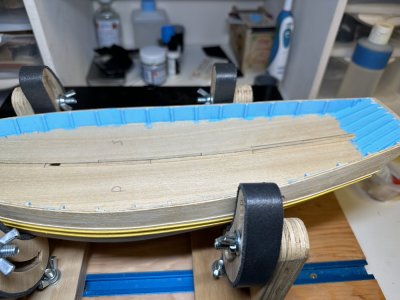
Kind of gross so I flipped it over and traced the outline of the hull on it to use as a false deck. The wood supplied for double-planking the hull is being re-purposed for deck planking. I’m using a Sharpie pen to simulate caulking. It’s darker than I’d like, but I wasn’t getting good results with a pencil. Anyway, it’s an improvement over the original.
IMG_5164.jpeg
 
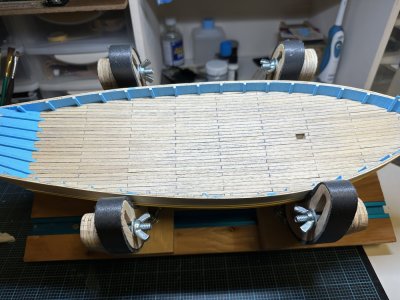
Finished the deck planking.
IMG_5171.jpeg
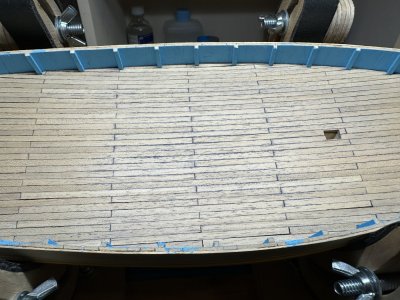
Not a perfect job, but I was reasonably satisfied with the result until I went to give it a wipe down with alcohol, which caused the marker used for caulking to bleed.
IMG_5170.jpeg
Gave it another sanding, but that didn’t do a lot of good. Should have seen this coming. Anyway, the deck is going to be pretty busy once all the furnishings are installed, so hopefully this will not be too visible.

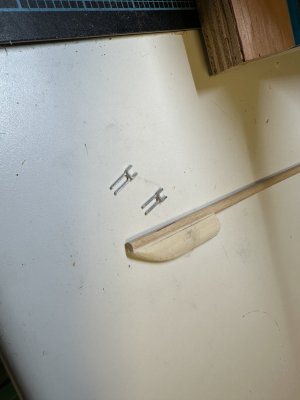
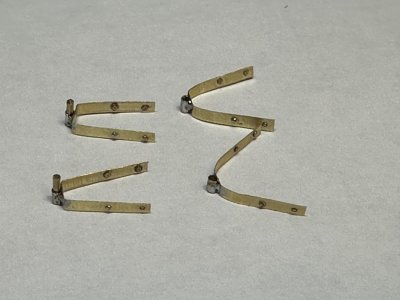
Before I paint the hull, I need to get the rudder ready to install. Have already replaced the rudderstock, but it looks too chunky and needs to be thinned down to a smaller diameter, I think. I’ll also need to scratch some new hinges. The white metal kit hinges don’t look very convincing and are too small to fit either the rudder or the hull.

IMG_5172.jpeg
 
Last edited:
Pretty quiet here on my humble little blog. I guess that means I’m either doing things so well nobody has any suggestions for improvement, or I’m so far gone that nobody thinks it’s worth the effort to save me from disaster. I know where my money is ;)ROTF

Got the lower hull and rudder painted.
IMG_5176.jpeg
I did use pure black and pure white so it’s very stark right now, but after a clearcoat I plan to airbrush a filter of light grey and light tan to weather things a bit, which fingers crossed should tone down the base colors a bit. May also use oils to create some streaking. Before I paint the wales and bulwarks, there’s a few things to be done, most notably cutting in the hawse holes and building the hawse roller assembly (or whatever it’s called in English.

This is the point where the shortcomings of this kit (beyond the paucity of instructions) are really starting to manifest themselves.

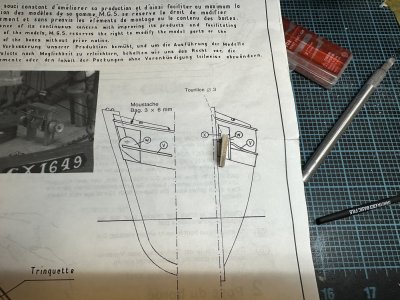
Here is a detail of the hawse roller assembly:
IMG_5175.jpeg
The first thing one notices is that the letters used to identify the parts in the plans are nowhere to be found on the parts themselves or a diagram of the plywood frets. It’s a real scavenger hunt. The next thing you discover is the parts for the hawse roller mounts are stamped from the same plywood as the bulkheads (in fact, everything is punched out of the same plywood), so they are way too thick. You can see in the photo how thick part W is compared to what its supposed to be in the plans. I’m going to be making a lot of replacement parts from scrap, I can see.
 
The roller is finished and dry-fit to the hull, which still needs to be painted.
IMG_5190.jpeg
To get the natural metal finish, I primed the roller, then painted it with acrylic light grey. When that was dry, I rubbed it with an artist pencil and burnished it in with my finger tip. The rest of the model will turn out like doo-doo, but it will at least have a halfway-convincing anchor chain roller ROTF
 
Last edited:
IMG_5191.jpeg
Hull is painted and clear-coated. Next up will be some weathering on the hull before I start on the railings. But first I really need to finish up another project that’s been sitting nearly completed for a couple of months:
IMG_5192.jpeg

In the meantime, a couple question for anyone who might be paying attention to this build:

The lack of scuppers in the bulwarks has been nagging at me. There are none depicted anywhere in the plans, but photos of a contemporary reconstruction (Le Biche) do show scuppers (along with many other differences). I can't imagine a ship like this not having scuppers so I'm debating about adding them on each side where the shear is closest to the waterline. Curious what anyone else would do if this were their build.

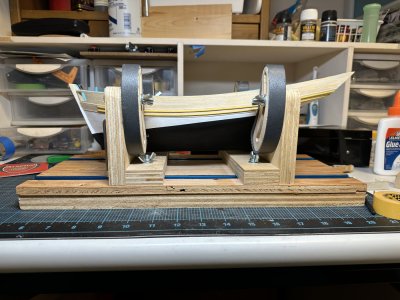
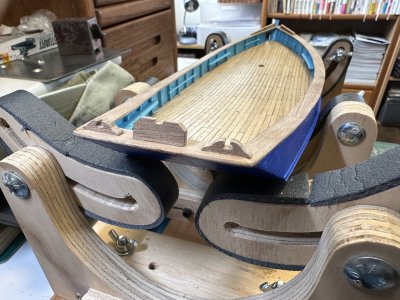
The other question with which I am wrangling is this: St Gildas has a pretty significant deadrise (~6-7deg), which translates to 20mm or more difference in height of the front and rear posts. Most displays I have seen lend themselves to ships with little deadrise (keel level to the base). I've thought about just a couple of 2mm brass rods fore and aft, with a couple on either side for stability. Any other suggestions?
 
Hi, you're doing a very nice job there. As for scuppers, as the St. Gildas was one of my first models and there were no clear indications for them, I simply didn't do them. On the one surviving Dundee (Le Biche), there is only one big scupper at the lowest point, each side of the deck and some space on the planking between the stern frames. But then, she is a bigger and more recent (1930's) example of a tuna fisher than the model. If you want to have them, feel free to improvise. After all, this is a Soclaine kit ... 1734165610945.png
 
Pepite,
Thank you. Yes, many problems with this kit and many differences from Le Biche. No way to know what is accurate, but it’s hard to imagine a boat like this without scuppers. I will continue to think about this.
 
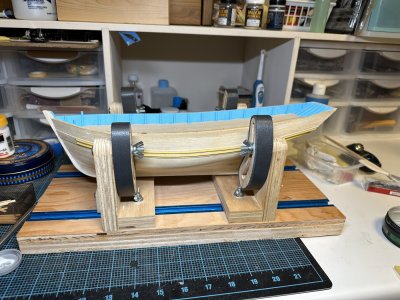
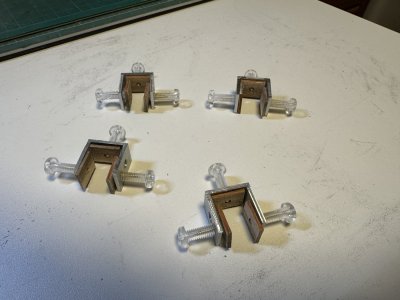
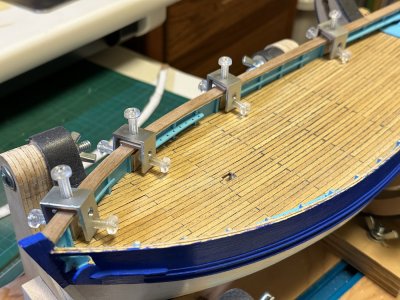
Have decided to forego the scuppers, rather than risking a blowout in my already-painted hull. Managed to complete everything on the inside of the bulwarks. As the cap-rails neared completion, it became apparent I had no adequate means to clamp them in place while the glue dried. So I spent Christmas eve and Christmas day making some clamps for the purpose.
IMG_5226.jpeg
IMG_5227.jpeg
They seem to do the job but, being prototypes, need some tweaks when I make the next batch.

Tomorrow I’ll play hookie from the workshop to try to go climb one more of Japan’s 100 famous mountains before the end of the year.
 
Happy New Year, everyone!

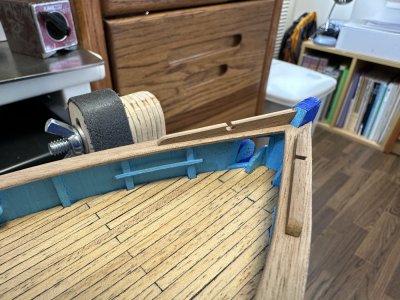
Trying to make the most of my long holiday break. Caprails are installed along with their associated fittings.
IMG_5258.jpeg
IMG_5259.jpeg

I took a bit of artistic license because I wanted to leave the caprails and fittings in a natural finish. Not sure if the fairleads on the original boat were wood or metal, but I decided to replace the white metals ones in the kit with wooden ones I made myself. They’re a little oversized, but I like how they turned out.
 
At this point there are some cleats that go on the inside of the bulwarks that look like they’ll be easier to install now before the deck gets too crowded.
IMG_5260.jpeg
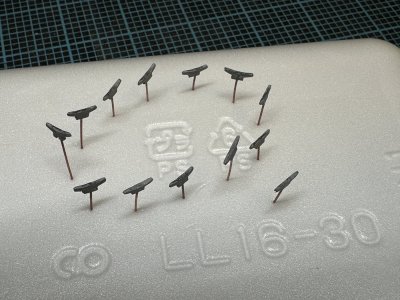
First thing to do was to drill the base of each cleat and insert a piece of 0.5mm wire. This will give things a lot more strength than CA glue alone when it’s time to start rigging. Next I filed the horns to give them a more 3D shape. A good coat of automotive primer and rubdown with a pencil, and they are ready to install.
 
Last edited:
Back
Top