Gondola-Dumas Boats

Joined
Aug 27, 2021
Messages
390
Points
278

Location
El Paso, Texas
This log is for my Dumas Gondola. This kit was given to me for Father's Day by my 12 year old son.

Here is the Unboxing.

The kit doesn't contain any history, but this appears to be a basic Gondola as might be found in Venice, Italy or even Las Vegas, Nevada USA. The kit is 15.5 inches long. I don't know the length of the full sized boat it is modeled after so do not know the scale.

A lot of unknowns I know but I do know I like it due to the source.

On with the build....
 
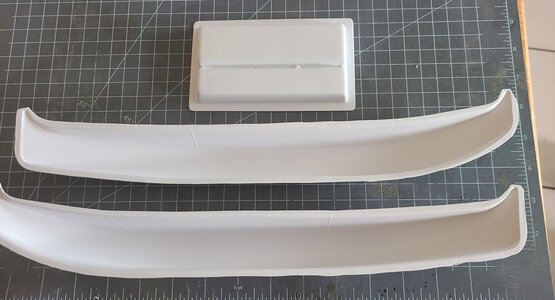
First I cut out the vacuum formed hull halves and base using a scalpel and a few blades. It took 2-3 light controlled passes to cut through the ABS sheets.
20220620_171927.jpg

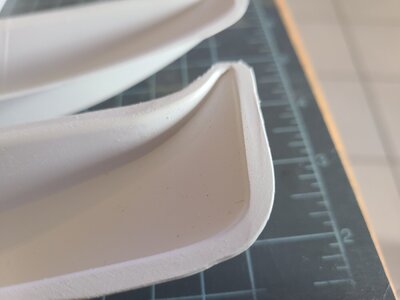
Next using my sanding blocks I flattened and roughened the surfaces that would be joined together. The edges of the stand were straightened and sharp corners rounded.
20220620_171937.jpg

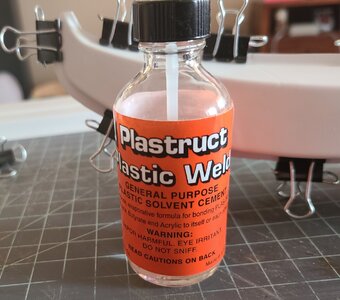
The glue I am using is actually a solvent that will melt the surfaces of the plastic together basically forming a solvent weld. I first tested this on some of the left over scrap pieces with positive results. The cement is basically just MEK (Methyl Ethyl Keytone). I don't know if anything else has been added.
20220620_180701.jpg

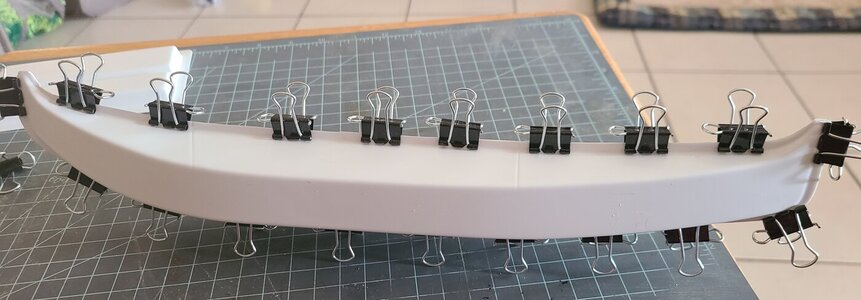
The halves were clamped together with much care taken insuring the best alignment I could obtain.
20220620_180654.jpg

The cement was applied to the joint edge. The thin liquid wicks into the joint. After about 10 minutes I moved the clamps to the places I had cemented and completed cementing the seams. The hull was left to fully cure over night.
 
Time to plank that hull...
When I read this I actually considered it but decided against it. This is a nice distraction from my other build but I don't want it to be too long of a distraction.

Time to paint that hull...
This is the direction I will go. Been debating the paint I will use. Black is the color, definitely. The 1:1 gondolas appear to have a deep shine, like lacquer. I may go for a Clearcoat to achieve a deep shine, still undecided.

I did find some floral decorations on Thingiverse that I'll 3d print, if the come out nice enough I'll use them.
 
Last edited:
This log is for my Dumas Gondola. This kit was given to me for Father's Day by my 12 year old son.

Here is the Unboxing.

The kit doesn't contain any history, but this appears to be a basic Gondola as might be found in Venice, Italy or even Las Vegas, Nevada USA. The kit is 15.5 inches long. I don't know the length of the full sized boat it is modeled after so do not know the scale.

A lot of unknowns I know but I do know I like it due to the source.

On with the build....
Good morning Glenn. Cute man! My son gave me a packet of biltong. I think I should get him to chat to your Son for Father’s Day present lessons ;) . Cheers Grant
 
Good morning Glenn. Cute man! My son gave me a packet of biltong. I think I should get him to chat to your Son for Father’s Day present lessons ;) . Cheers Grant
I had to Google Biltong. Looks like the closest thing we have to it here in the USA is Jerky. Not a bad gift at all but we can have our sons chat ;).

Glenn
 
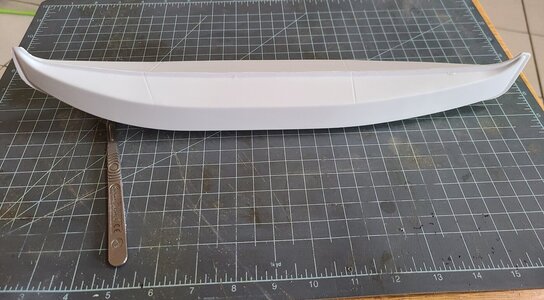
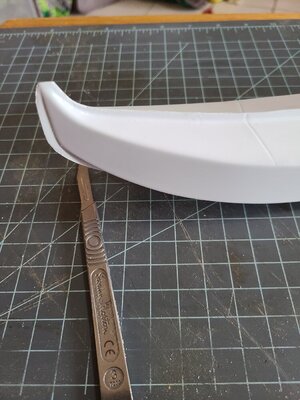
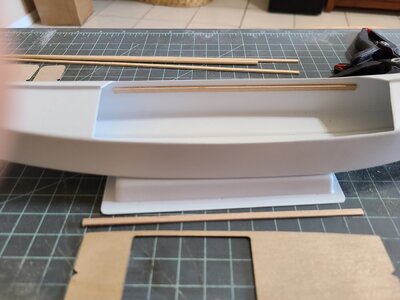
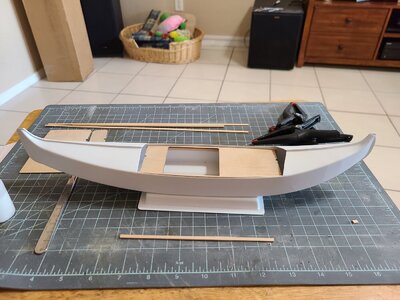
The clamps have been removed and all looks good.
20220621_164746.jpg
20220621_164735.jpg

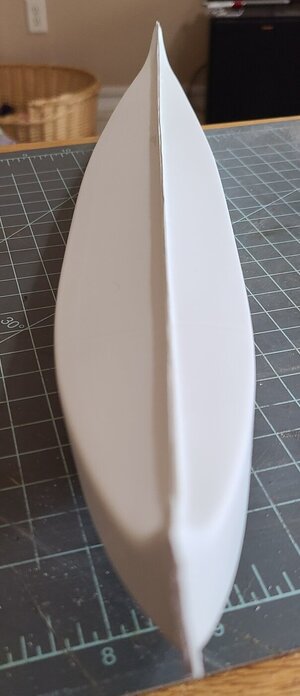
The hull is asymmetrical.
20220621_164727.jpg

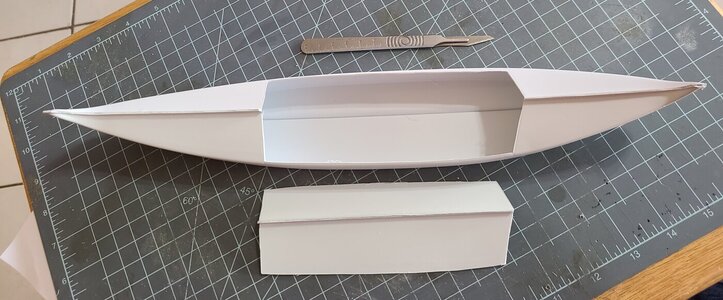
The passenger area has been cut out.
20220621_170230.jpg

So far this build has been plastic. The hull and stand are the only plastic pieces in the kit, everything else is wood. I was unsure which forum to post this build in, one of the moderators suggested putting it here. Just a few more posts until the wood pieces are added....
 
Starting the wood pieces. Physically smaller but numerically greater than the plastic pieces.

First I started by shaping the main deck piece to a nice friction fit of the opening in the hull. A lot of trial an error but we'll worth the effort.

20220625_092454.jpg


20220625_092427.jpg

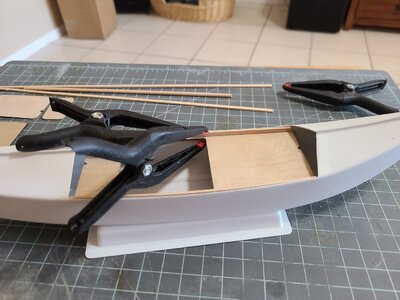
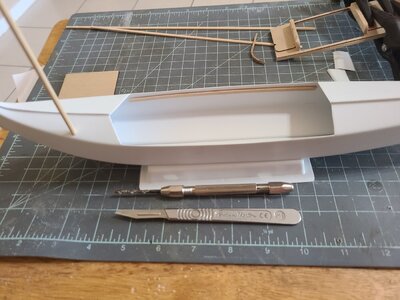
Next two rails, one for each side, were sanded smooth then cut to length and glued to the deck piece. I did this in the boat because there is a slight bow to the supports that the deck sits on. The instructions call to later glue the deck in place but I want to make it removable so close fitment is necessary.
20220625_092916.jpg

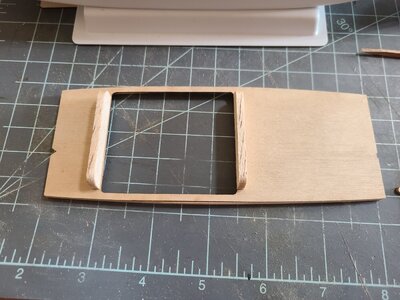
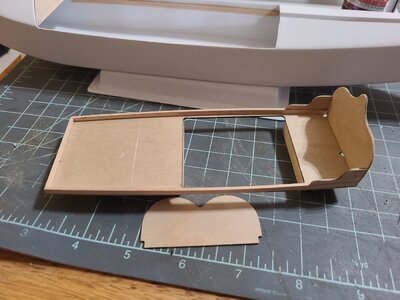
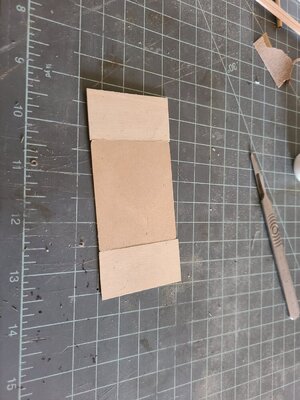
The deck was then turned over and these pieces glued on. Ones calfs would be against these when seated. Not shown are two pieces that double the thickness of the deck.
20220625_115427.jpg

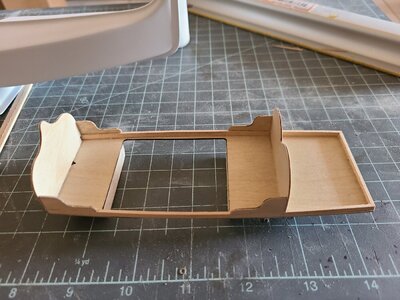
The seat backs and arn rests/supports are then attached after turning the deck right side up. The fore seat back was glued in place while the deck was installed in the boat to insure its angle matched that of the opening in the boat. The arm rests were then sanded to match the resulting angle of the back rest/deck angle. You can also see the mark for the aft seat back. It is 1" from the leg opening.
20220625_201124.jpg

The aft seat back was installed using my small machinists square to get it square to the deck. The arm rests were then installed.
20220626_101352.jpg

The deck. Seat backs and arm rests are all laser cut 1/32" plywood. The side rails are 1/16" x 1/8", something harder than balsa. The parts on the bottom edges of the leg openings are 3/16" balsa.

Thank you for looking and the likes.
Glenn
 
Beautifully neat work Glenn. I love the hull shape and the deck looks first class!
 
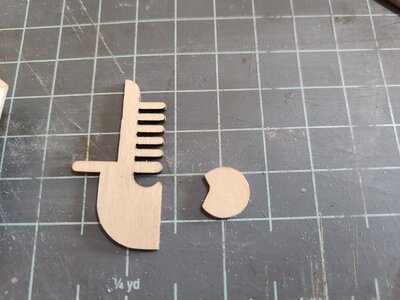
The bow and stern ornaments were two pieces each glued together for thickness. Here they are after gluing

20220625_115420.jpg

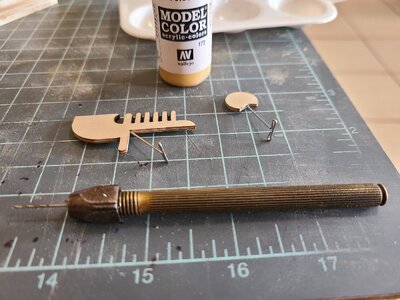
The char is removed from the edges. This took a bit of time and patience with jewelers files. Then a small hole was drilled and pins inserted after sanding in preparation for painting.
20220626_125150.jpg

Next I glued up some scrap plywood for the floor under the leg opening. This is not called for in the instructions. Thinking of @DARIVS ARCHITECTVS...
20220626_093002.jpg

Preparing the oar handle for the blade. Sanded a taper to the end so the cutout of the blade would fit. This is the only pic I took of oar construction for some reason.
20220625_130130.jpg

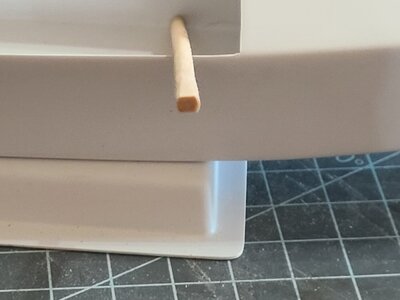
Apical showing the oar support location with the dowel in it.
20220625_124013.jpg

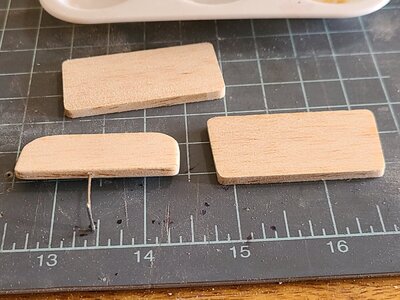
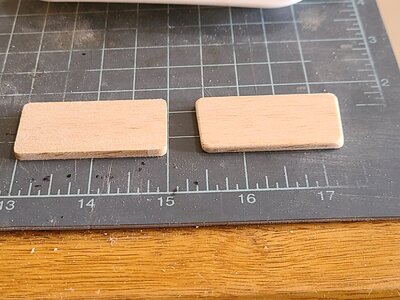
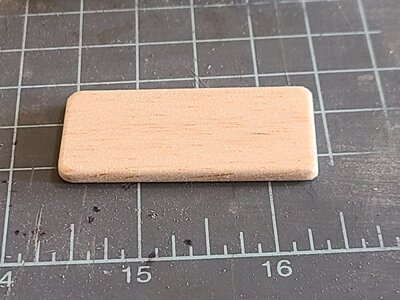
And finally the seat cushions. 3/16" balsa. Pieces with squared corners have been sanded to 150# and char removed. Final shaping was then done with 220# and are pieces with rounded edges/corners. They then were drilled and pins inserted similar to ornaments were in prep for painting but the is not shown.
20220626_132037.jpg
20220626_132835.jpg
20220626_134741.jpg

Thanks for the likes and looking,
Glenn
 
I am very impressed again with the cleanliness of your work Glenn - it was very evident on the Sea of Galilee boat and once more now on the gondola. I love the seat cushions; I think they will look stunning after painting! Thumbsup
 
Back
Top